Spring is in the air! Buds are a blooming, bees are buzzing and kitchens everywhere are smelling like…vinegar? Wait, vinegar? That’s right, because it’s time to dye springtime eggs!
There are two classic ways to dye eggs, the hard-boiled method and the blow-out method. Today I’m going to walk you through the latter. (I prefer the blow-out method, because then I can have breakfast quiche with my crafting!)
To begin, give your eggs a good wash to make sure there is no dirt on them, then let them completely dry. For the blow-out method, you’re going to need two very pointy objects—one small and one slightly thicker. Smaller options would be needles or pins. Thicker options would be items such as a corn skewer or awl. Get a bowl to collect your egg yolk, and a bowl for your egg shells.
Using your smaller pin, poke a teeny tiny hole at the top of the egg.
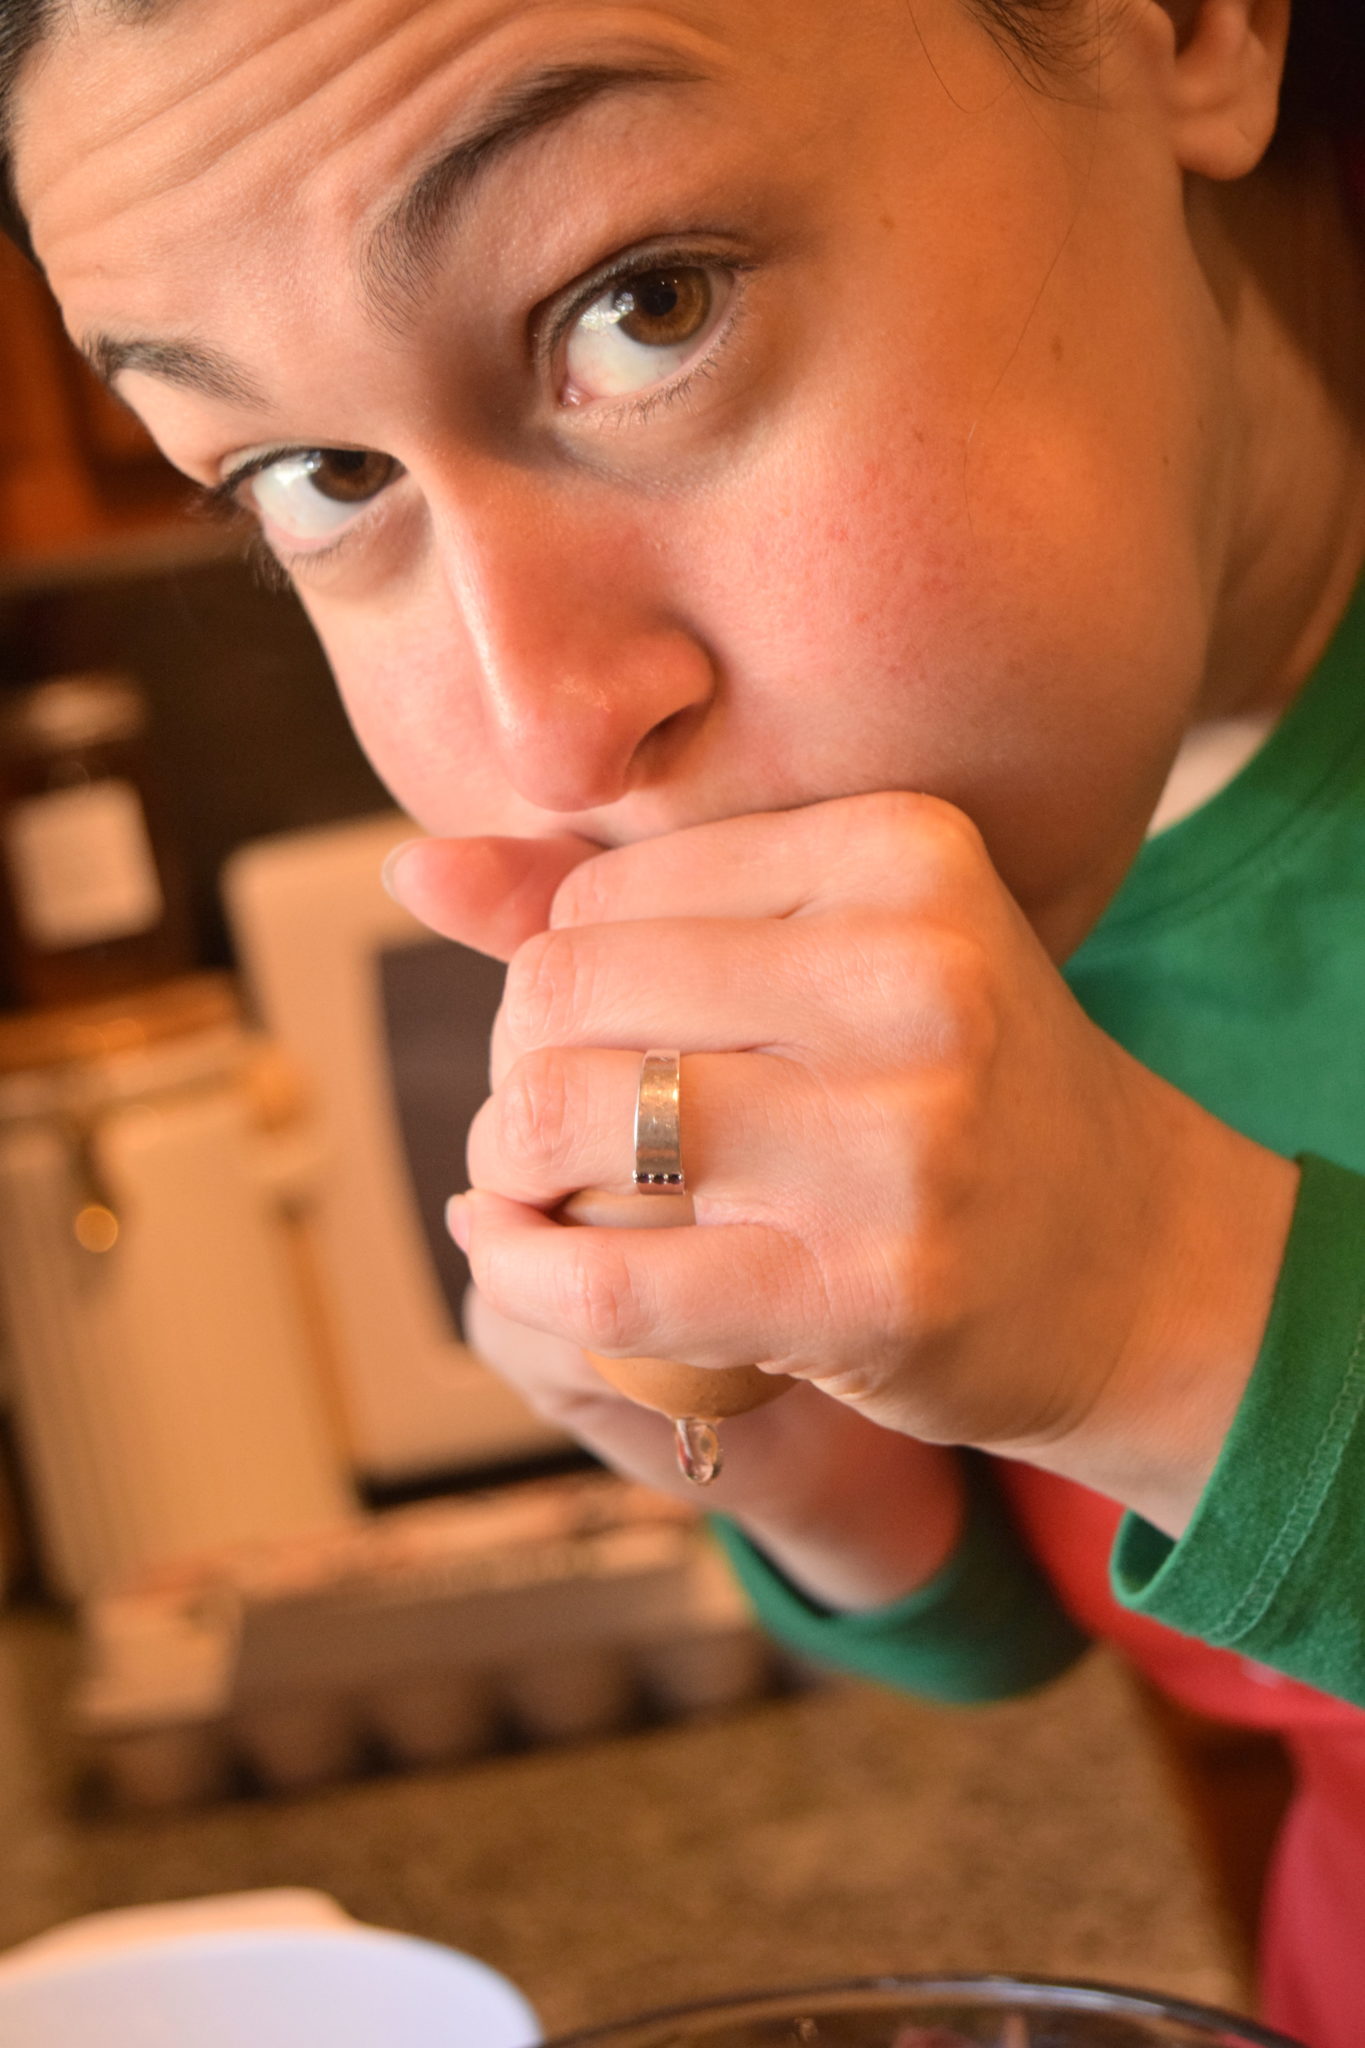
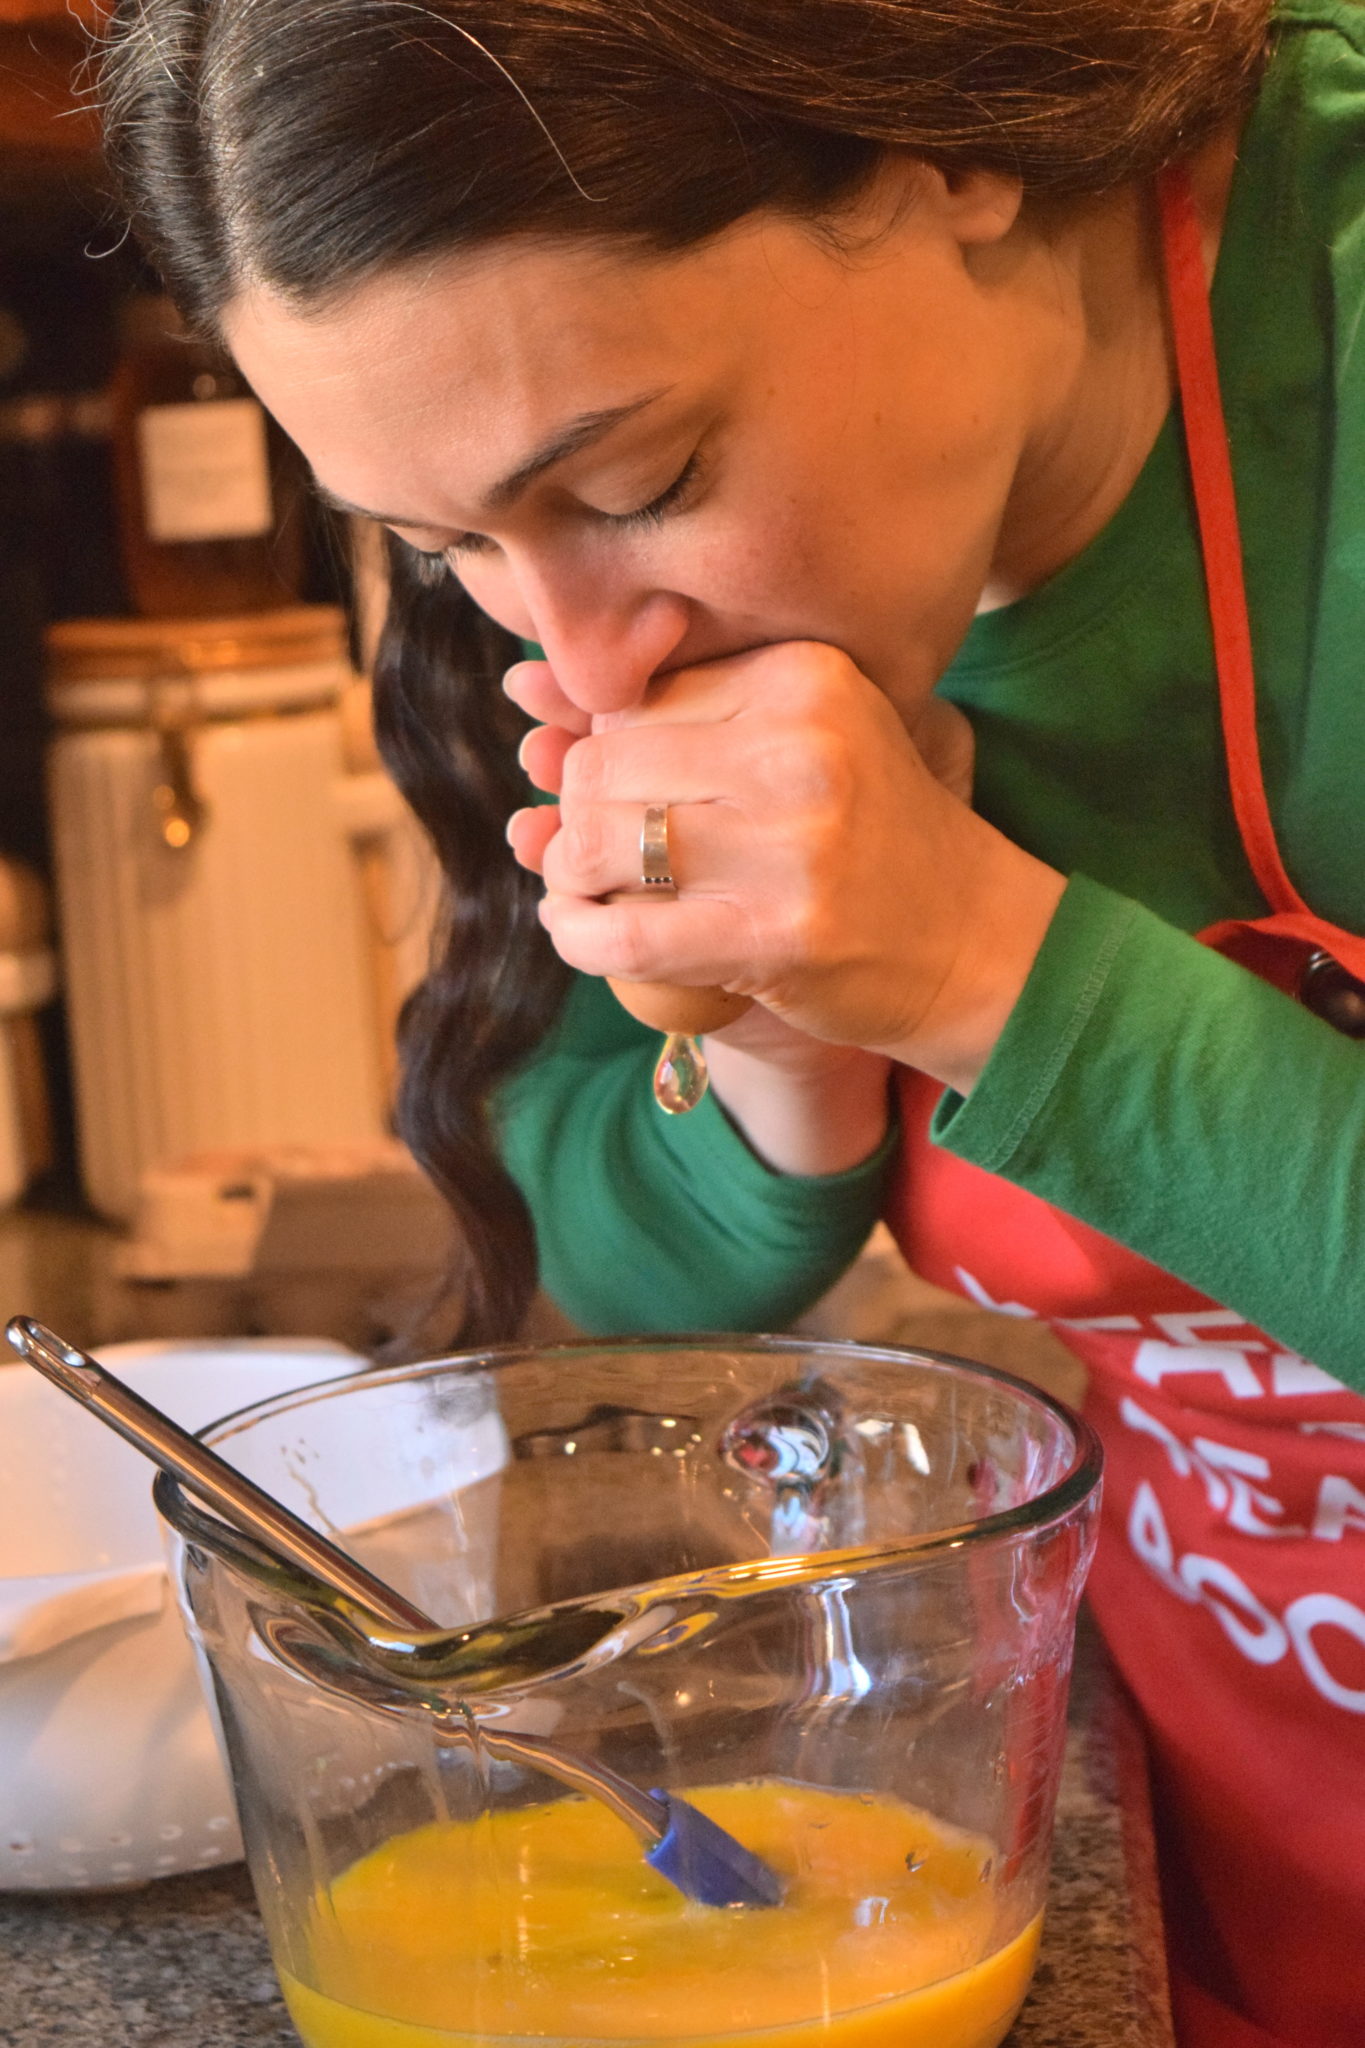
Then turn it upside down, and use your larger pointy piece to make a slightly larger hole in the bottom. Hold the egg above the yolk bowl, and blow on the top hole. I like to cup the blowing hole with my thumb and forefinger and blow on my hands so that I’m not actually touching the egg to my lips.
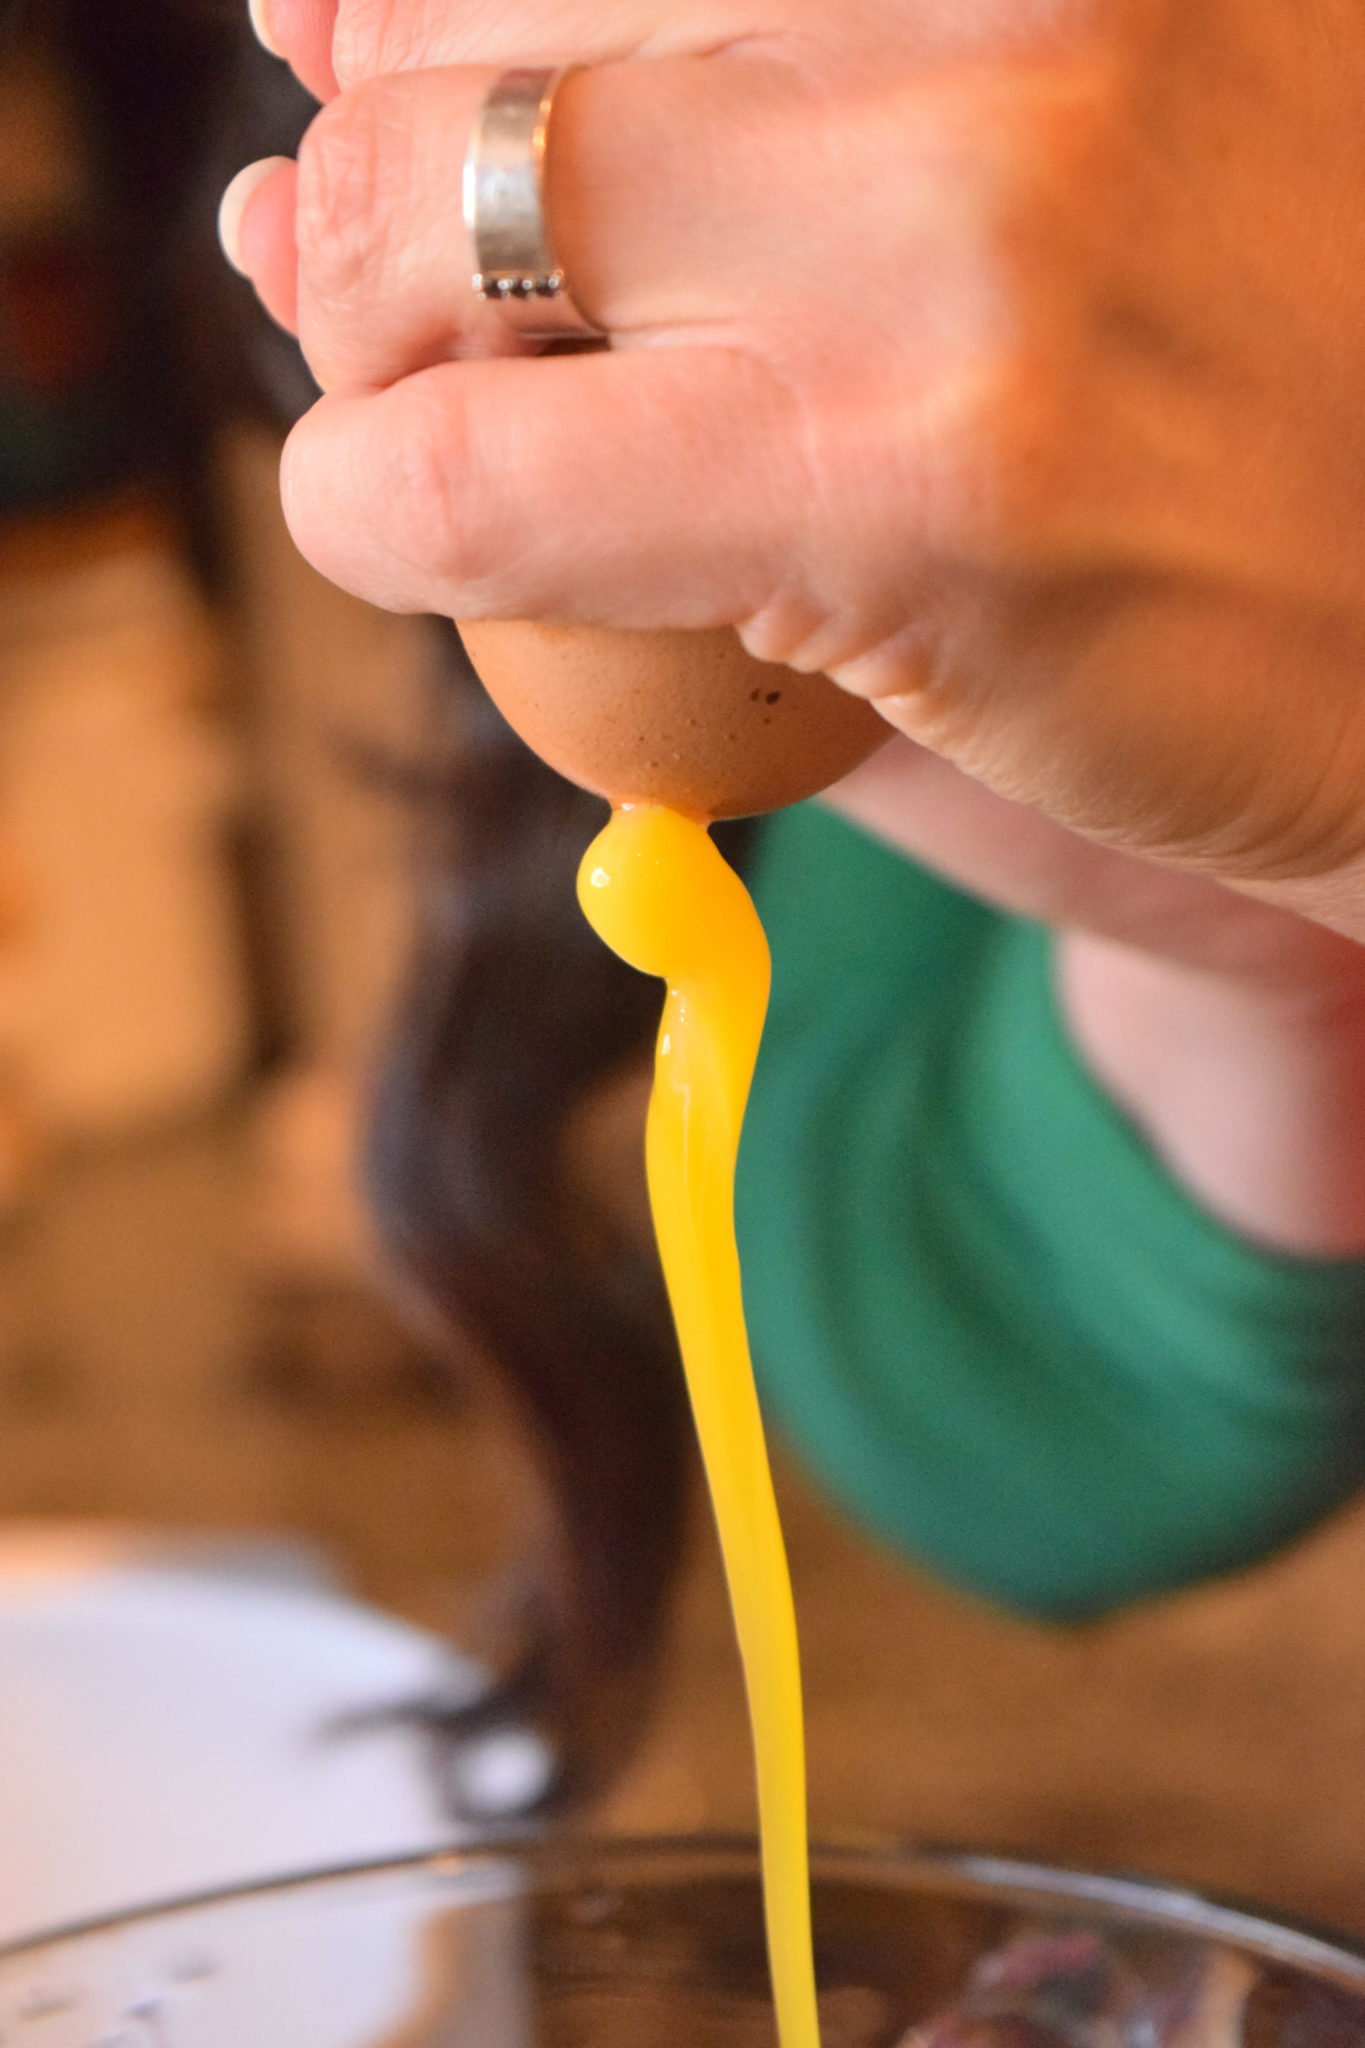
Blowing out eggs reminds me of the way I was taught to play my flute back in high school. Don’t puff out your cheeks, instead, keep your embouchure strong by tightening the corners of your lips, and making as small of a hole as possible with your lips. Blow a focused, steady stream of air, and watch as the yolk begins to squeeze out the larger hole in the bottom of the egg!
After your eggs are all empty, give them another rinse to get any yolk off, and let them dry again. This is a great time to make that quiche if you’re hungry!

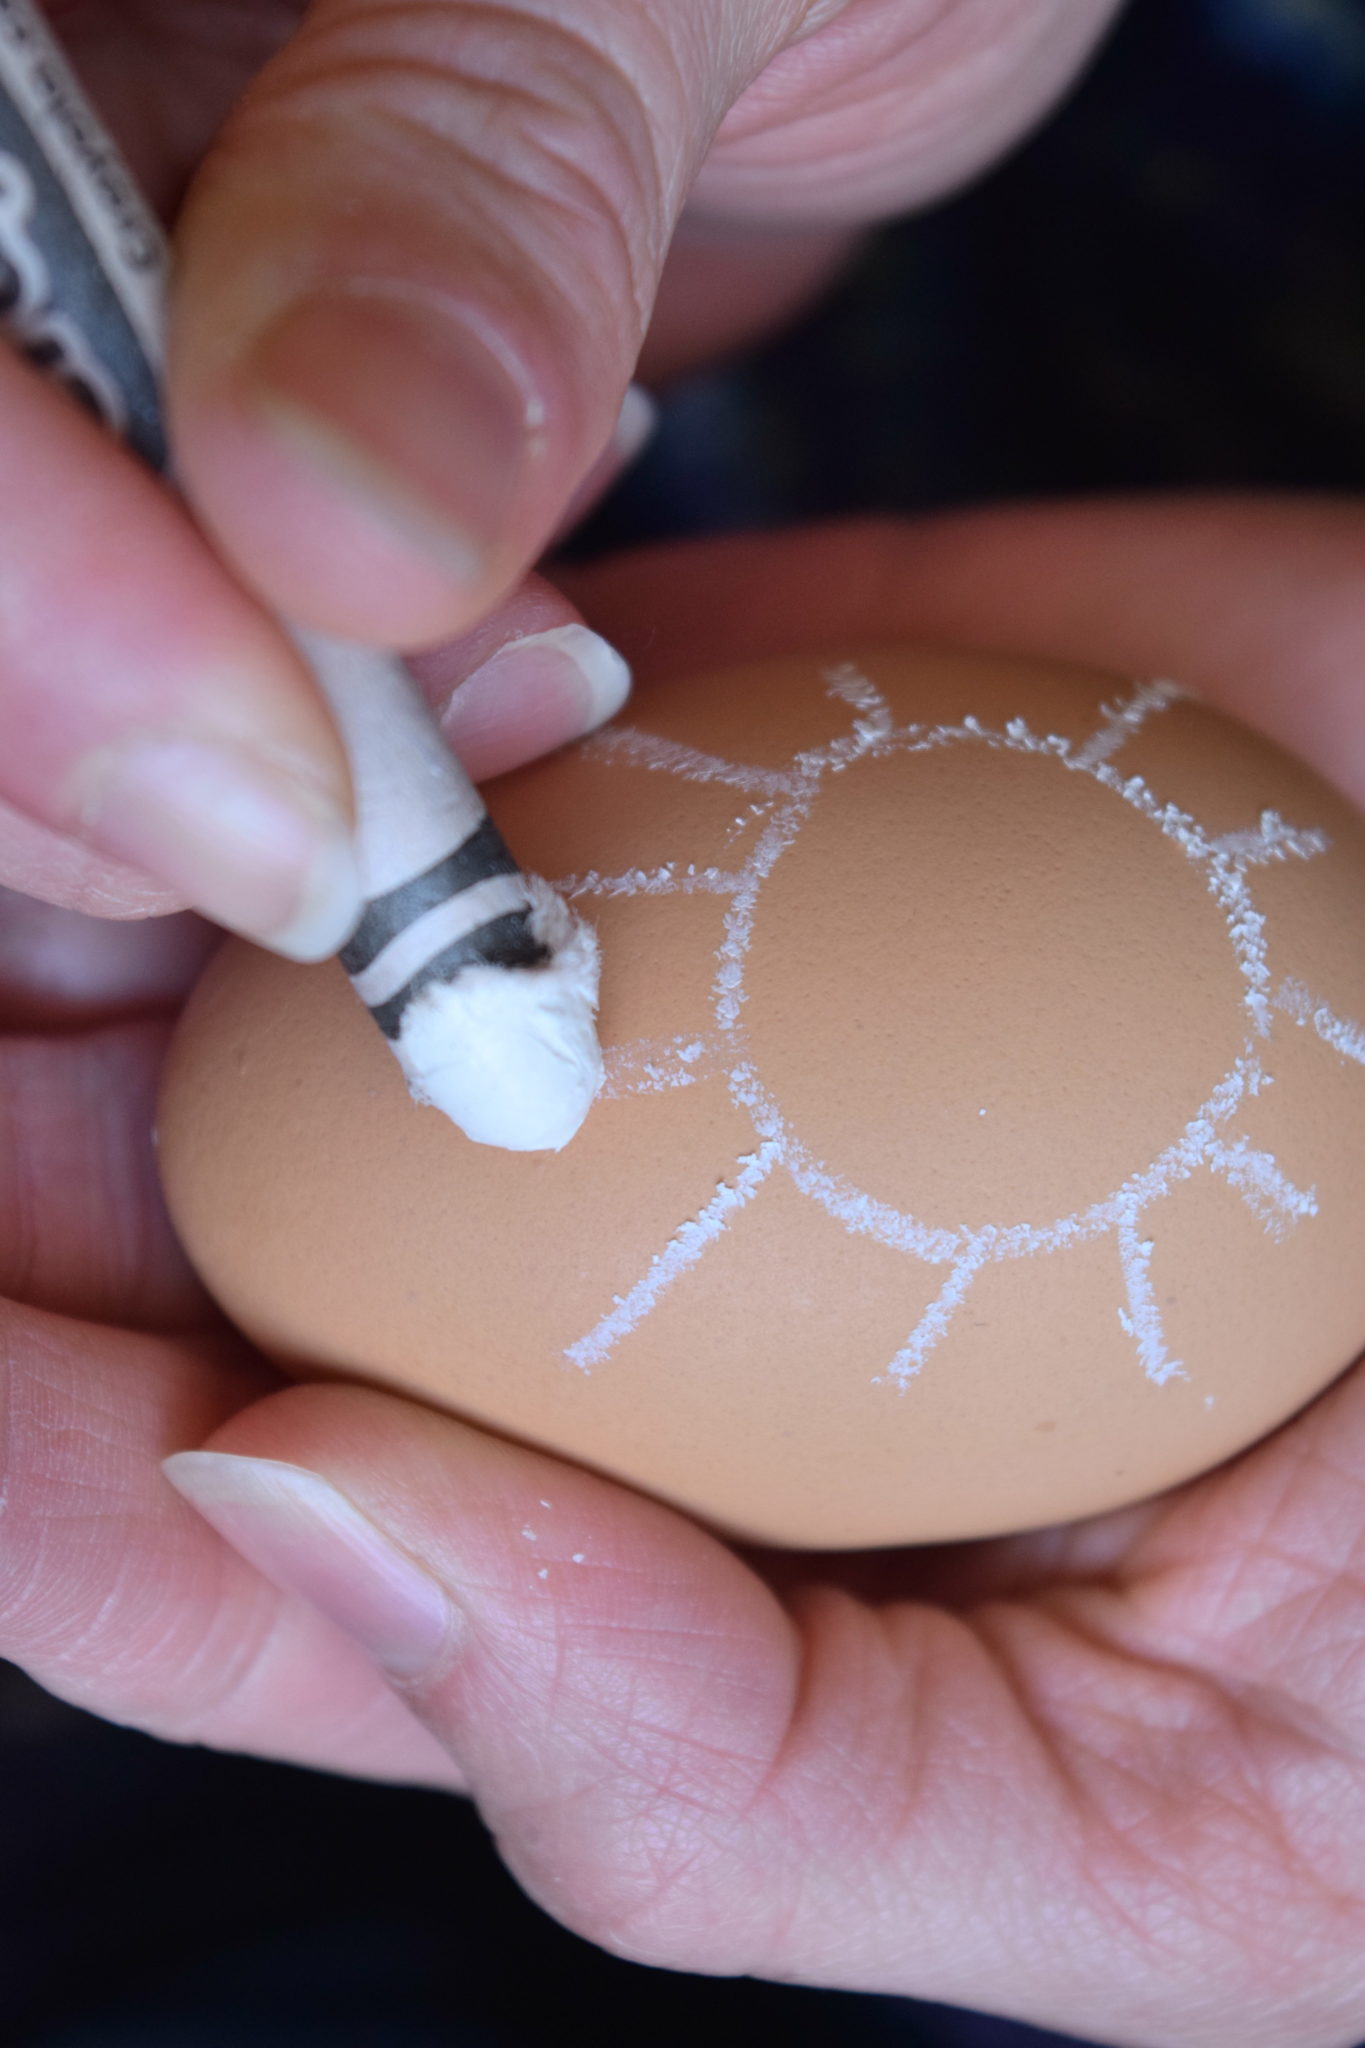
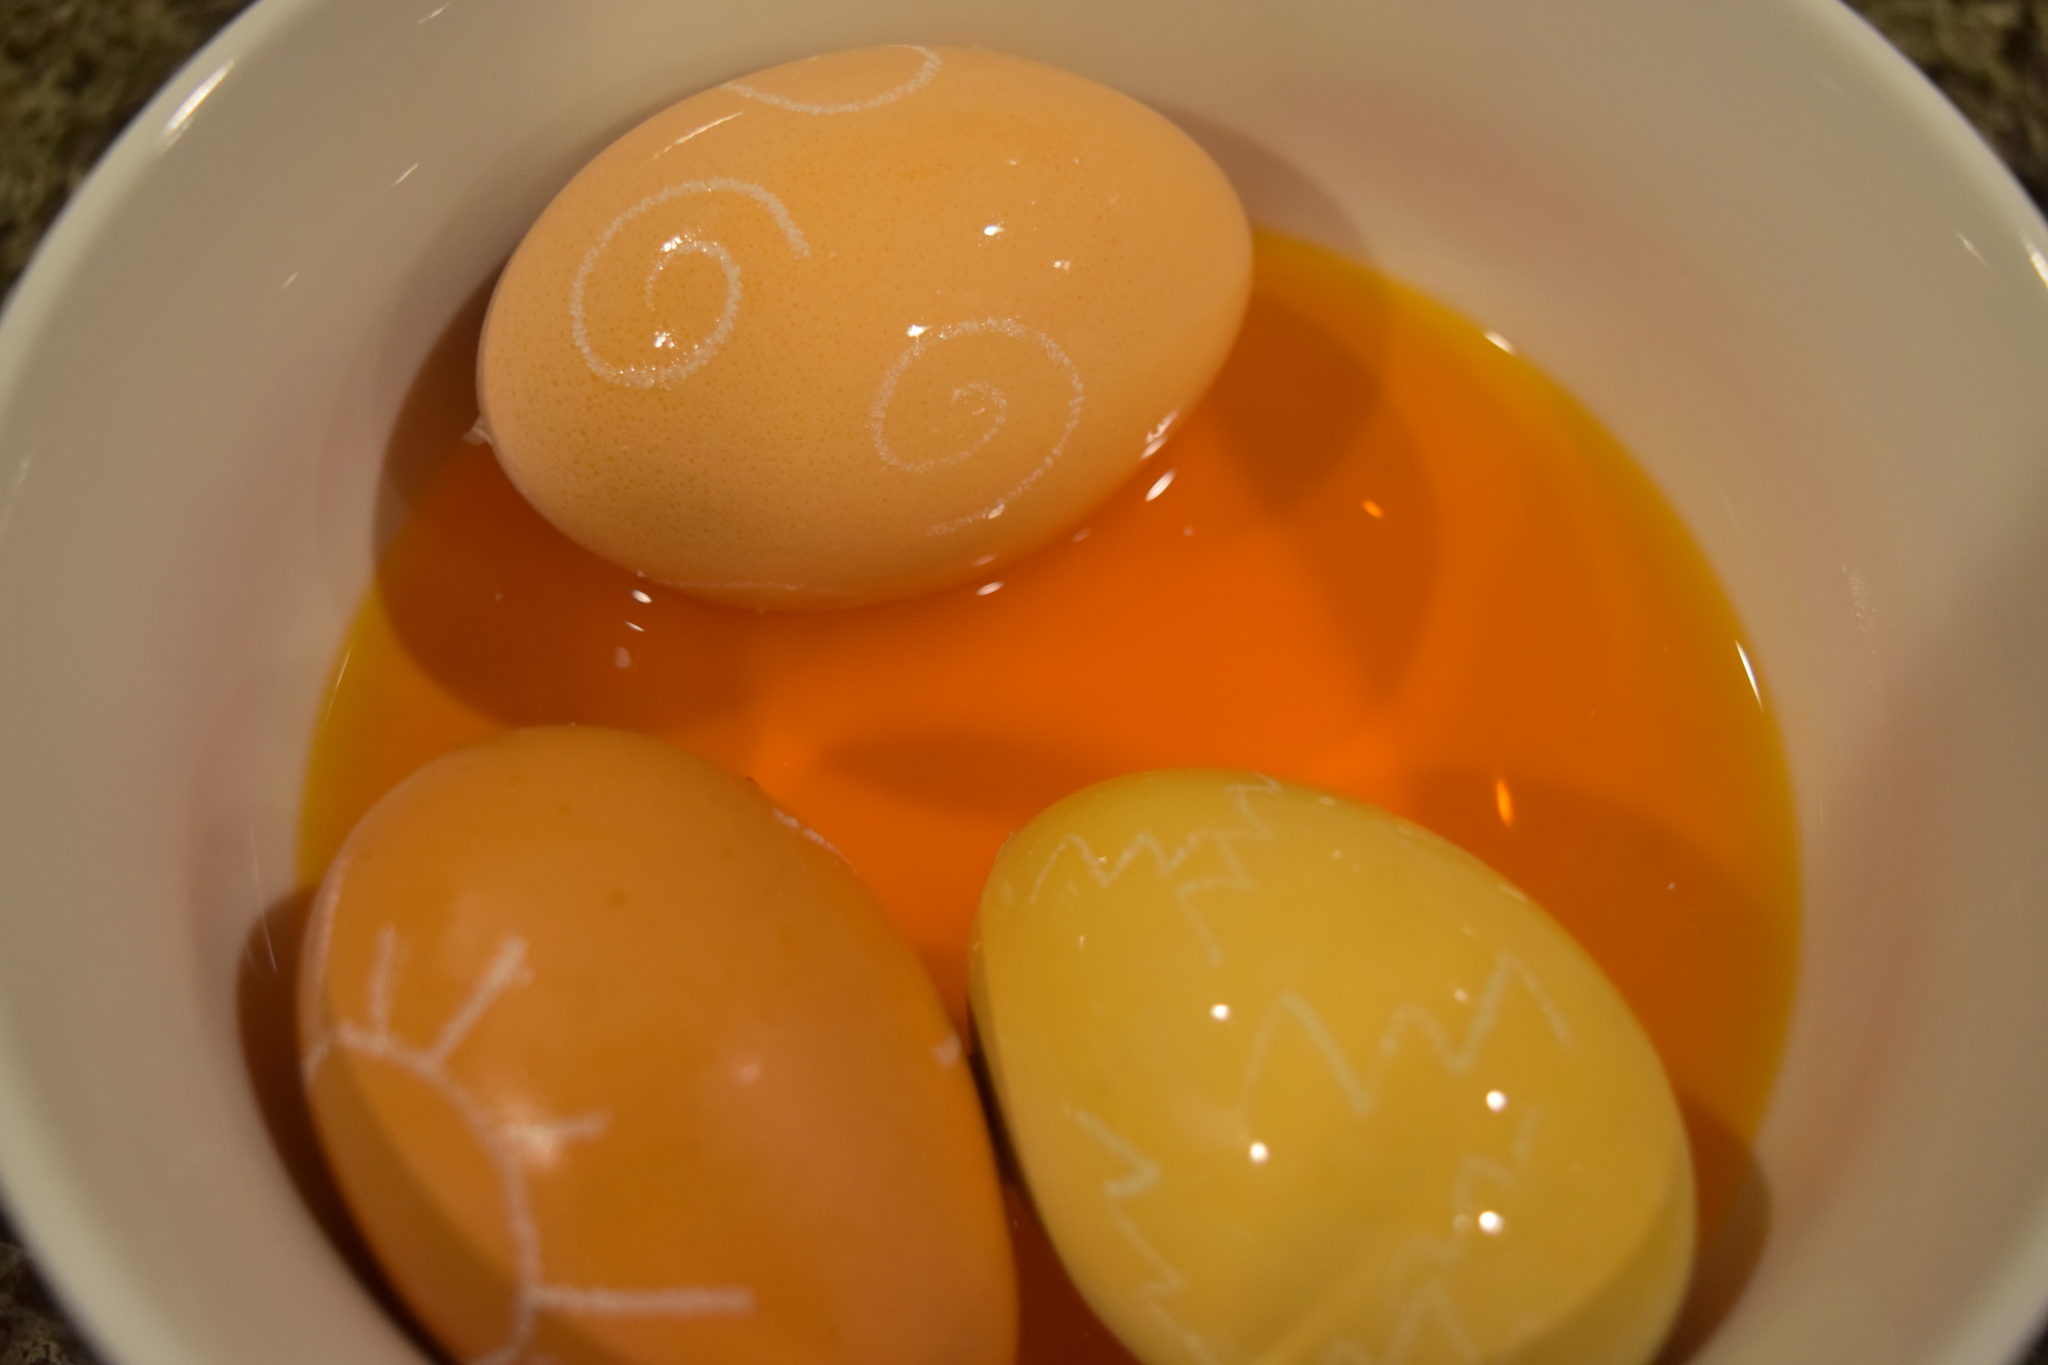
When your eggs are dry, take a white crayon and decorate your eggs with patterns, shapes, animals, letters—whatever you want! The white crayon will resist the dye, causing your decorations to pop.
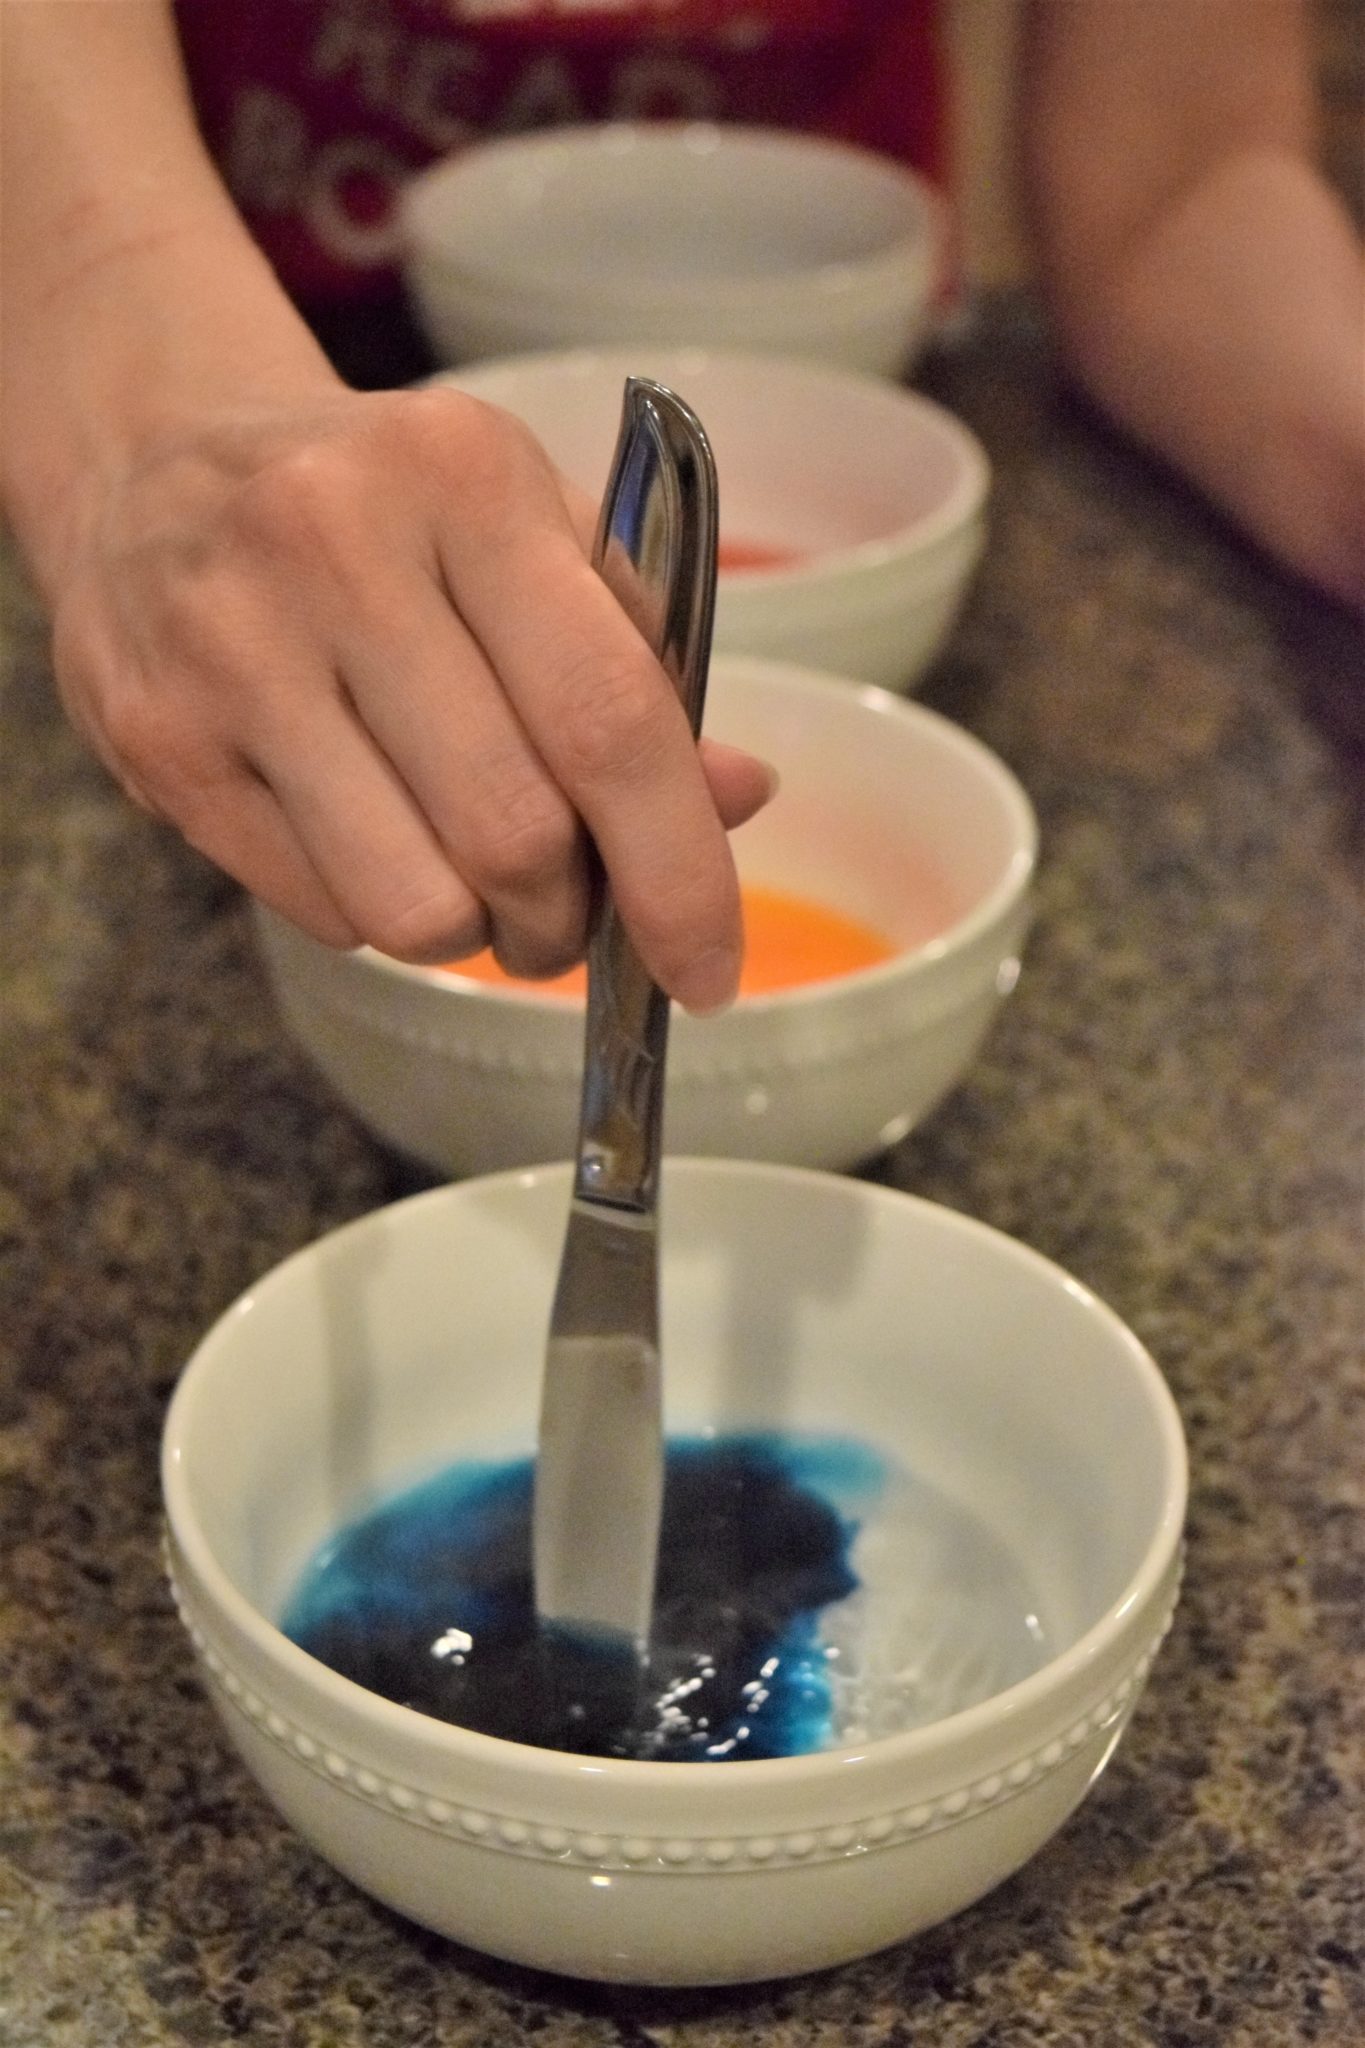
Then it’s time to prepare the dye.
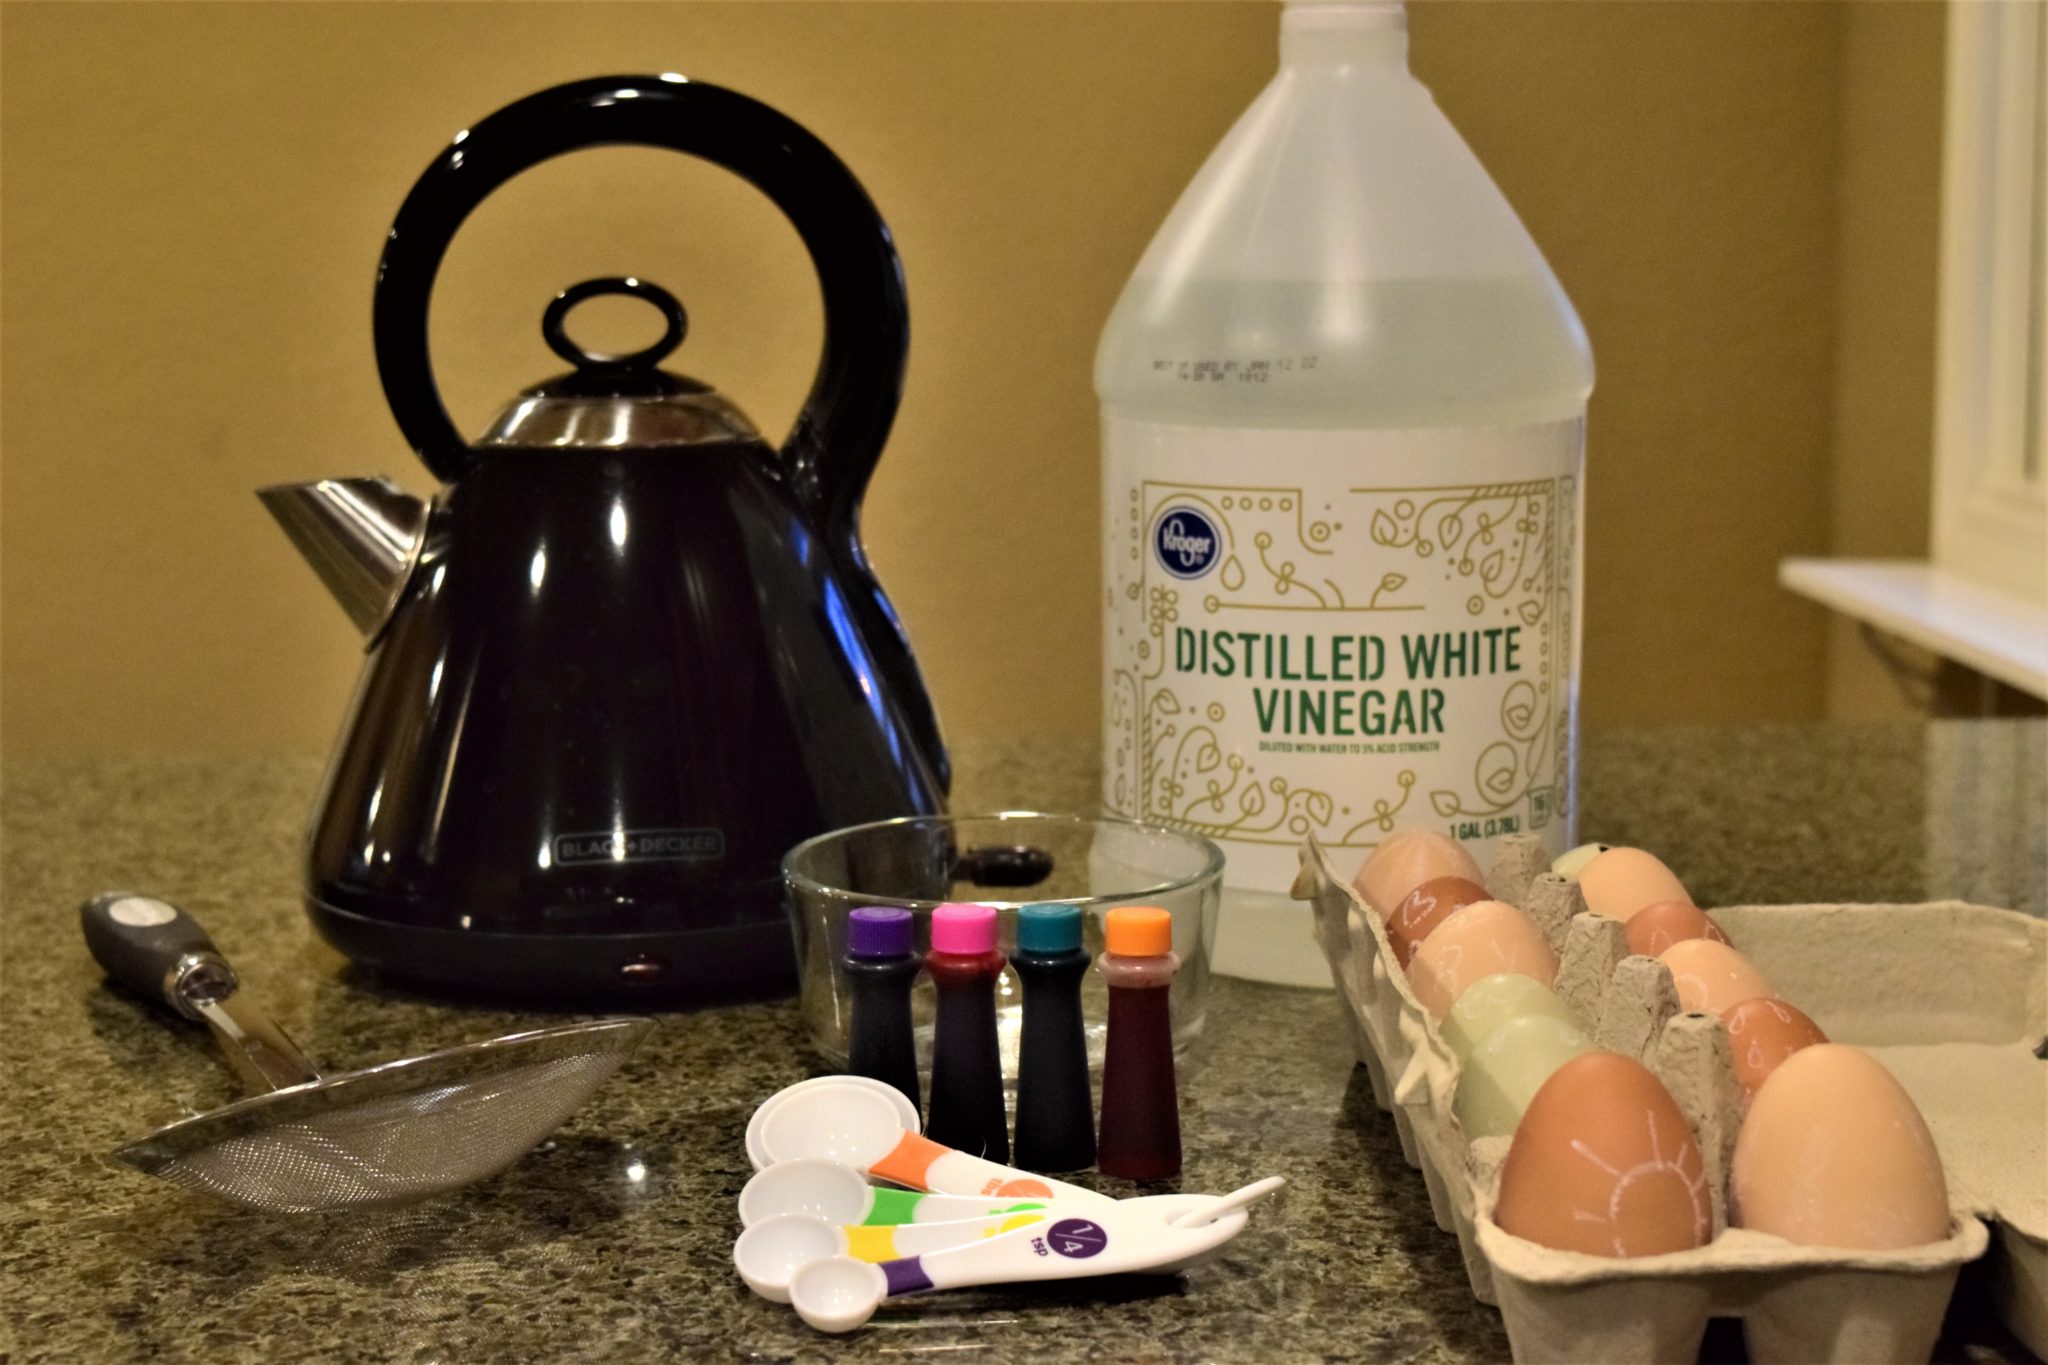
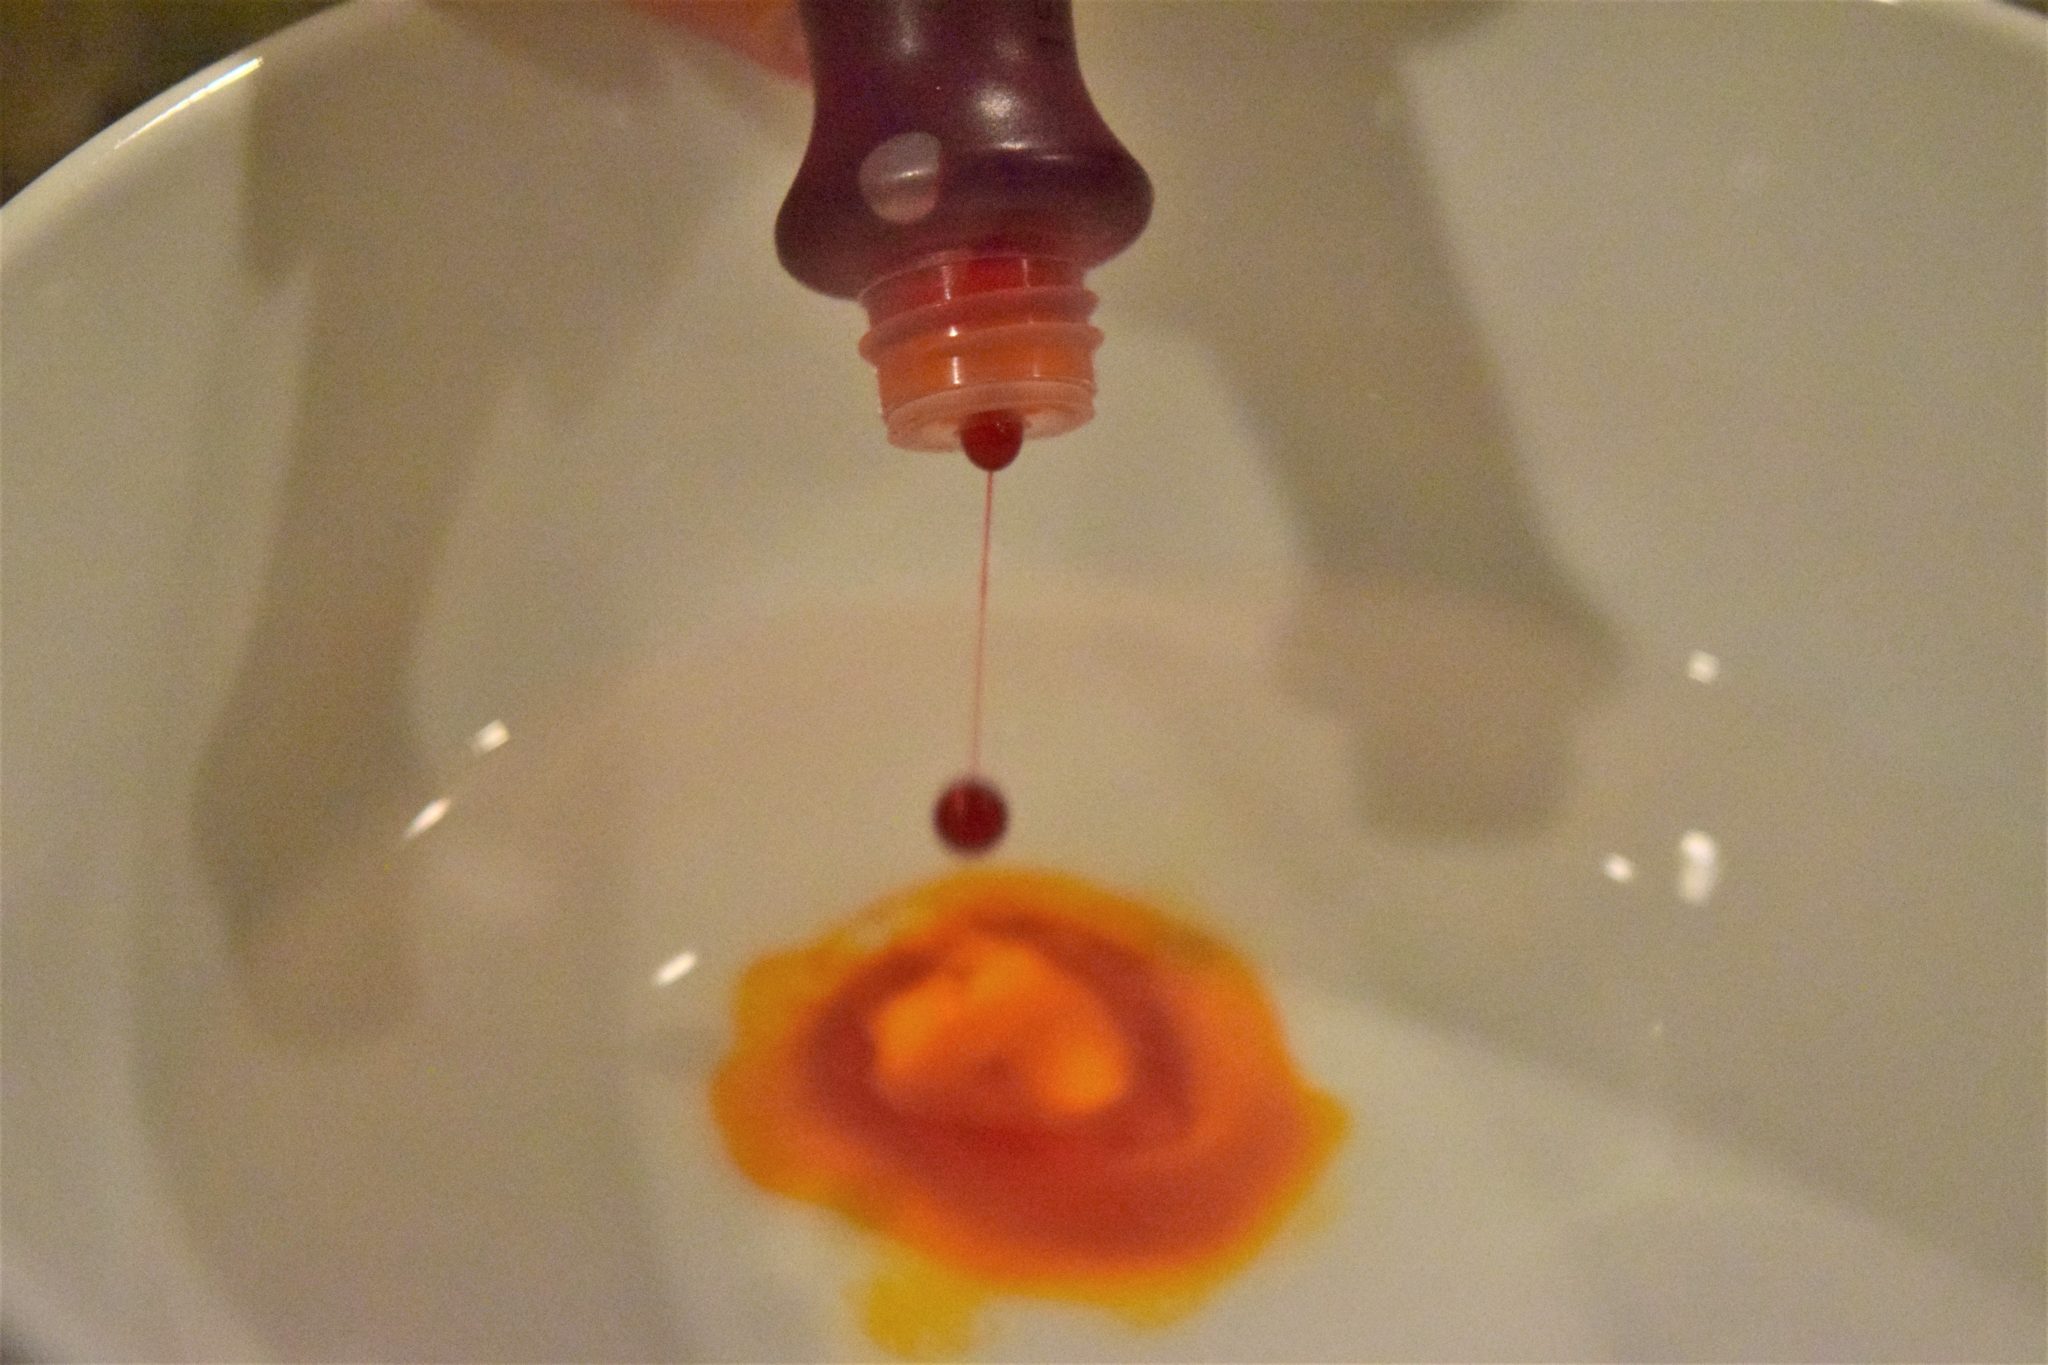
This part is the simplest part—get out a bowl for each color you want to use, fill it with ½ cup boiling water, one tablespoon of vinegar and 10 drops of food coloring.
Then, place your eggs in the dye and watch the magic happen!
The longer your eggs sit in the dye, the more vibrant they’ll become. Roll them around every few minutes, and take them out when they’ve become your desired color.
Let your eggs dry on a cookie tray with a towel underneath, or stick them back in their original carton.
Ta-da! You’ve created an ecologically friendly masterpiece you can save for years or compost when you’re done with them. Place your beautiful spring eggs in baskets as decoration, or string them up with twine and decorate a tree to share joy with your neighbors and friends.
Happy spring everyone!