 At one of our recent library programs, we made a paper flashlight craft that all of the kids and parents adored. It was so popular that I’ve written up some instructions so you can make this craft at home!
What you need:
- Image or drawing you want to trace
- Clear sheet of plastic
- One sheet of black paper and one sheet of white paper
- Black Ultra Fine Sharpie
- Regular Sharpies in multiple colors
- Tape
- Flashlight template
- Sheet of white cardstock
- Scissors
What you do:
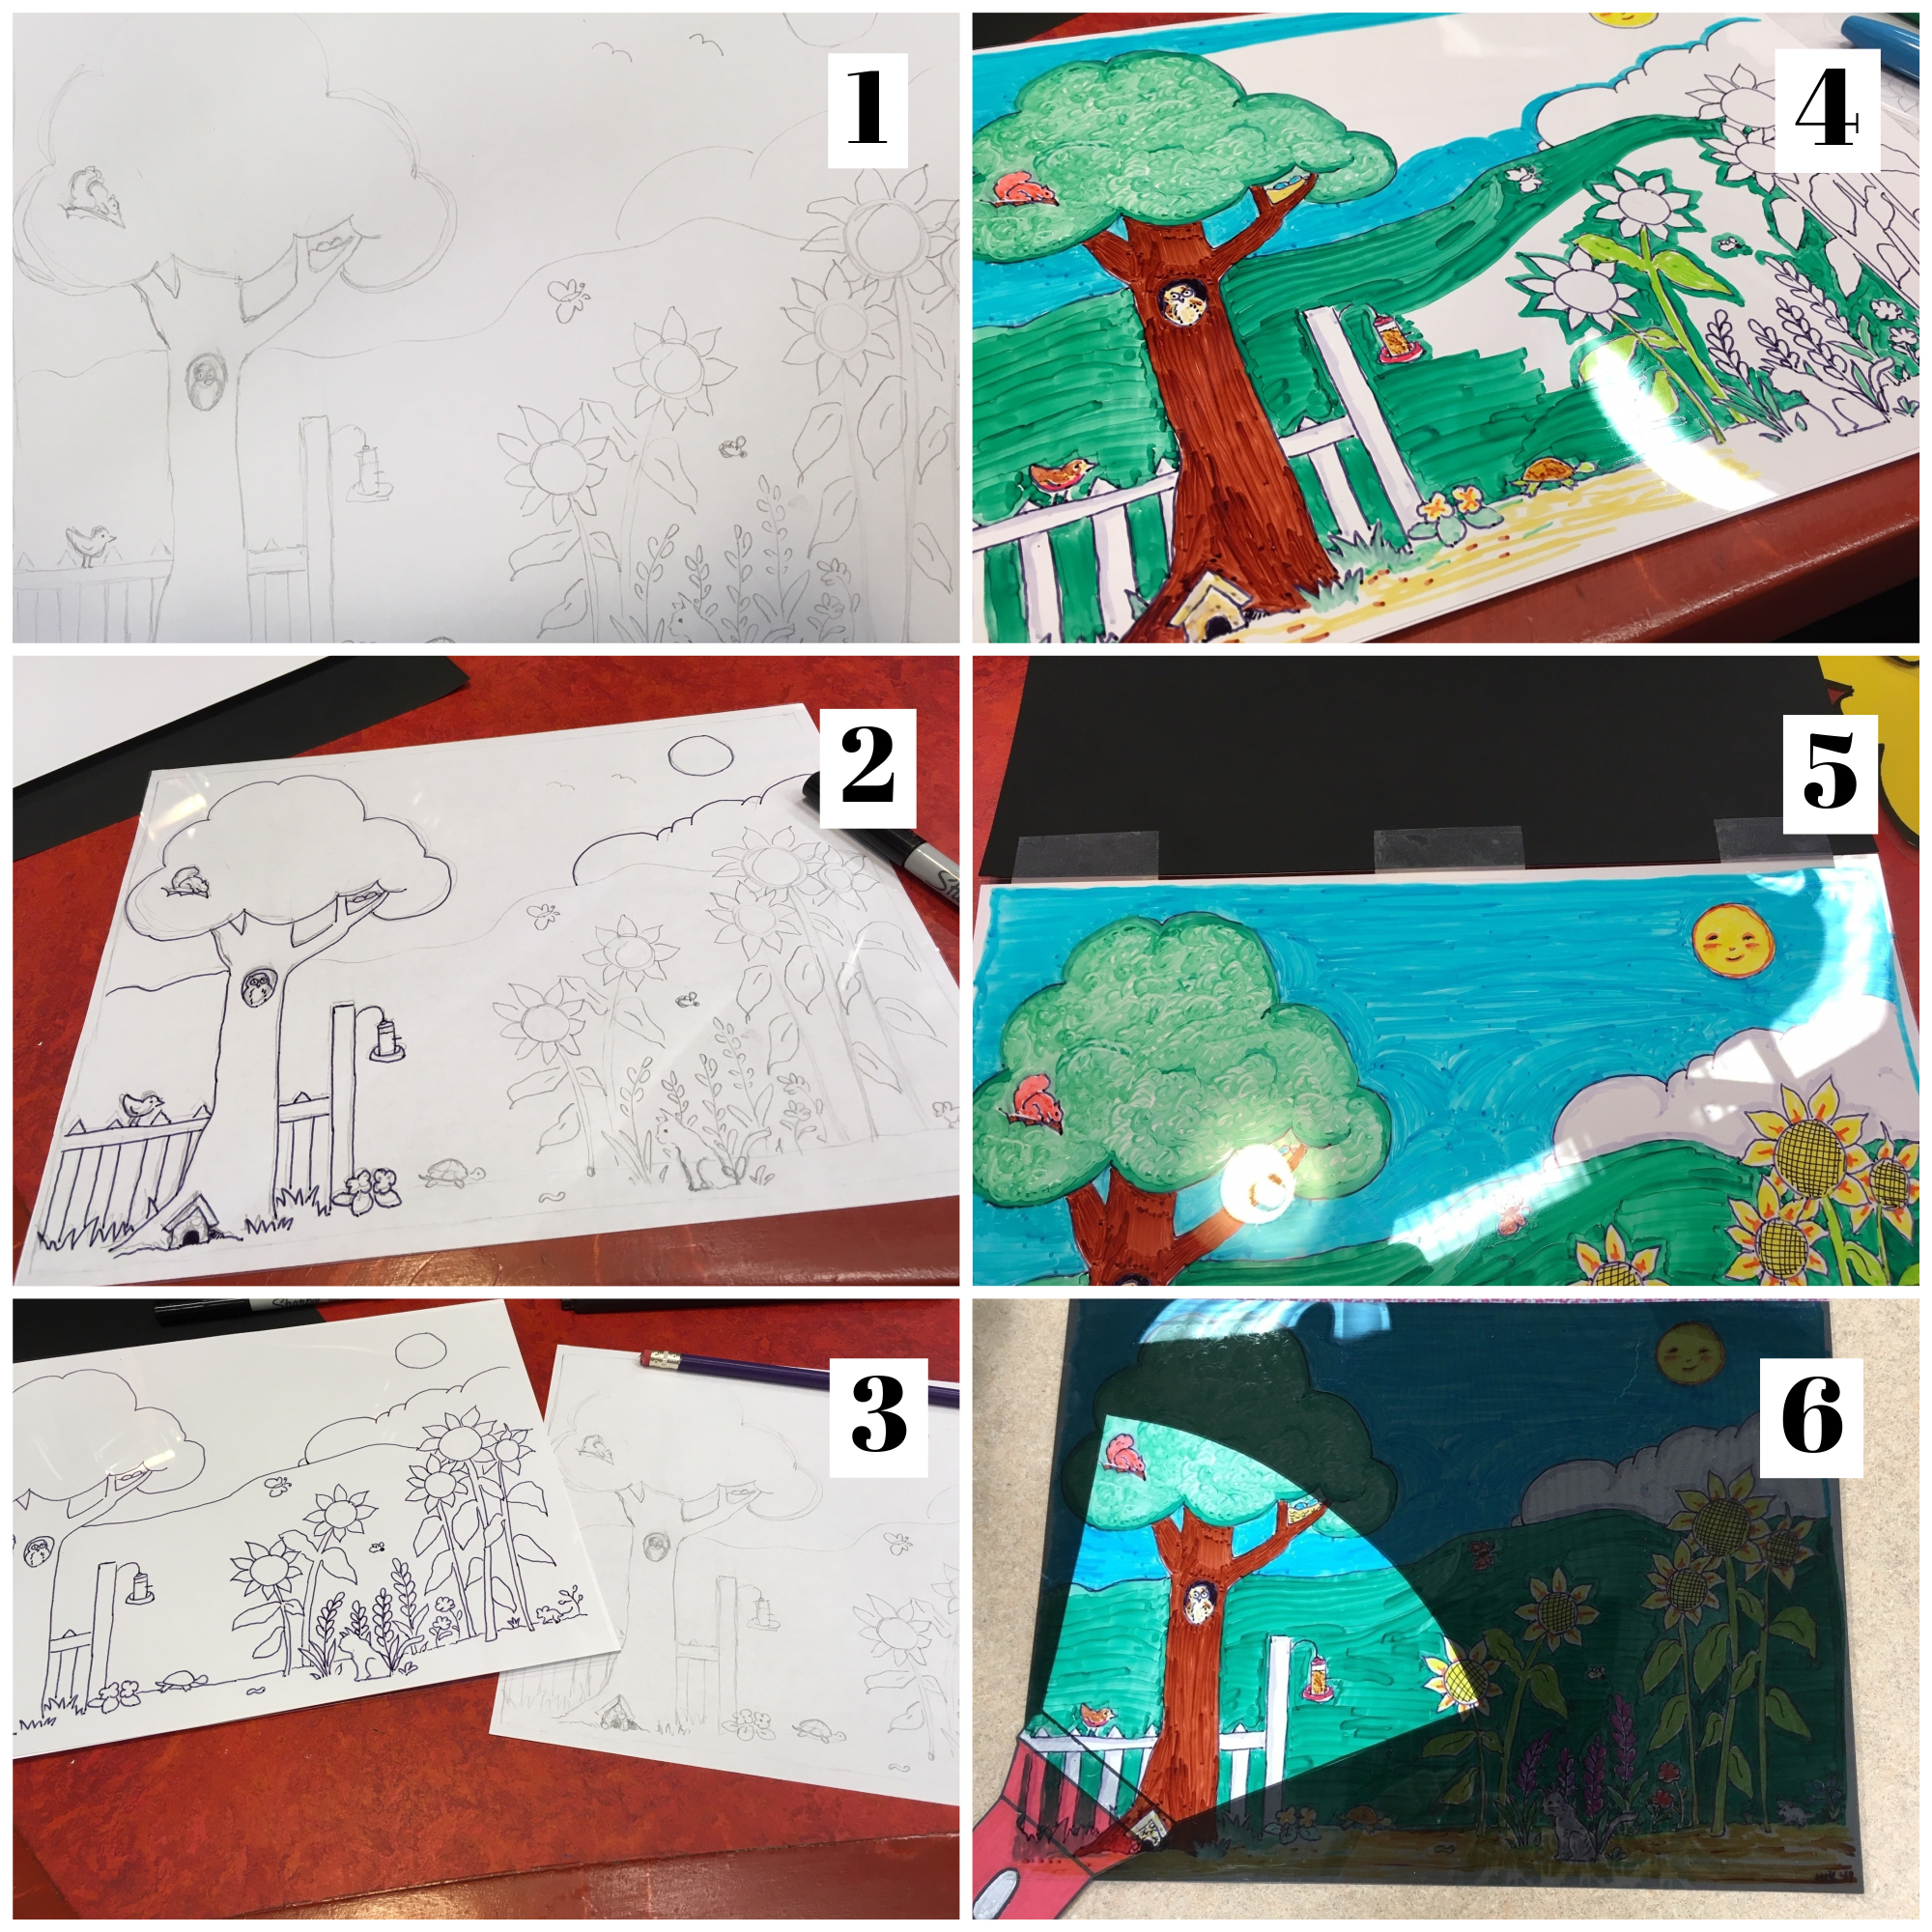
- Draw your own picture or find a one that you want to trace.
- Lay the clear plastic sheet over your picture, and trace the outlines with a black Ultra Fine Sharpie.
- Remove the plastic sheet with your tracing, and lay it over a sheet of plain white paper.
- Color your picture in with colored Sharpies, working left to right (if you are right-handed) so you don’t smudge your work.
- Remove the plastic sheet from the white paper. Tape the plastic sheet to the black paper across the top to hold them together.
- Print the flashlight template onto white cardstock.
- Cut out the flashlight. You can color in the handle of the flashlight if desired, but leave the “light” at the top white.
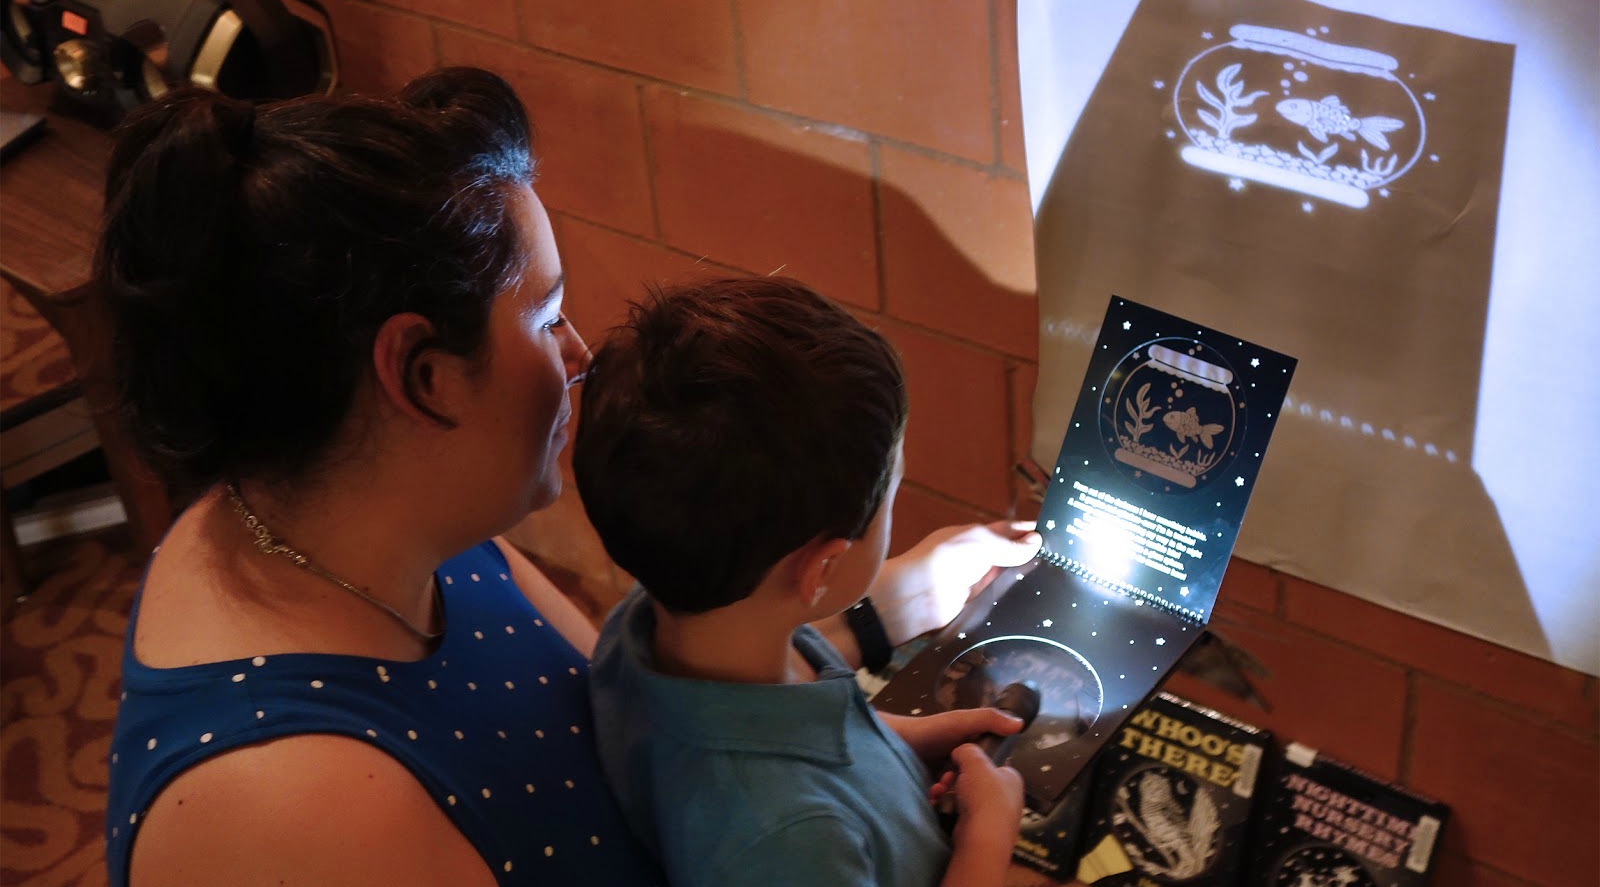
- All done! Place the flashlight between the plastic sheet and black paper, and see what happens!
Want to have even more flashlight fun? Then check out Emily Sollinger’s A Bedtime Shadow Book series! This series lets you shine a light into the images, and the images transfer onto the wall. How cool is that?