You may already know that this summer we’ve been unearthing all kinds of stories for Summer Reading 2026.
(If you somehow didn’t know Summer Reading has been happening, as perhaps you have been living under a rock and intentionally not unearthing anything whatsoever 🪨🙃, never fear! You have until August 2nd to finish your tracker to redeem a free mini planter and a chance to win big in our grand prize drawing. 📚📝🤓🆓🪴🎇🎁)
For many of us in #libraryland, we have been taking this year’s theme quite literally, focusing our decor and programming on what lies unseen beneath our feet. In particular, we have been focused on the fossil record and the awe-inspiring remnants of our world’s ancient past — like DINOSAURS!!! — although the geologic past holds tiny treasures, too, many of which you can find in the creeks, rivers and bluffs of Missouri’s own state parks system. Continue reading “Urban Fossils 🐚🌆”
I’ve always had a HUGE sweet tooth and have my mother to thank for this: as the family lore goes, when carrying me to term in the summer of my birth, she devoured an entire peach pie by herself. #GoodForHer #HappyBelatedMothersDay 💖🍑💖
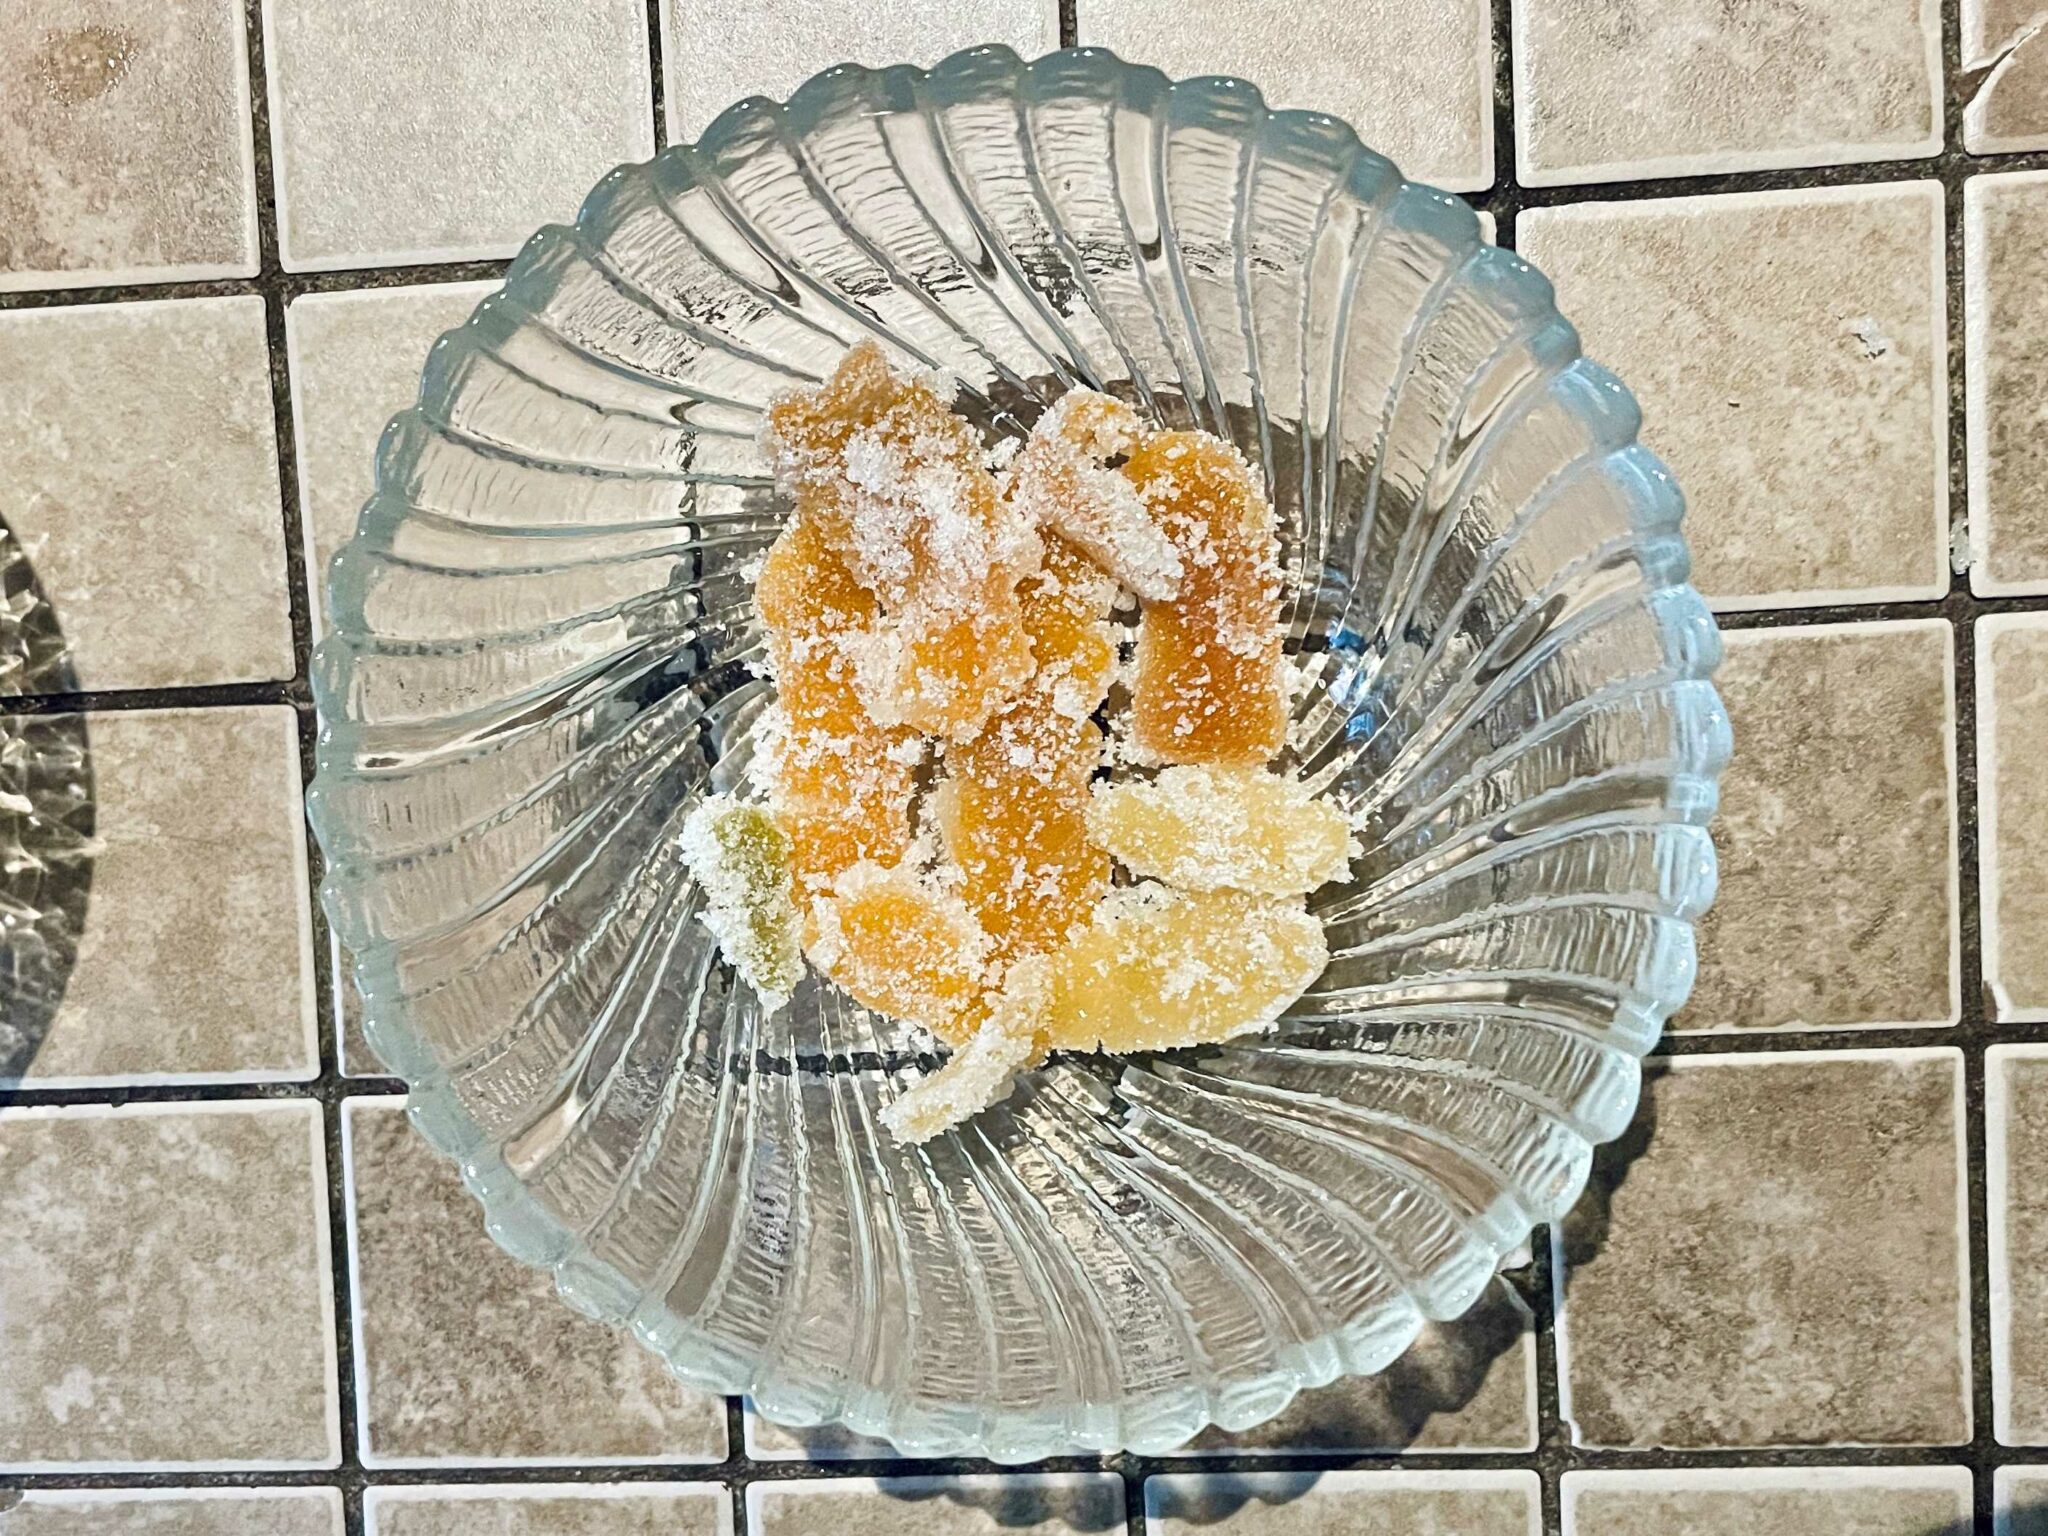
But a very unwelcome bodily change hit me around my early twenties: though I LOVE candy in all its sugary forms, I can no longer digest most of it. While I’ve since made peace with my body’s dietary shift, there is still a part of me that is always searching for a lil treat to fill the sour gummy worm hole in the dirt cup that is my heart. On my journey into alternative candies, I’ve been delighted to discover that candied citrus peel 1. doesn’t upset my tender digestive disposition and 2. is actually pretty easy to make yourself via a little kitchen witchery! Texturally, the candied peel is wonderfully chewy (but not tacky) and both tastes and looks quite vibrant all on its own. Moreover, if your own dietary journey requires less sugar, since you’re candying the peel yourself, you get to decide how much sugar to add &/or whether to use a sugar-substitute, like sucralose or stevia.
After consulting a few recipes available in DBRL’s vast cookbook collection (which can be found at the nonfiction call number 641.5 in the Children’s, Teen and Adult areas!), I landed on a quick, straightforward version from Marie Asselin‘s “Simply Citrus,” which is currently available as an eBook on hoopla. Let’s get into it!

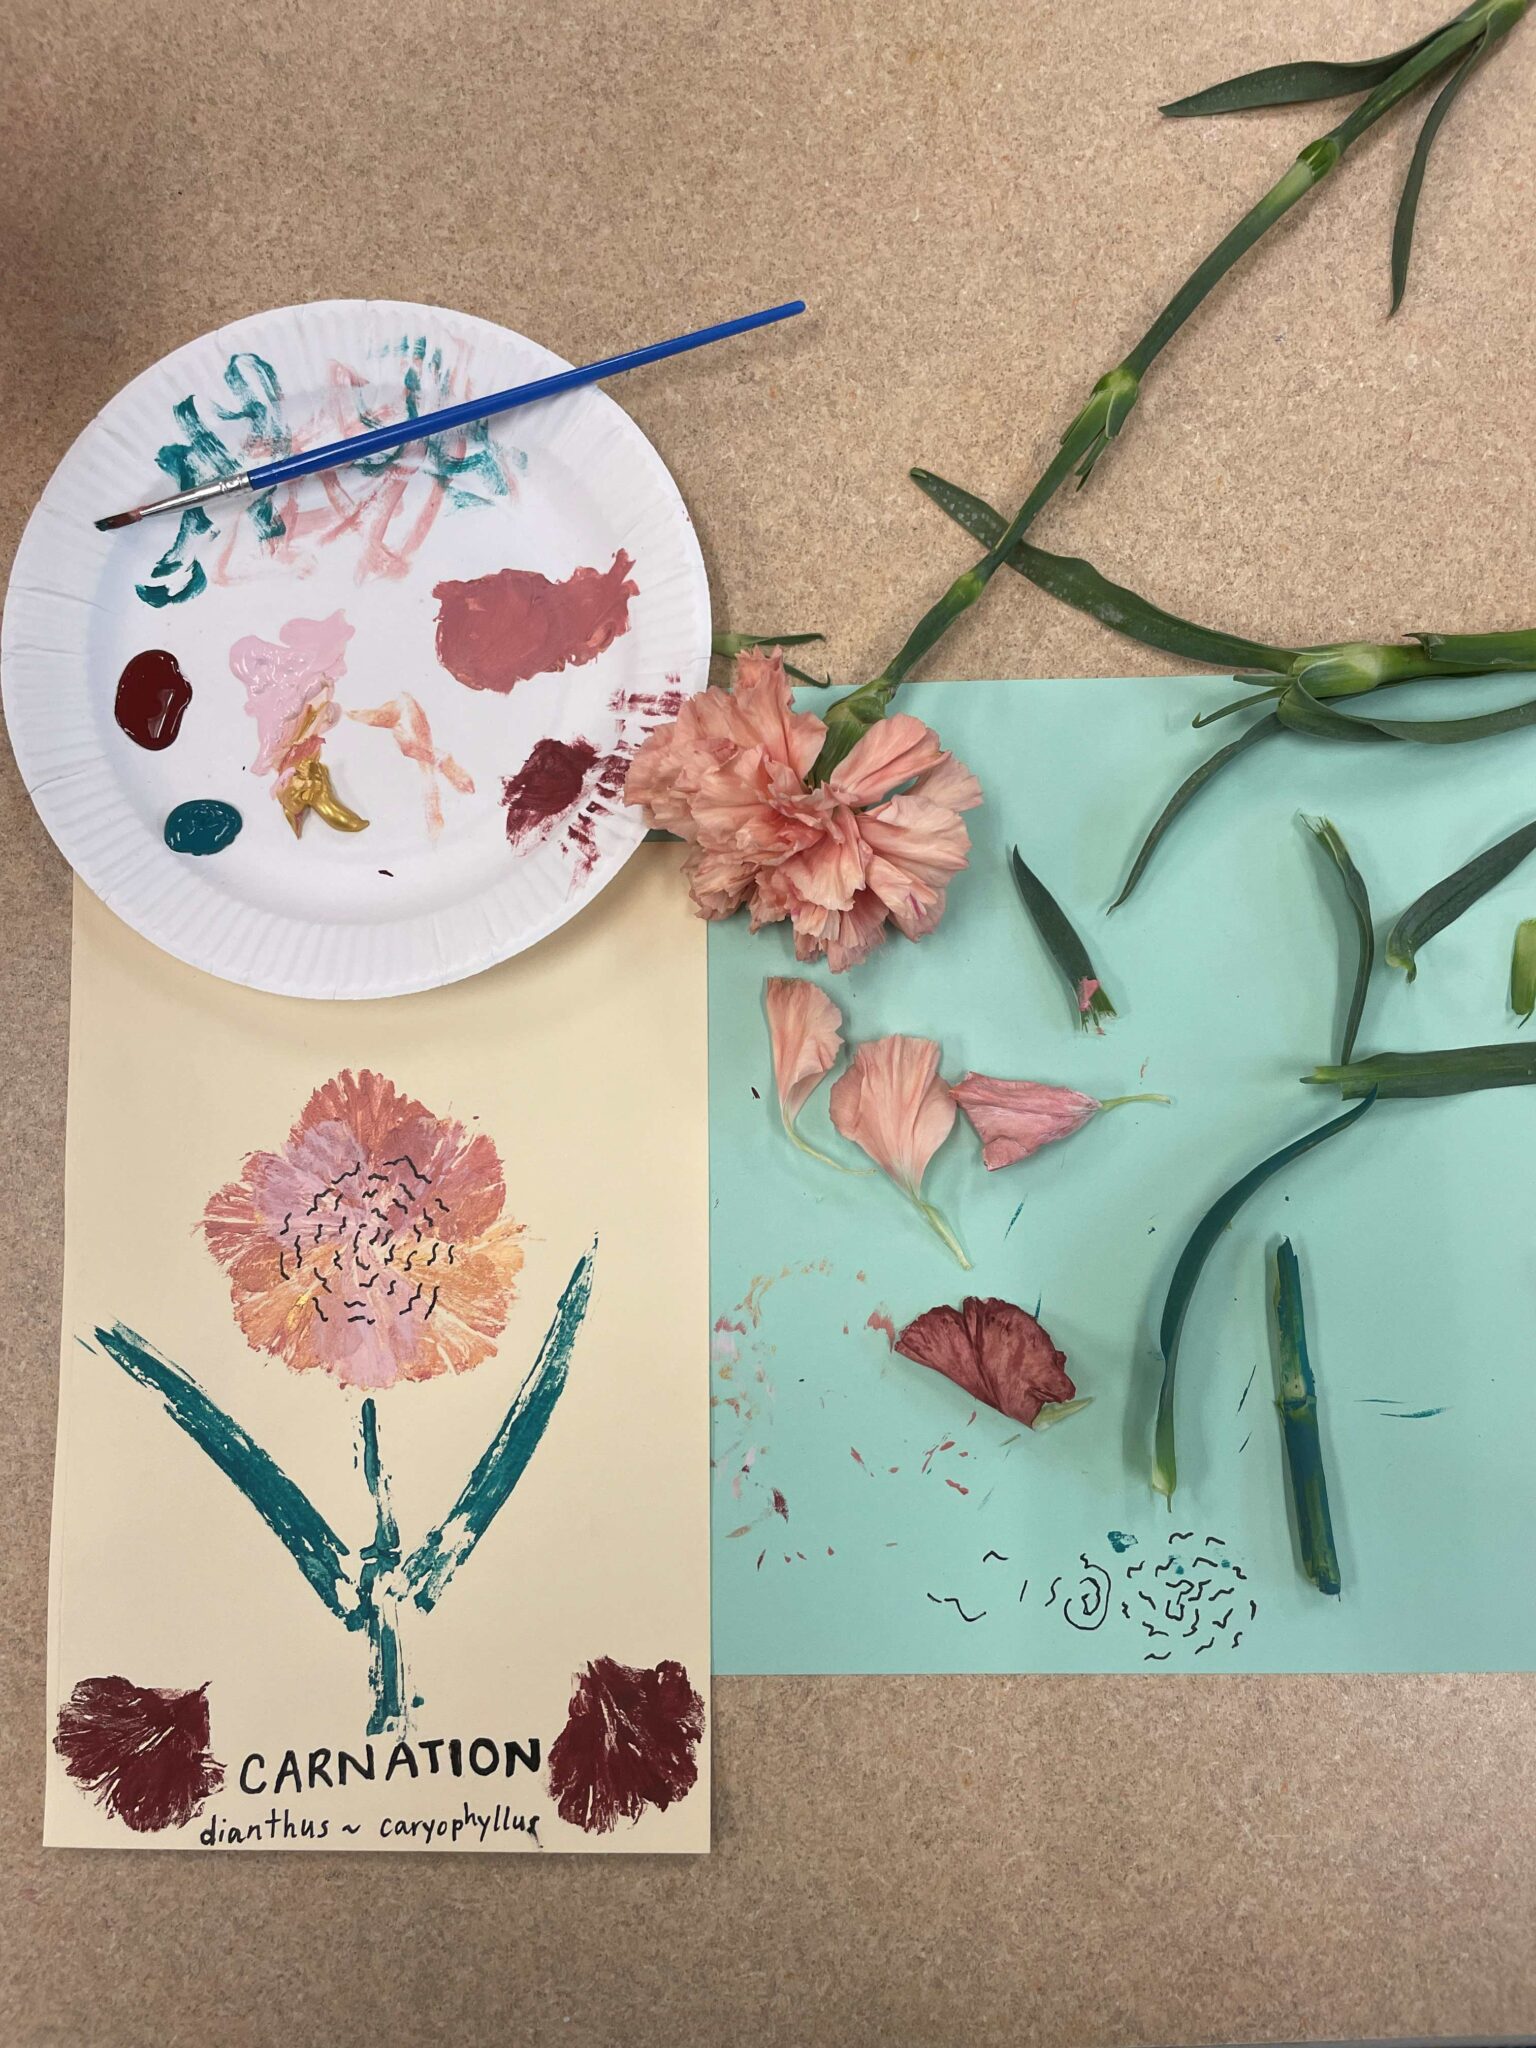
Happy Spring! While I am more of a #winterwitch myself, I will begrudgingly admit that there is something lowkenuinely pleasing (and grounding and cleansing) about the re-greening of the world that happens every March-April-May. And I do adore how the woods and fields transform into live-action seek-and-finds with the sudden blooming of the first wildflowers and flowering weeds, like dead nettle and dandelion and wild sweet william and false rue anemone. So, to celebrate the arrival of spring, which is also the survival of winter, I have a really simple, yet stunning botanical craft to share with you. Consider this your introduction to Nature Printing 101! Continue reading “Nature Printing 101 🌸🎨”
November 16-22, 2025, is Hunger and Homelessness Awareness Week. Worldwide, there are 795 million people who don’t have enough to eat. Many Americans are forced to choose between buying groceries, paying rent, or seeking medical attention. Locally, over 200 students are reported homeless annually by Columbia Public Schools. Learn more about Hunger and Homelessness Awareness Week.
To bring awareness to hunger and homelessness in our community, we have partnered with Flourish Initiative to create a CommunityMade book list. Flourish is a local non-profit focused on supporting youth and young adults experiencing homelessness and other significant socioeconomic barriers to college and career success. They help youth through transitional housing for ages 16-24 who are experiencing homelessness. Flourish has a street outreach program that provides basic needs and case management to support youth and young adults who are experiencing homelessness with the goal of accessing housing. Continue reading “CommunityMade List by Flourish Initiative”
This year marks our 10th CosPlay Con program. Join us on Monday, July 28 from 6-8 pm at the Columbia Public Library! Dress up as your favorite character, be it superhero, anime, sci-fi or your own original persona. We’ll award prizes for the best costumes and characterization in different age categories, so be ready to show off your cosplay game! Photos and registration will begin at 6 p.m., followed at 6:30 p.m. by a runway show. All ages are welcome!
If you’re curious about cosplay or need help with your current cosplay, we will be hosting a Cosplay Workshop on Saturday, July 12, from 1-2 at the Columbia Public Library. In this workshop, our staff will be on hand to answer your questions about basic sewing, wigs, makeup and more. Bring your project, and we’ll see if we can help Continue reading “10 Years of Cosplay @ DBRL”
We are only six days away from finishing #The100DayProject for 2025! And I’m on track to finish! If I had to pick a theme for my projects this year it would be “Get Creative Getting Creative.” This year without really intending to, I ended up using a lot of supplies I already had lying around the house. OK, I did buy some new oil pastels, but other than that I used paper, journals, paints, etc. that I’ve had for a while. Continue reading “#The100DayProject: Nearly Done”
Back when I was studying for my MFA in the effervescently endless green of North Carolina’s Piedmont region, I was tasked with proposing a business that engaged with poetry in some way. A child of the “There’s an app for that” generation — and the exact opposite of what you might call a Shrewd Business Man™ — my idea was to create a location-based app that a user could turn to when in need of a poem to ground themselves in a particular place or landscape. 📲
What would it be like to read or listen to Matthew Arnold‘s 19th-century poem “Dover Beach” while standing near the Strait of Dover on its famous White Cliffs? 🌊
Or, in a more mundanely magical Mid-Missouri moment, to experience Mary Oliver‘s beloved poem “Wild Geese” while walking around the noisy gaggle that make their home at Stephens Lake? 🦢
A wonderfully wise poet-friend of mine often says each poem is only fully completed when it reaches its reader(s); I wonder how poems can be completed in the landscapes, places and moments we move through each day — and in turn, complete us in some small, necessary way. ✨ Continue reading “Poets Laureate We Love: Ada Limón 🌿”
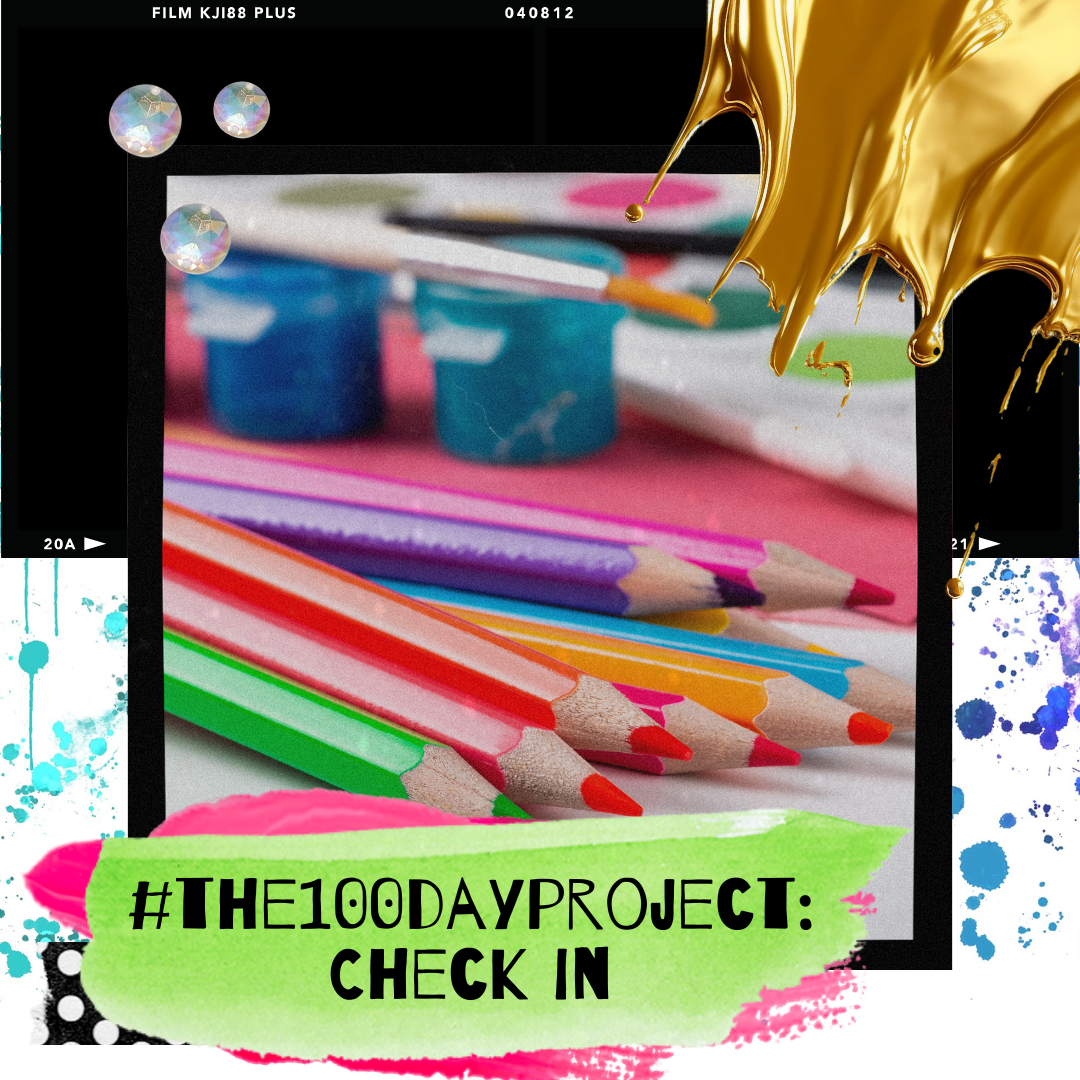
We are finally halfway through #The100DayProject! I’m still going strong! I haven’t really stuck with one project or one medium, but that’s part of the fun, right? Continue reading “#The100DayProject: Check In”
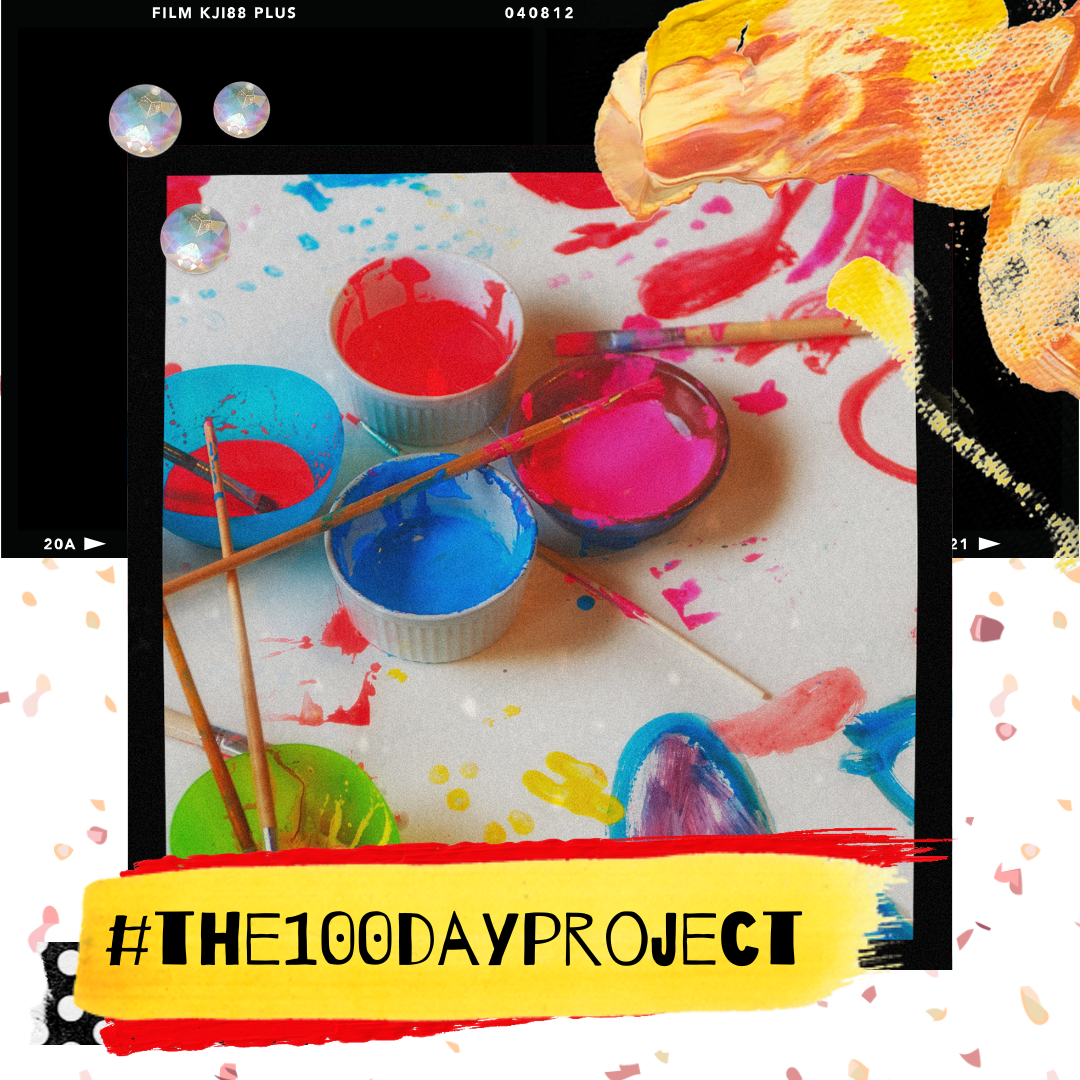
I’m going to do it. After a four-year hiatus, I’m back! I’m going to participate in this year’s #The100DayProject and you can too! The #The100DayProject is a free annual art project that takes place every year. You can start at any time, but the official kickoff is Sunday, February 23, 2025. Folks from around the world share their art online with the hashtag The 100 Day Project. You can participate too and the library has resources to help. Continue reading “#The100DayProject”
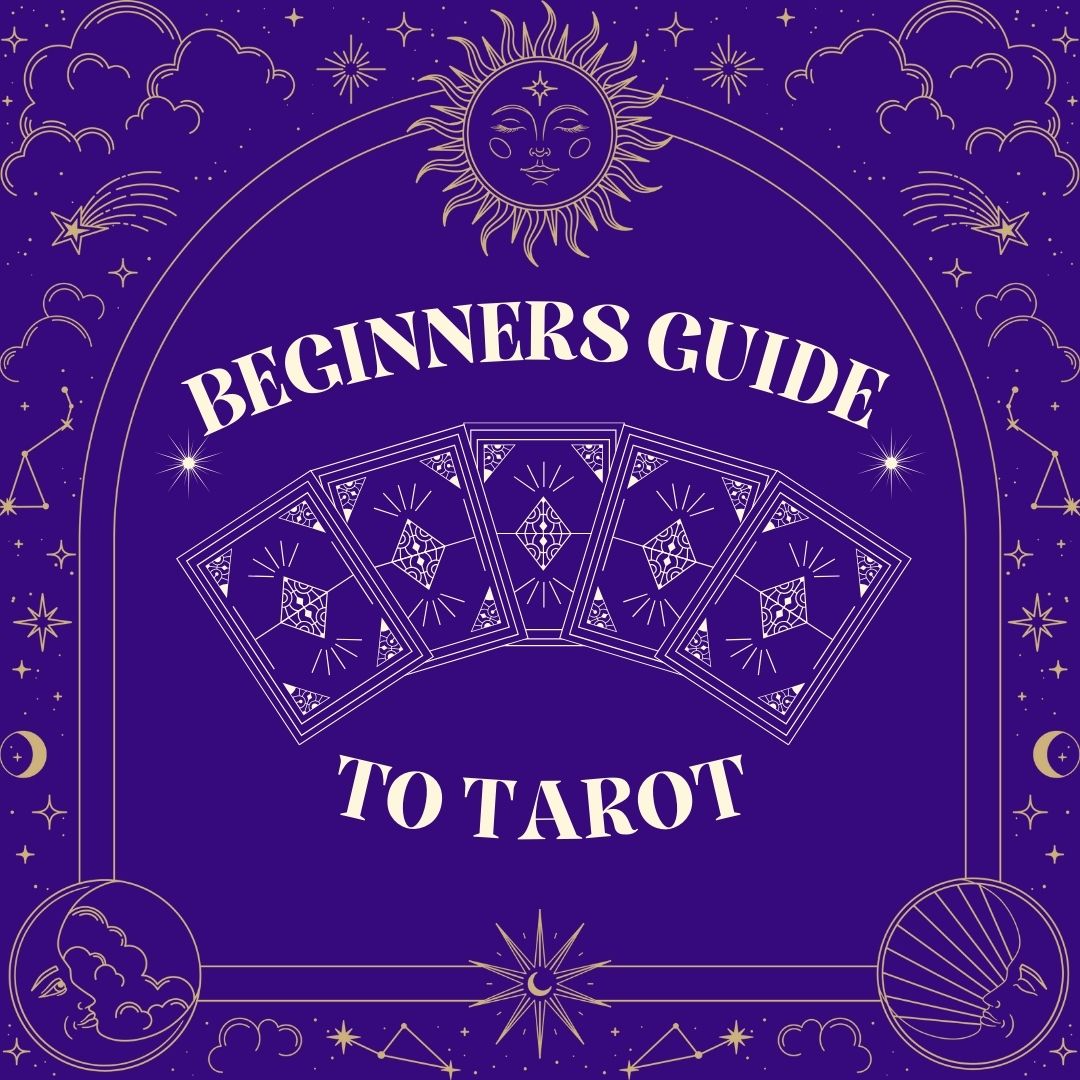
Have you been curious about tarot but aren’t sure where to start? Starting anything new can be daunting, but don’t worry with a little practice you’ll be tapping into your intuition in no time!
Tarot has been around for centuries in various forms, early versions of tarot cards can be traced back to the late 14th century. However, the most commonly used Smith-Rider-Waite wasn’t published until 1908. Many artists still use the imagery and meanings of the Smith-Rider-Waite deck to this day. If you want to read more about the creation of this deck, you can read the biography of Pamela Colman Smith.
Continue reading “Beginners Guide to Tarot”