With Summer Reading in full swing, we hope you’ve made a recent trip to your library to pick up Summer Reading trackers, check out books on the Summer Reading booklists or join us for one of our summer programs! If you’ve visited the Columbia Public Library, you might’ve noticed some of our staff sporting these dino-tastic hats.
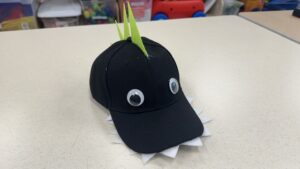
One of our lovely Youth Services Librarians, Megan, crafted these dinosaur hats to celebrate this year’s Summer Reading theme: “Unearth a Story.”™ If you’ve thought to yourself, “A dinosaur hat is exactly what I’m missing in this life,” then you’ve come to the right place! These hats would make the perfect gift for both littles and grown-ups! This craft is also a perfect opportunity for little ones to practice using scissors.
Materials:
All you need to make your own dinosaur hat is:
- A hat of your choice
- White and green felt (White for the teeth and felt for the spikes in whatever color you choose! I’ll be using green.)
- Scissors
- Marker
- Glue gun
- Googly eyes (Or you could use extra felt, buttons or anything else you might have in your junk drawer!)
Creating the spikes:
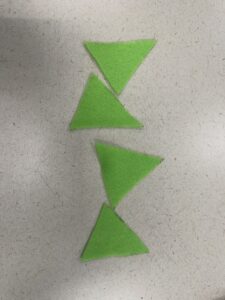
Cut your green felt into a strip about 3 inches wide. Using your marker, draw 4 triangles of equal size on the strip, and you or your child can cut them out!
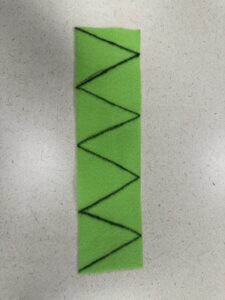
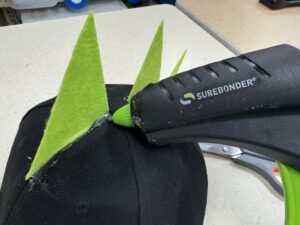
Using your glue gun, carefully attach the spikes along the top of the hat.
Creating the teeth:
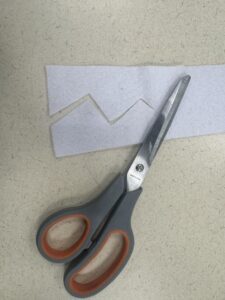
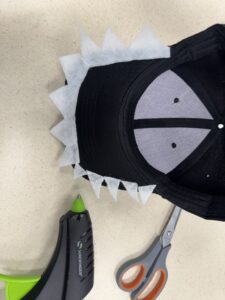
Cut your white felt into a 1.5-inch strip. Cut down the middle of the strip in a zig-zag pattern to create the teeth.
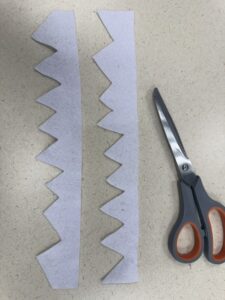
Next, flip your hat upside down and lay the teeth under the brim to see where it fits best, allowing the teeth to stick out. Sometimes it helps if you cut the teeth in sections. Next, use your glue gun to carefully apply the glue onto the felt teeth and attach them along the bottom of the brim.
Attach the eyes:
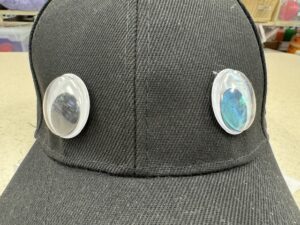
If you’re using googly eyes, use your glue gun to attach the eyes wherever you think is best.
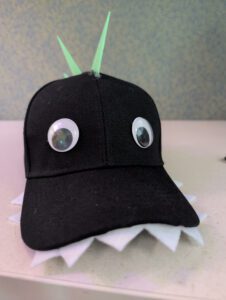
And now you have your very own dino hat to celebrate summer reading! You could keep personalizing your hat with felt spots or glitter glue.
Happy crafting!