Happy Spring! While I am more of a #winterwitch myself, I will begrudgingly admit that there is something lowkenuinely pleasing (and grounding and cleansing) about the re-greening of the world that happens every March-April-May. And I do adore how the woods and fields transform into live-action seek-and-finds with the sudden blooming of the first wildflowers and flowering weeds, like dead nettle and dandelion and wild sweet william and false rue anemone. So, to celebrate the arrival of spring, which is also the survival of winter, I have a really simple, yet stunning botanical craft to share with you. Consider this your introduction to Nature Printing 101!
Before we get into the paint-on-petals process, though, I’d like to cite my sources: all I’ve learned about nature printing has stemmed 🌼 from one very important source text: “Nature Printing with Herbs, Fruits & Flowers” by Laura Donnelly Bethmann. Even though this book was published last century (aka 1996), its tried-and-true methods for working with natural objects to make Fine Art™️are incredibly impressive. For example, Bethmann shares instructions on how to turn a foraged spiderweb into an intricate print using spray paint (pages 52-53). 🤯🕸️🖼️
If you’re thinking, “okay, but that web was actually being used by the spider!!! 😡,” I understand and am happy to report there were #nospidersrobbed in the making of this blog, as I will be focusing on using the various parts of a flower to make botanical prints. And if going outside to touch some grass — let alone forage for some wildflowers or flowering weeds — isn’t a part of your day-to-day routine, never fear. You can use flowers from the grocery store to make pretty striking prints. 😎
Supply List
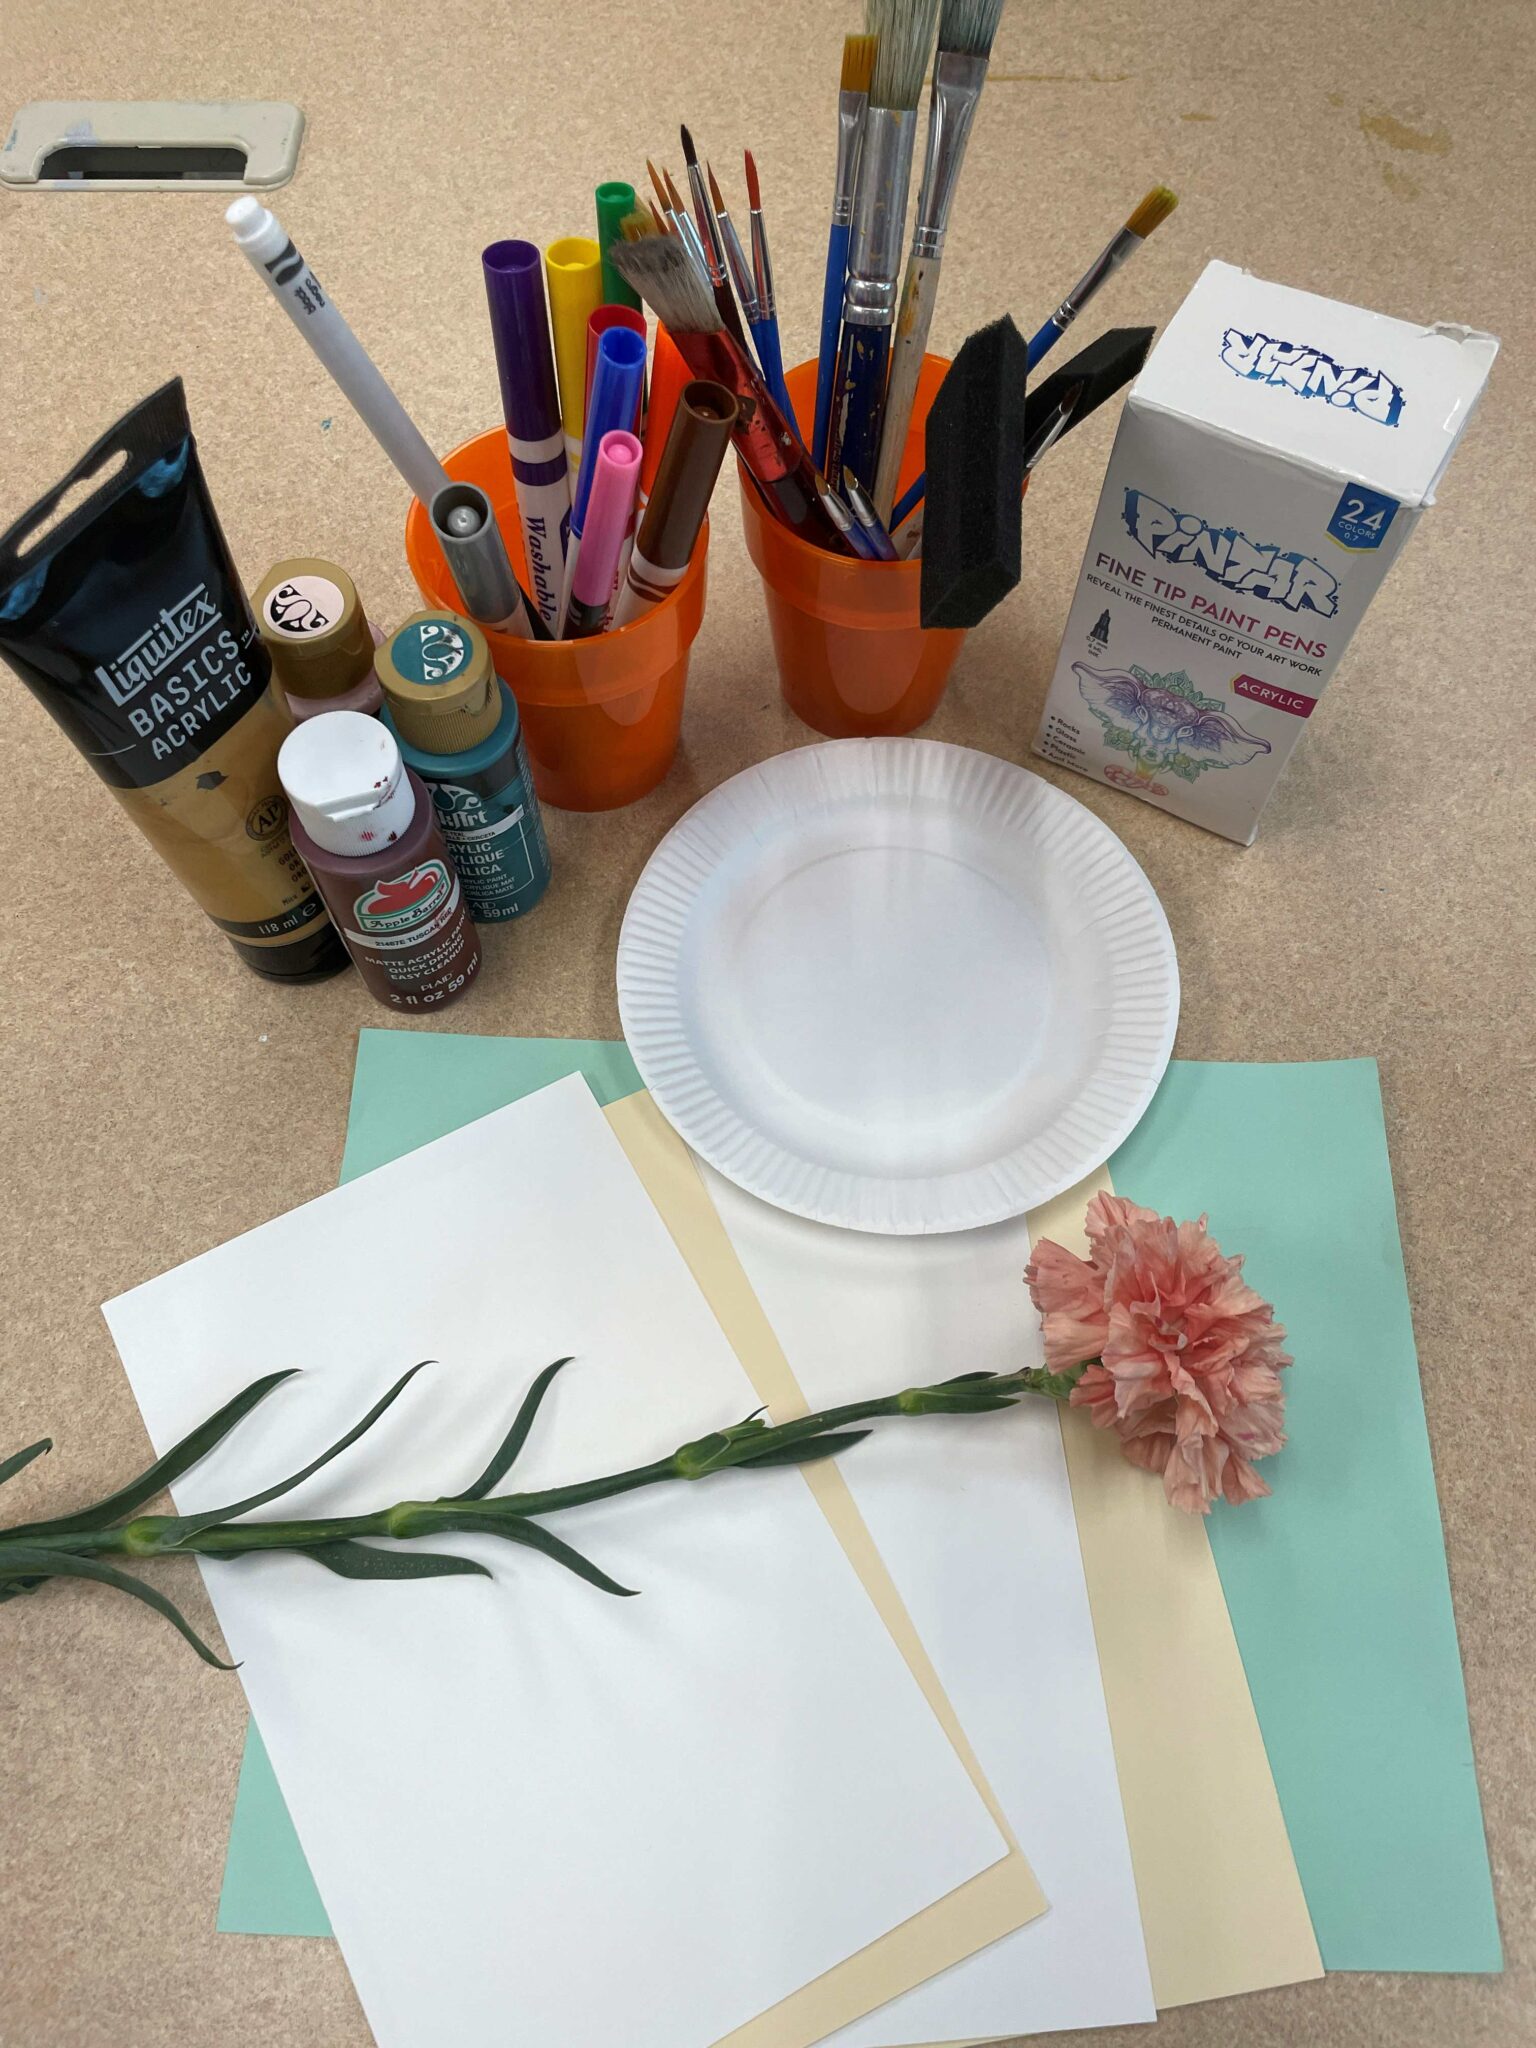
For this craft, you will need:
- a botanical object to print with, such as a single flower stem or a sprig of fresh (not dried) leafy herb like basil, mint or eucalyptus
- For my sample for this blog, I used a carnation flower, which worked really well, but you can use ANY kind of flower or plant that has either petals or leaves. For example, I’ve had success making prints with basil, mint, dandelions, daffodils, tulips, chrysanthemums and wild chicory flowers. An important process note to consider is the size and density of the petals or leaves. Smaller and more densely arranged petals/leaves will require more finesse and dexterity to handle. Also, I would NOT recommend working with a known poisonous plant, such as poison ivy, unless using the proper safety gear, like gloves and maybe even a mask.
- some kind of fiber to print on, such as paper, cardstock or cloth
- I’ve found cardstock to be the easiest and most versatile to print on, but I’ve also had wonderful success printing on light-colored fabric. If printing on fabric, you’ll want to make sure your paint is rated for fabric use.
- paint or ink
- I used a very simple (and cheap) acrylic craft paint, but Laura Donnelly Bethmann has ample instruction on how to use watercolor to make botanical prints.
- paint brush
- I like using a smaller-tipped paint brush to have the most control when I’m painting, but a variety of brush sizes could work. If you want to make a print of a plant with huge flower petals or leaves (like a giant sunflower!), a bigger brush might help make the process go a bit faster.
- a palette for your paint
- For lower-grade acrylic paint, your palette doesn’t need to be super fancy. Bonus if you can use material found around the house, like a paper plate (which is what I used). Double bonus if you can re-use some “trash” that might be lying around, like a piece of cardboard, junk mail or cleaned plastic (such as you would find on an empty dairy container).
- a lil water cup to rinse your brush if using multiple different paint shades
- a placemat or crafting tablecloth
- This craft can get a little messy, so I find using a placemat really helpful. Similar to the palette in the preceding bullet, this placemat doesn’t need to be fancy and bonus if you can re-use material you were planning on getting rid of anyways, like old newspaper.
- access to wipes or soap & water to clean your hands
- optional: markers, colored pencils, crayons, sharpies &/or paint pens to add fine detail or writing to your print
Process
Your first step is to assemble your paint palette. A dime- to quarter-size amount of each paint shade should be sufficient to start with, as you don’t need a lot of paint to pull a print.
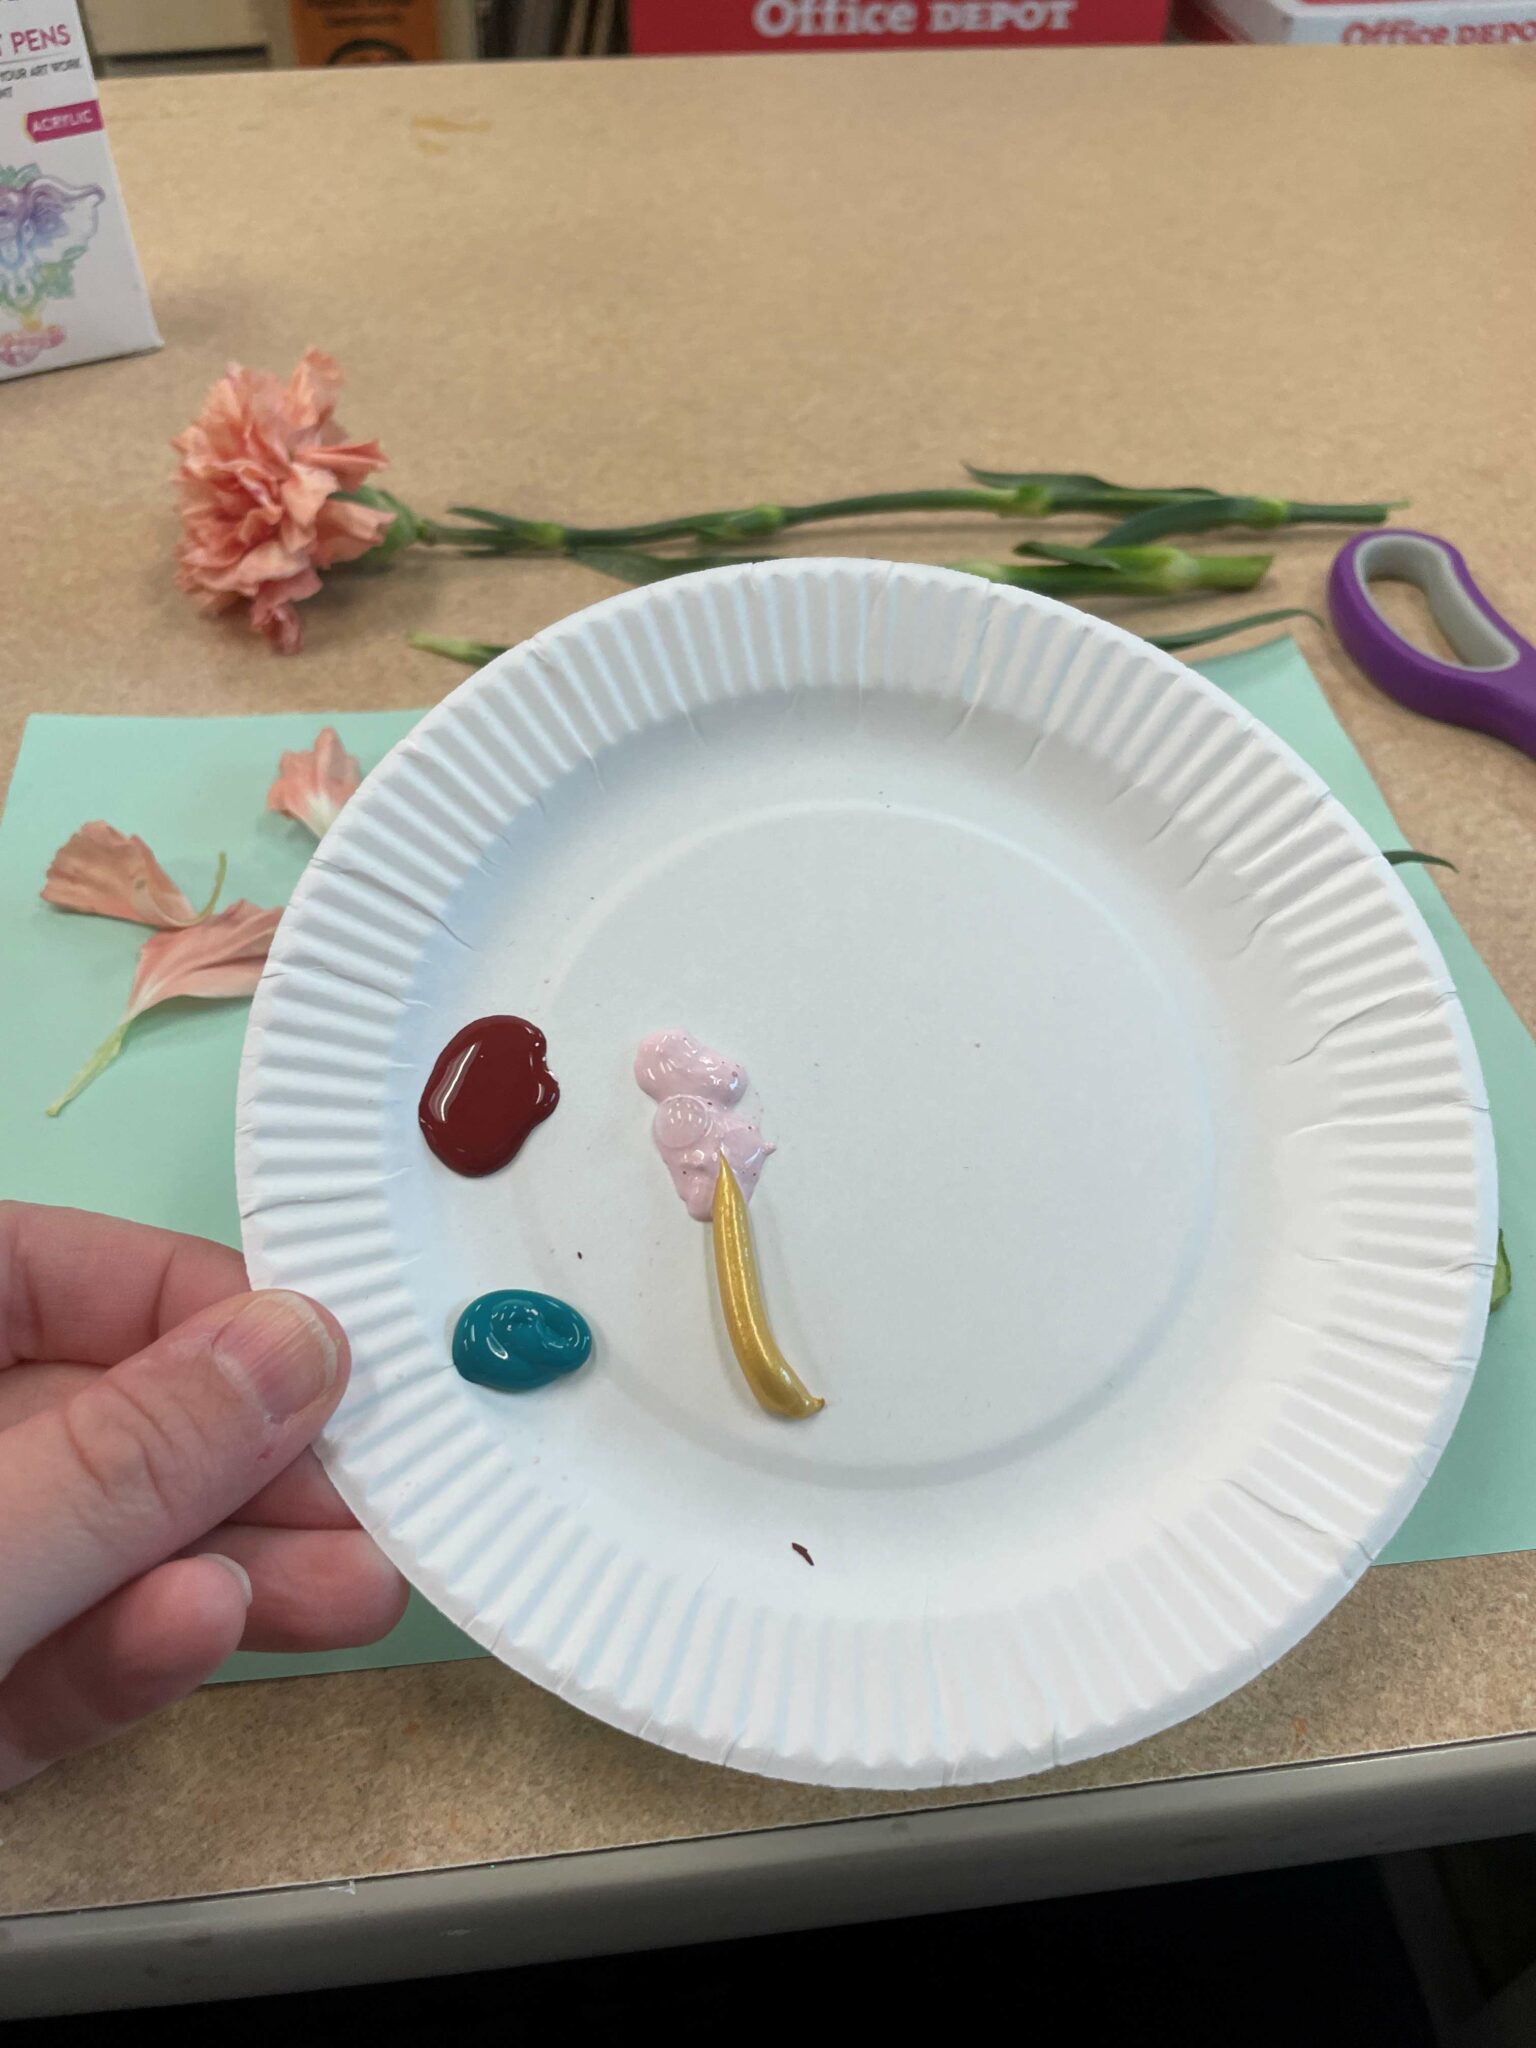
In fact, I’ve found that less paint is best for this particular craft. You want to apply an even thin layer of paint to your botanical object so that you can capture the fine details of its leaves or petals. If you apply too much paint to the botanical object, when you go to pull the print, the paint might glob all over the page, rending your botanical object less detailed/more shapeless.
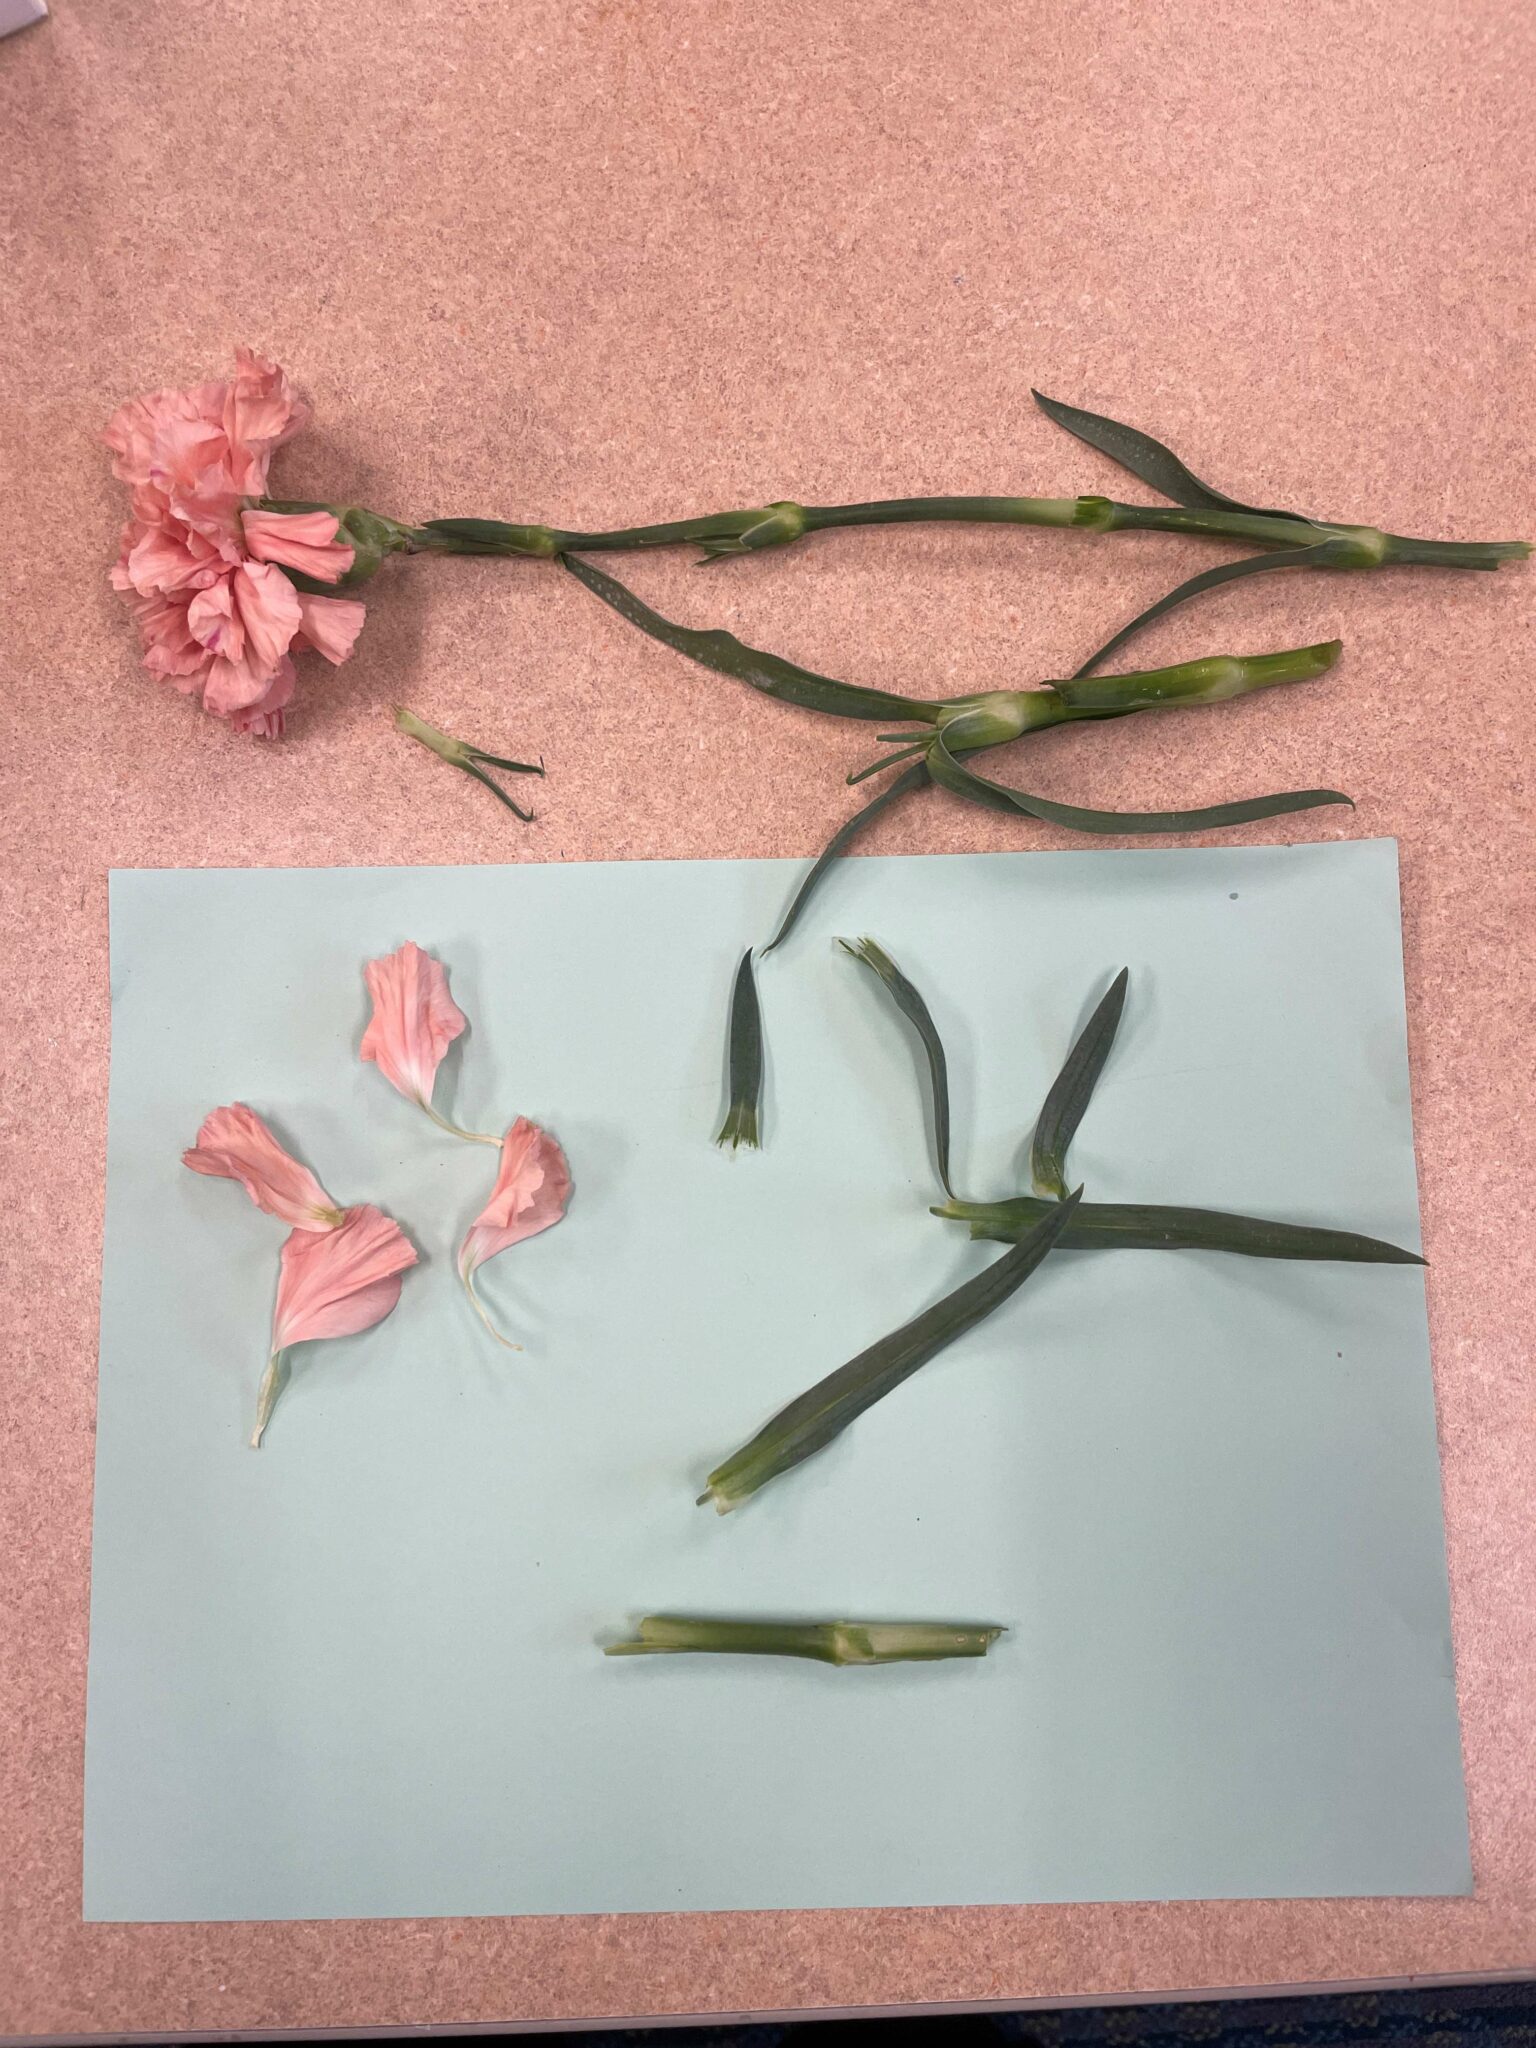
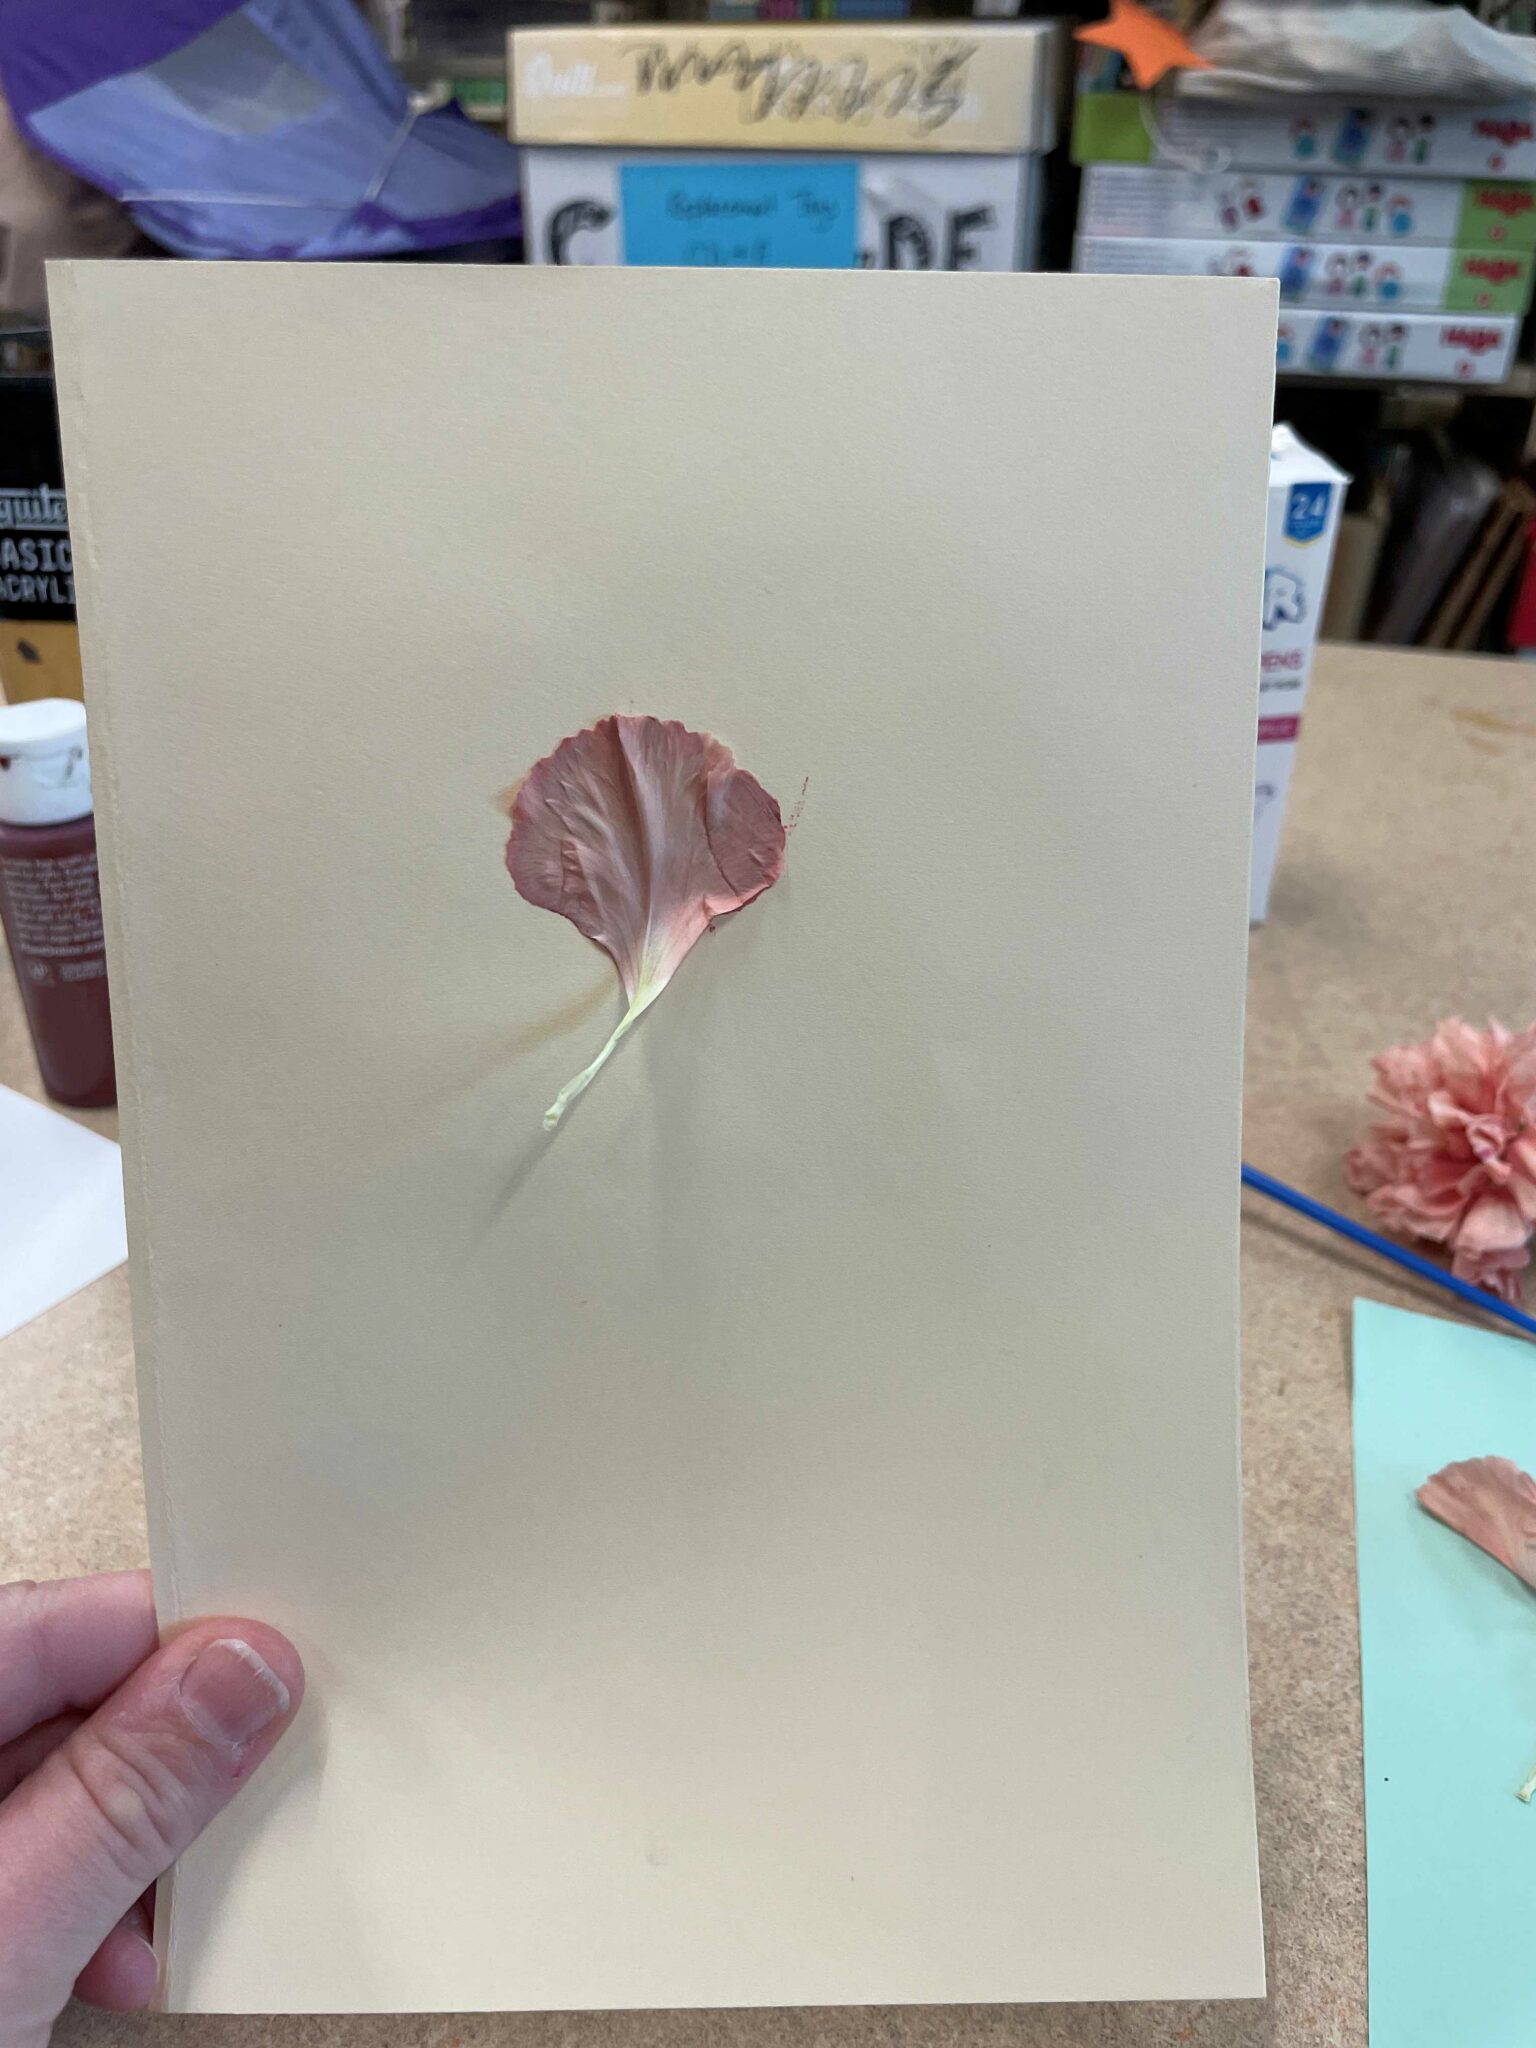
Next, you’ll need to start slightly deconstructing your botanical object. I printed with a carnation flower, so I started by removing a couple petals from the flower’s head and a couple leaves from the flower’s stem:
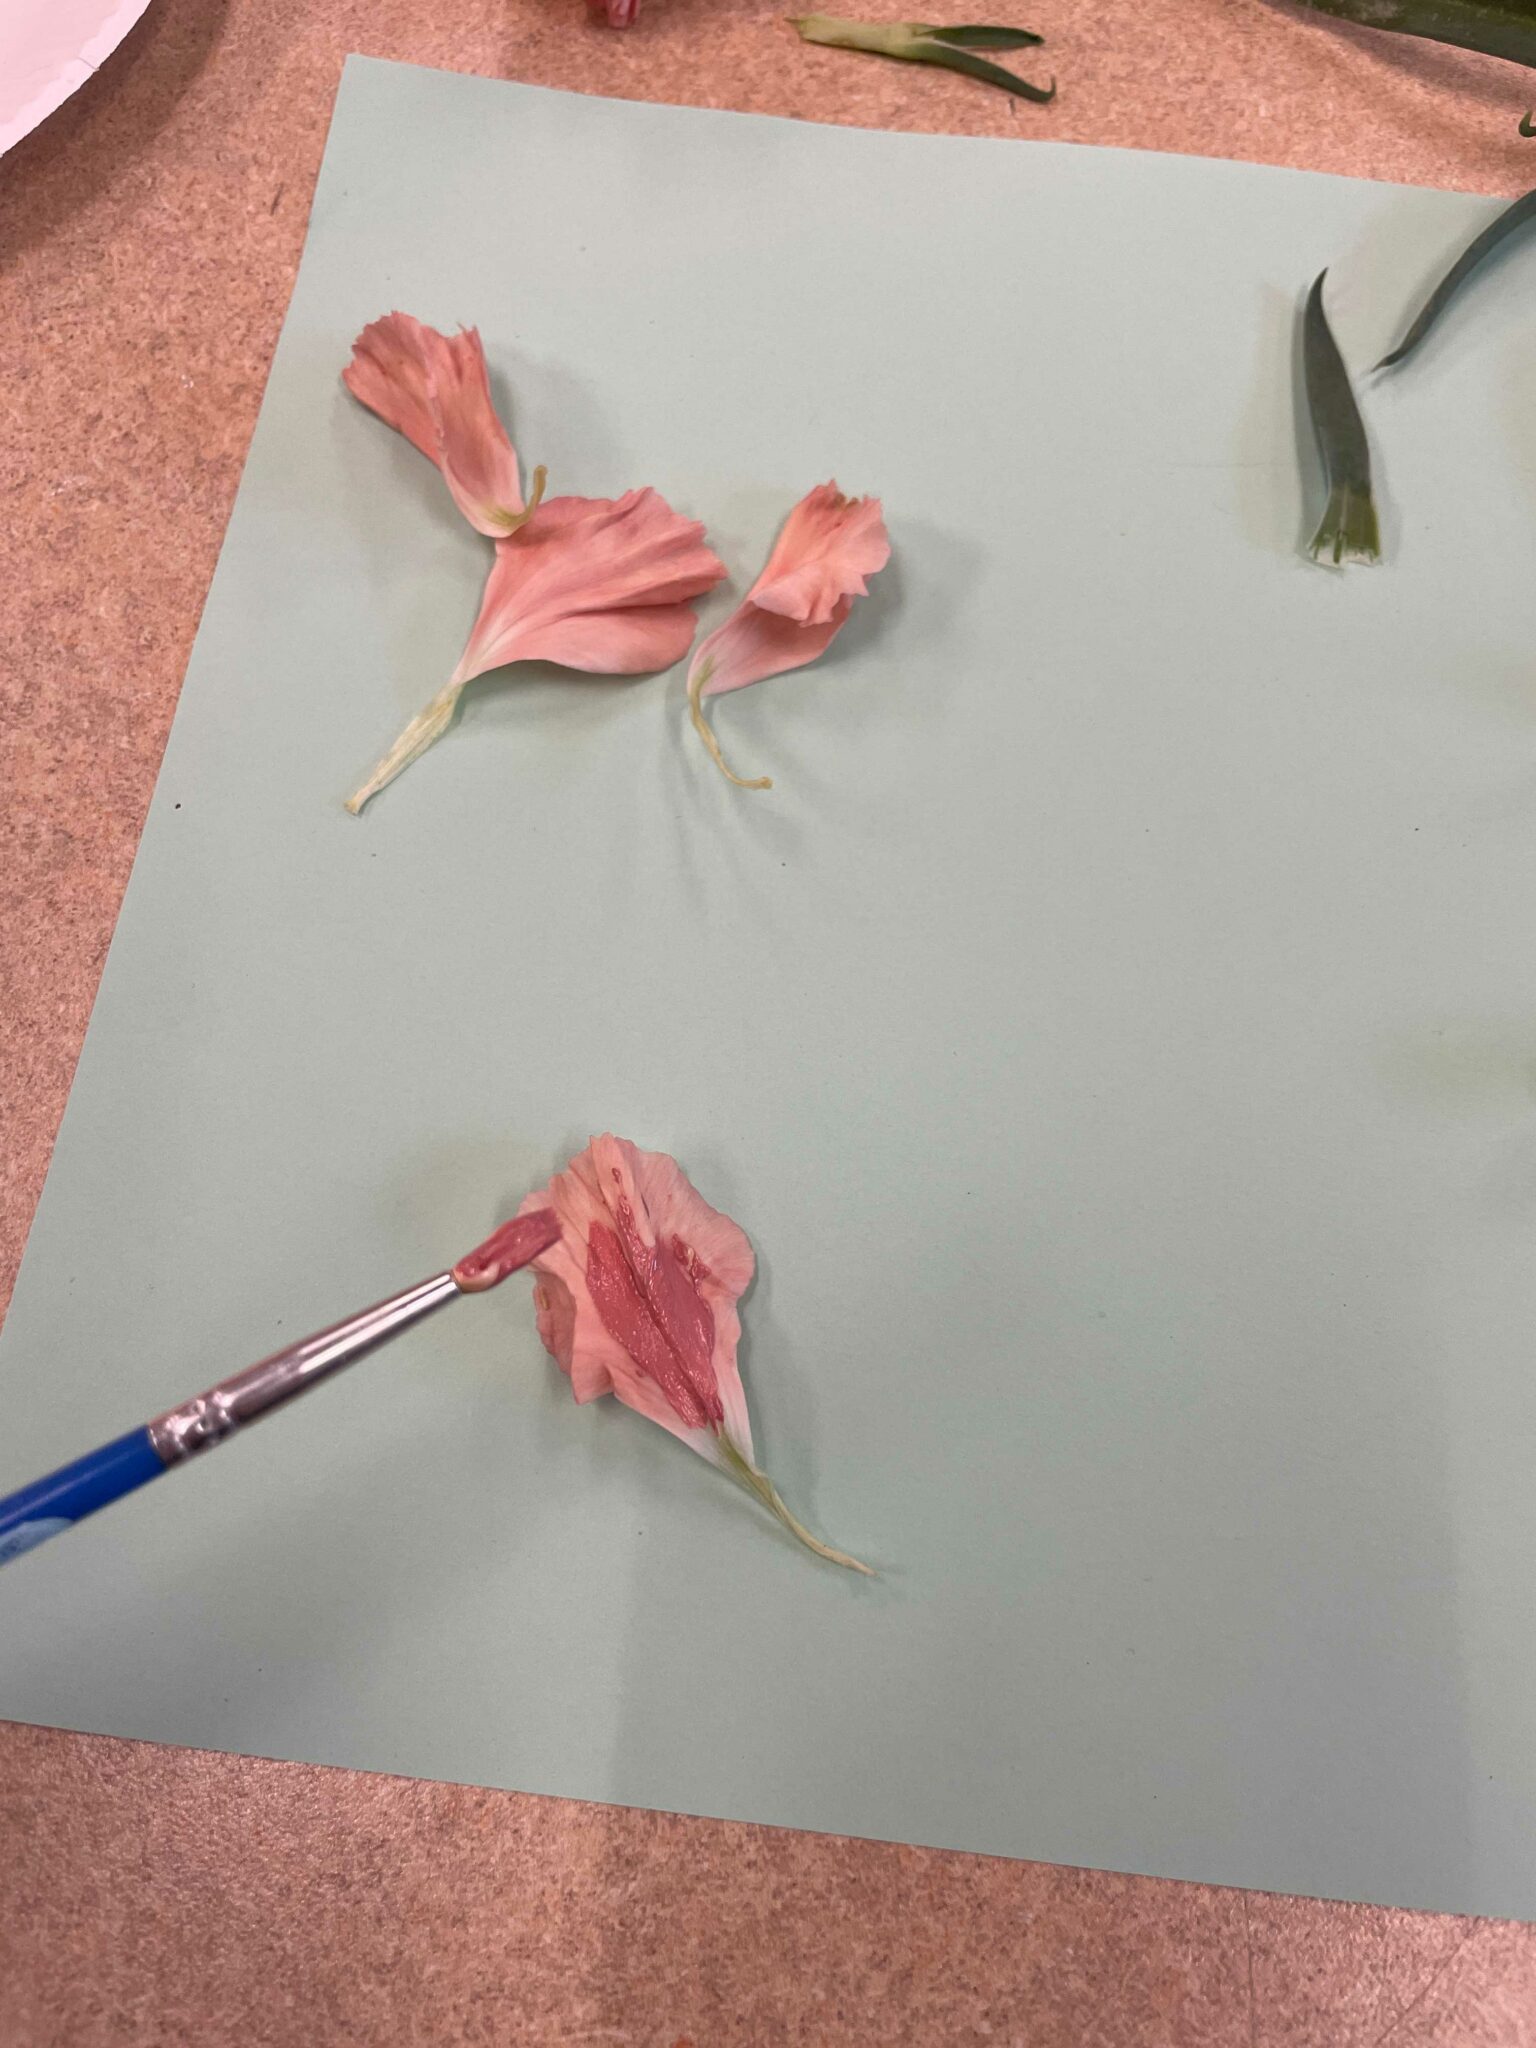
It’s time to start painting! Pick one petal or leaf and start applying a thin, even layer of paint to one side.
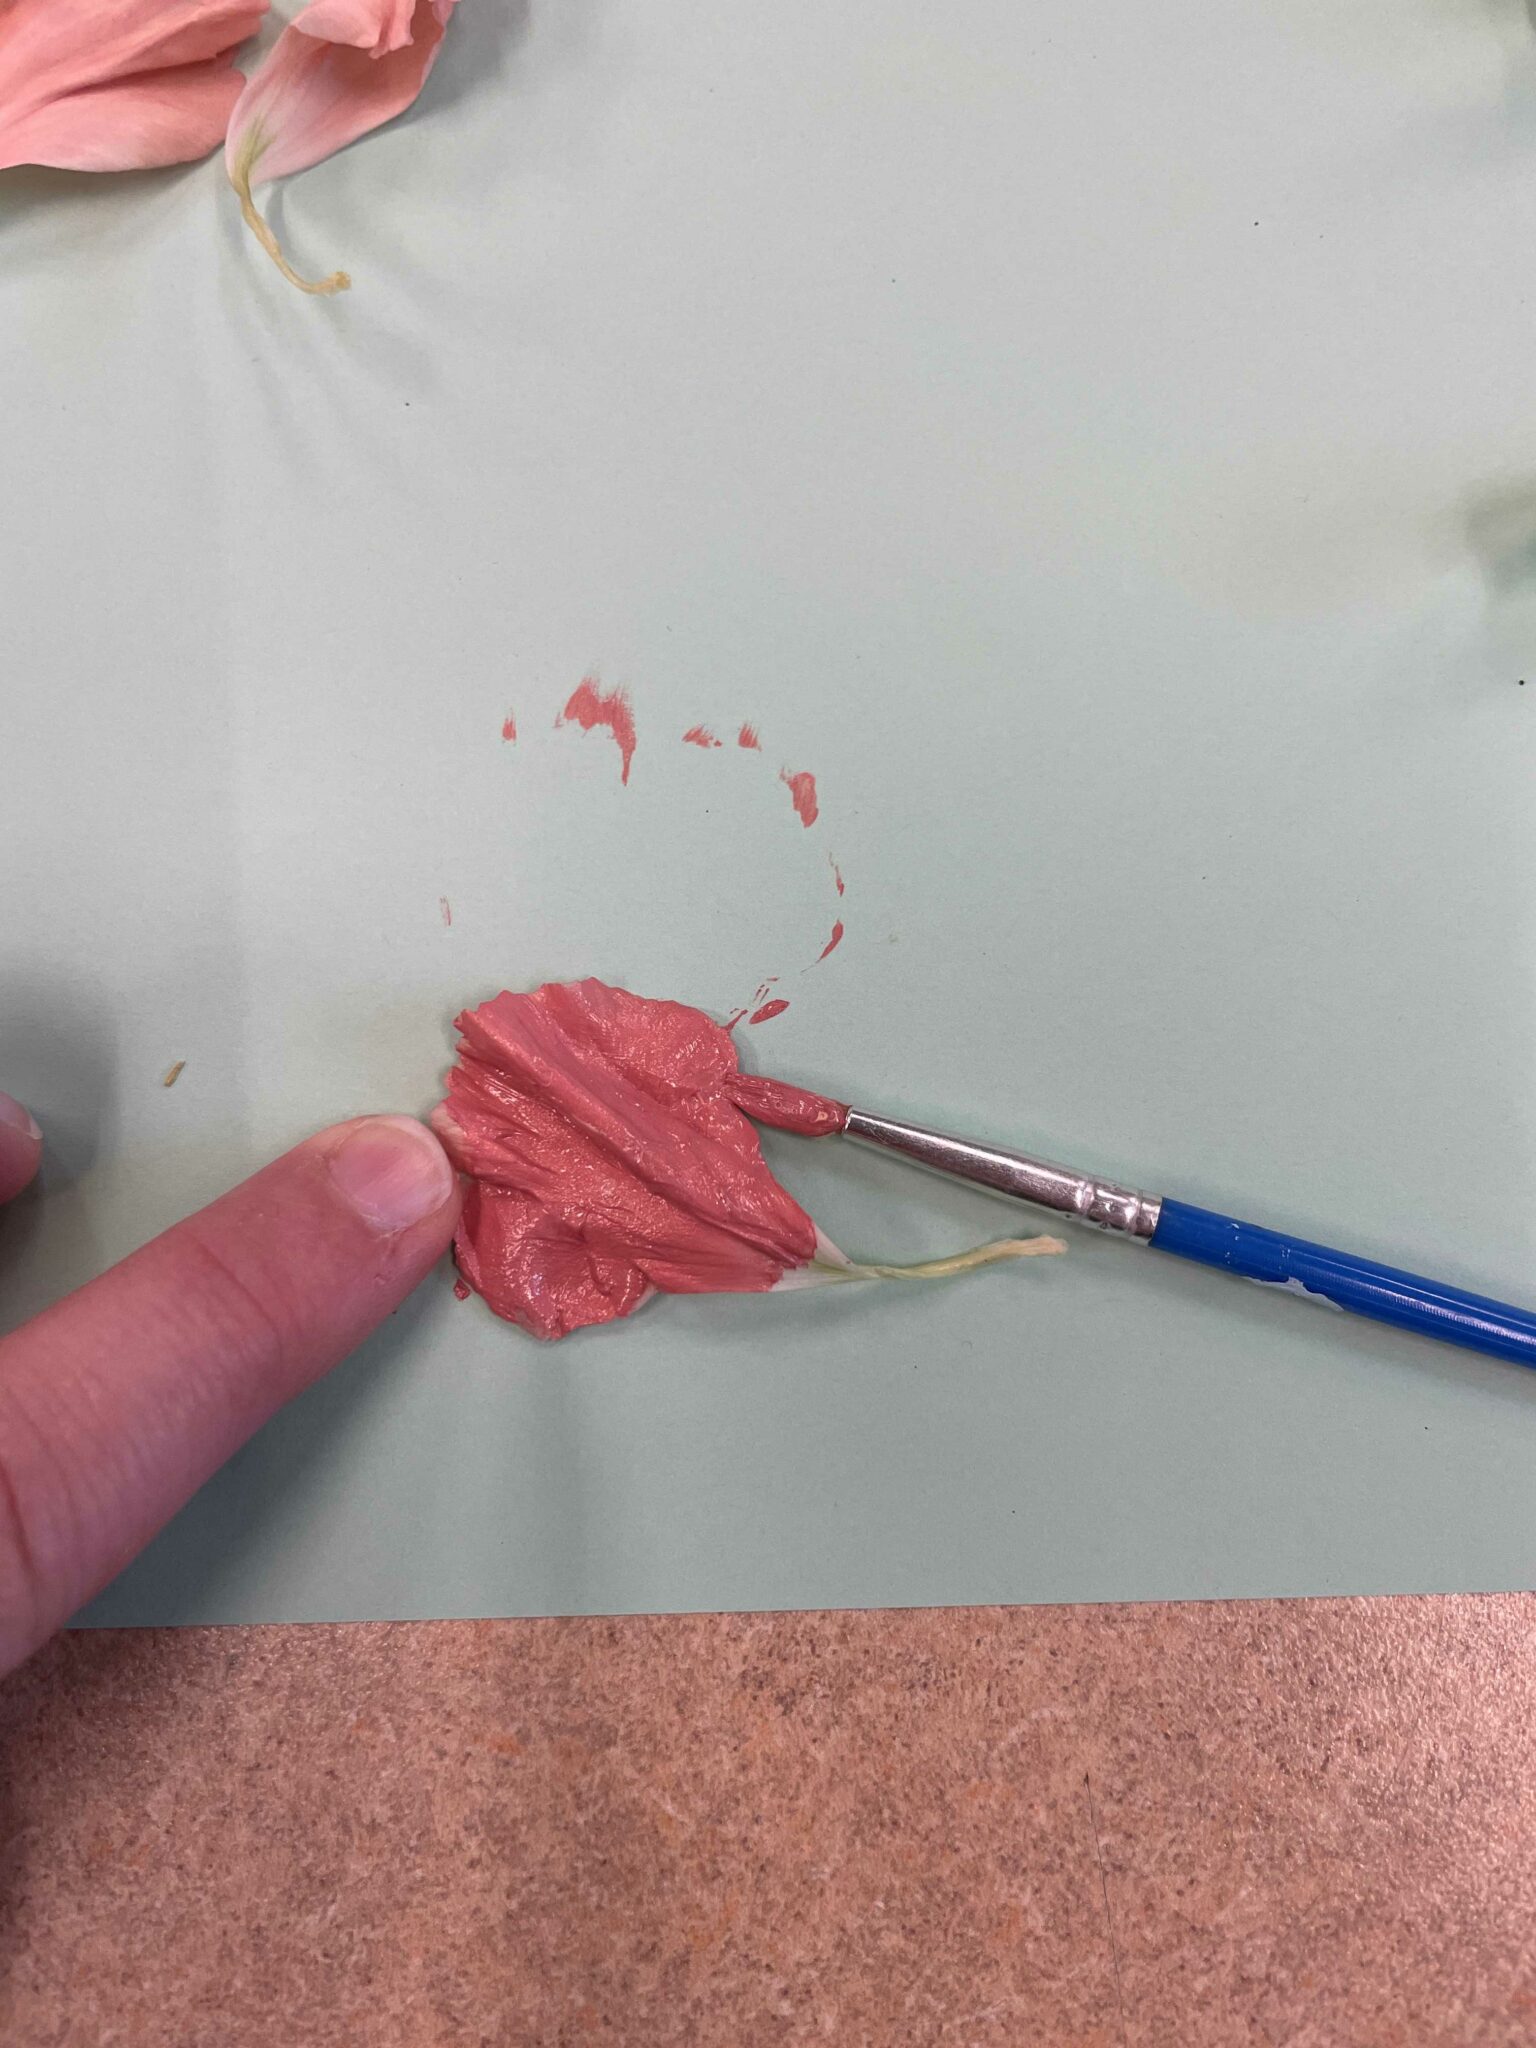
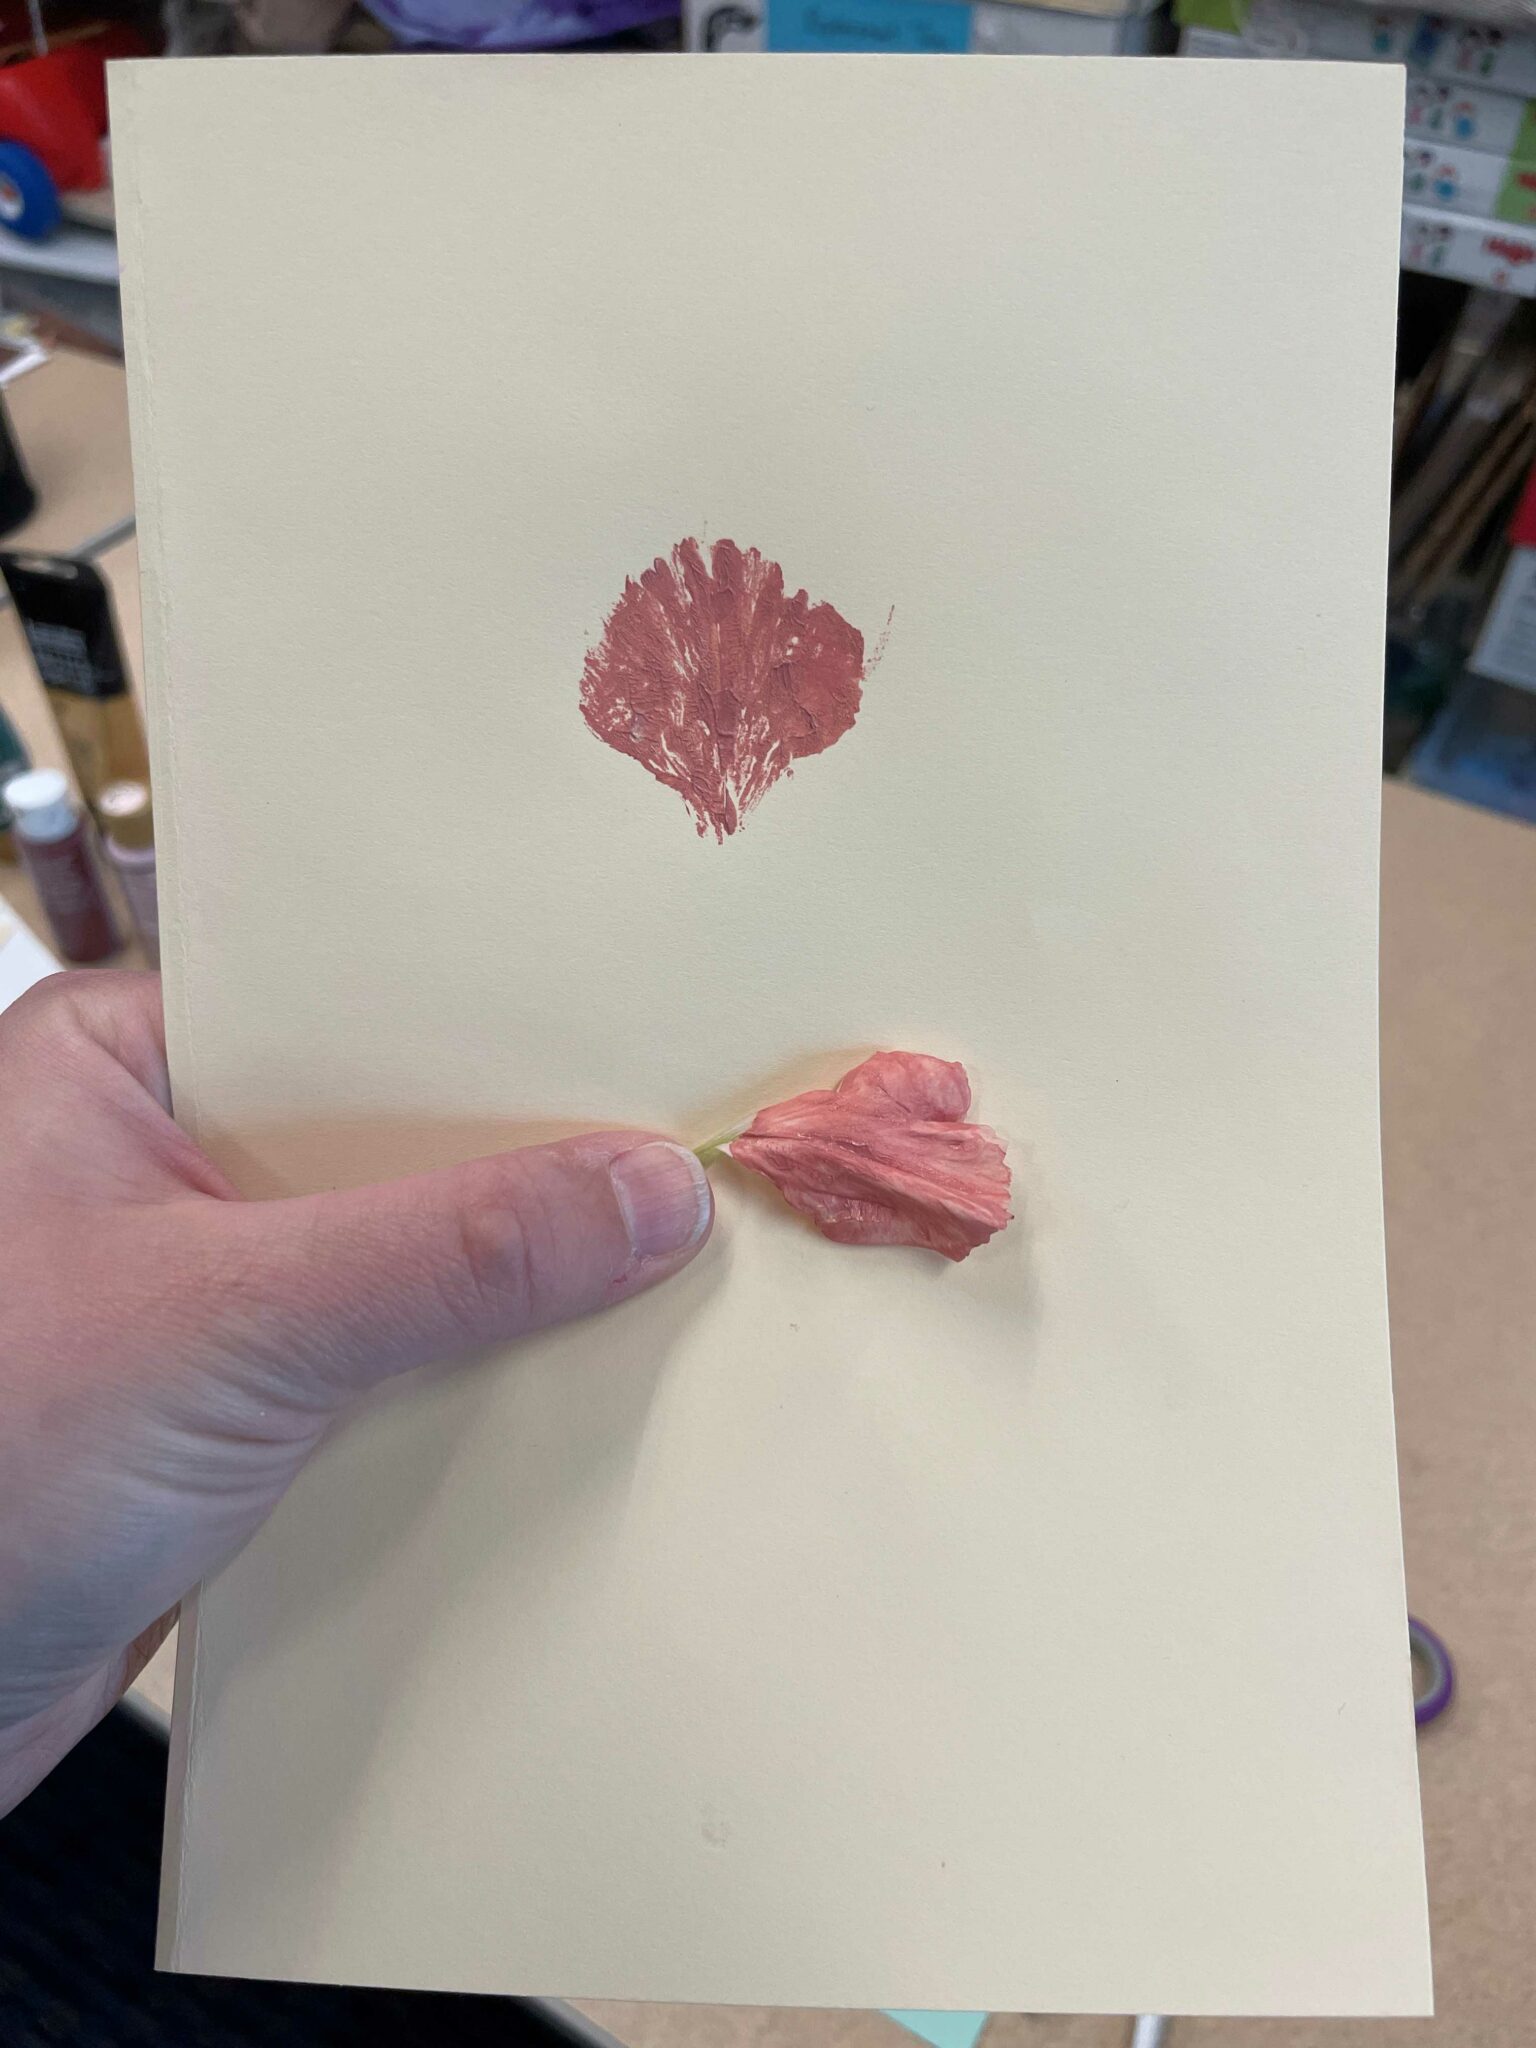
Once your petal (or leaf/plant part) is covered in paint, you’ll want to carefully pick up the petal (or leaf/plant part) and turn it over, pressing the painted side to your paper (or cloth). If you don’t want to get paint all over your fingers, you could use tweezers to help you lift up and place the painted petal (or leaf/plant part) on your paper (or cloth).
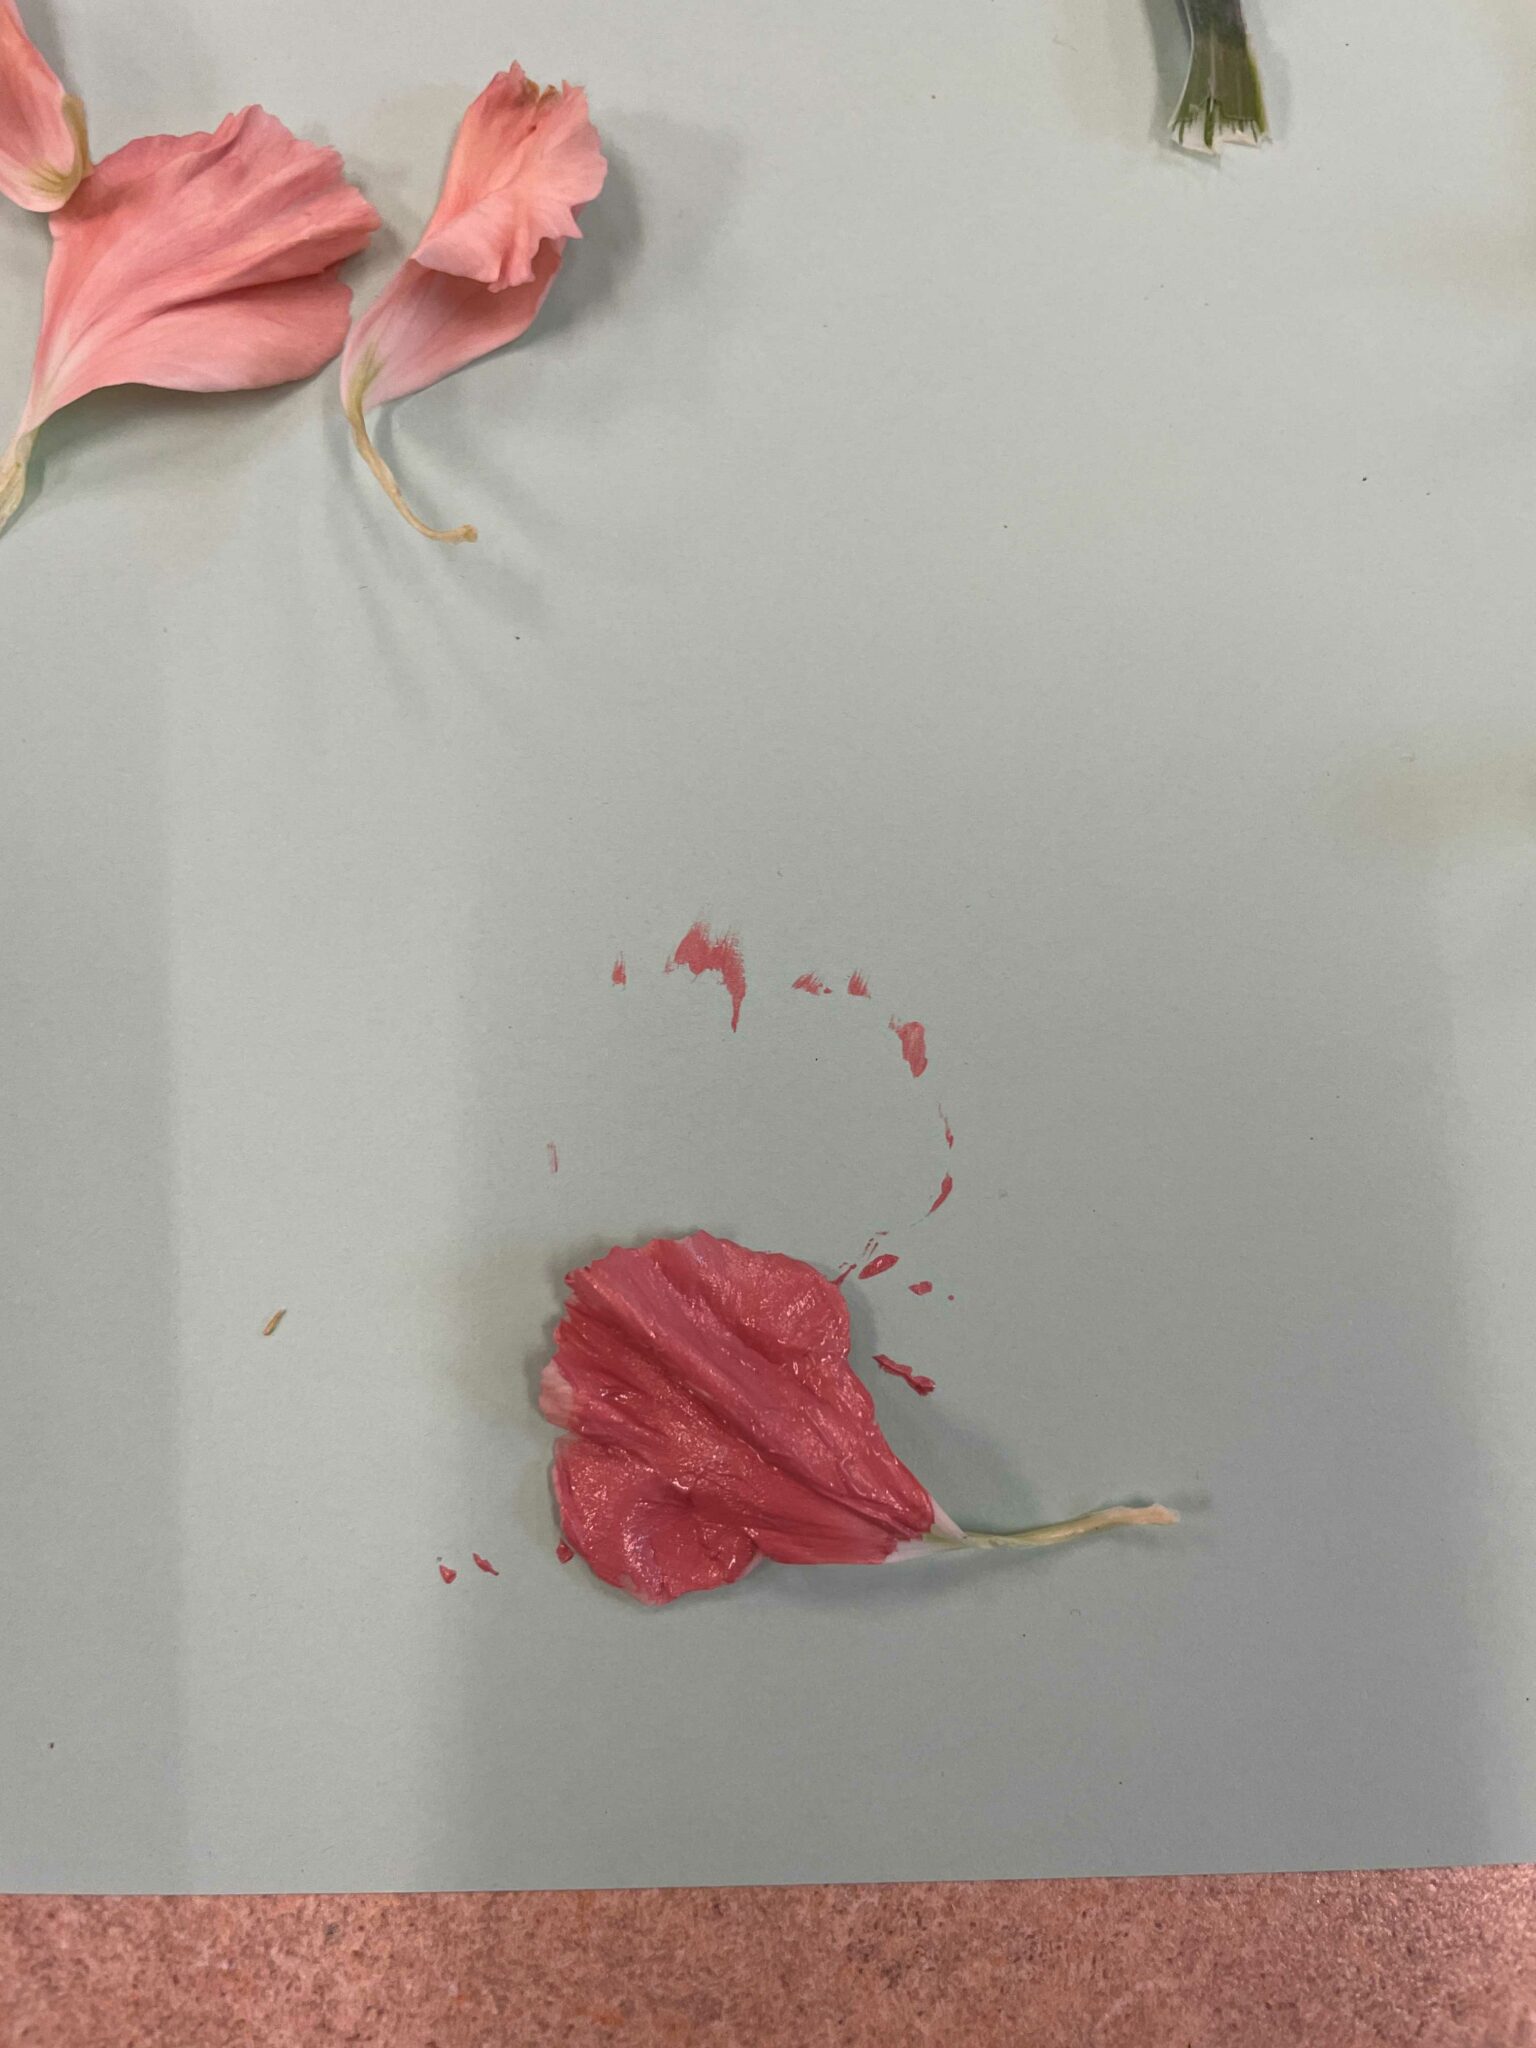
Now for a dose of ✨ printing magic ✨: gently pull the petal (or leaf/plant part) off of the page and see what’s stuck!
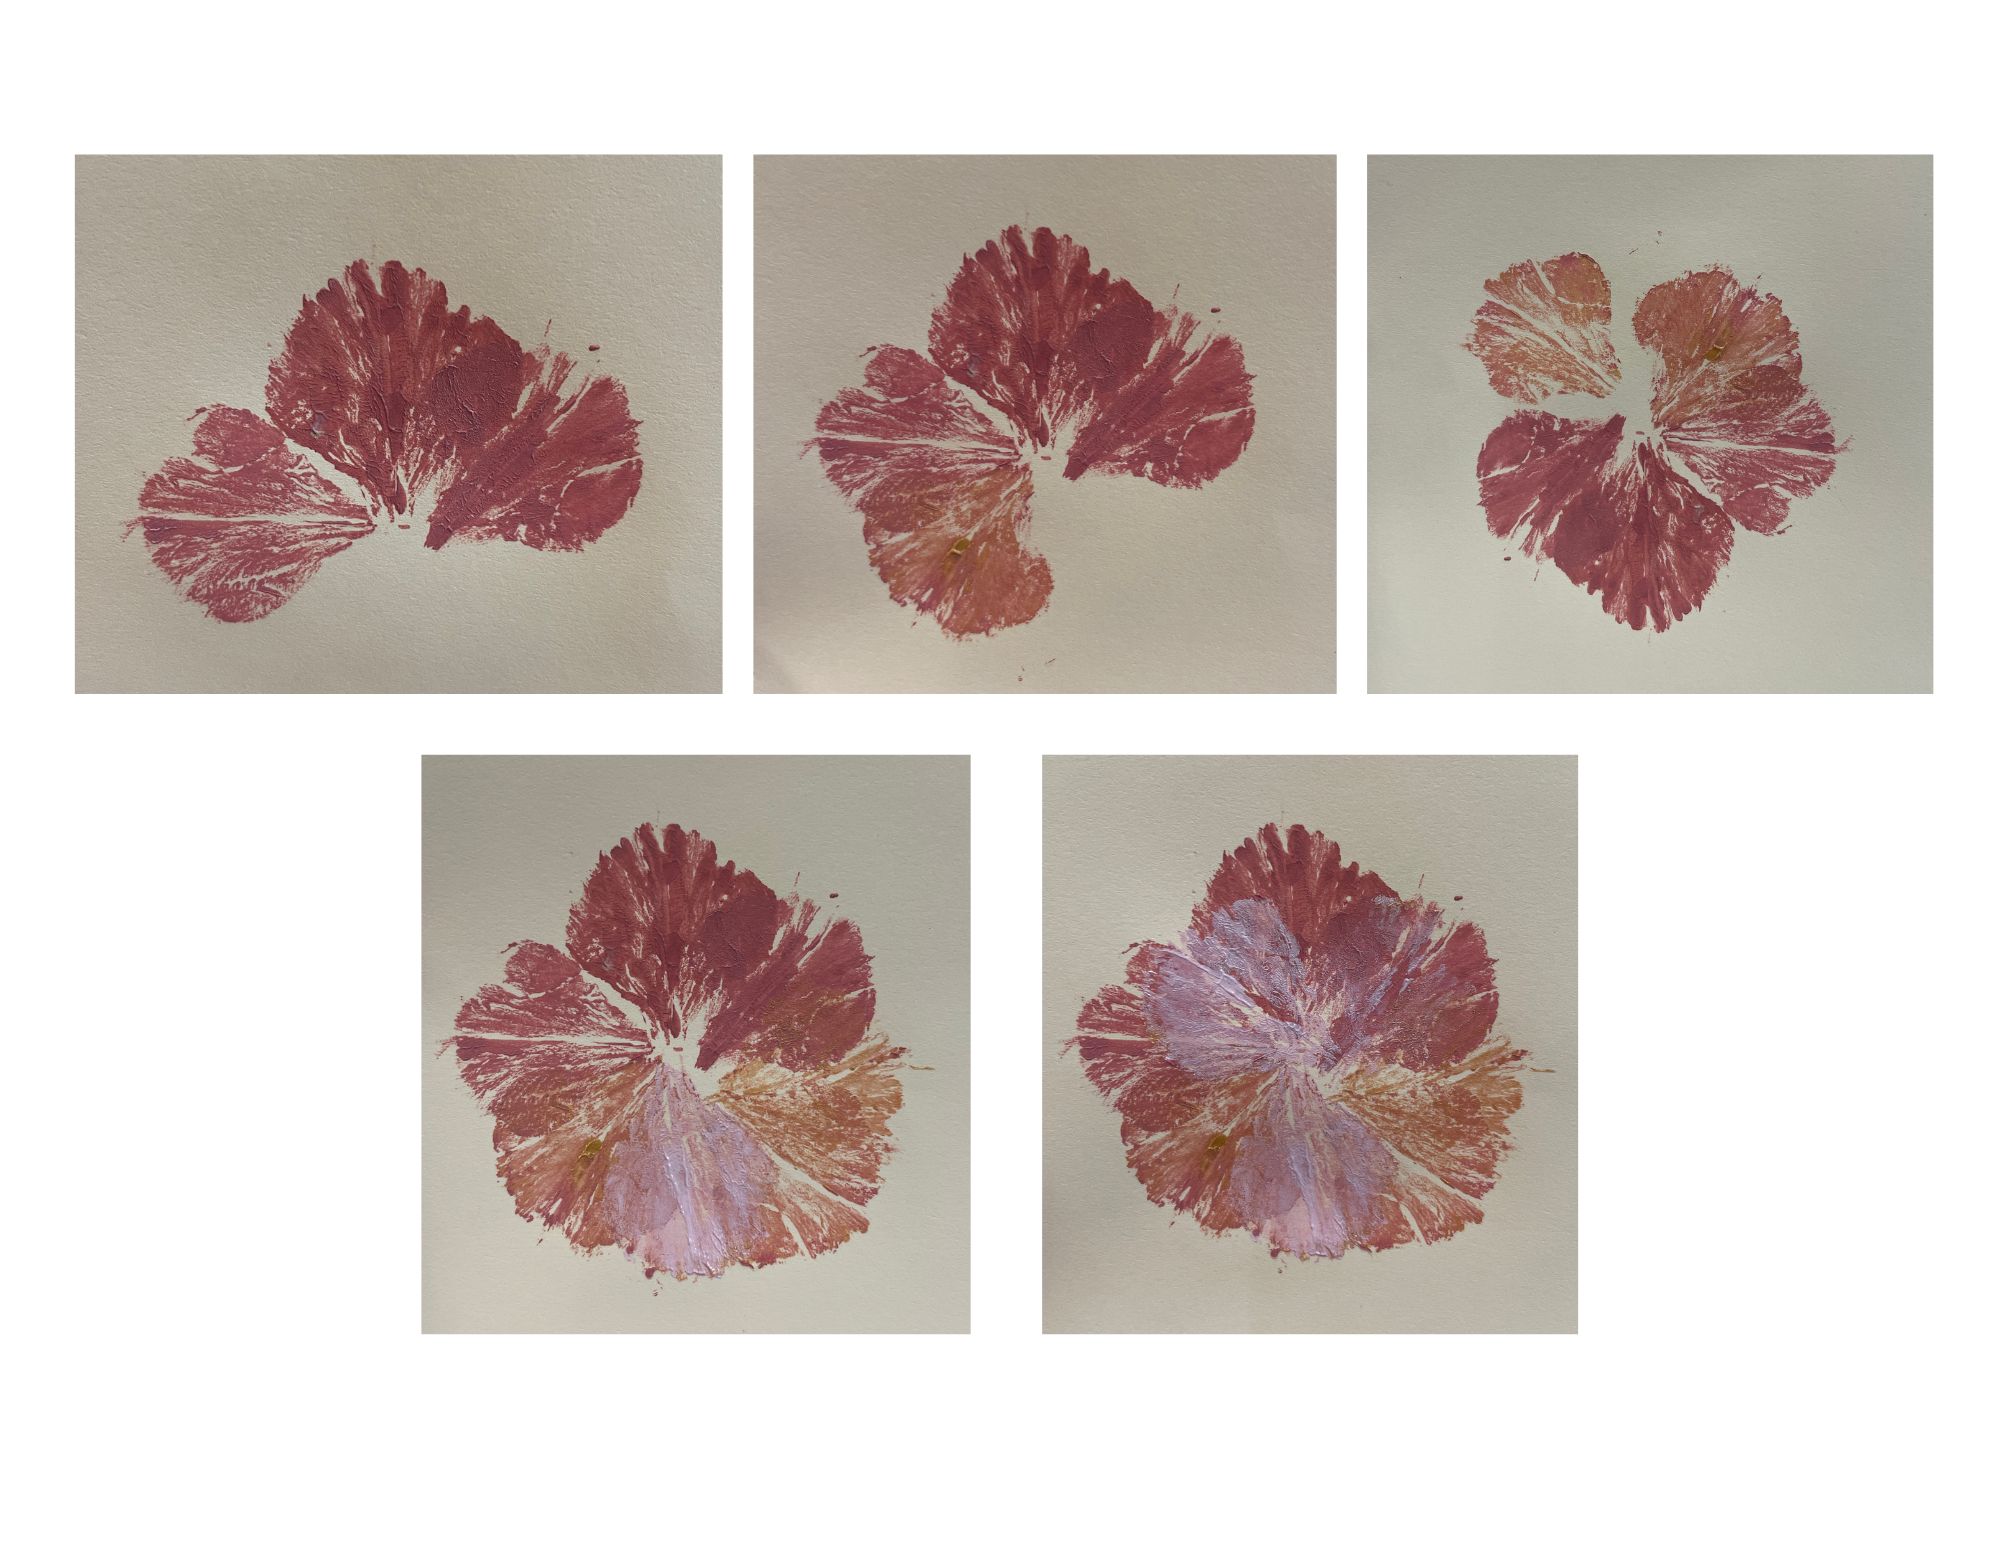
And that’s the basics of nature printing! But you don’t have to stop at one petal (or leaf/plant part) — you can keep printing petals in an arranged pattern to recreate the flower head’s structure on paper (or cloth):
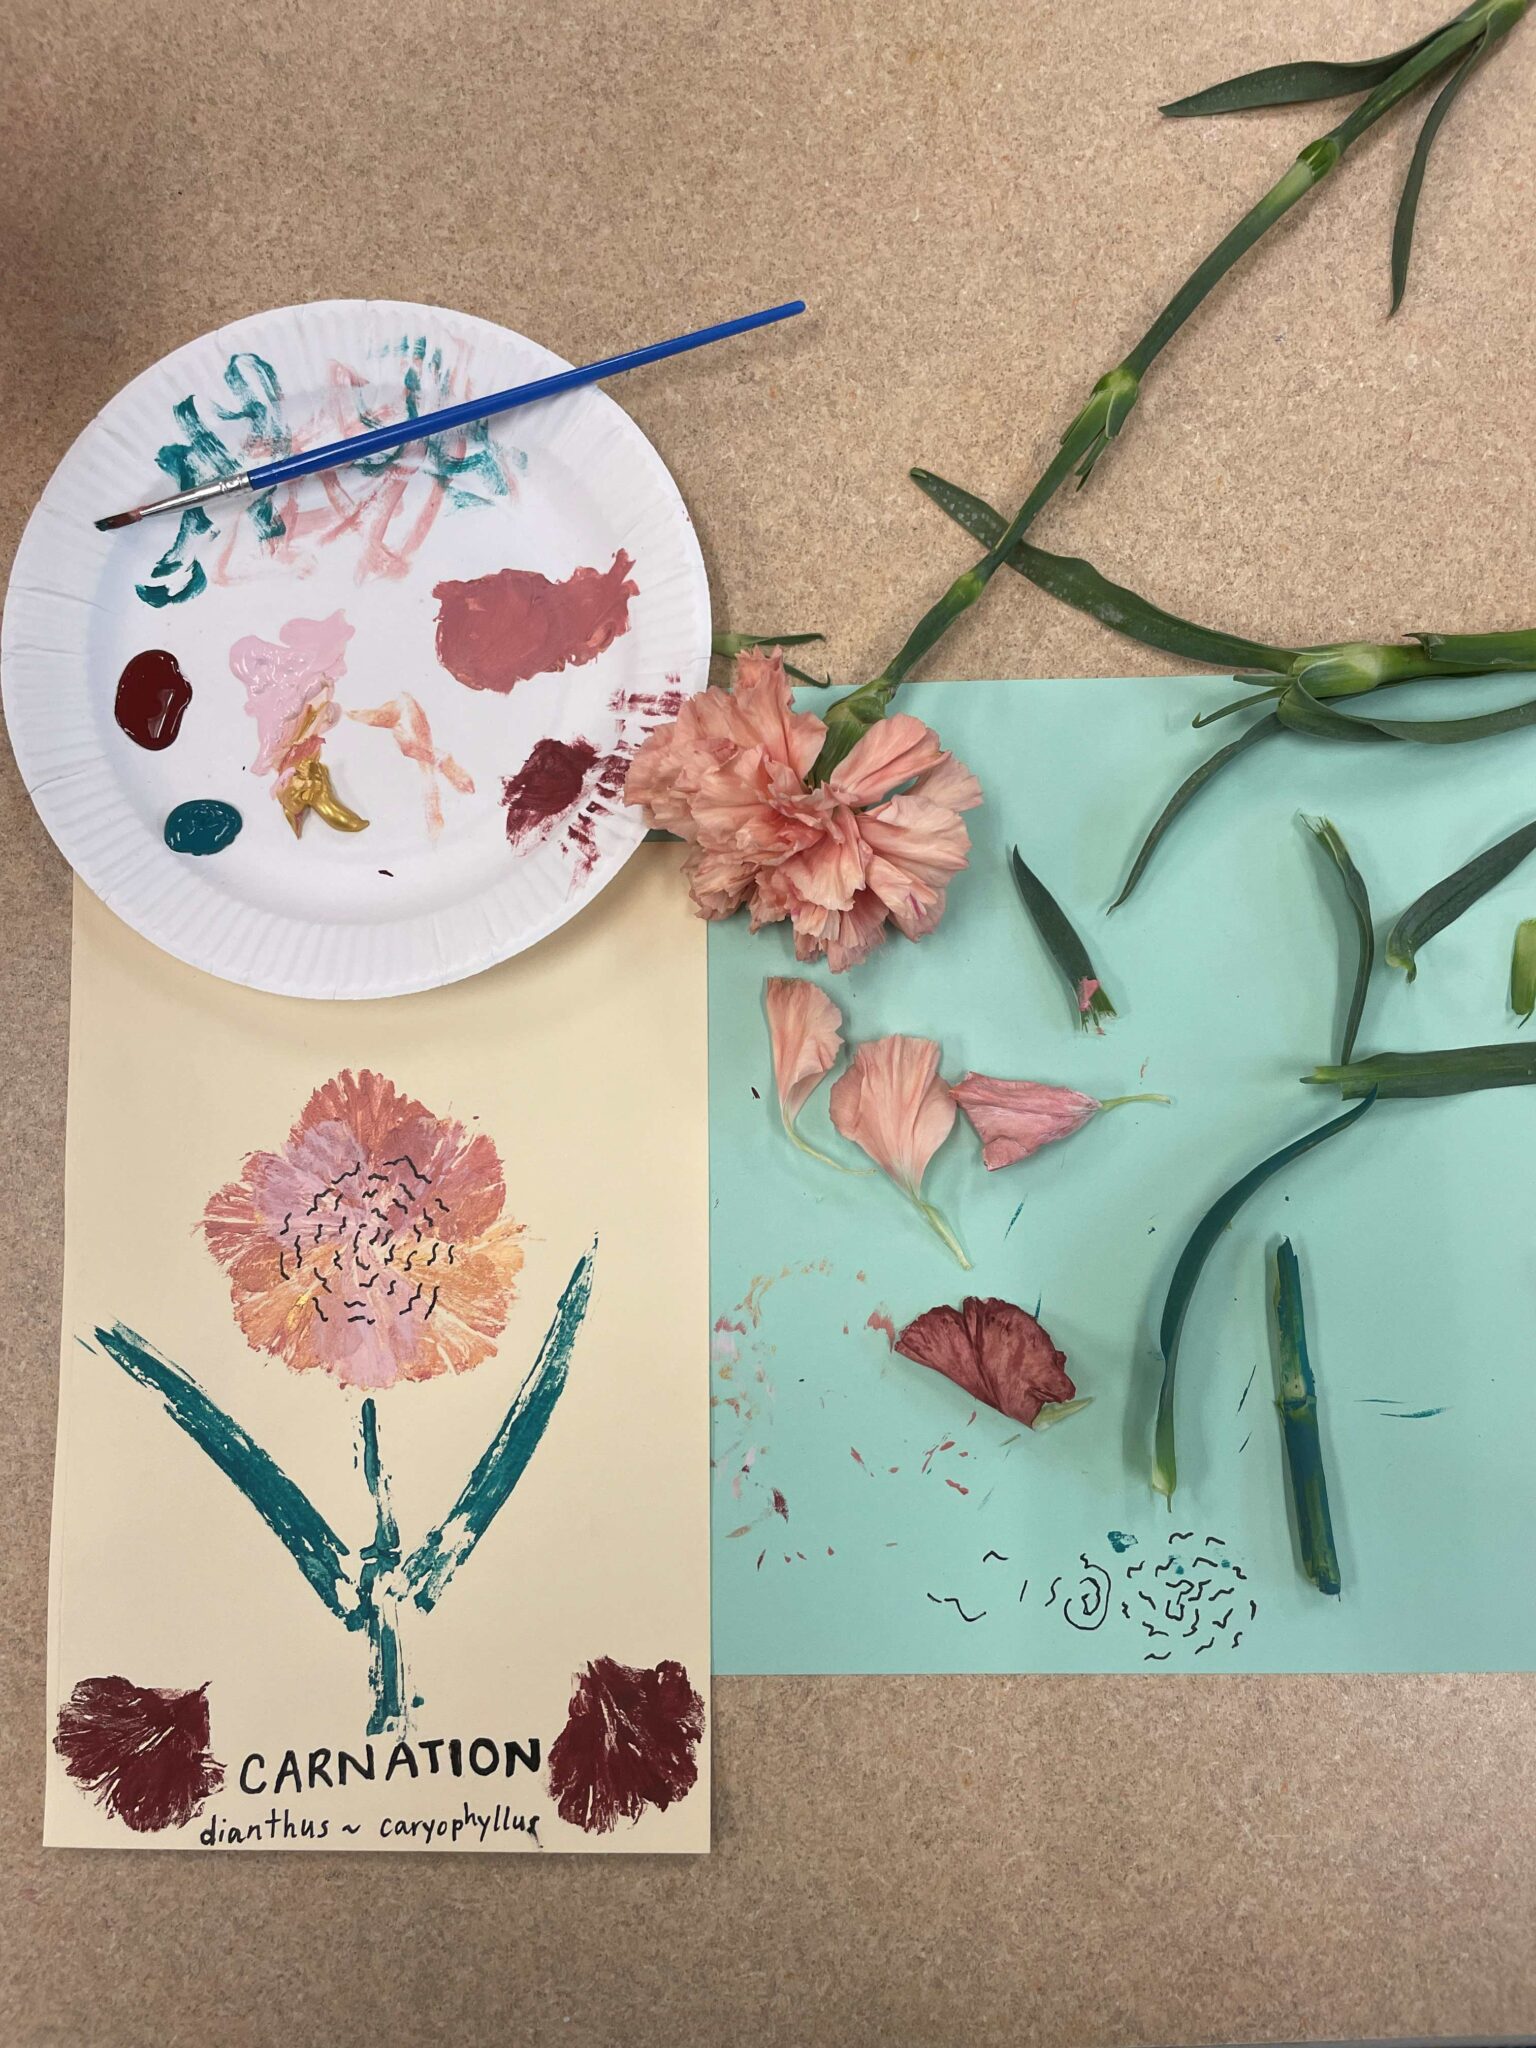
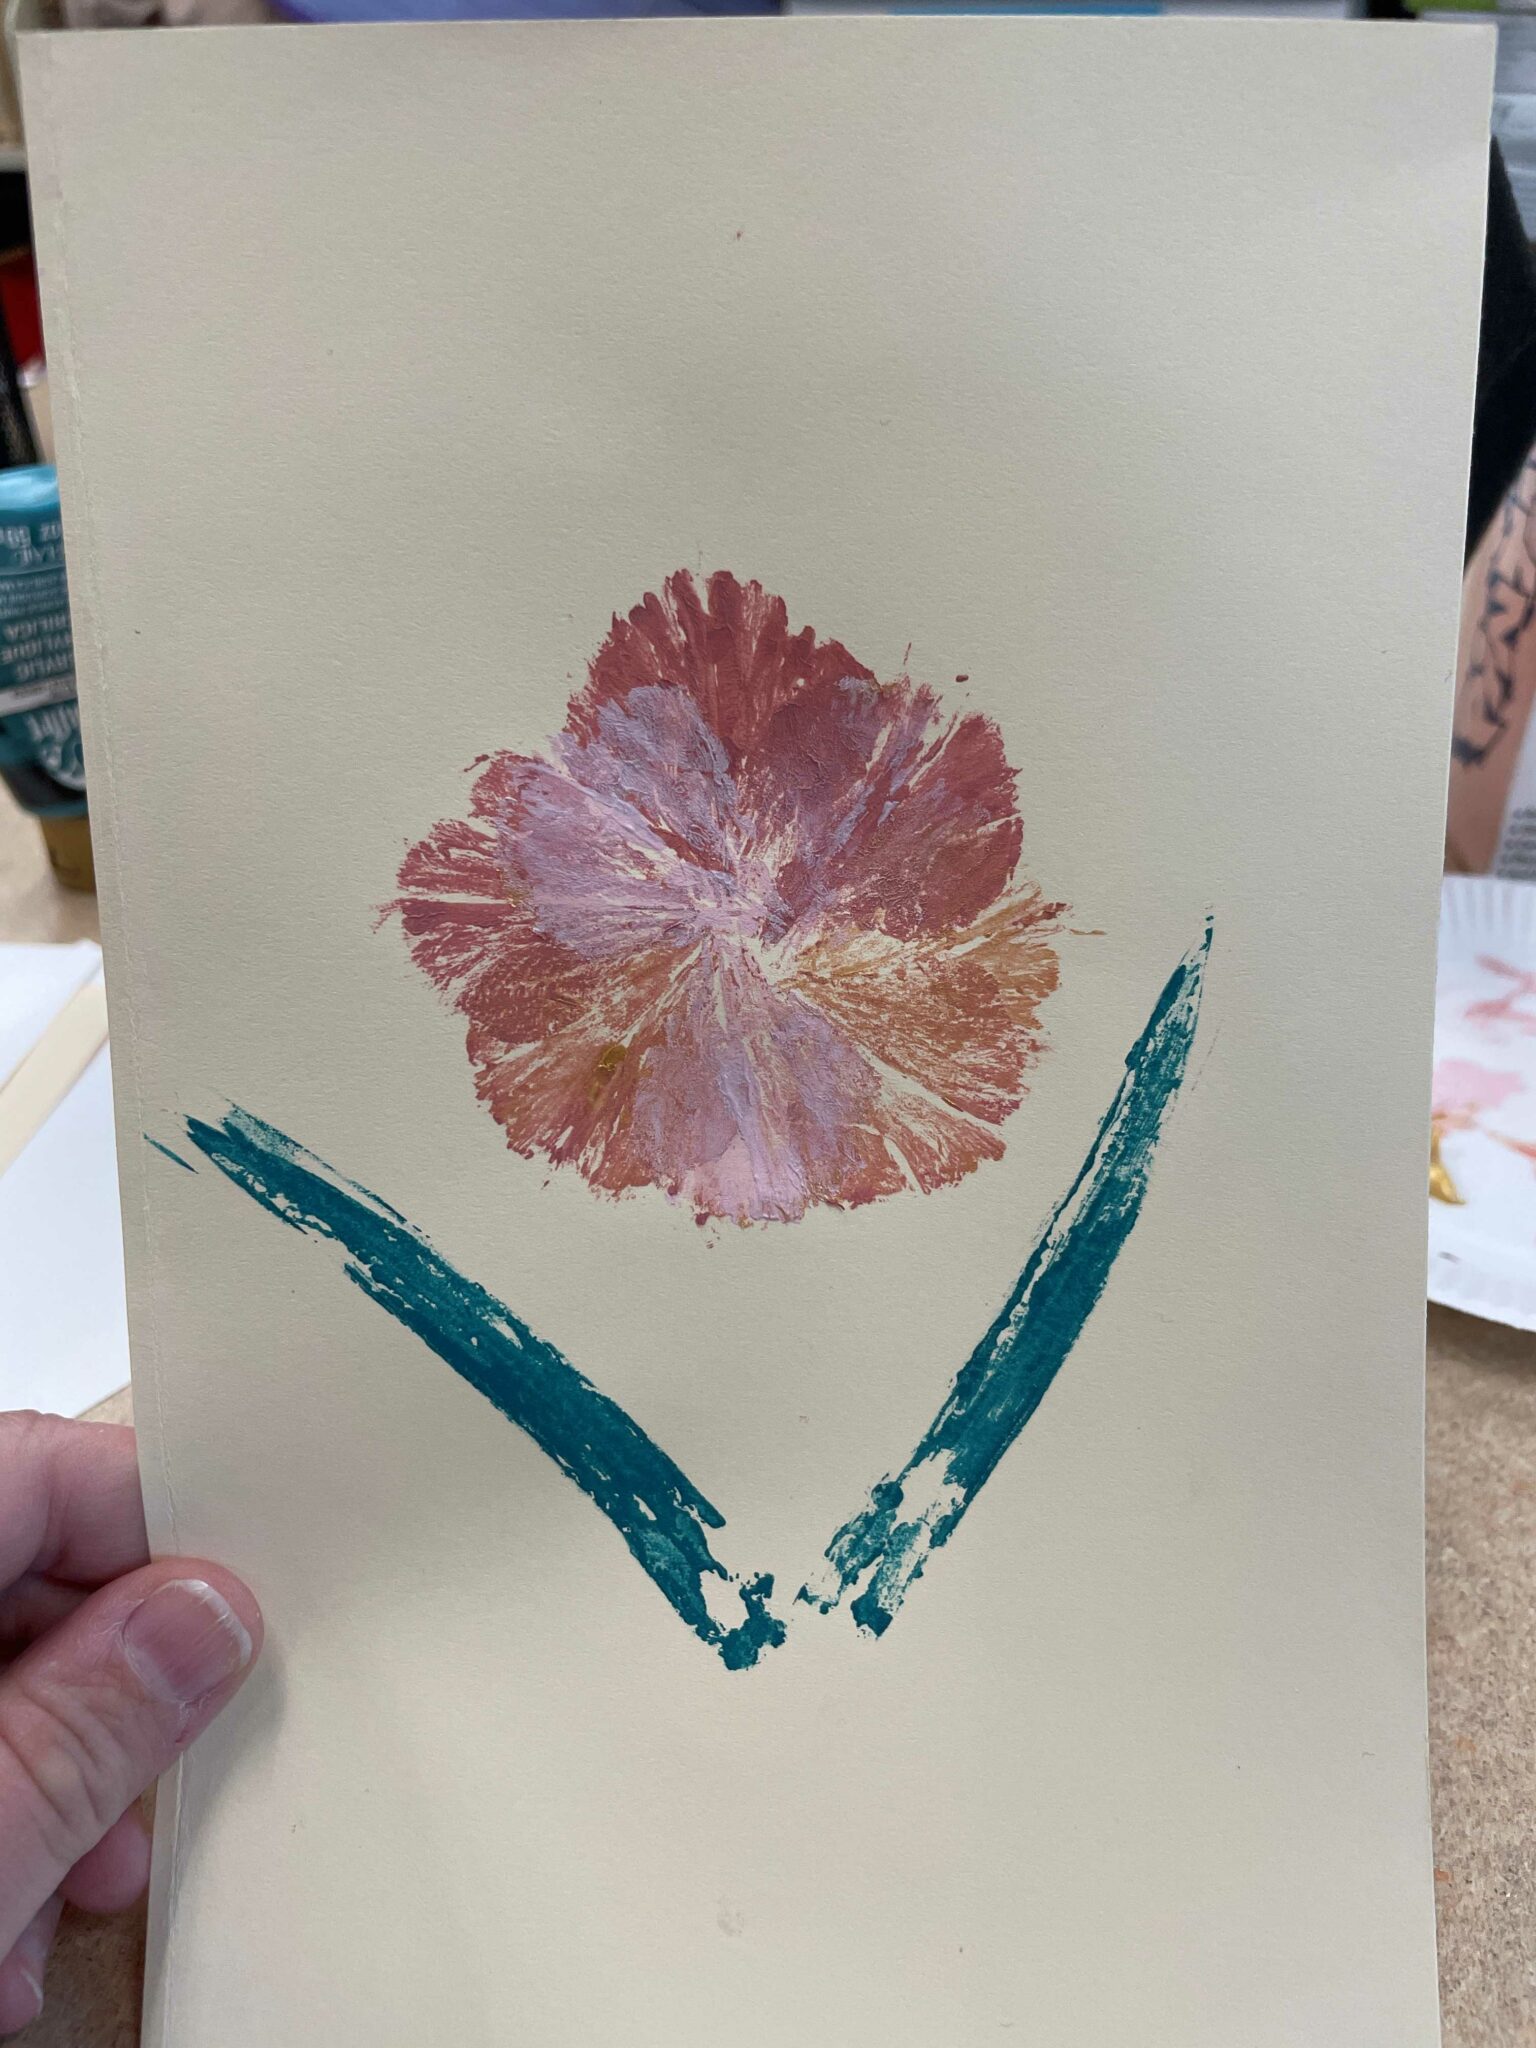
 Additionally, you could add in details from other parts of the plant, such as the leaves of the carnation stem that I added, as shown in the photo below:
You could also use other media, like pencil or pen, to add in finer details. For example, I used a black sharpie to add in details of the carnation petals’ ruffles:

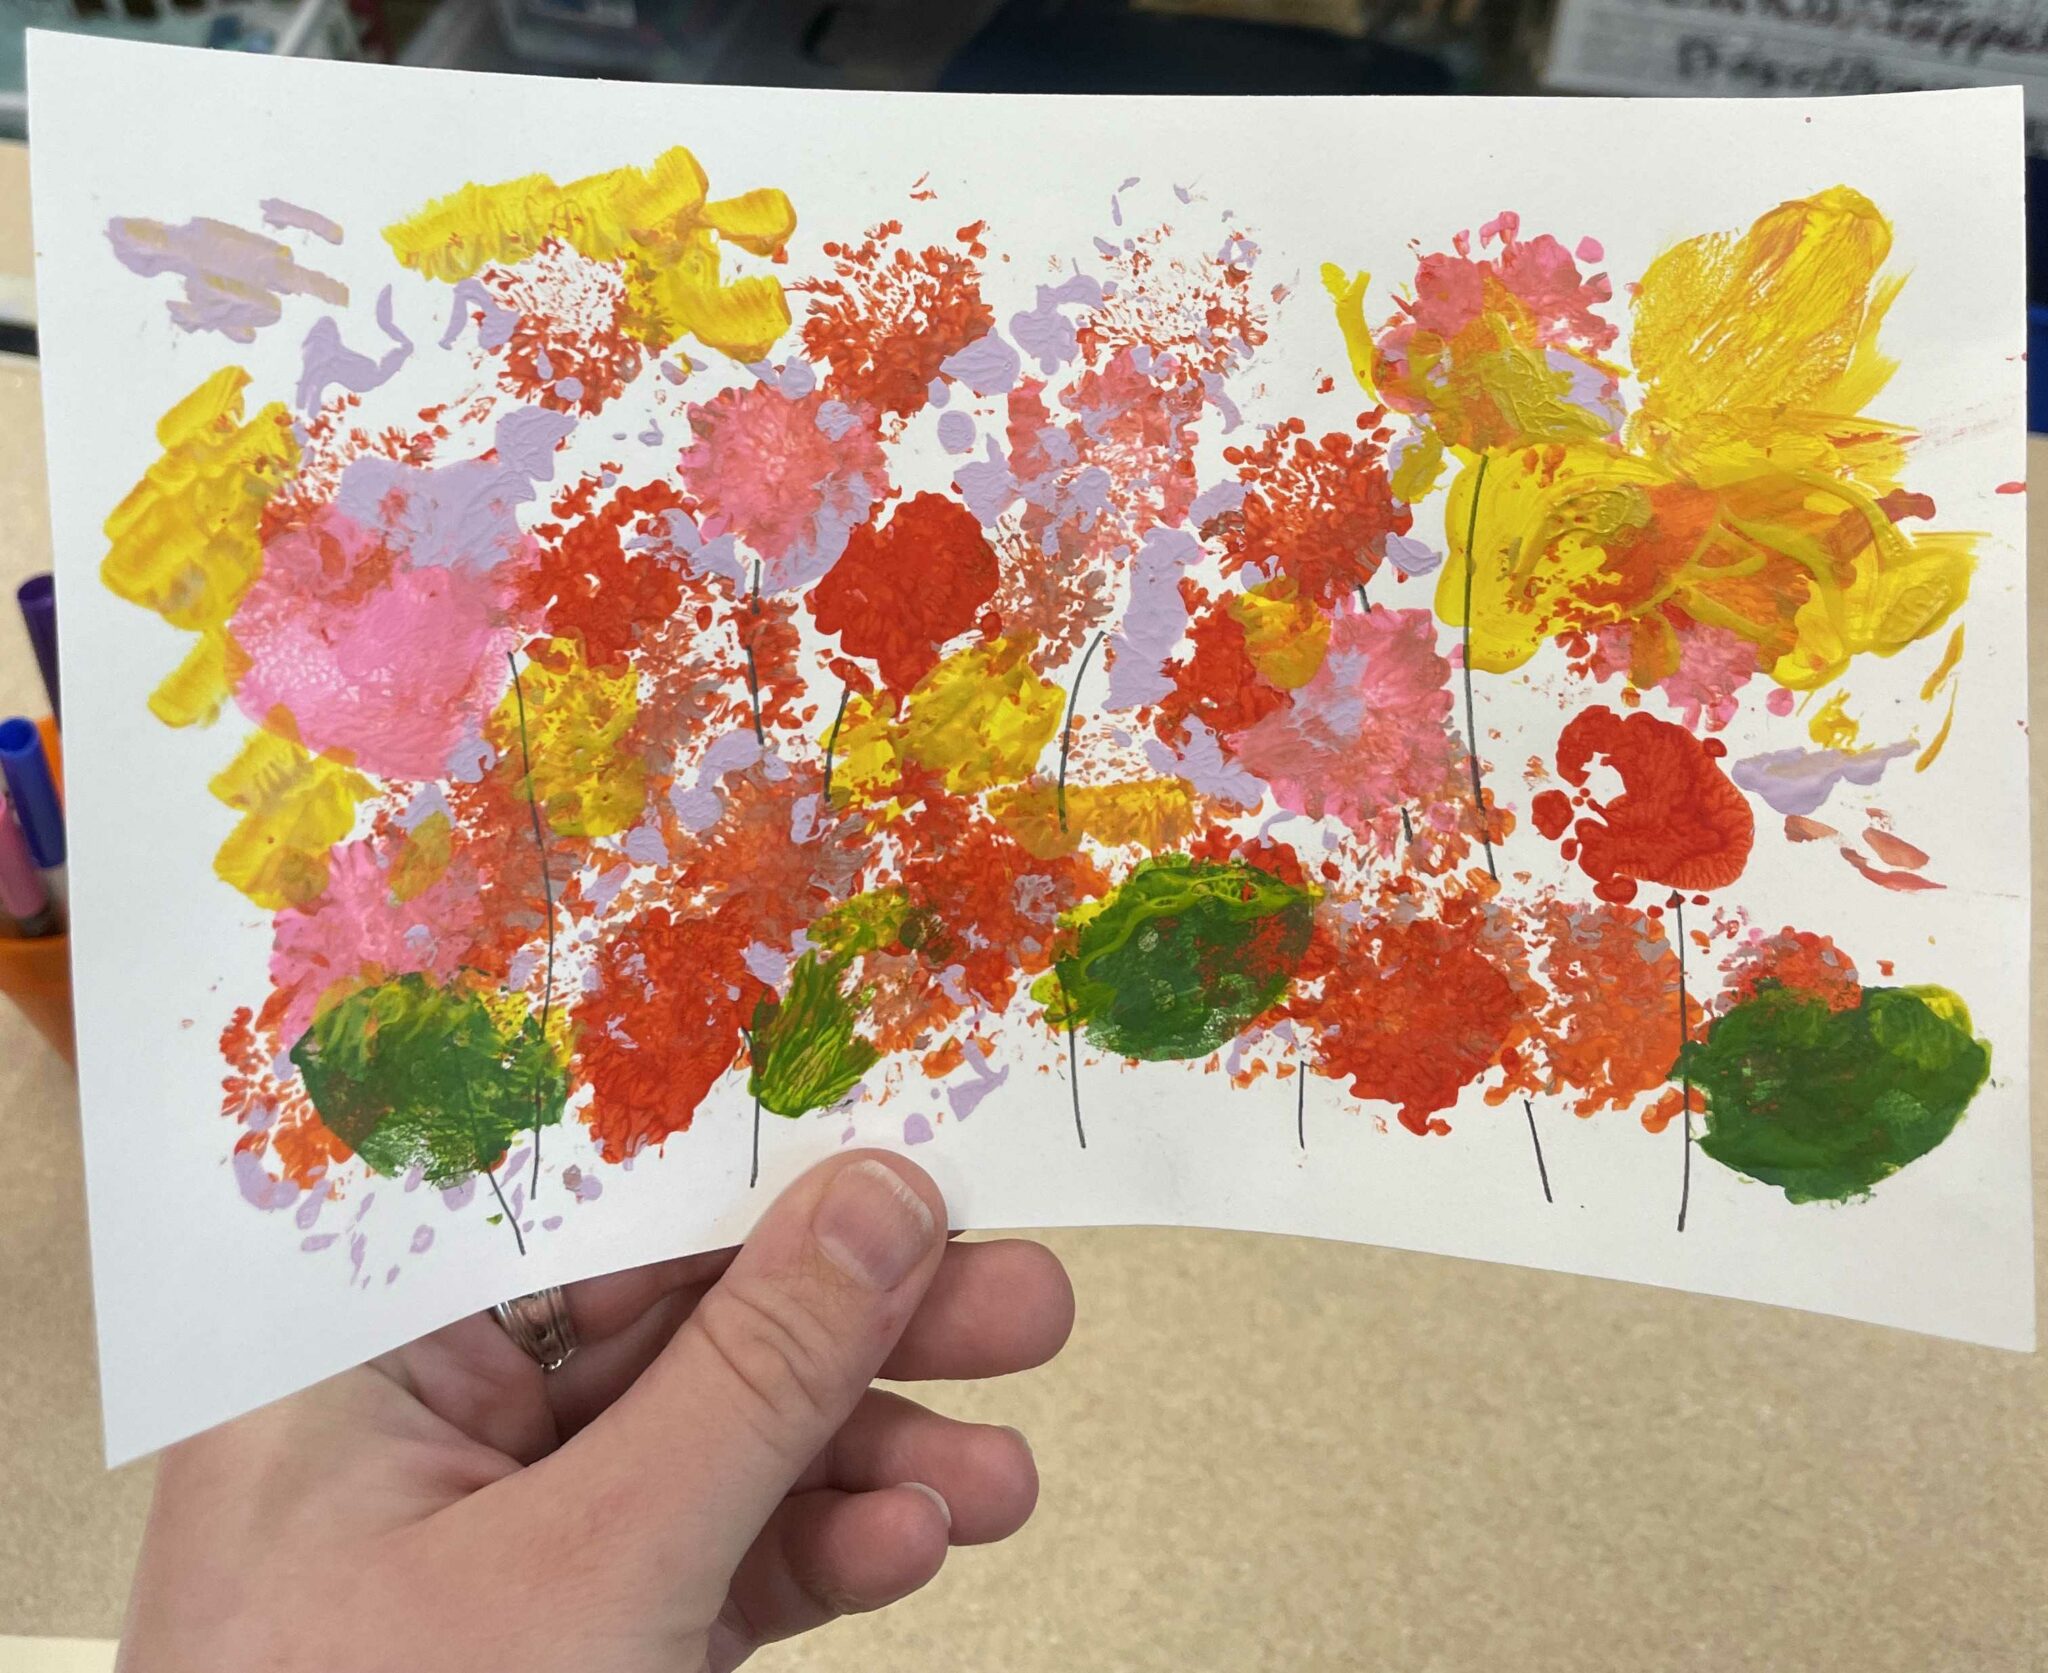
But wait, there’s more options! You could also experiment with using the botanical object as your paintbrush, employing the flower’s natural shape to make more abstract marks on the page. Here’s a photo of what that kind of nature printing could look like:
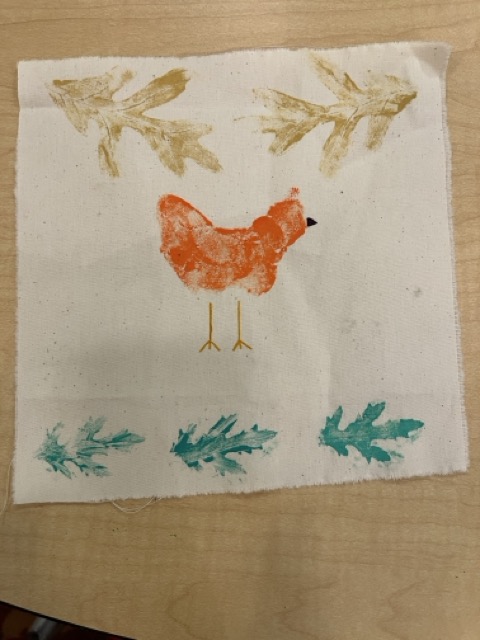
Finally, you can even make prints with 3D natural objects, like rocks and seed pods! If using a 3D object, I recommend printing on cloth, as you can actually wrap the cloth around the object to pull a more complete print. If you use 2D paper with a 3D object that isn’t perfectly flat, your painted object won’t make contact with the paper evenly and your print might not capture all of the detail of the 3D object. Below is a chicken print I made on a fabric scrap from a rock I found at the Grindstone Nature Area for an example: