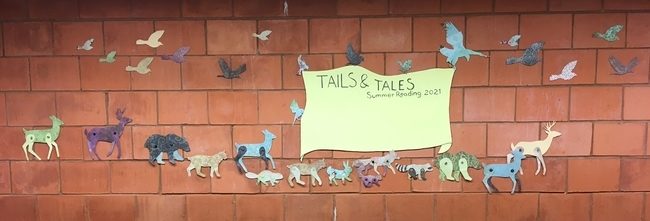
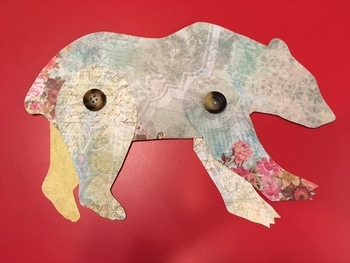
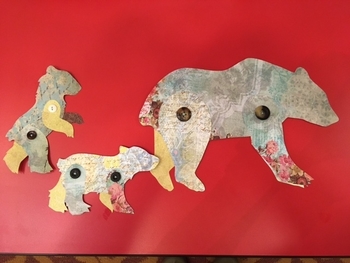
This summer, we decorated our libraries for Summer Reading with animal silhouettes using pretty scrapbook papers and old buttons. The process for making these is quite simple and the result is a fun graphic animal that looks great alone, on a bulletin board or as a whole crew galloping down the hall at the Columbia Public Library. I have included 7 animal patterns. Enjoy!
The Patterns:
Directions:
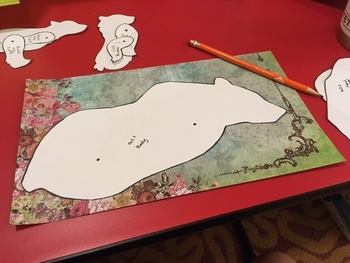
- Print and cut out the pattern of the animal you would like to make. Unless you are using the raven pattern, you should have 3 pieces: the body, the front leg and the back leg.
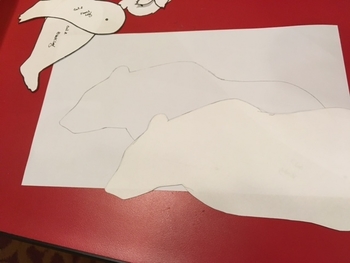
- Choose your scrapbook papers, and trace the pattern shapes on either the front or the back.
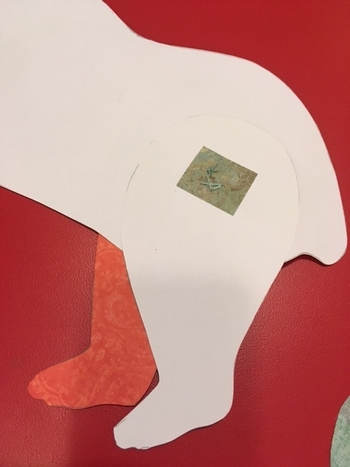
3. When all of your pieces are cut out, lay them out to make sure they fit together properly before sewing them together.
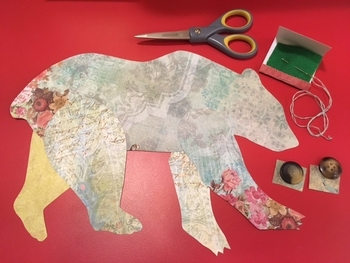
4. Thread and knot your needle. We used leftover embroidery floss (3 strands) but any thick thread will work.
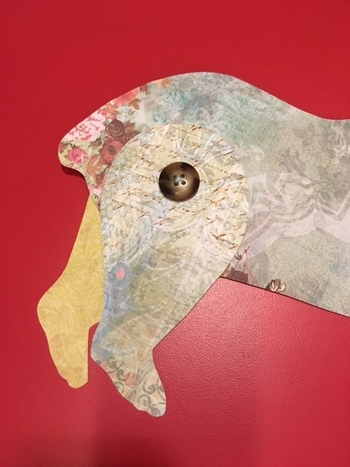
5. To sew the button through the two legs and the body, it is helpful to first align the legs and the body. I usually begin with the back two legs. Place one leg behind the body and the other in front. Hold the three pieces up to the light so that the tops of the legs match. I also hold a square piece of paper behind the back leg—this acts as a reinforcement for the button and stitching. I pre-punch the holes with the needle while I am holding everything together. It’s very helpful if your needle is both strong and sharp.
Pull the threaded needle through the first hole, from the back to the front and down again through the second hole in the button. Do this two times for each pair of holes on your button. Knot on the back.
6. Repeat for the front legs.
7. Do this with as many animals as you like, then hang them up or give them as gifts.
We hope that you have enjoyed making these as much as we have!