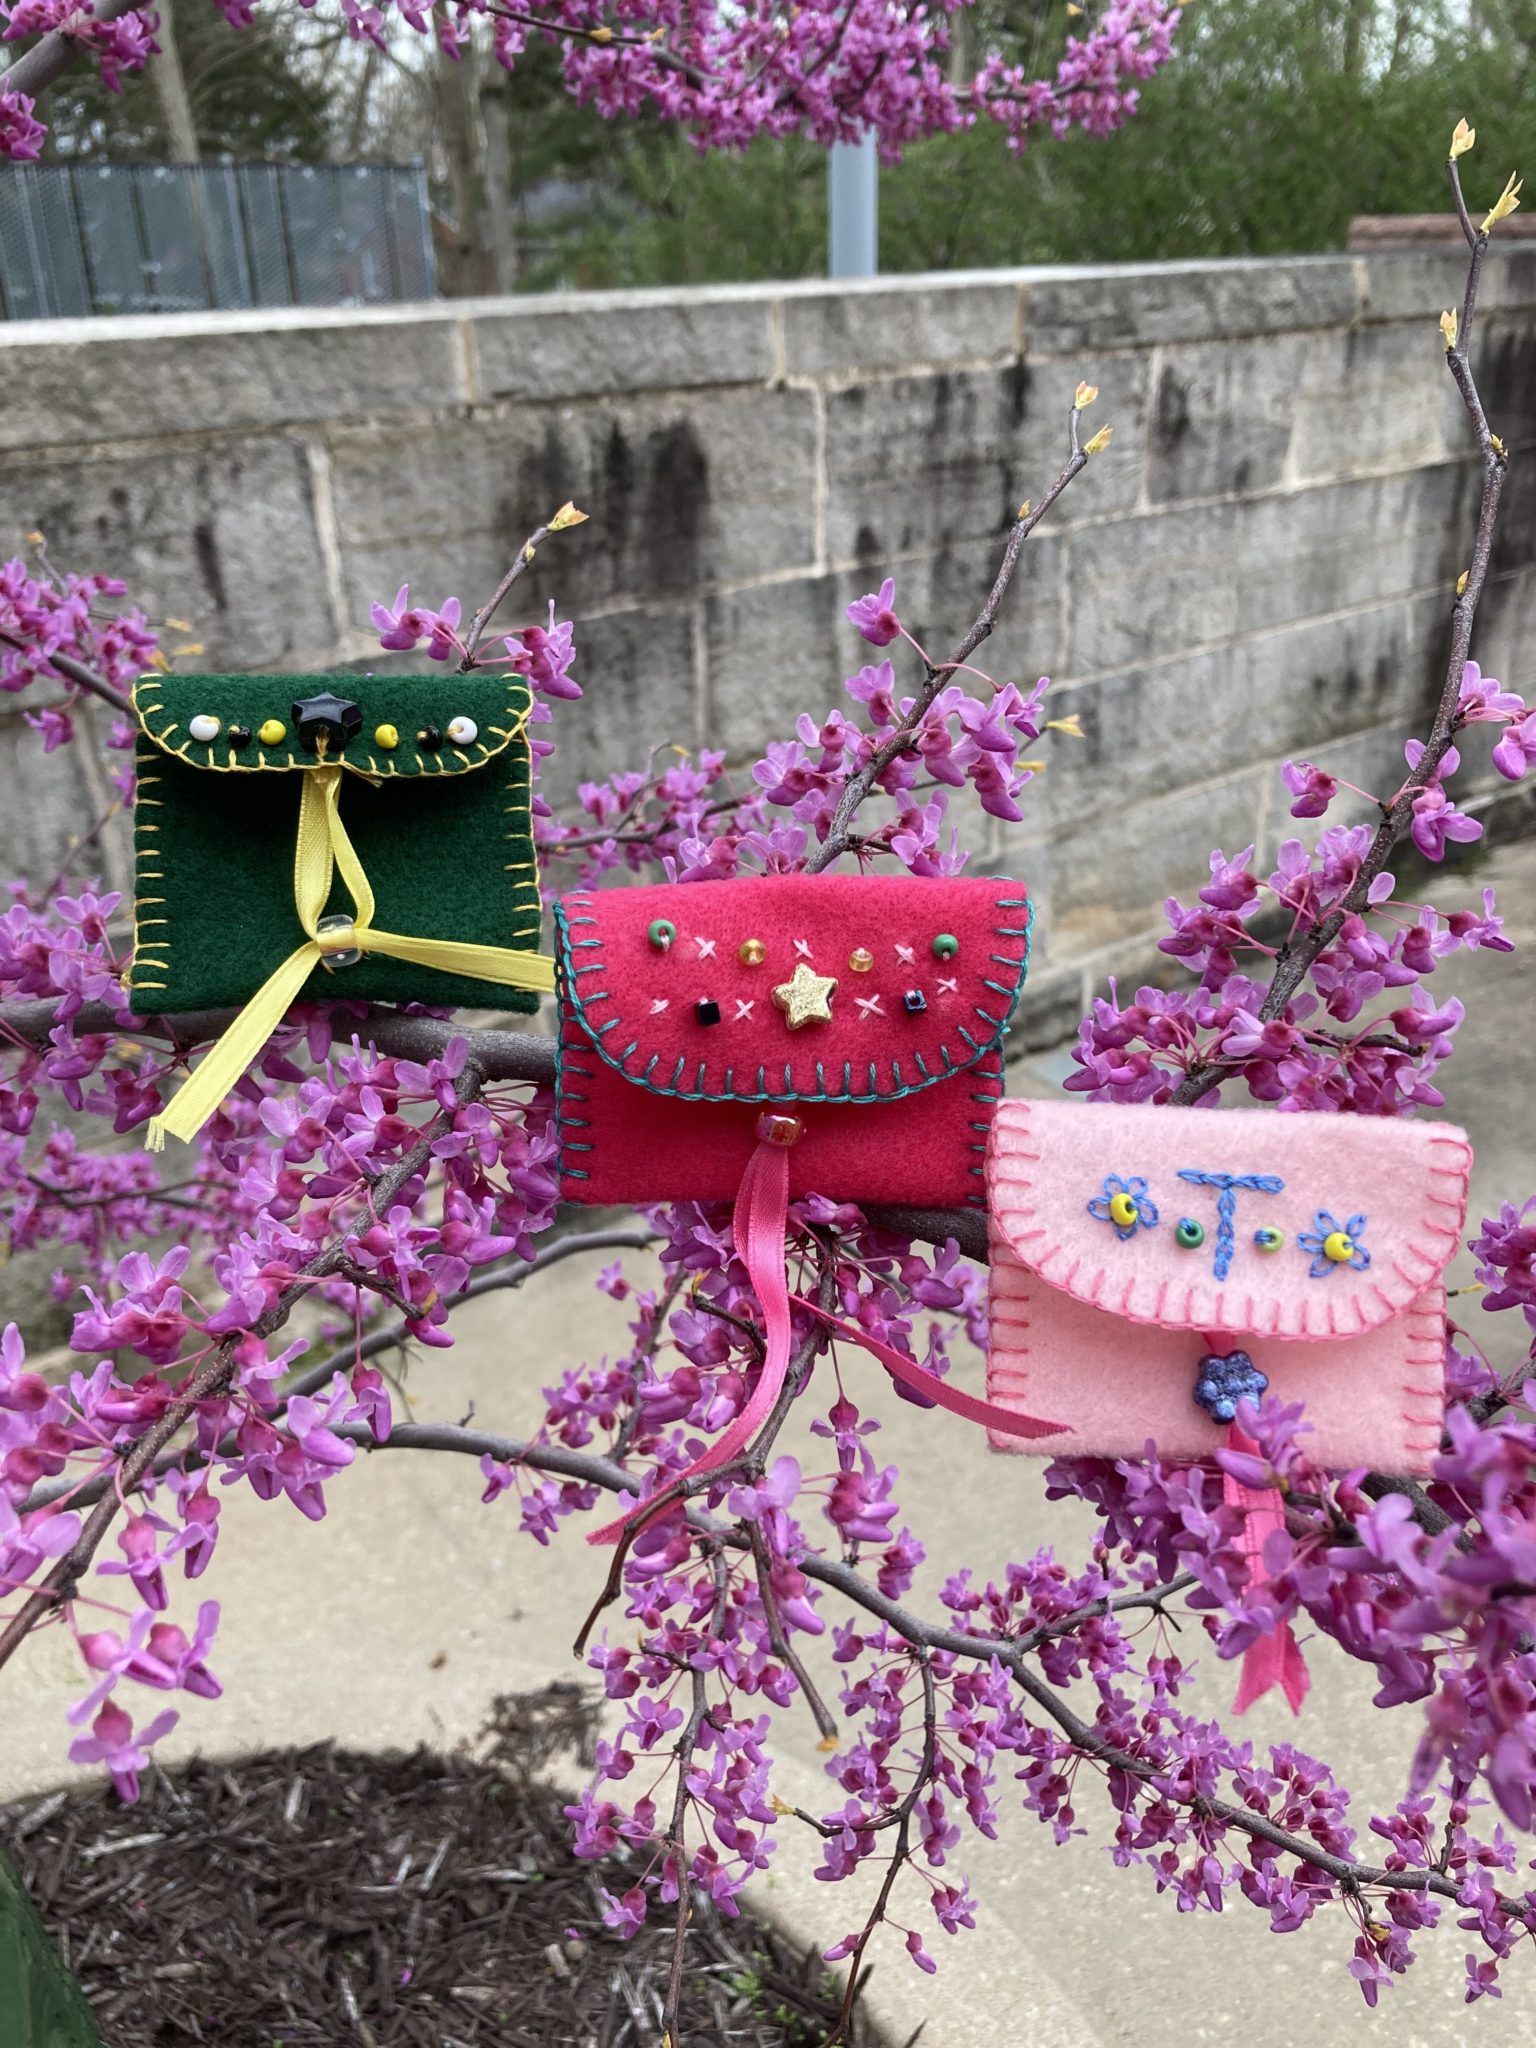
This cute little project is a great way to learn some simple embroidery stitches and beading. You can make it as simple and easy or as fancy and challenging as you like. Then next time the Tooth Fairy visits your house, you will be ready with an elegant pouch for your lost tooth. This project is for ages 6 years and up. (Younger children may need some help.)
Things you need:
- A strip of colored felt 2 ¾” wide by 5 ¾” long.
- Six-strand embroidery floss (Choose one color for the blanket stitch edging and any other colors if you do more embroidery on the flap.)
- 6” piece of ribbon
- Large bead for the closure (and any other beads that you would like for decoration)
- Sharp Scissors
- Sharp needle
- Straight pin
- Pencil or chalk
There are many embroidery directions for the blanket stitch, the chain stitch and the lazy daisy stitch on YouTube. Search by the stitch you wish to learn or you can use DMC’s stitch guide.
Directions:
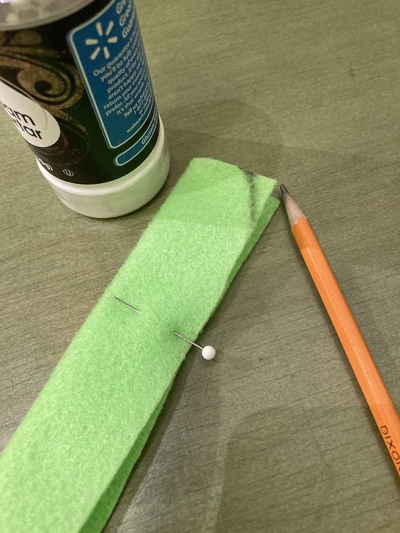
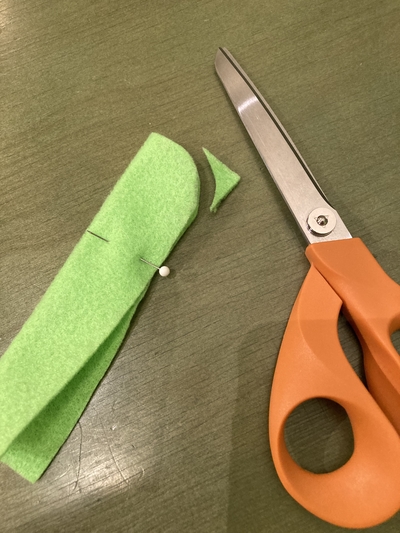 1. Fold the strip of felt in half lengthwise and pin the two halves together. To round the corners for the top flap, lay a spice jar or other small jar on the corner and trace the curve with a pencil or piece of chalk. Trim the corners using your scissors. When you unfold your felt, your corners should match and the flap of your pouch will have a nice curve to it.

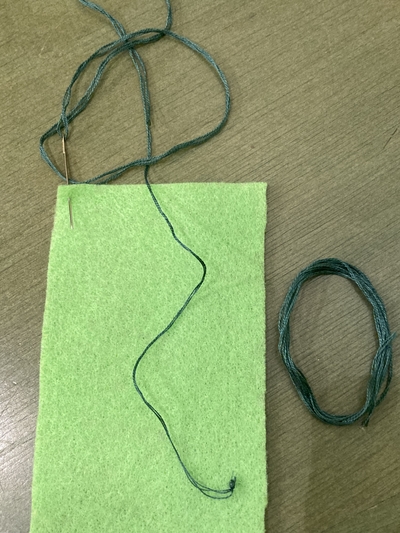 2. Measure out a length of embroidery floss, about the length of your arm and half your chest. Divide the floss into two equal parts. Each length will consist of 3 strands of embroidery floss. Do this every time you change to a new length of floss. Knot one end of the floss after threading it through the needle and before stitching. Always knot the floss on the wrong side of the fabric.
![]() 3. Using the blanket stitch, stitch across the flat end of the felt strip. Knot your floss on the back and trim the thread.
3. Using the blanket stitch, stitch across the flat end of the felt strip. Knot your floss on the back and trim the thread.
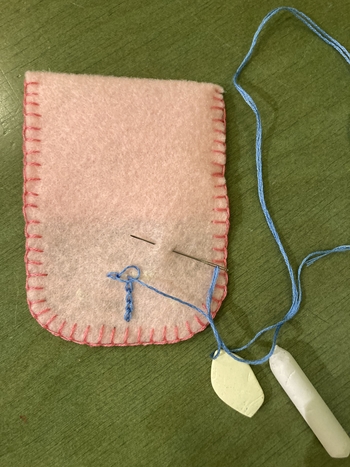
![]() 4. Turn the felt strip over and fold the end you have just embroidered up about a third of the way, then pin it in place. Choose a fresh length of floss. (The one you just used will be too short.) Begin stitching at the bottom left corner. Stitch the two sides together using the blanket stitch. Continue stitching over the top flap and then stitch the right sides together as you did for the left sides. You may run out of floss before the end. Make a knot on the inside and trim off any excess thread. Thread your needle with the leftover floss from the flat edge, picking up where you left off. Continue to the bottom right corner and knot on the inside.
4. Turn the felt strip over and fold the end you have just embroidered up about a third of the way, then pin it in place. Choose a fresh length of floss. (The one you just used will be too short.) Begin stitching at the bottom left corner. Stitch the two sides together using the blanket stitch. Continue stitching over the top flap and then stitch the right sides together as you did for the left sides. You may run out of floss before the end. Make a knot on the inside and trim off any excess thread. Thread your needle with the leftover floss from the flat edge, picking up where you left off. Continue to the bottom right corner and knot on the inside.
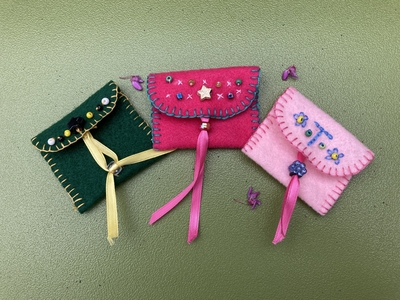
5. Here are some ideas for decorating the flap:
 Embroider a letter using chain stitch. Draw the letter with chalk or pencil first and then embroider over it.
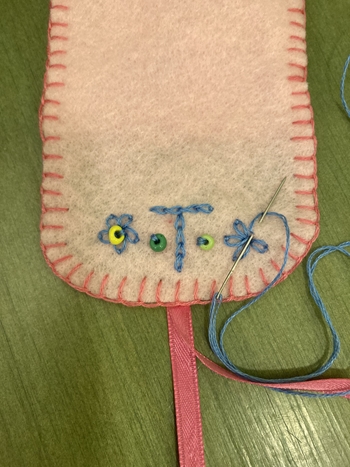 Embroider flowers with the lazy daisy stitch. Mark a center dot with chalk or a pencil and stitch 4-5 “petals” around the dot. Stitch beads in the center of the flowers.
 Stitch beads down and alternate with an embroidered “x” to make a geometric pattern.
 Skip the embroidery and stitch down the beads in a pattern.
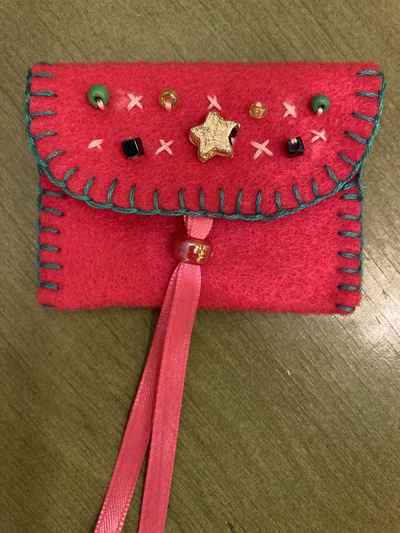
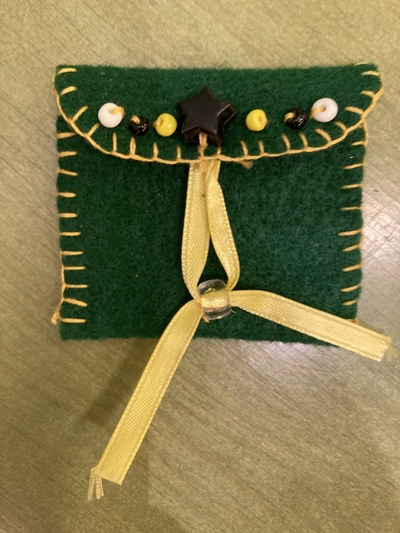
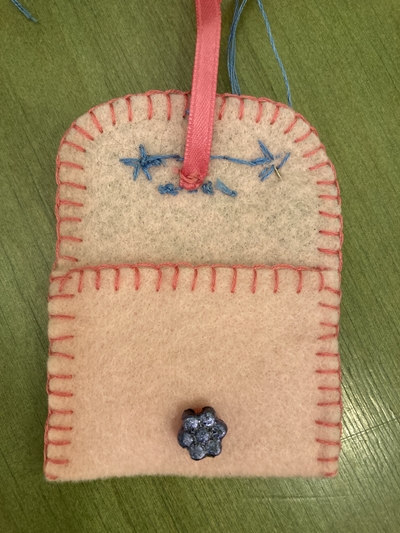 6. Fold the ribbon in half and stitch the folded end to the inside of the flap. Trim the ends into points.
7. Sew the bead with the largest hole to the center of the bottom section of the pouch. Slip the ribbon through the hole to close the flap.
If you enjoyed stitching this pouch, check out more fun embroidery projects at CreativeBug, a free resource provided by the library.
Have fun stitching!
This project was inspired by the tooth fairy pouches at Frockdolly at https://www.etsy.com/shop/Frockdolly.

