People all over the world have constructed traditions over time to create intentional spaces for unity, festivity and collaboration. Many of these traditions take place during specific times of the year, such as Dia de los Muertos (Day of the Dead) and Samhain, which take place around the midpoint of autumn. These holidays, which both memorialize those who have passed on, are inspired by culture and traditions, and also by the weather, as trees begin to lose their leaves and animals retreat into their nature homes. Many of our holidays are connected with Earth’s trip around the sun and the effects it has on our weather. In the case of winter holidays, humans like to celebrate warmth, hearth and home. Because people are inside more often, they spend more time with their family members, which makes winter a wonderful time to celebrate family and friends!
What these holidays and traditions celebrate specifically, however, varies greatly by culture and religion. For instance, Kwanzaa is a celebration of African-American and Pan-African culture, founded in 1966 by Maulana Ron Karenga as an affirmation of African values, culture and community. It is not a religious holiday but rather a time for African families and those of African descent to celebrate their heritage and culture. This differs from other winter holidays like Hanukkah and Christmas, which celebrate Jewish and Christian traditions respectively. Some families even celebrate a mix of some of these holidays — for instance, perhaps one parent is Jewish and the other African-American, and they wish to combine their practices.
My point with all of this is to communicate an opinion of mine, which is that holidays are awesome! They’re one of the best ways to celebrate family, culture and traditions. There are, of course, lots of activities you can do even if you don’t celebrate any of these holidays — a walk in the chilly winter air, telling ghost stories around a fire and making warm foods are all fun no matter what you’re doing them for!
Today, I’d like to share some festive crafts that anyone can do to get in the winter holiday spirit. I won’t claim to be the crafty queen, but it’s okay if your crafts are messy and not picture-perfect. The fun part is making something!
A Kinara And Menorah Craft
Candles are common symbols of hearth and home in the dark of winter because they have been used for centuries to bring light to humans during dark times of the day or year. They are also very important in many winter holidays Kwanzaa, Hanukkah, Yule and Advent all use candles to mark days in celebration. There is even a Celtic holiday in January or February, called Imbolc, that many refer to as ‘Candlemas’ because of all the candles lit during its celebration!
For this candle craft, we won’t be using real candles, because fire can be dangerous to work with. Instead, we will use cut paper, sequins or anything else you can think of to create the shapes of fire.
I found this lovely paper-plate menorah craft on Sophie’s World’s YouTube channel. It is simple with clear instructions and, while originally designed to be a menorah can easily become a beautiful kinara for Kwanzaa candles! I recommend giving this a watch if you need a hand!
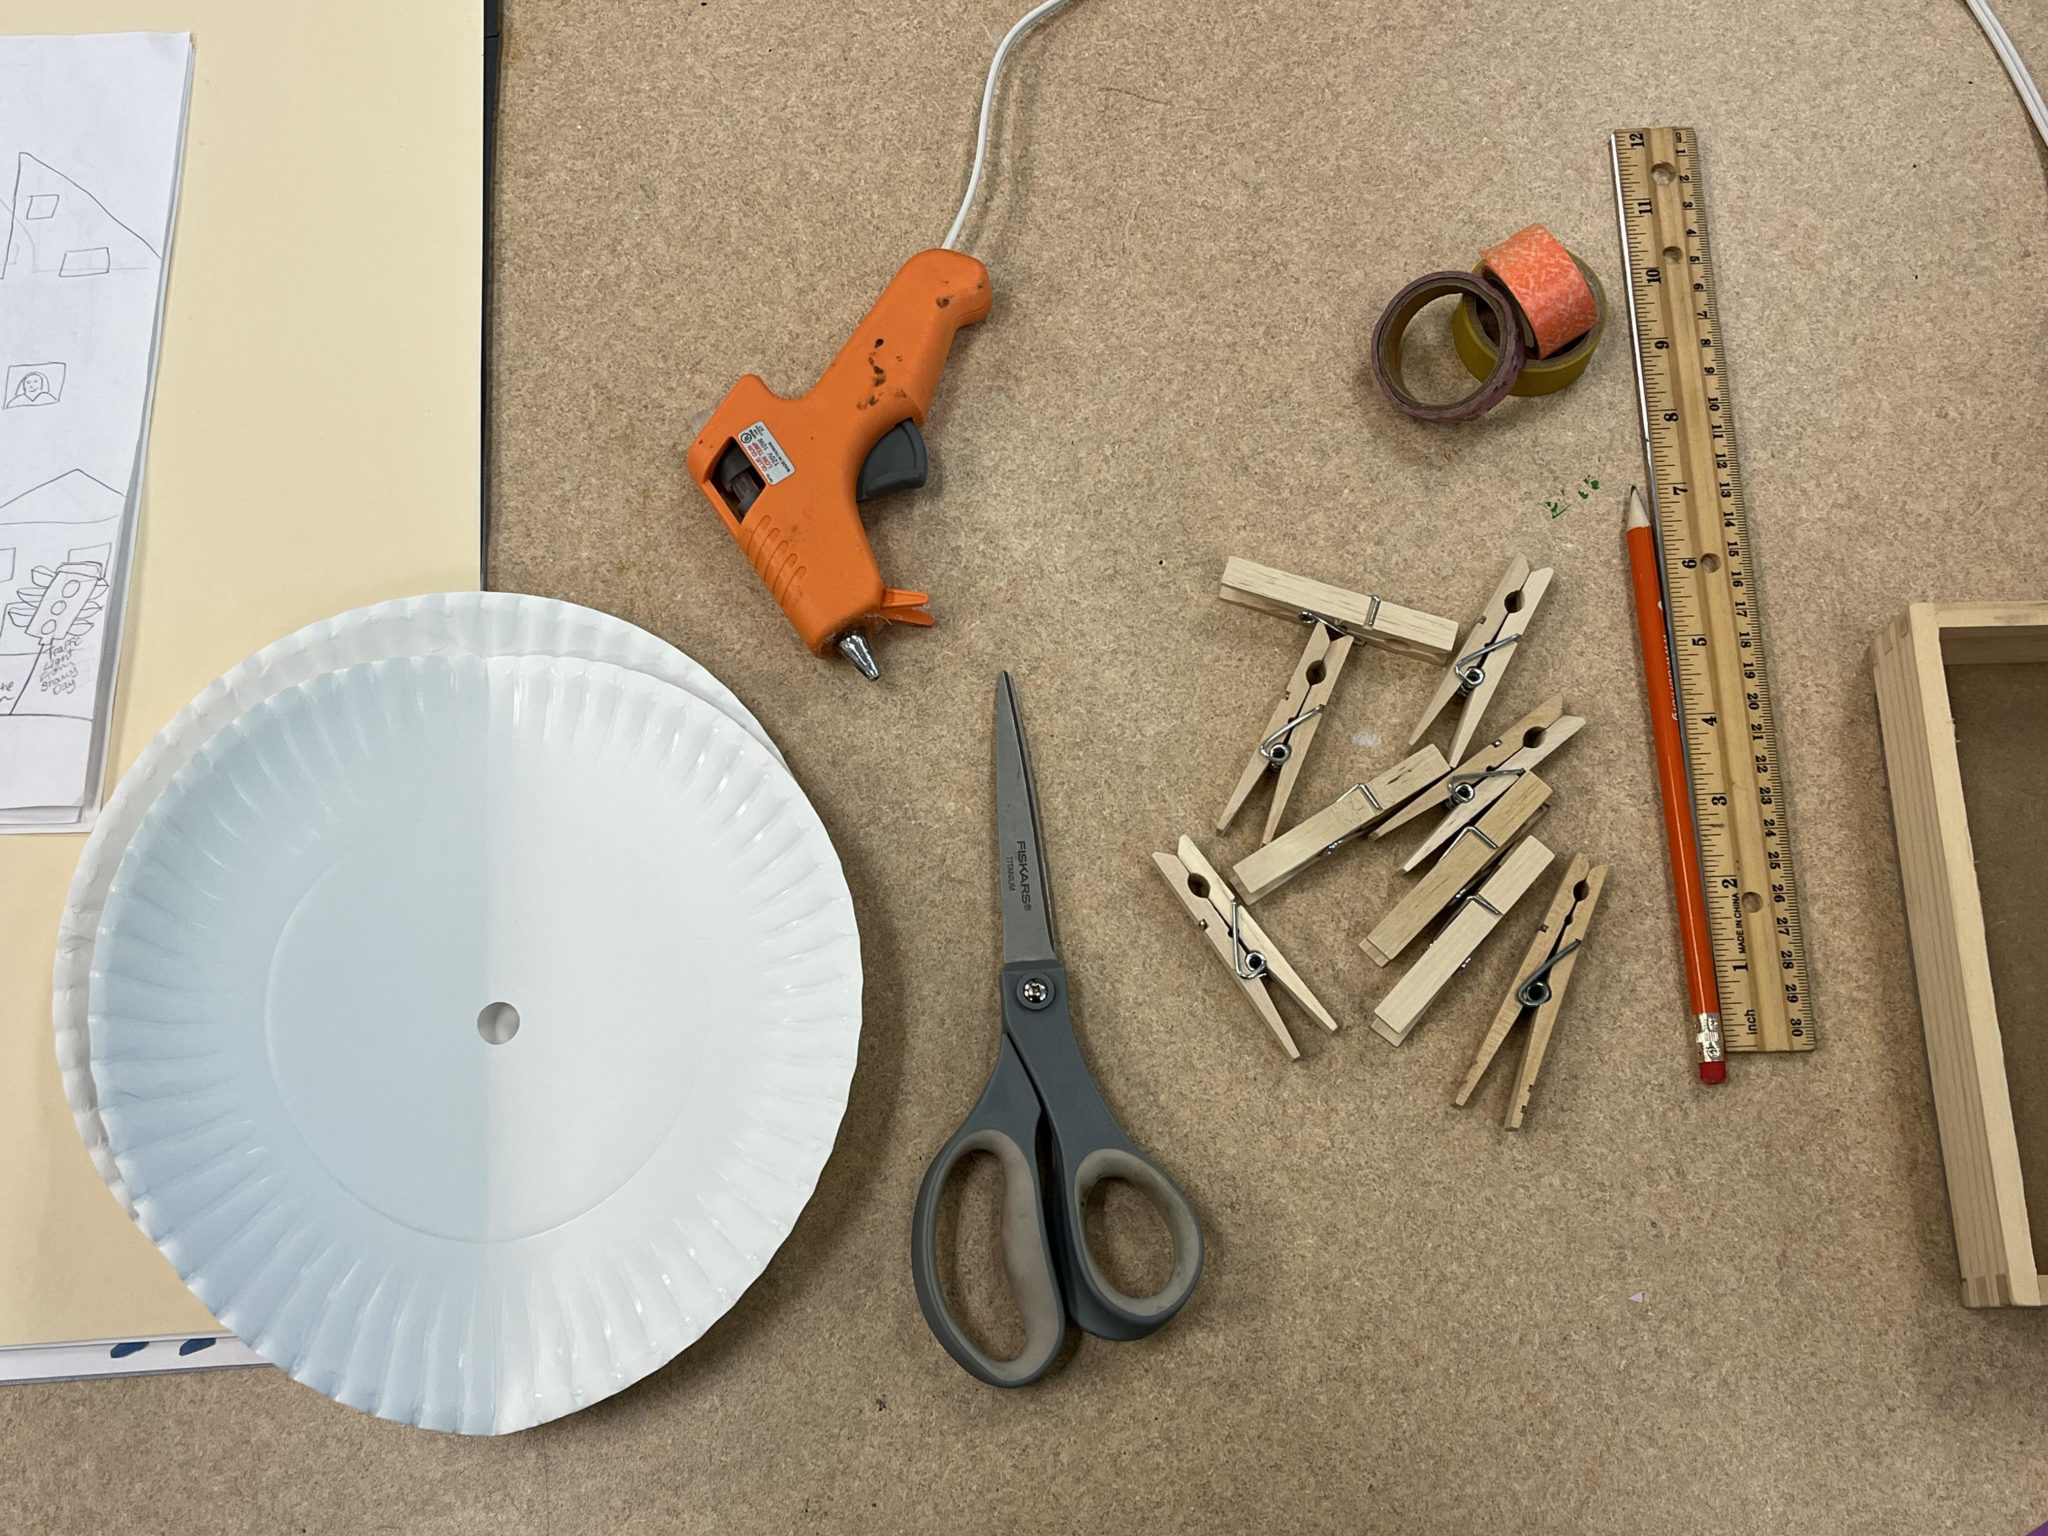
What You Will Need:
- 3 Paper Plates (henceforth referred to as PP1, PP2, and PP3!)
- Washi tape (or colored paper)
- Shiny sequins (optional)
- 7-9 clothespins (7 for a kinara, 9 for a menorah!)
- glue
- a pen
- a ruler
Kinara/Menorah:
fold PP1 in half, put glue around the curve on the inside, and fold the paper plate again so it is glued shut! Now you can decorate this plate.
Cut the outer rim off PP2 and PP3 so they are smooth on the edge. Decorate them with markers, paper, washi tape…anything you want! Then, glue them closed the same way you did with PP1.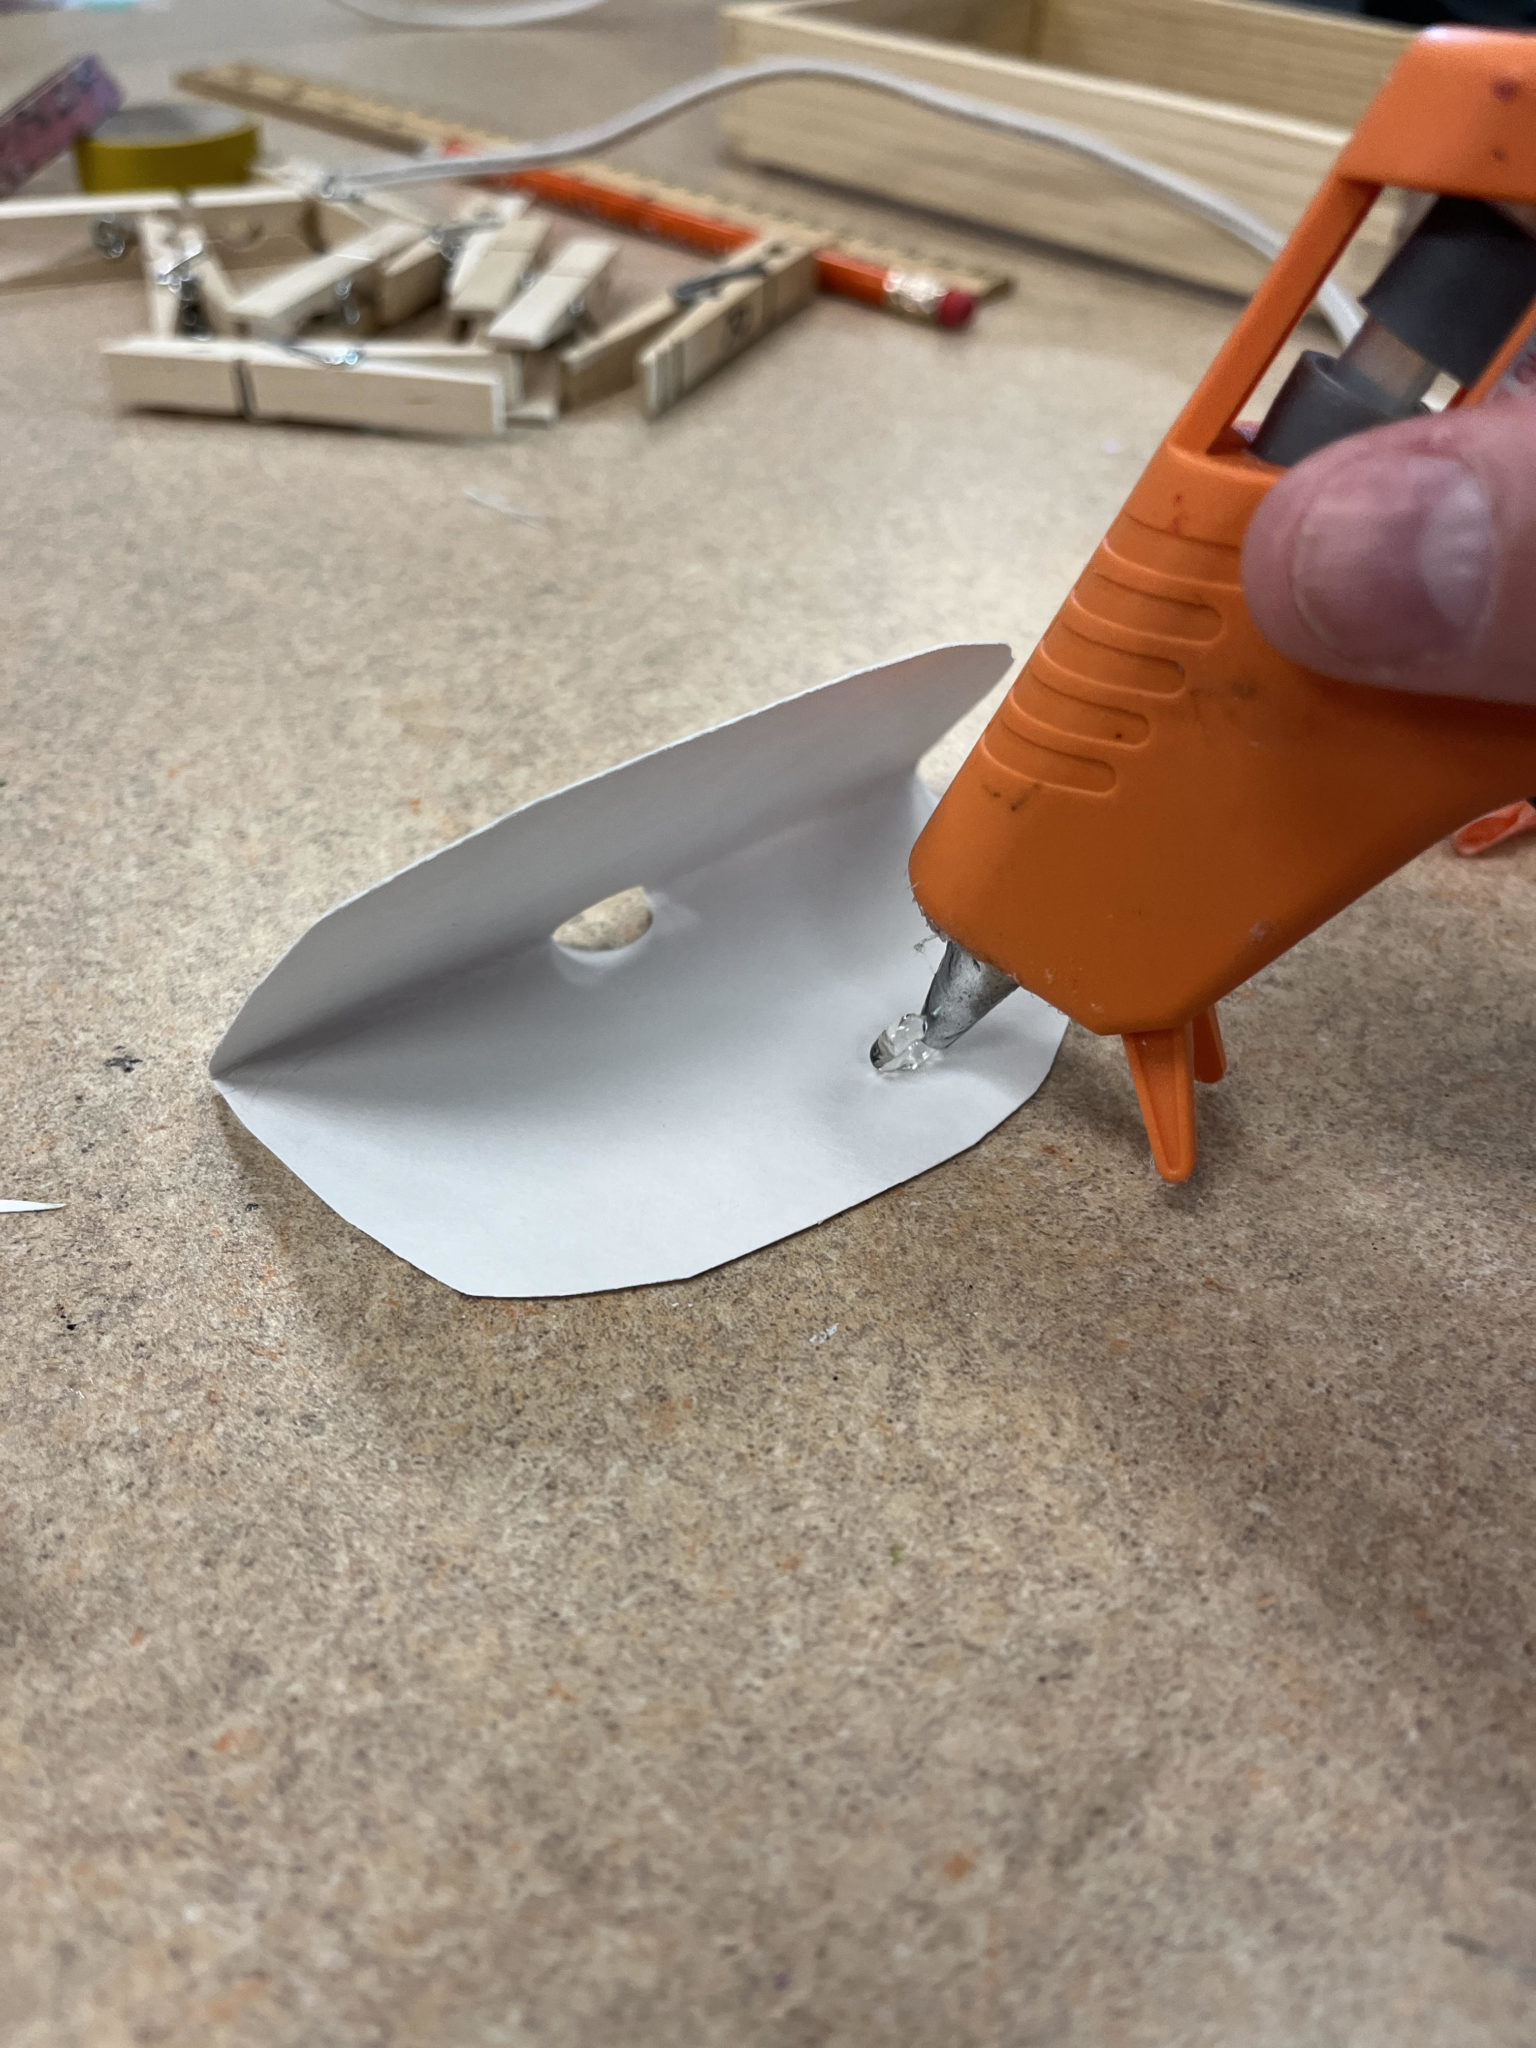
Using your ruler, find the middle of PP2 & PP3. Mark 1 inch down from the middle on the curved side (see pictures for help!)
Stack the plates so you can cut both of them at the same time. Cut in a straight line towards the point you made.


Now, measure 4 inches across on the curved side of PP1. Make two marks for 4 inches. Now, measure straight up 1 inch from both of these points and make a mark to indicate. Now you can cut to the 1-inch mark for both and create slots for PP2 & PP3 to slide into.
Now you have a menorah or kinara that stands up on its own!

Candles:
Place washi tape along the sides of the clothespins for decoration.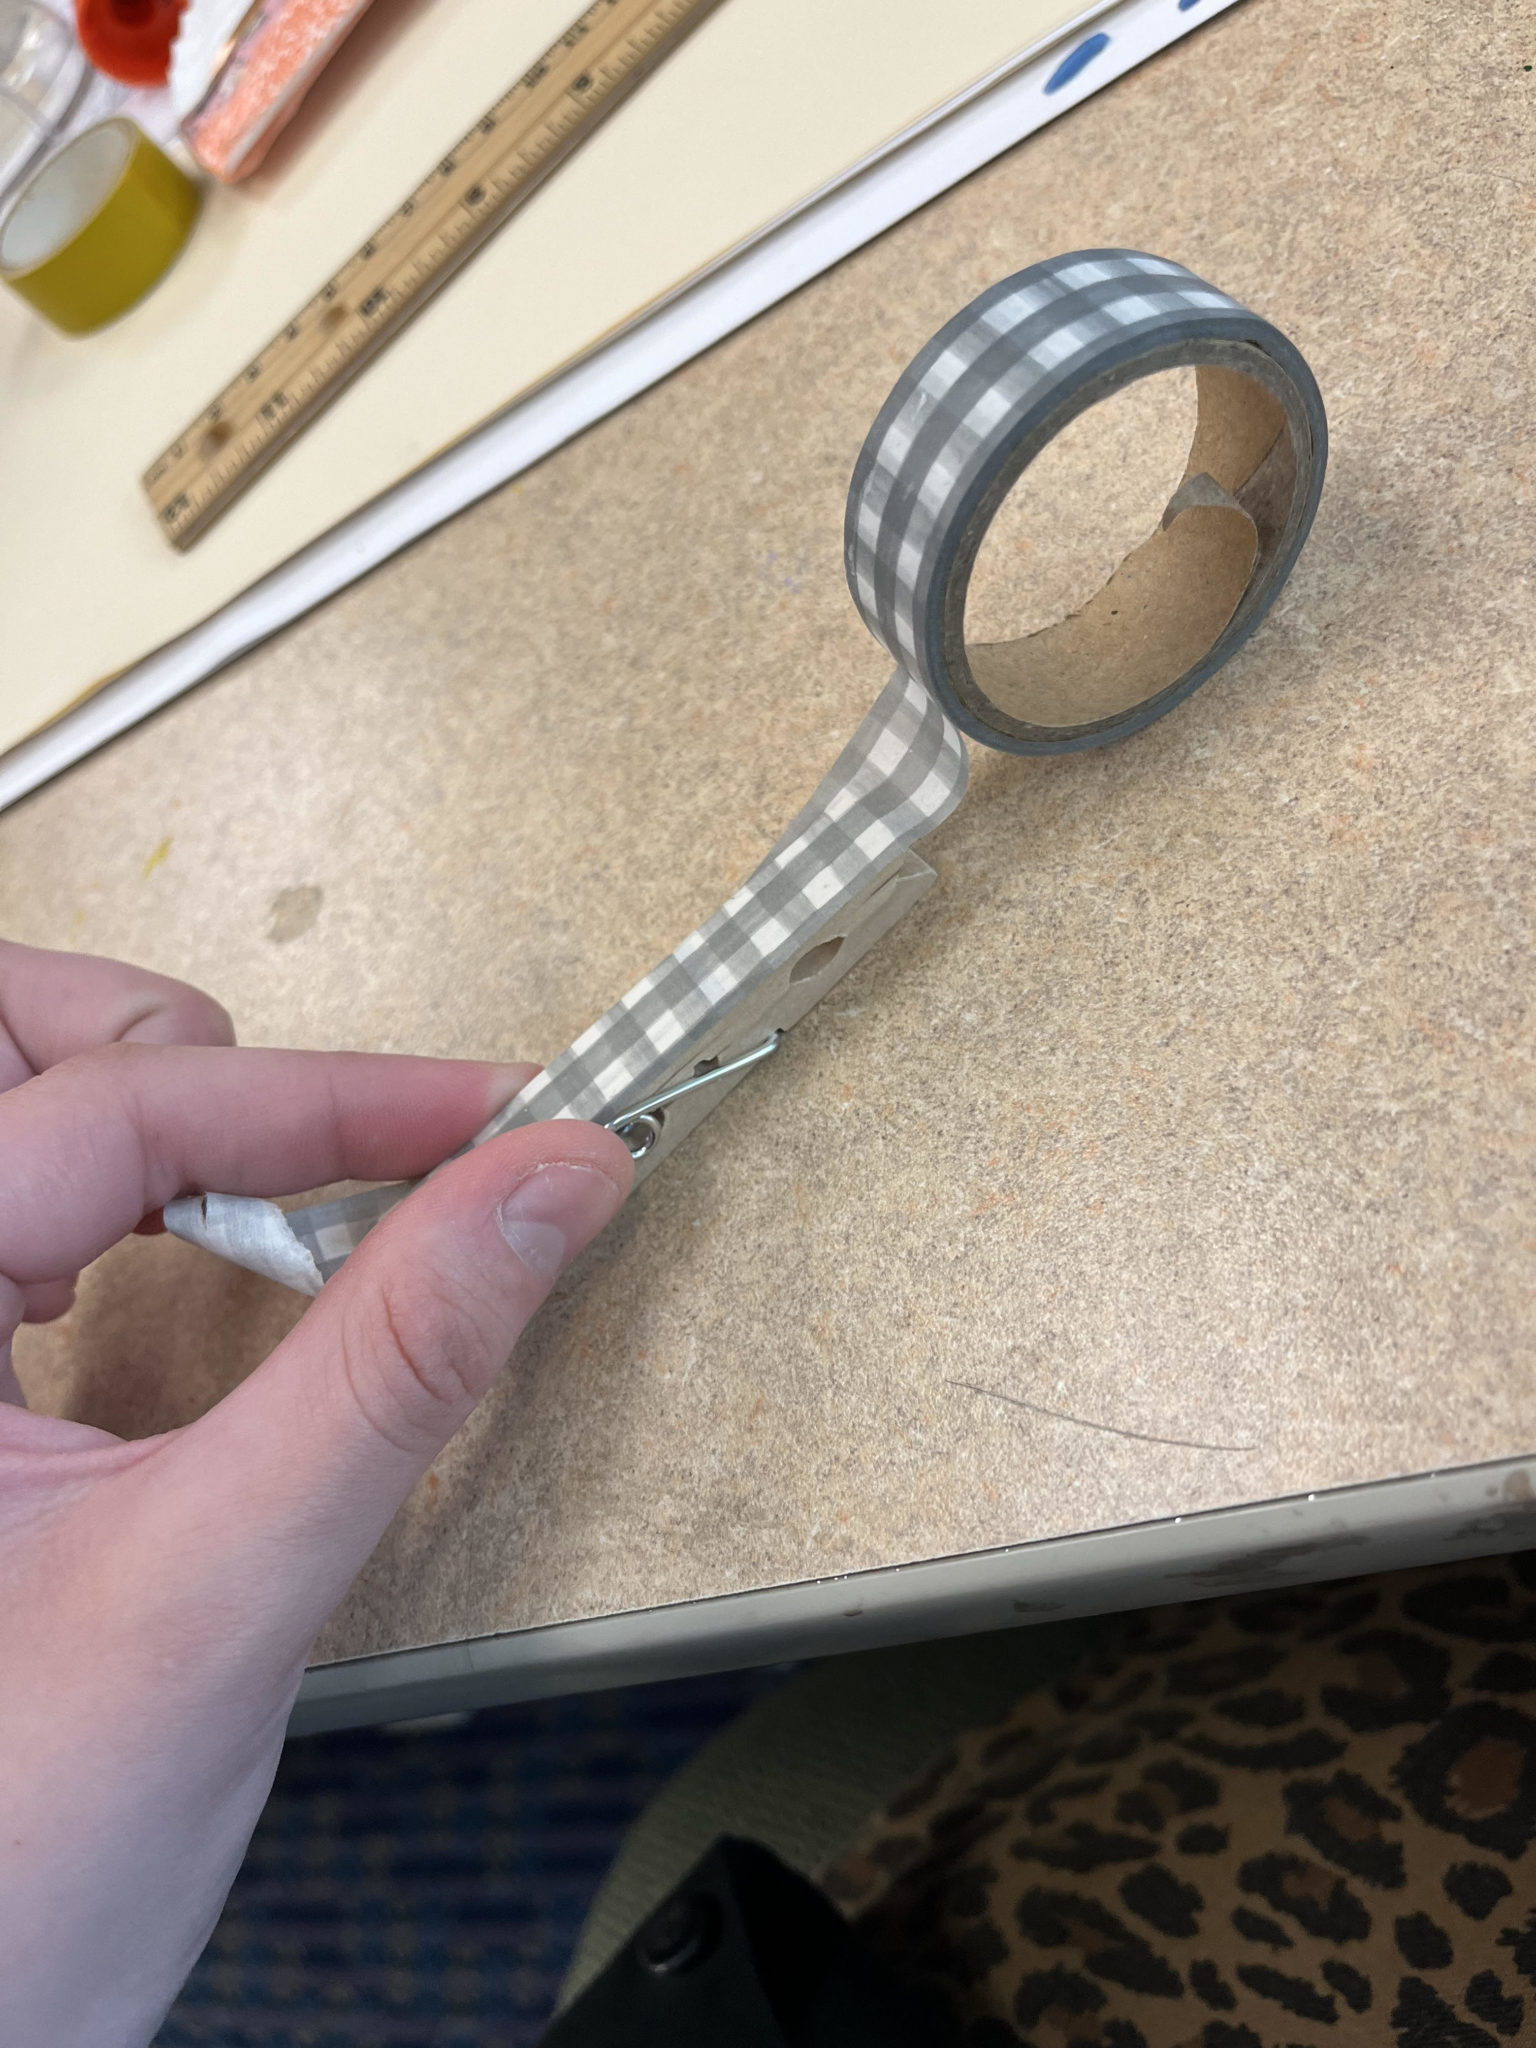
Glue some shiny sequins, paper, or anything you like to the top of the clothespins to represent the flame. I used shiny gold washi tape since washi tape ended up being way more fun to use than I expected.
Clip them onto PP1. You can do this all at once or gradually put each candle on as candles are lit during the holiday. It is up to you and your family’s traditions!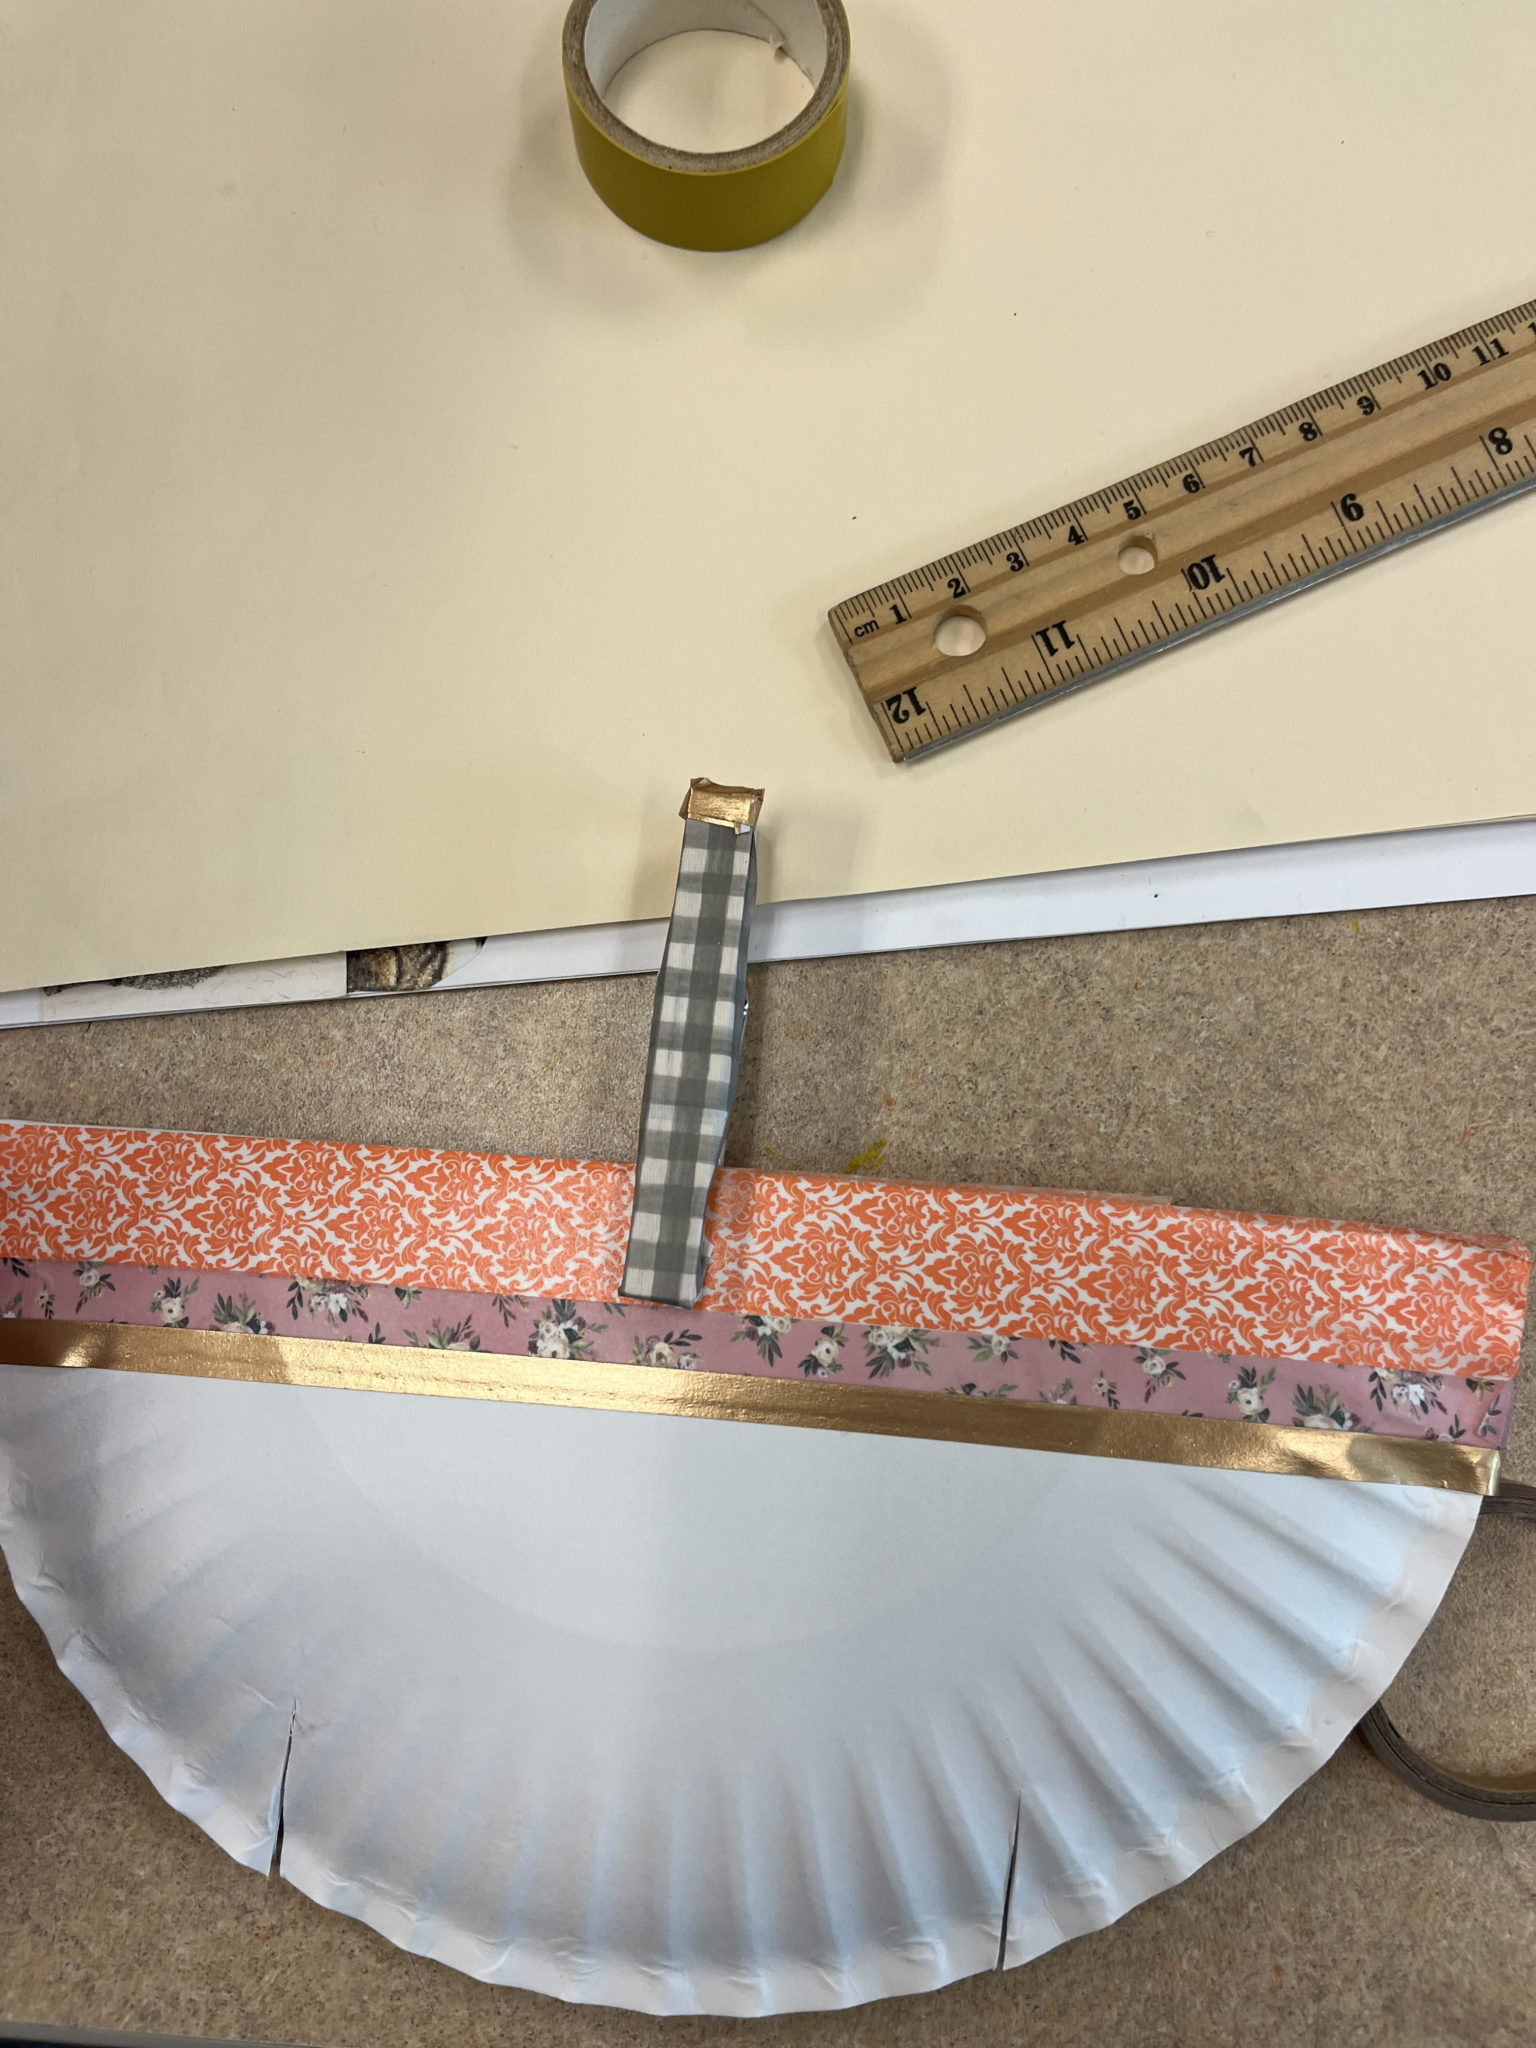
If you celebrate a holiday that uses candles differently, such as Advent, which uses a wreath, you can make your own twist on this paper plate craft. Use the circle of a paper plate as a wreath or even cut snowflakes out of them! The limit is your imagination. 🙂 I have included some pictures of wreaths I made with the paper plate rings I cut off, along with a whole other wreath craft at the bottom of this page if you’re interested!
The bottom wreath is an Advent wreath! For these, I made the candles with foam paper on the clothespins rather than washi tape. I liked our shiny washi tape for the flames, so they stayed!

The top one is a Yule wreath. I couldn’t find any pinecones, sadly, so I just used some craft supplies! Also, note that the star for my pentacle is super off-center remember that your crafts never have to be perfect. They just have to bring you joy!
Pumpkin Bread
Another thing people all around the world love to do in cold seasons is make delicious foods to share with their families. Warm foods like bread fill up our bellies and hearts when it’s chilly outside! Today, I will be sharing my family’s pumpkin bread recipe that we make yearly — it can easily be made gluten-free with 1-to-1 gluten-free flour and a teensy bit more baking powder than the recipe calls for. Other breads eaten around this time include Rosca de Reyes (Three Kings Bread, Latin America) and Cozonac (Romanian sweet bread with cocoa swirls! Mmm!). You could even ask your family if they have any culinary traditions for the time of year. My dad makes goulash when the weather is right…it’s truly an experience in flavor! It also helps me feel connected to my ancestors because it was my grandmother’s recipe. Family recipes always taste the best, which is why I’m willing to share mine!
Not-Just-for-October Pumpkin Bread
What You Will Need:
- A sifter, fork or wire whisk
- Two bowls, one needs to be big
- A greased 9×5 inch pan
- 1 1/2 cups granulated sugar
- 1 1/2 cups brown sugar
- 1 cup vegetable oil
- 1/4 cup orange juice (TRUST ME!!)
- 3 eggs
- 2 cups pumpkin puree
- 3 cups flour
- 1 1/2 tsp ground cloves
- 1 1/2 tsp cinnamon
- 1/2 tsp allspice
- 1 1/2 tsp nutmeg
- 1/2 tsp baking powder
- 1 tsp baking soda
- 1 1/2 tsp salt
- A dash of maple syrup (optional)
- Chocolate chips, nuts or berries (optional)
Mix your sugars, juice and oil, and then beat in the eggs and pumpkin. (If you don’t have a beater, they’ll be fine hand-stirred!) Use either your sifter or your other bowl and a whisk/fork to sift together your dry ingredients so they can aerate. Add this to the creamy mixture and blend. Now, you can put in any dried fruit/nuts/etc that you may want. I am personally a sucker for chocolate chips!
Gluten-free folks: To get a solid springiness in your bread, I recommend making sure your flour blend has xanthan gum or another leavening agent in it. If you like a risen, fluffy bread, you can add a teaspoon of apple cider vinegar — both for leavening and flavor!
Fun fact: Pumpkins have symbolic meanings in some cultures. They are commonly interpreted as symbols of gratitude, generosity, harvest, and abundance! I recommend thinking hard about what you’re grateful for as you bake this bread. For instance, when I make this bread for friends or family, I like to allow myself time to remember the reasons I love them. The bread is a way for me to show my thanks and make others feel warm and happy.
A Wreath-Making Craft
A wreath is a fantastic way to celebrate any holiday. The best part about them is that you can customize them to anything you wish — you can make a wreath for Christmas, Yule or even Kwanzaa! It all depends on how you want to celebrate your holiday. I was inspired by this post for this lovely wreath craft because of its simplicity and the way it utilizes natural parts of the world around us. No matter where you live, you will be able to find native plants to add to this wreath.
You will need:
- One big piece of cardboard
- A big circular or cylindrical thing and a smaller one (I used a paint bottle and a cup–you can use anything that works! These are for tracing)
- A pen
- Scissors
- Rubber bands
- Tape
- Glue (hot glue works best, but a grown-up should use it!)
- …and everything you want to put on the wreath! This can include pine needles, twigs, pebbles, berries, pinecones, leaves, etc. (If you wanted to make it an Advent wreath, for instance, you could cut out candle-shaped pieces and add yellow paper to each piece as the weeks of Advent progress.)

Place the big bowl upside down on the cardboard and trace around it with your pen. It’s OK if your tracing is a little off — the decorations will cover up any lines or imperfections!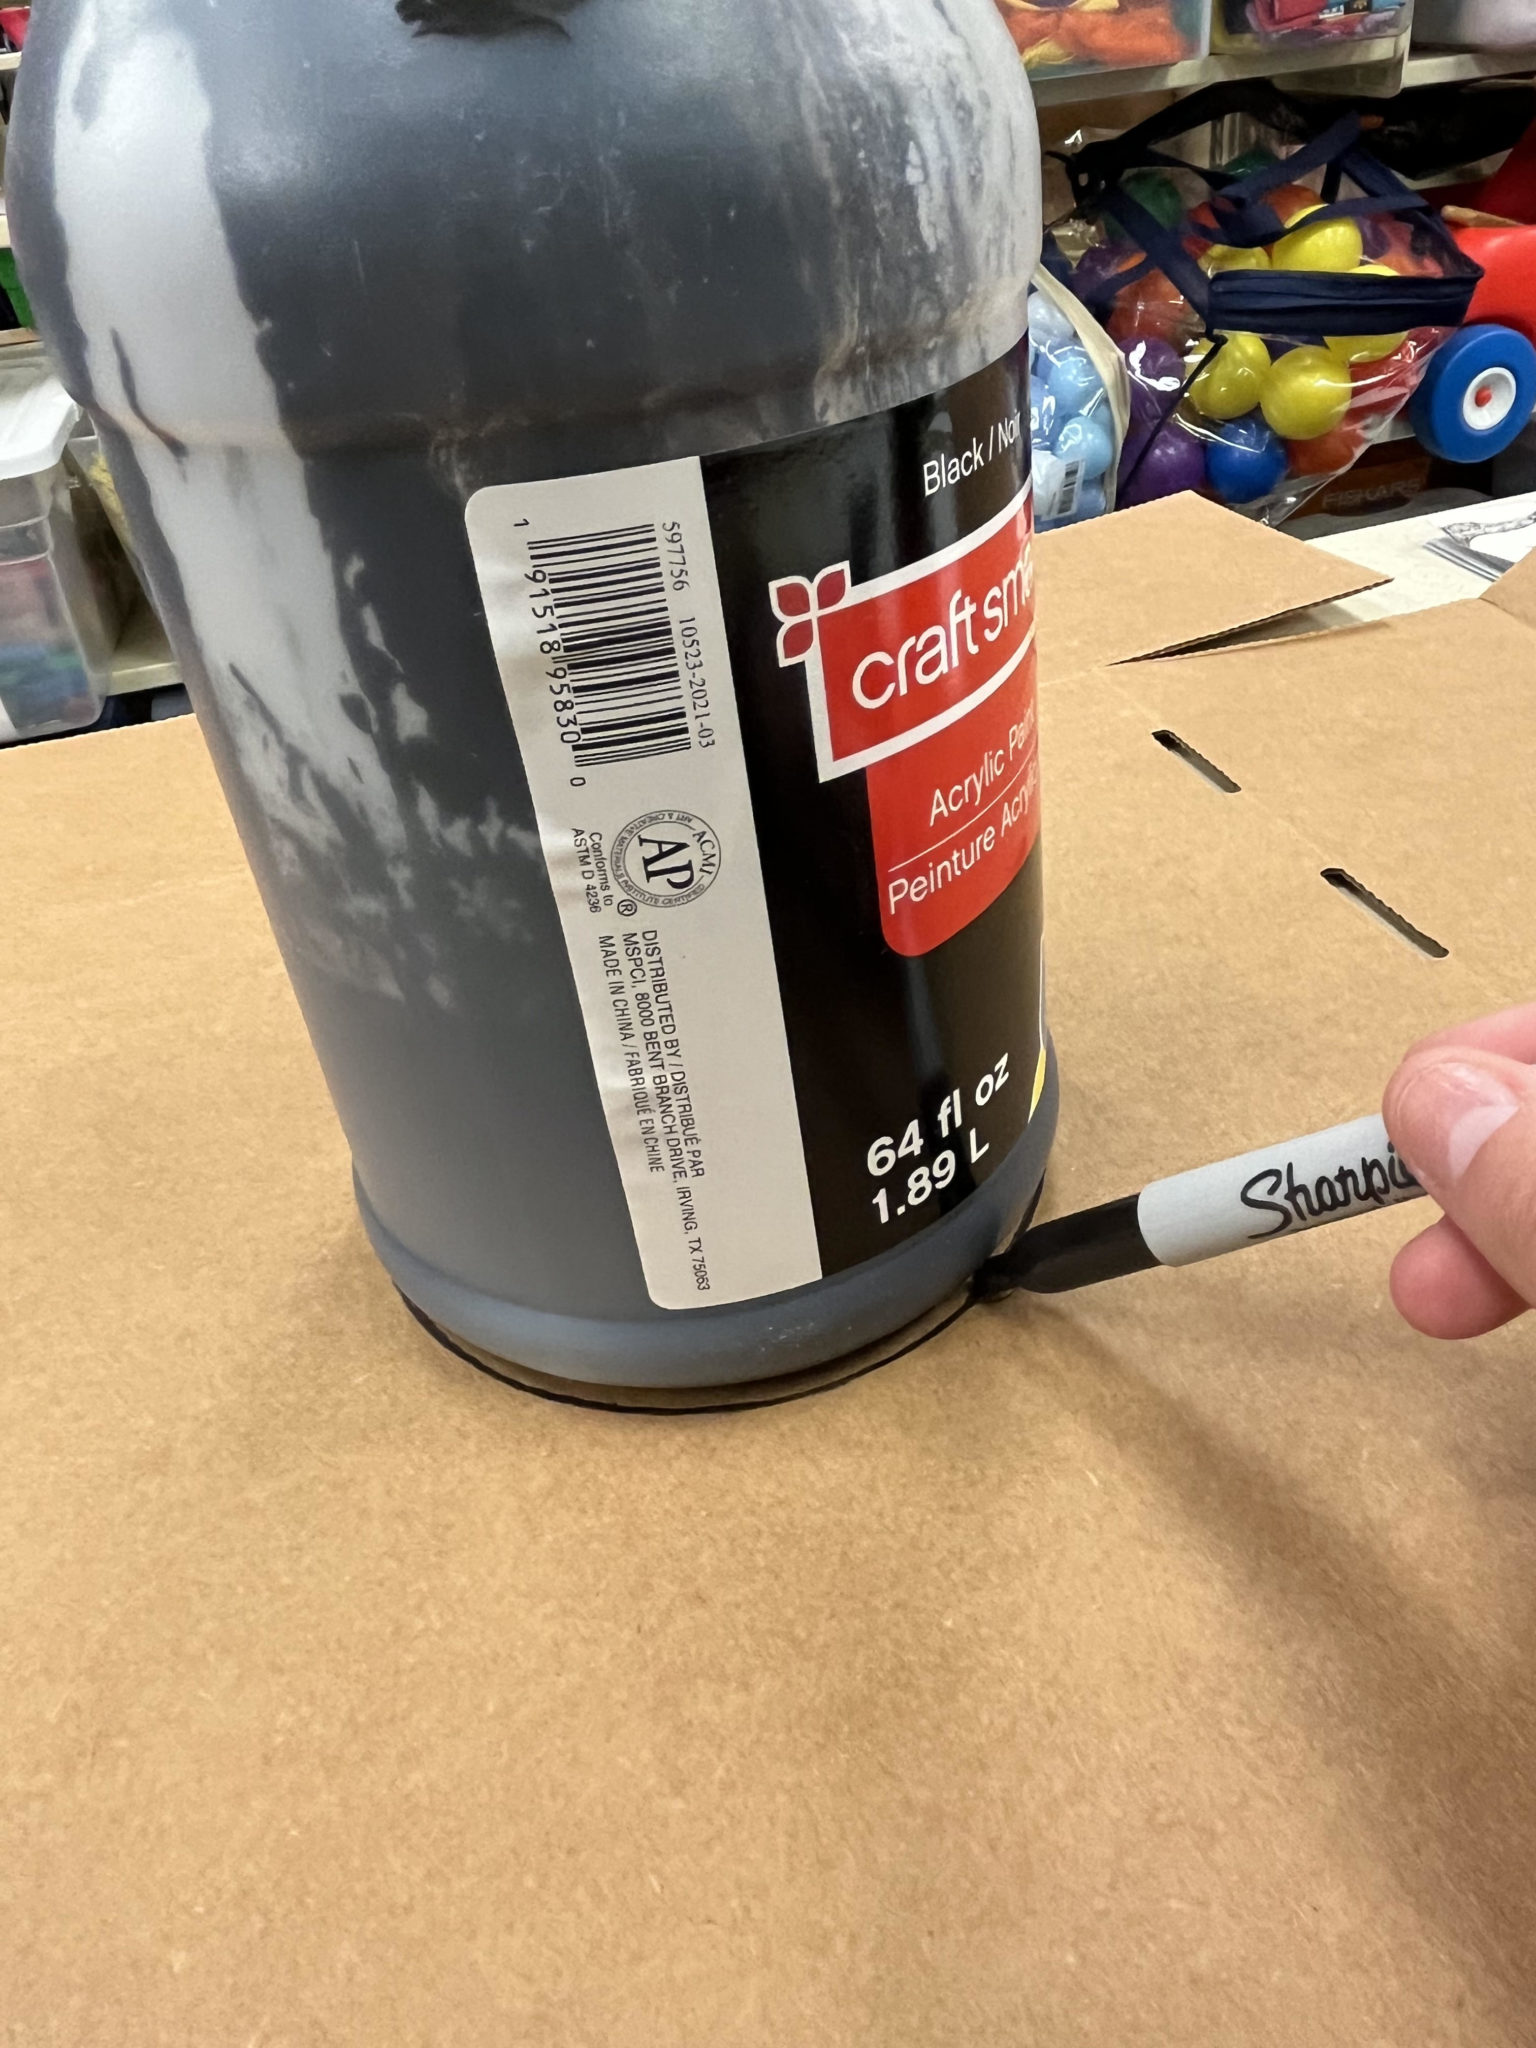
Place the smaller circle inside the shape of the big circle on the cardboard and trace it as well.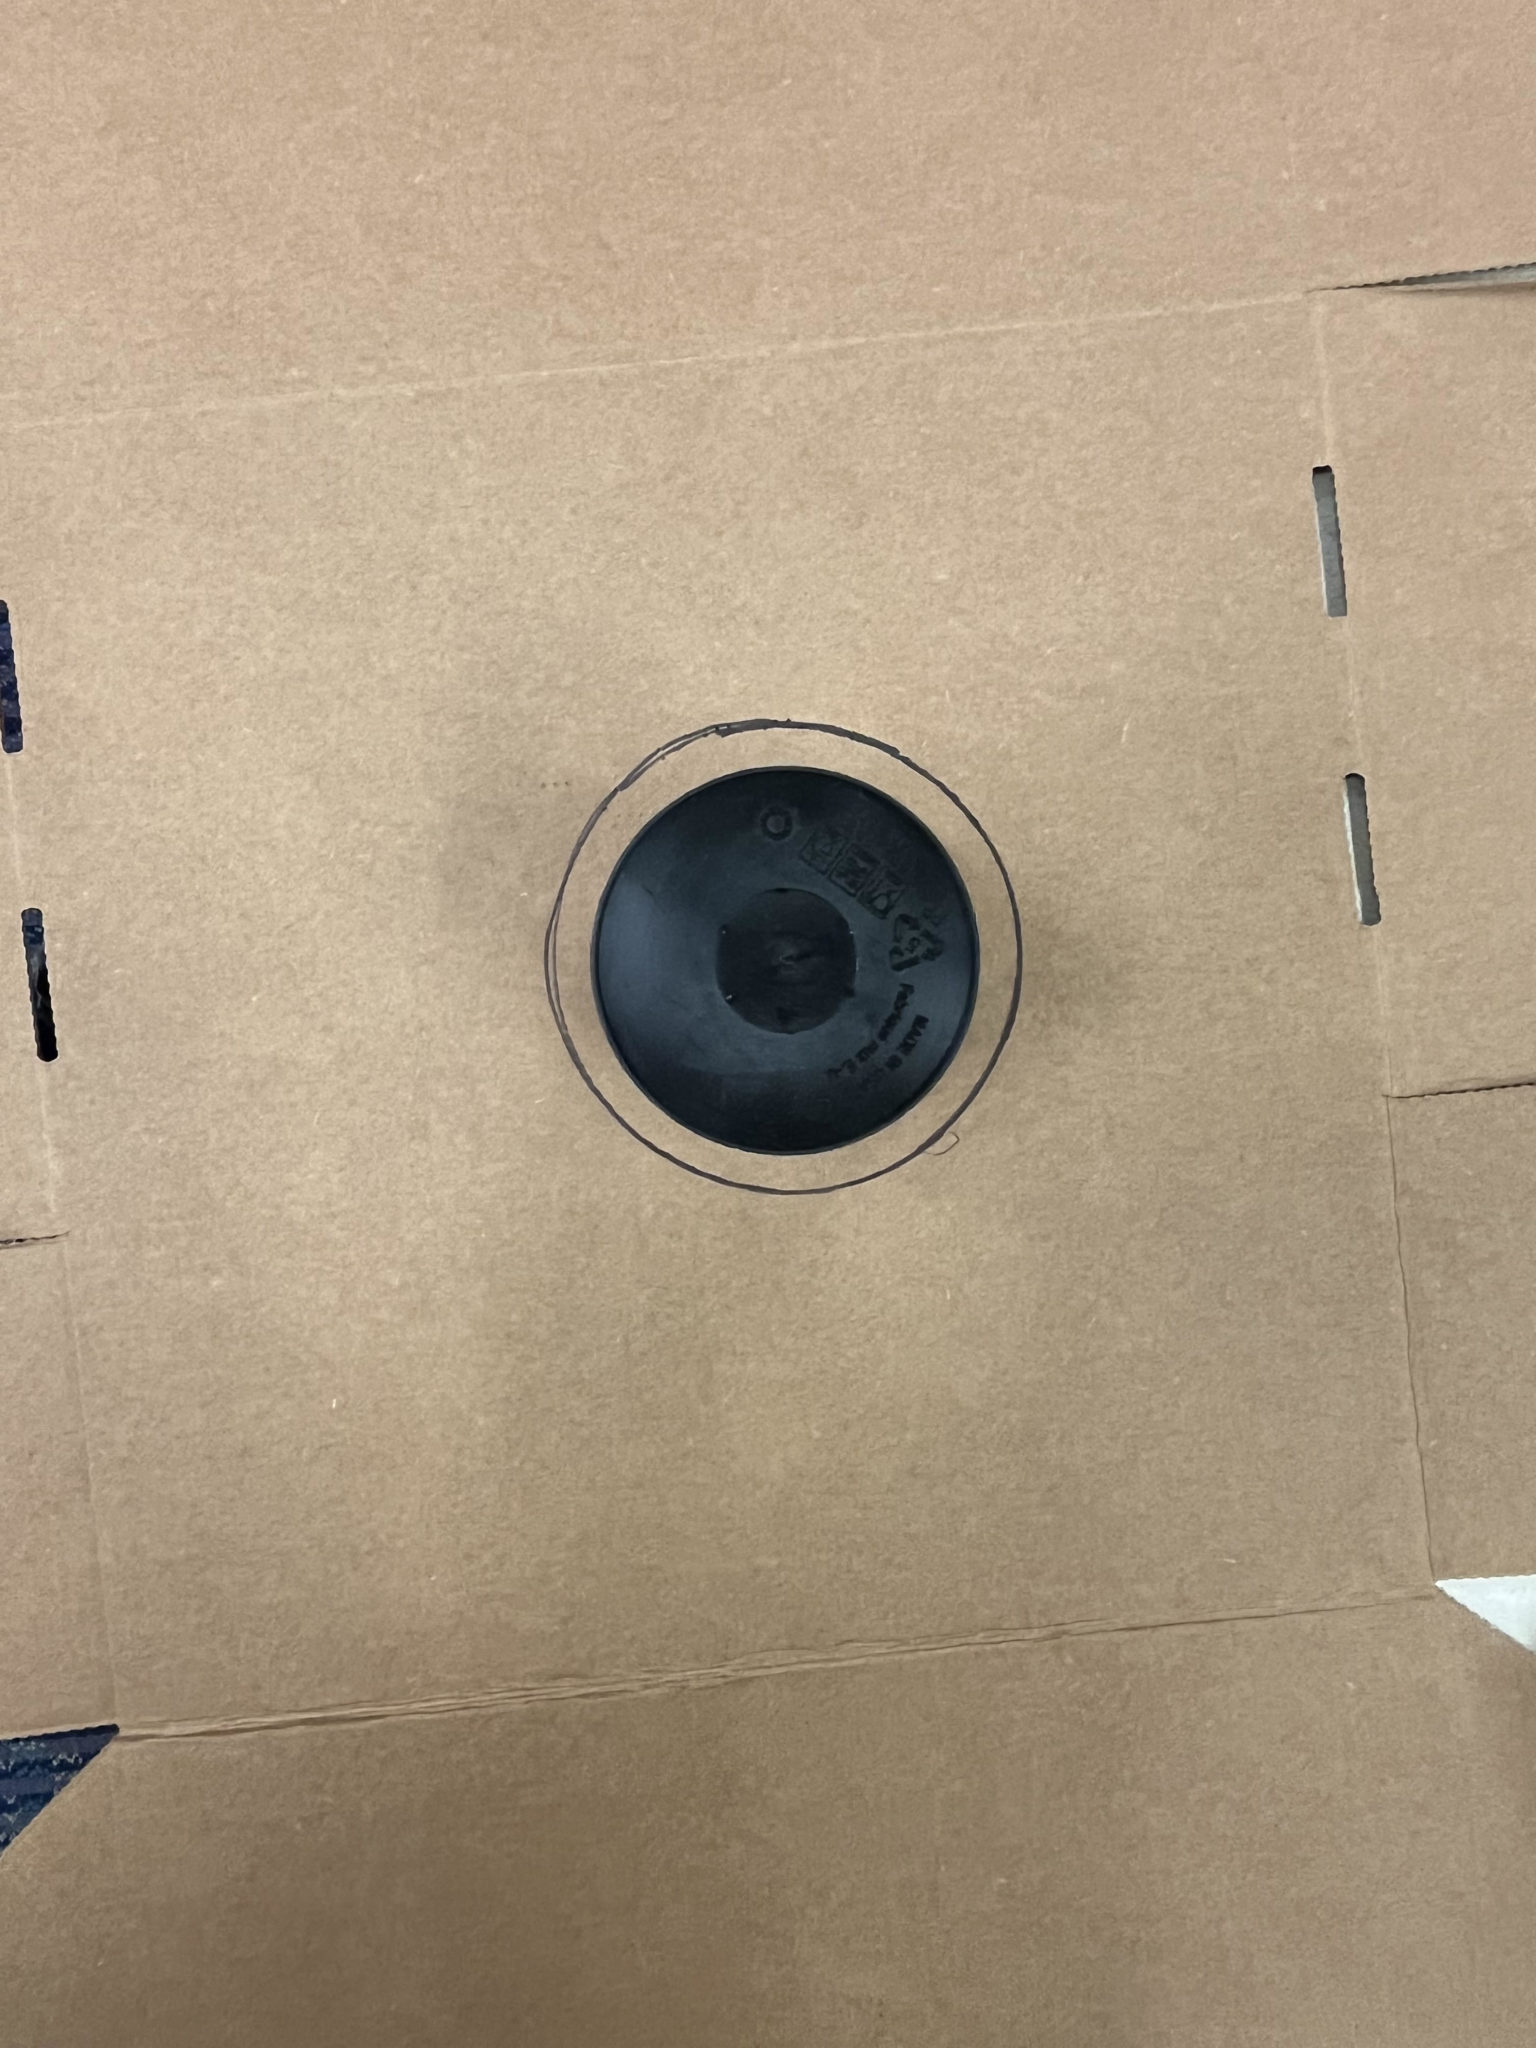
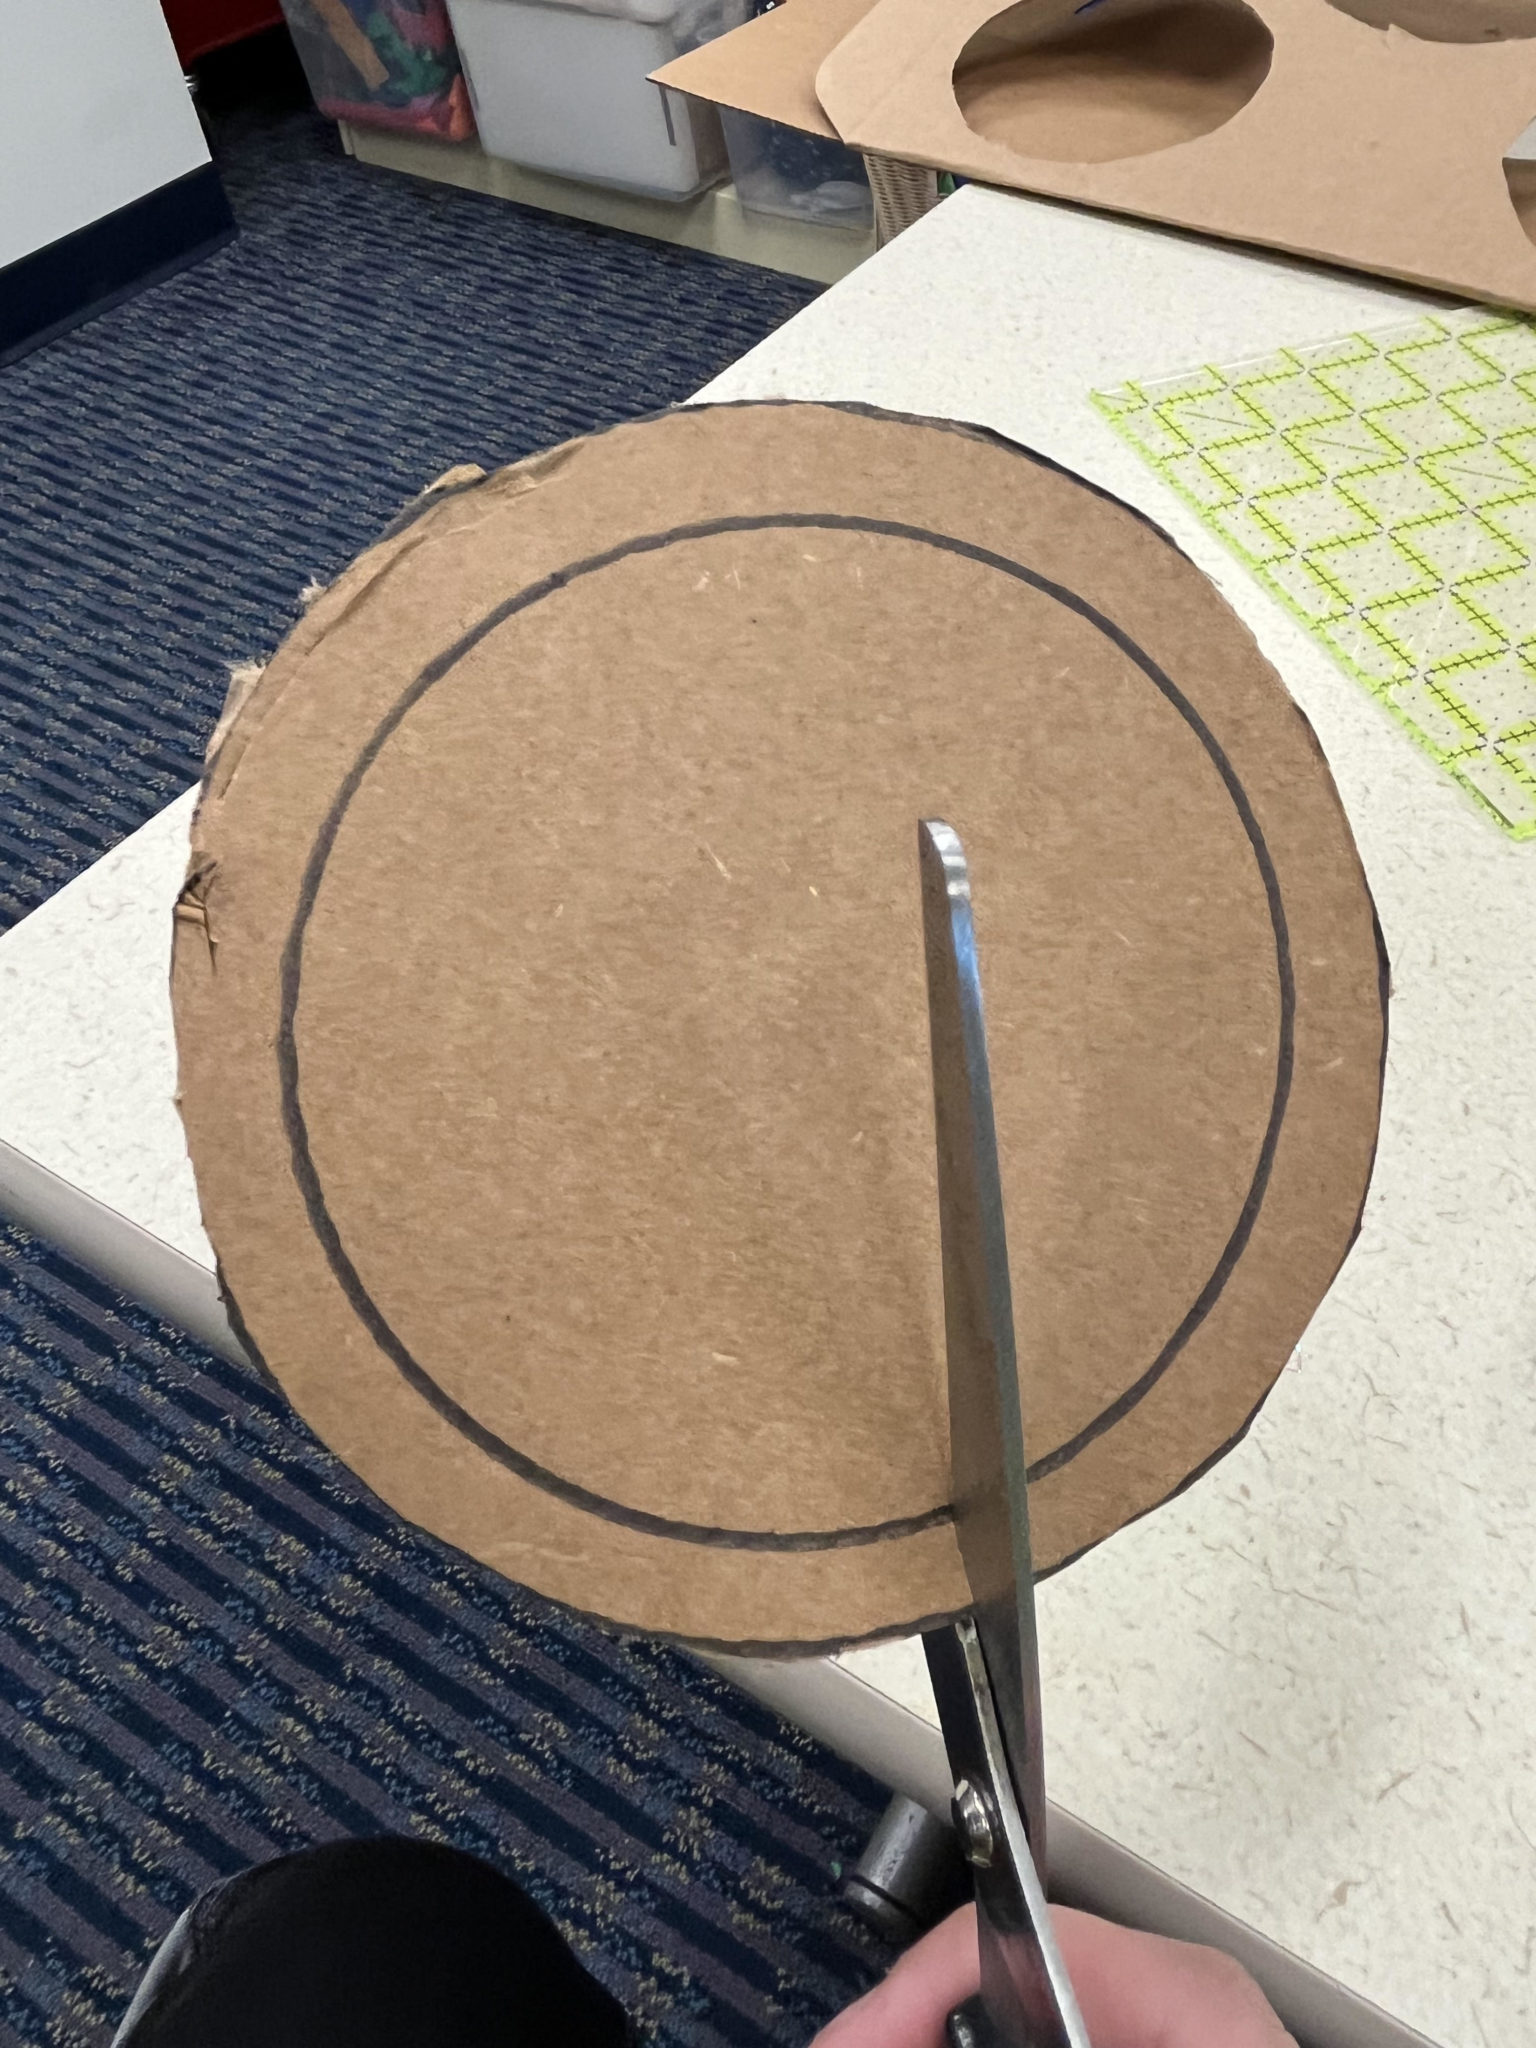
Now you can cut them out. If you’re able, use scissors to cut into the edge of the cardboard to cut the middle circle out. It’s okay to cut the circle itself! Just wrap the tape around it to fix it. 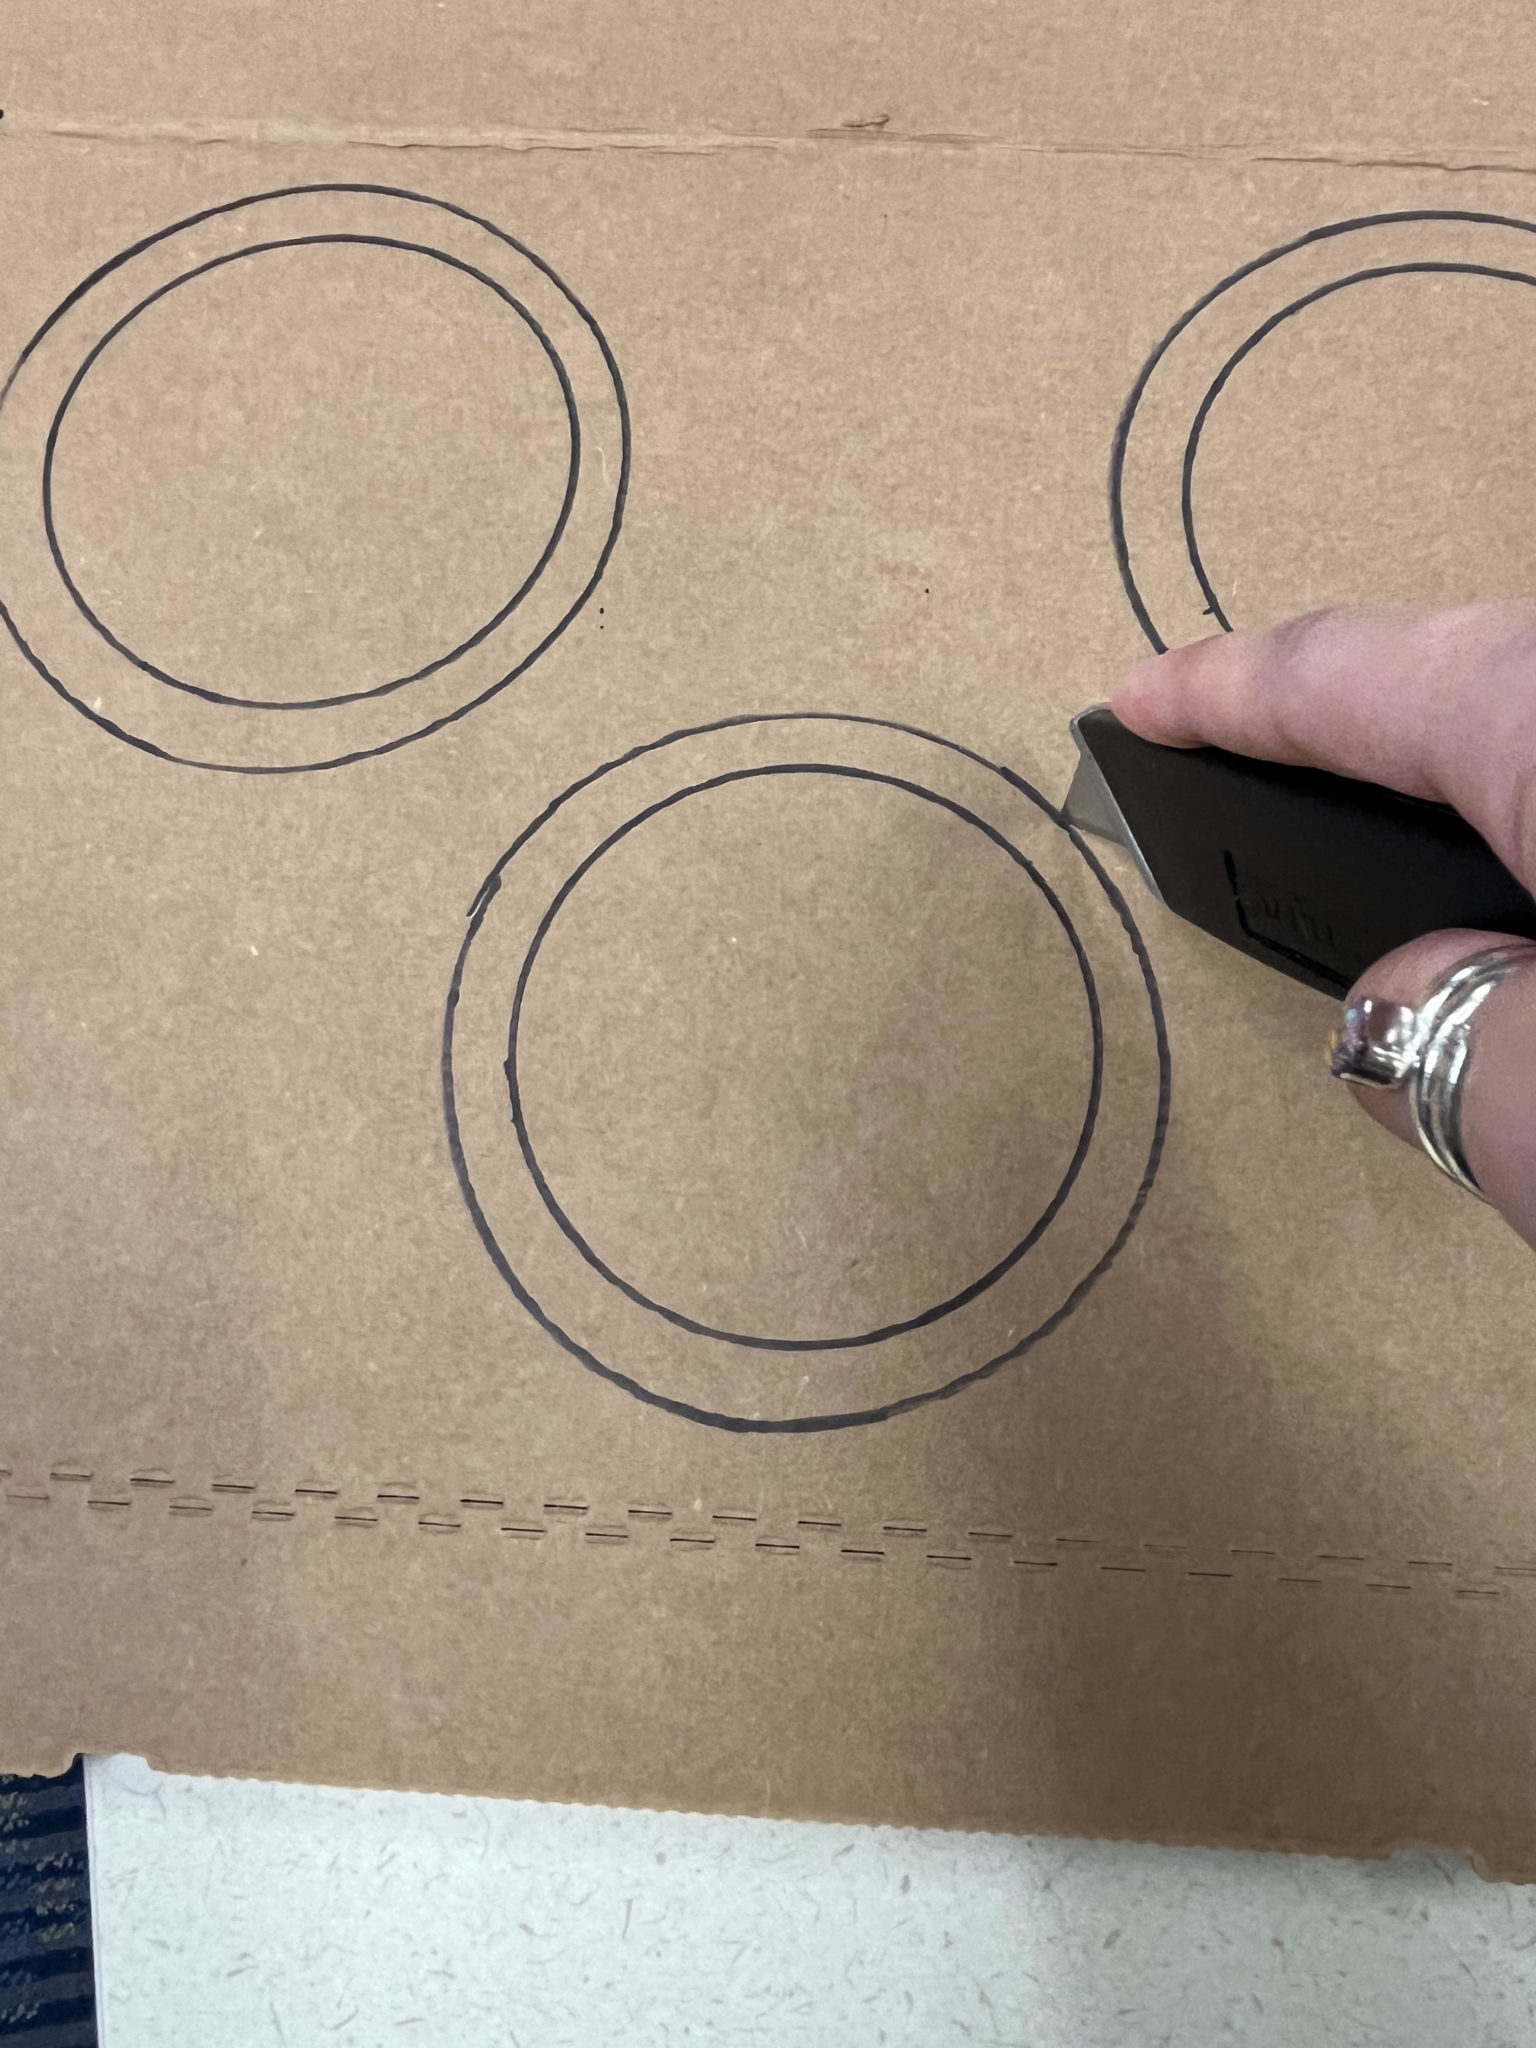
NOTE! I used an X-Acto knife for this project, but I honestly don’t recommend it. Scissors are much easier and honestly less dangerous!
The cardboard circle is now a base for the decorations you chose. I recommend starting with the fluffy stuff, like leaves or pine needles, because twigs/berries/other small things will get lost under them.
Go wild! Put as many (or as few) decorations as you like.
My favorite part of this project is having an extra excuse to pick cool things off the ground outside. Rocks, stems, twigs, leaves…it’s safe and even healthy for a tree to lose a small amount of leaves to your crafting, too! You can pick a few (three or four per tree is my rule) off with your fingers gently and it will not damage the tree. It’s best to gather leaves and other objects while on a walk so that you have access to all sorts of plants. Also, many foragers recommend trying to find recently fallen leaves if you want to avoid altering the tree. However, safety comes first, so here is an important safety tip: When you are going outside to forage for things to use on your wreath, check all your plants! Some plants, like yew berries, are seasonal and beautiful but dangerously poisonous to humans & animals. If you’re a big fan of plants, you can do some research (at the library!) on safe vs. dangerous native plants in your area and create a journal or digital notebook of plant identification. It’s a big project, but it’s very rewarding, and it will serve you well if you let it!
Here are the wreaths I made! I have one leaf wreath (say that 5 times fast), one Kwanzaa-inspired wreath, one Hanukkah-inspired wreath and a foam leaf wreath. Like I said earlier, you can do anything you want with these wreaths. You could even make them for non-winter holidays — I’m already planning my wreath for Imbolc.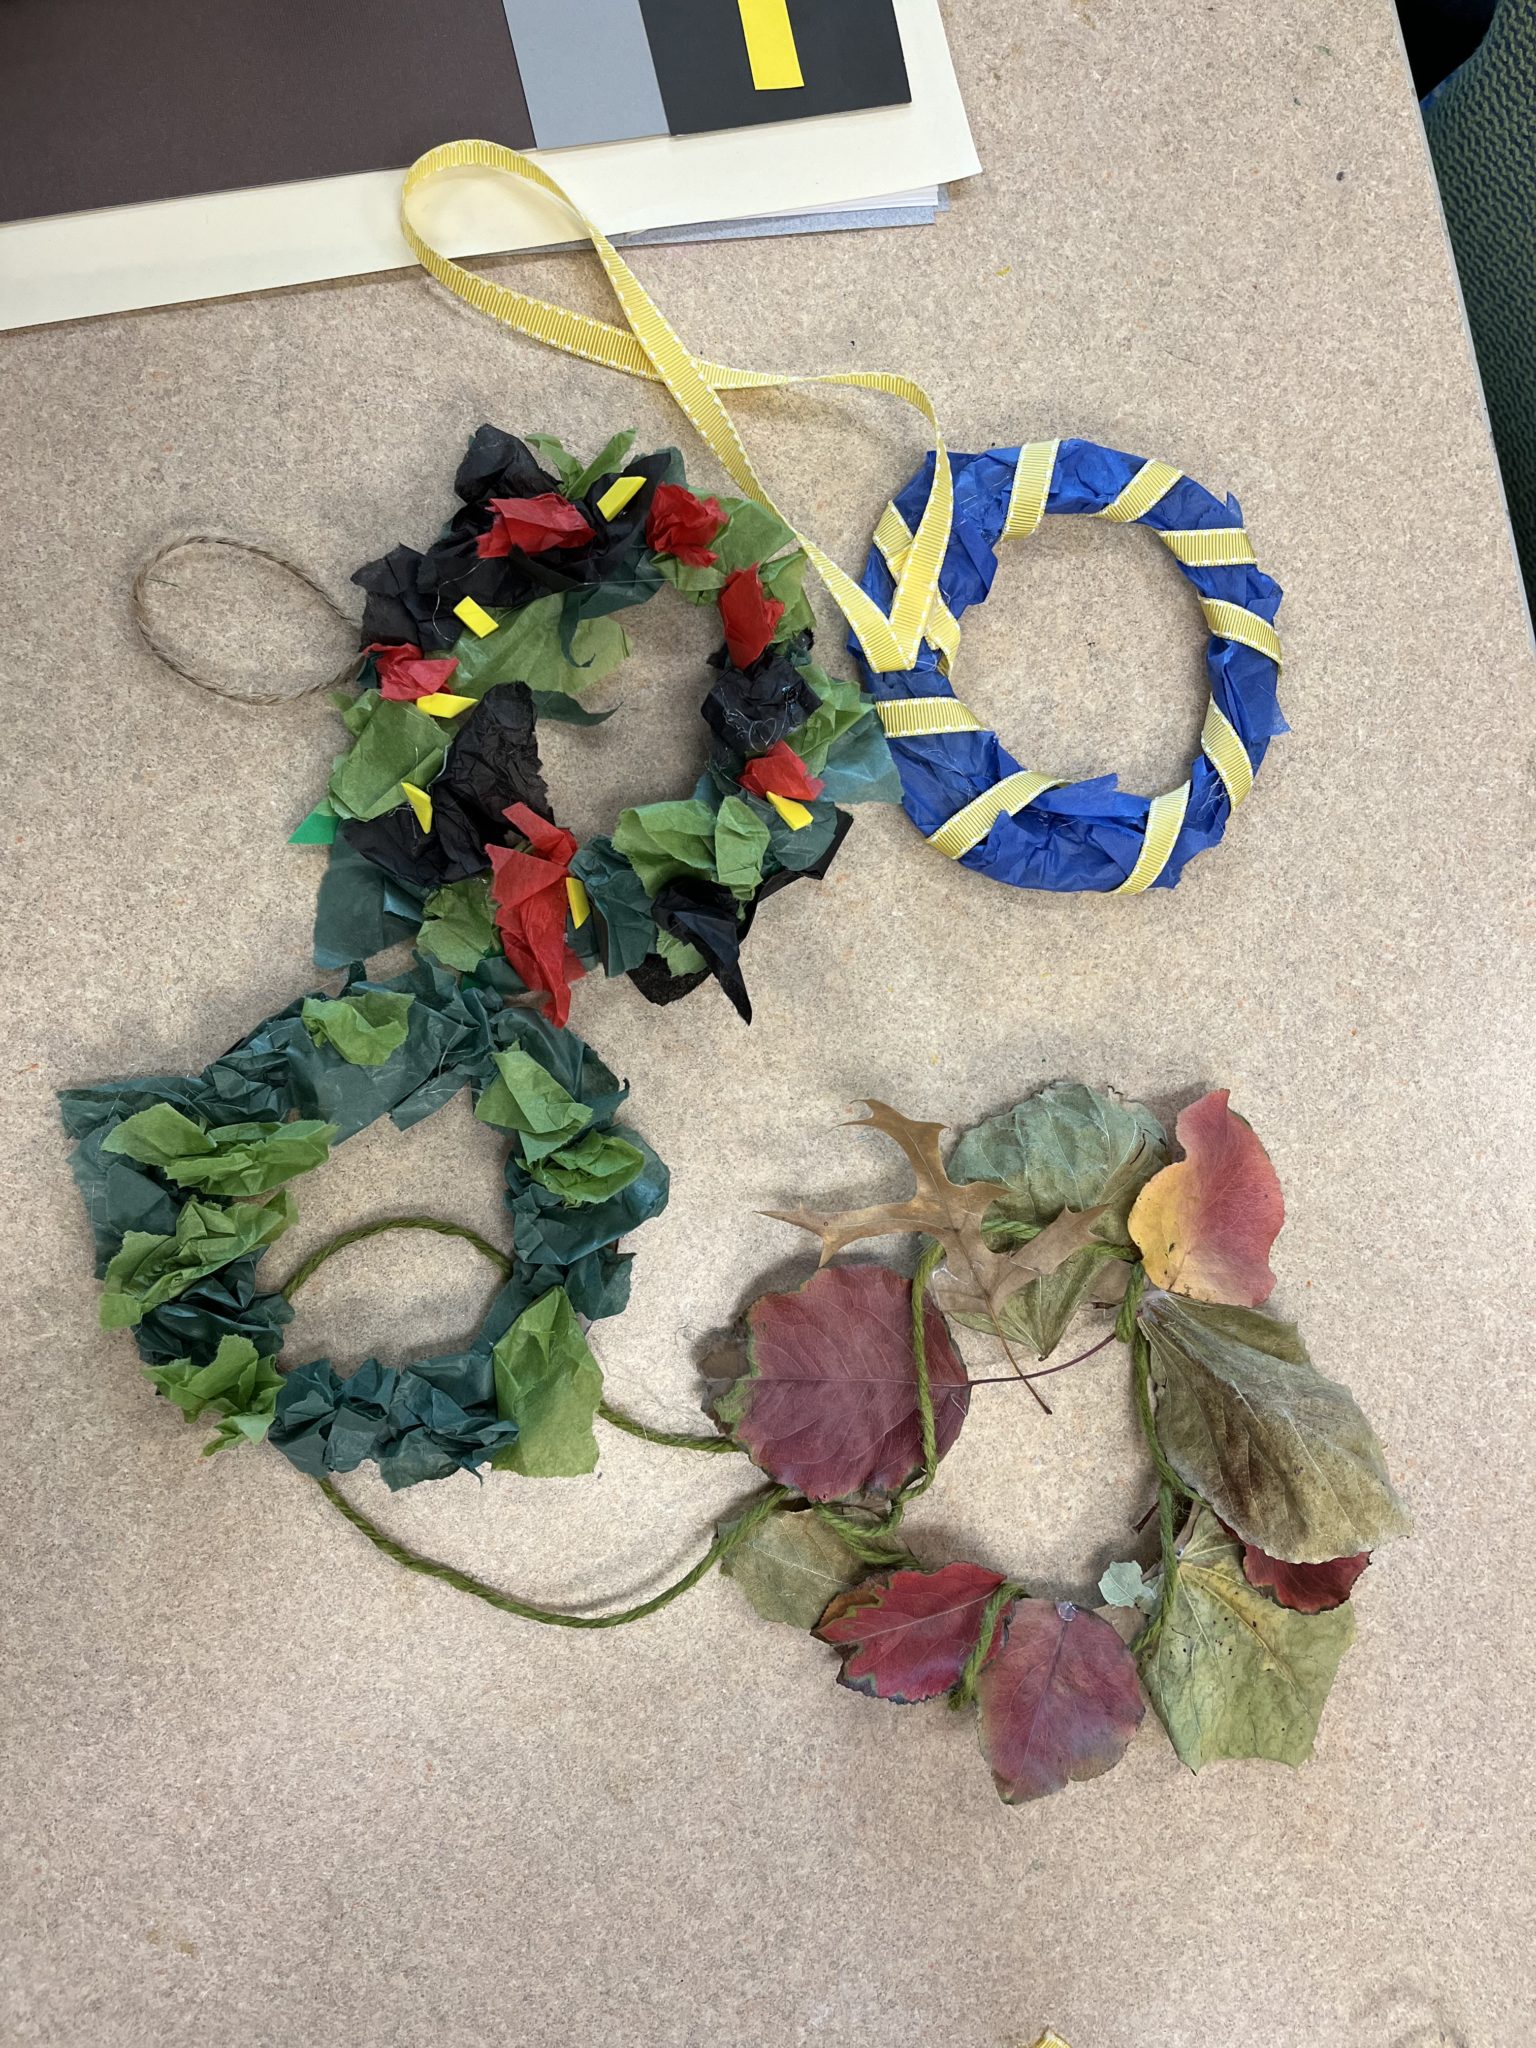 I hope you enjoy making these crafts as much as I have!! Out of all of them, wreath-making was my personal favorite. I honestly forgot how much fun wreaths are to make until I made a bunch for this project — there’s something so satisfying about making them since they’re festive and lovely no matter what you do. Maybe it’s that they’re circles — the happiest shape! If you’d like, please share anything you create with us at kids@dbrl.org. We’d love to celebrate with you.
Happy holidays, y’all!

