
It’s been said that crafting can help with stress, and most of the time I would be inclined to agree. However, I should warn you that this project is one that can send you into a fit of rage, or maybe that was just my reaction when I found out how easy it was and realized I could have been doing it years ago!
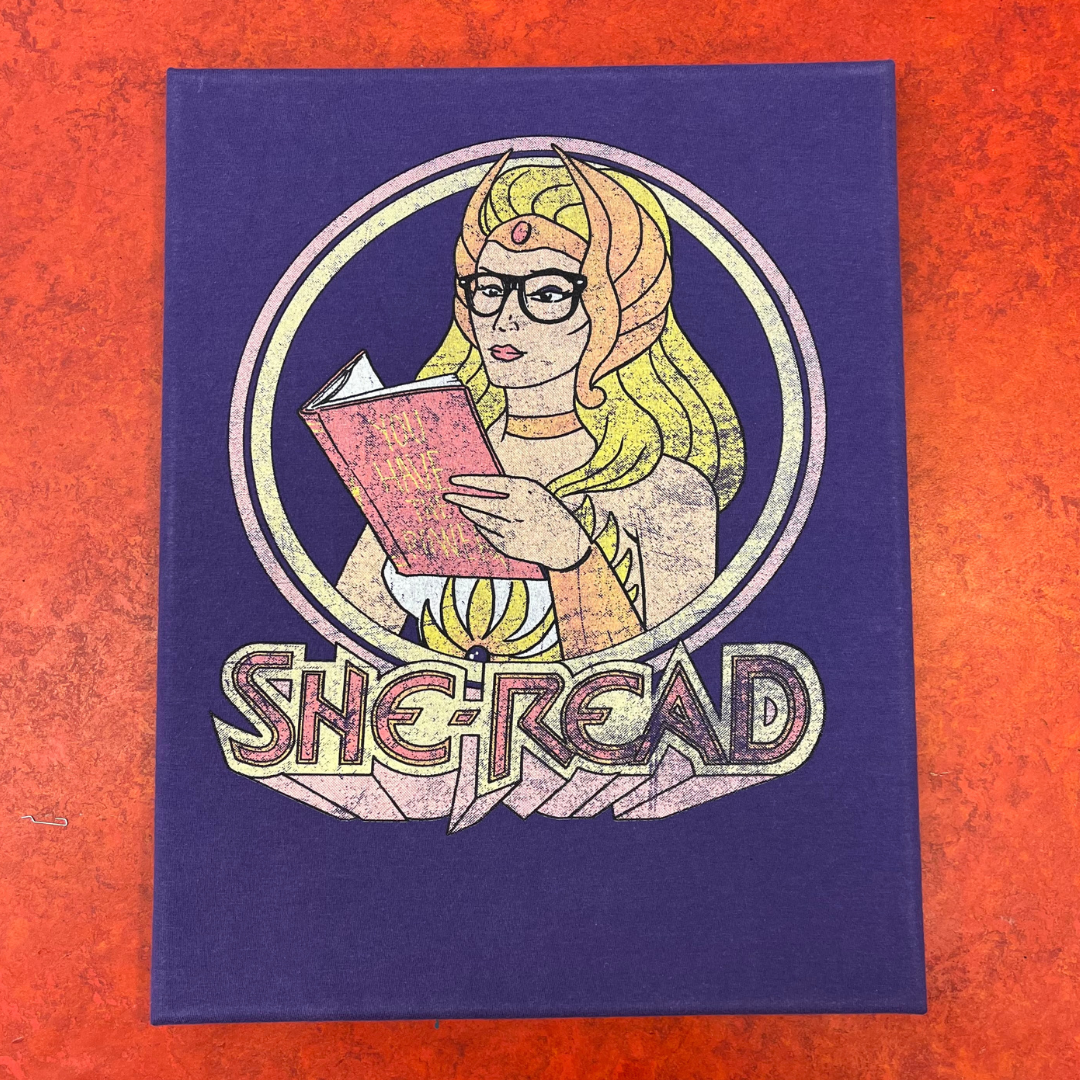
If you have old t-shirts lying around, like I do, you can turn them into a work of art with a few simple supplies! The full list of supplies is below, but really all you need is an old shirt, a canvas, and a stapler and you are on your way to creating a unique wall hanging. This is perfect for upcycling old shirts you love, but no longer fit or have a few holes. You can also make some great personalized gifts for teachers or family members by using shirts you wore as a kid! Either way, this craft is bound to be a hit!
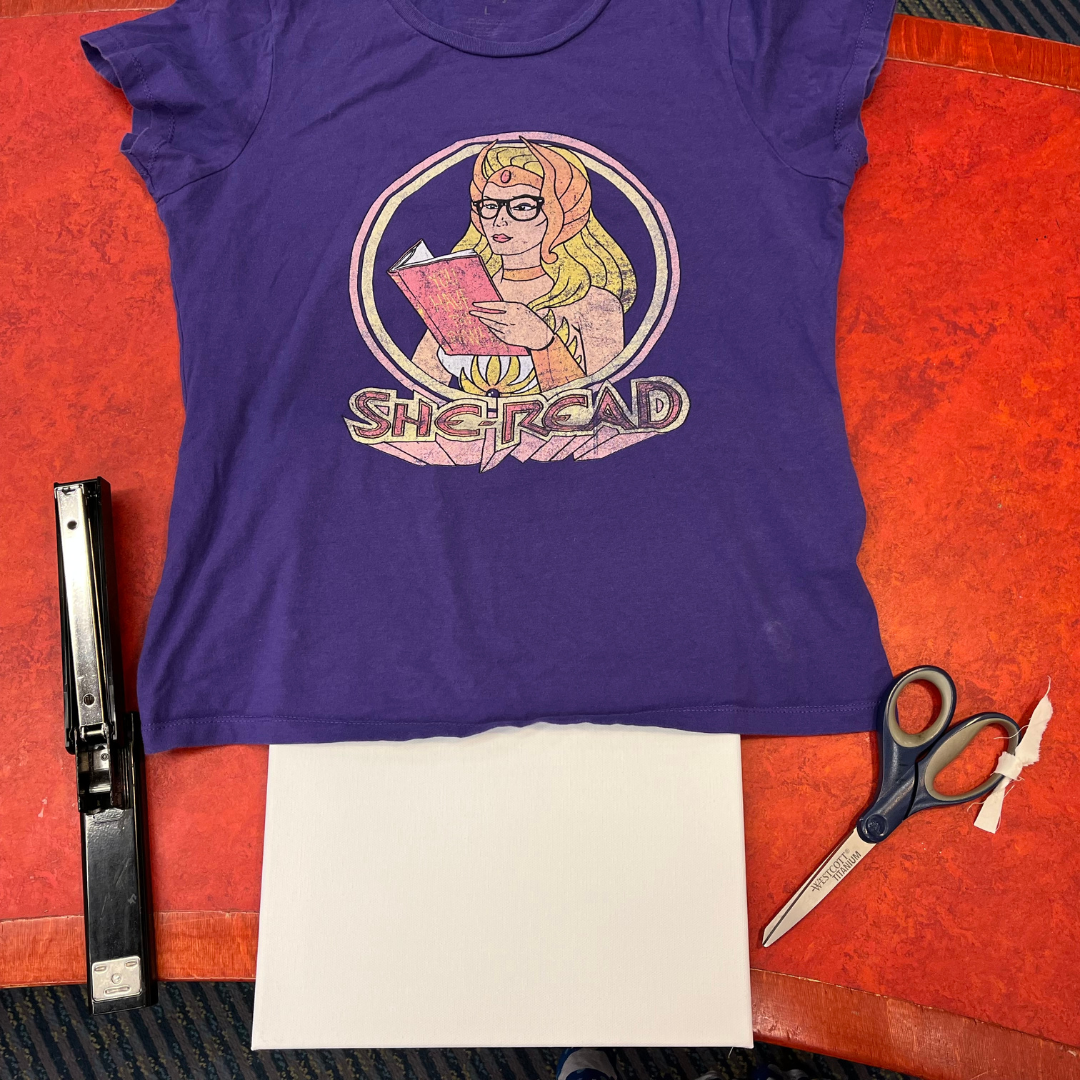
Supplies:
- Iron
- Canvas – I used 11×14
- Old t-shirt
- Stapler – you need one that swings open
- Scissors that can cut fabric
- Hot Glue (optional)
Step 1:
Iron your t-shirt. I know this is a huge pain, but trust that it will make the shirt lay neatly on your canvas.
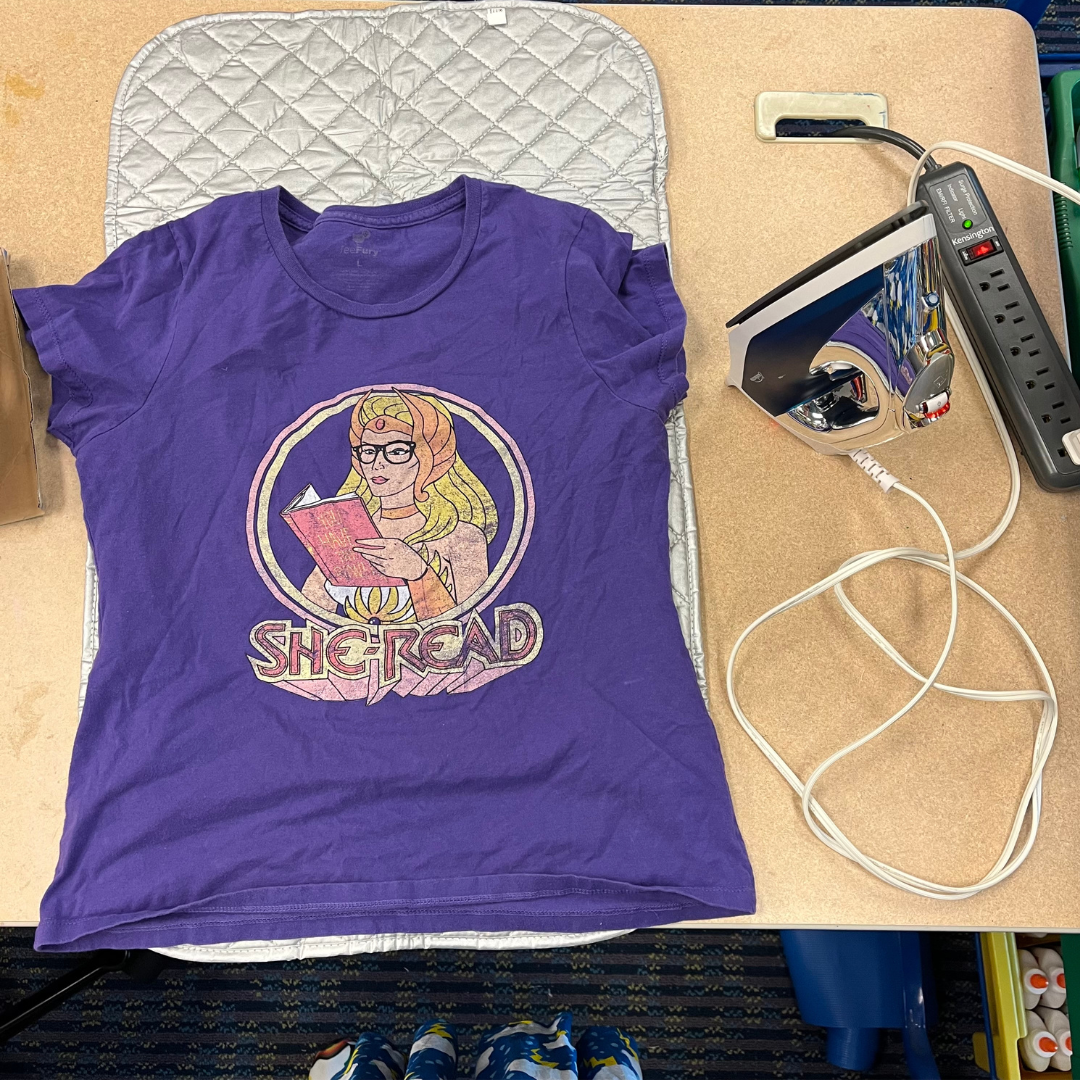
Step 2:
Slip the canvas into the shirt and center the design in the middle of the canvas. Your canvas should be face up so the shirt design is where you would paint.
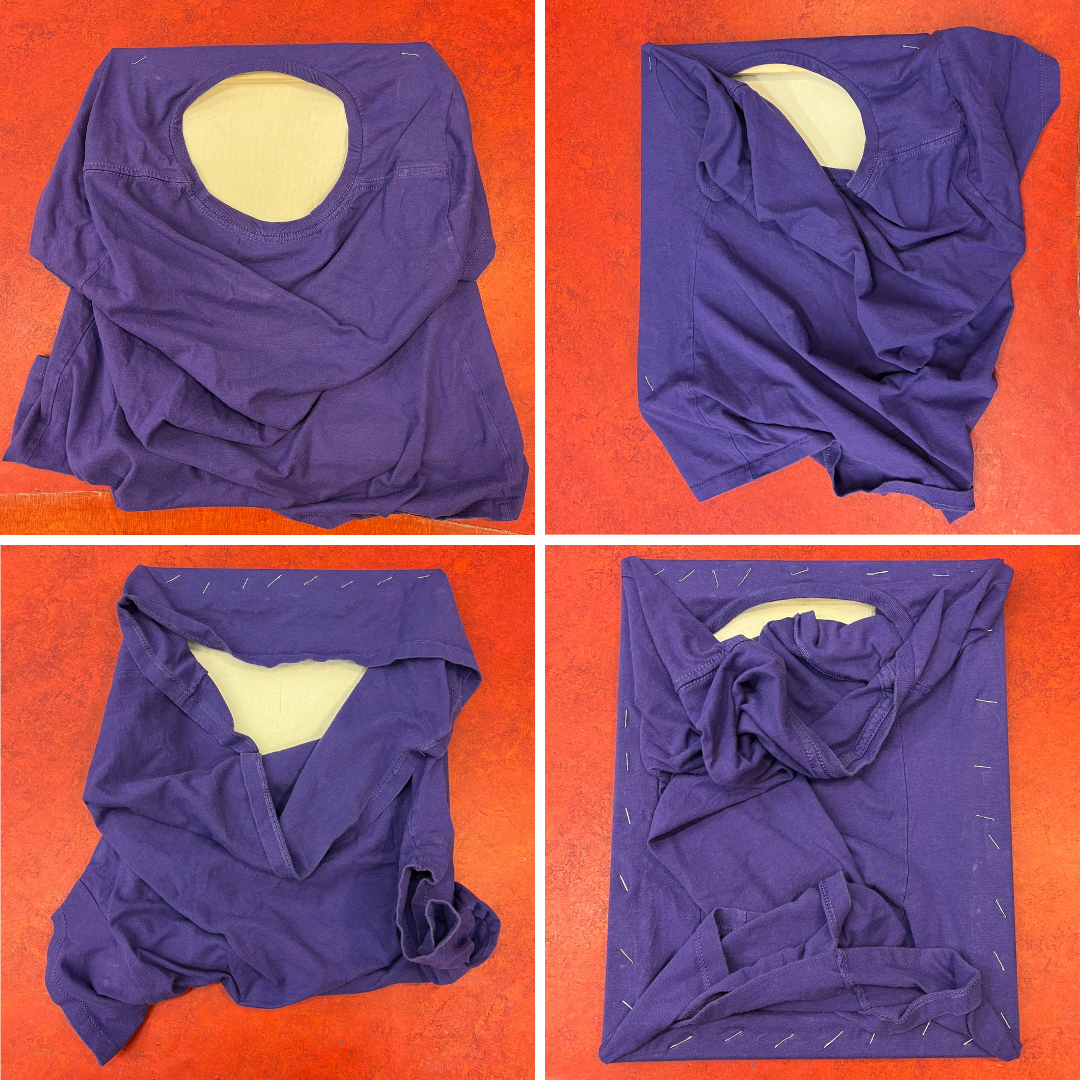
Step 3:
Carefully flip the canvas over so the design is face down on your work surface.
Step 4:
Pull the t-shirt over the edge of the canvas like you are wrapping a gift. Then put a few staples in the t-shirt so it is secured to the wooden frame. Repeat for the other four sides. Tip: I put a few staples on each side to start and then go back and add more. That way I don’t have to take out as many staples if I have to shift anything.
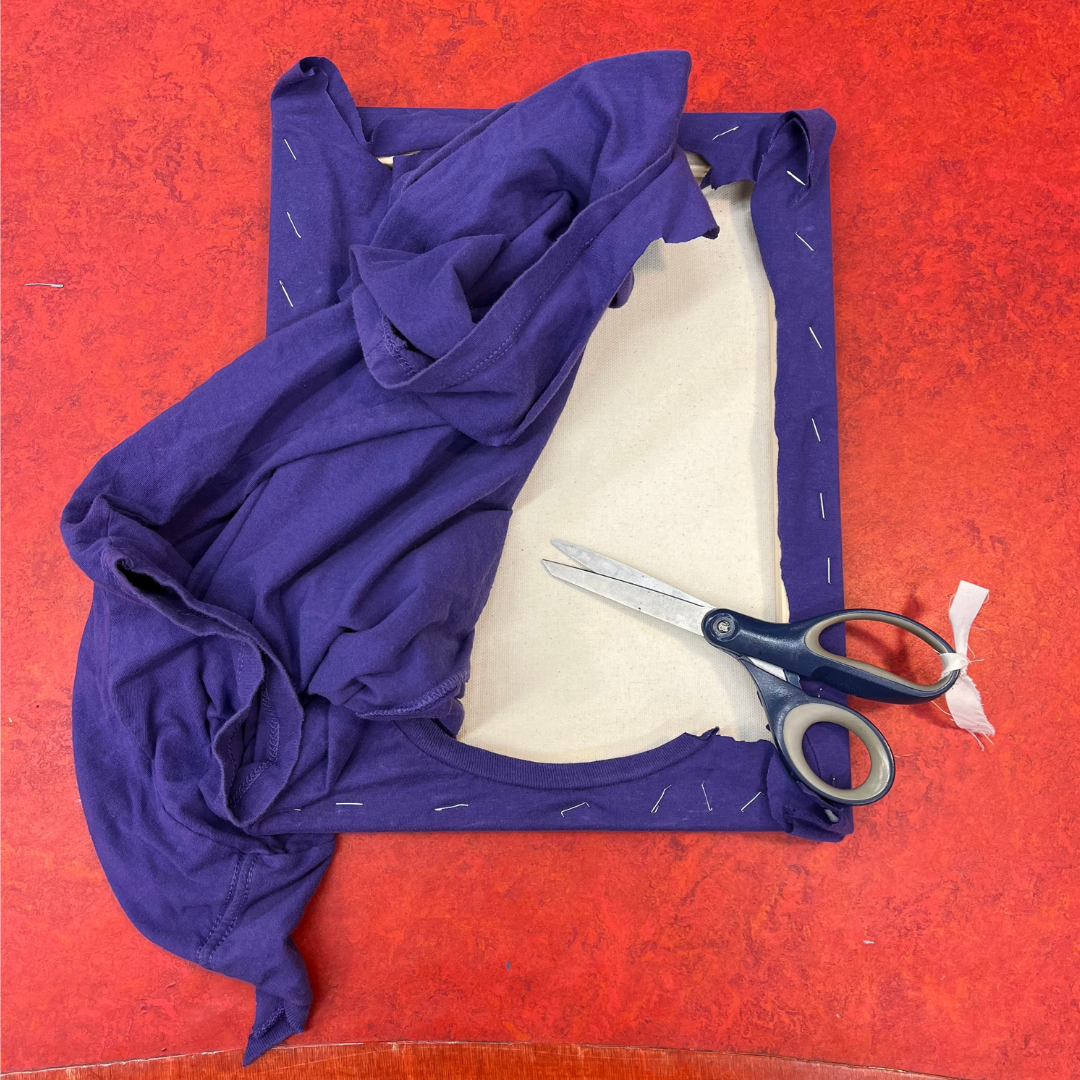
Step 5:
Cut the excess fabric off the shirt leaving about one inch of fabric from the edge. Tip: Keep your fabric scissors sharp by only using them on fabric. Make sure you can tell the difference between your regular scissors and your fabric scissors by tying a piece of scrap fabric to your scissor handles so you know those are the fabric ones!
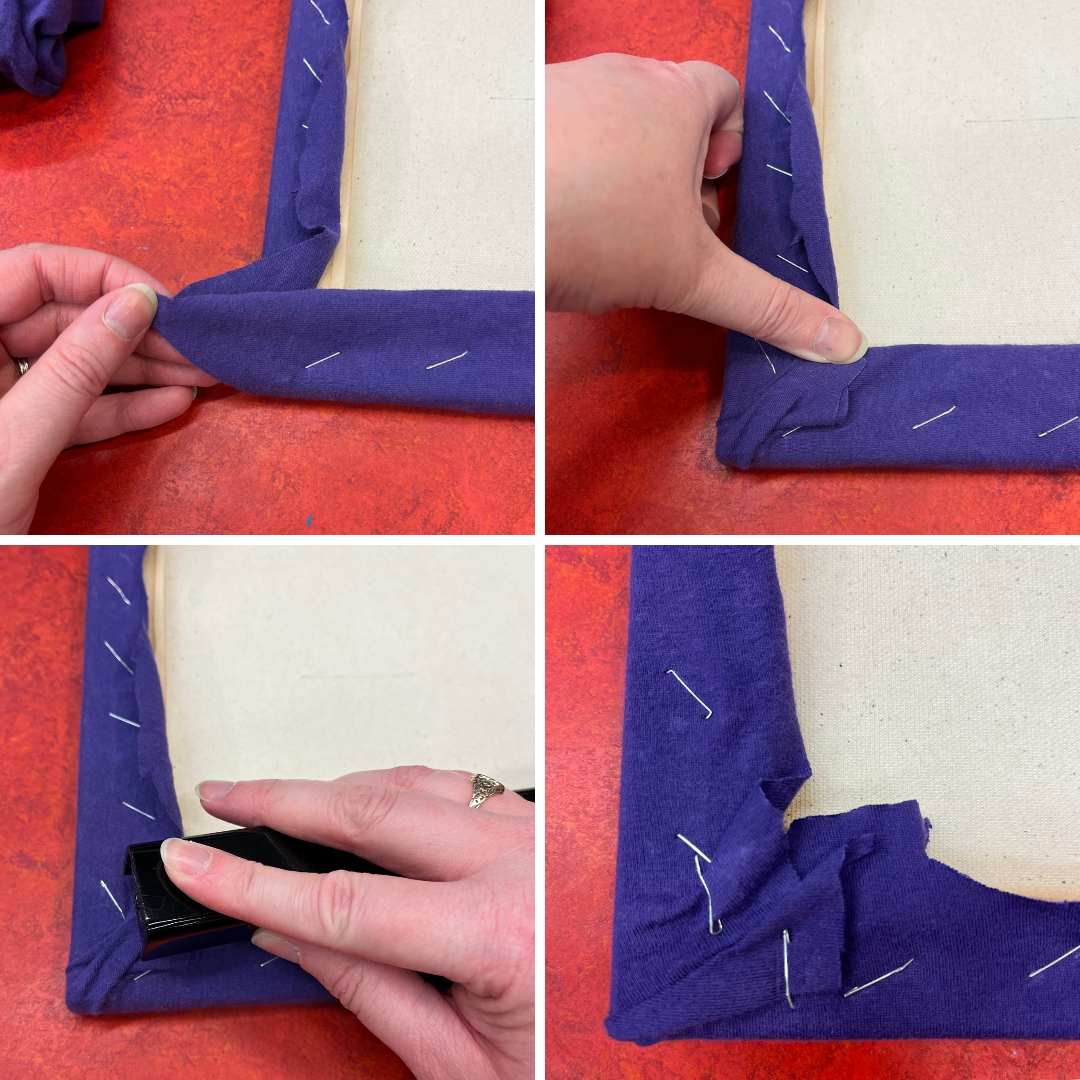
Step 6:
Tighten up the corners by pulling the excess fabric out to the side and folding it over. Then secure the end with a staple or two. Repeat for all four corners. At this point, you can hot glue any access fabric to the frame, but this is optional.
Step 7:
Flip the canvas over and admire your work! See how simple that was? Doesn’t that just make you mad that you didn’t think of it? No? Ok, that’s just me.