
Ancient Greeks used six different words to describe the diverse feelings of love people have for one another. After all, there’s a difference between how you love your best friend and how you love your family and a difference between the love one has for the human species and the love one has for a partner.
So… what does this have to do with friendship bracelets? Well, Valentine’s Day is nearly here, and while it’s a fantastic time of year to show appreciation and love for one’s romantic partner, it’s also a great time to spread love of all kinds! In this post, I will lay out a “friendship bracelet boot camp.” My idea with this is that, if you are approaching this blog post as a complete beginner, you will be able to smoothly progress from bracelet patterns 1 through 4 if you so choose! That being said, if you only like one or two patterns, just do those. The most important thing about creating art is that you, the artist, enjoy the process and the result.
If you’ve been making friendship bracelets for a while, I hope you enjoy my explanation of the craft and hopefully even find a cool pattern you like! I’m no professional, but I don’t think you need to be to enjoy the craft of creating unique patterns and wearable art. It’s so much fun to be able to say “Thanks, I made it myself.” I hope this inspires others to feel the same!
A reminder that while these are called friendship bracelets, they can be anything you want them to be. If you’re not a jewelry person, but you love to read, these are super cute bookmarks and make perfect gifts for other readers. You could even put one on a keychain for a little decoration!
Before I get into step-by-step instructions, here are a few things about making friendship bracelets that will be helpful for beginners:
Firstly, this is going to be a little difficult if you haven’t done it before. That’s okay! New skills usually take a second to get used to, and with friendship bracelets, that’s the fun of it. For this reason, I recommend having ten or so skeins of thread when you get started. Of course, you can get more or less, but I think this is a fair number in case you wind up utilizing thread in ways you aren’t happy with — I have done this a lot!! Sometimes, bracelets just don’t turn out. Plus, skeins of embroidery thread are pretty inexpensive; most are less than a dollar apiece. Michael’s is where I usually go, but you can visit almost any craft store and find a rainbow of threads to use.
Secondly, once you’re comfortable with threads and patterns, I recommend making bracelets while doing other things as well — audiobooks and podcasts are perfect for art projects like these since you don’t need to look up to see what is happening. That said, I’m a big fan of watching TV while I make these — whatever calls to you, do it! You could also go for a walk, find a nice spot to sit, and make a bracelet to the sounds of nature. My point is that bracelet-making is often way more than just making cool jewelry, at least for me. I find it to be a wonderful way to unwind and treat oneself to a few moments of calm.
(Psst — if you’re looking for an audiobook to listen to, check out Hoopla and Libby! Those with a DBRL card from the Boone and Callaway County areas have access to these resources for free. There is a book out there for everyone — the same goes for audiobooks!)
Lastly, I ordered these in the ranking of how difficult I felt they were. You may find certain designs easier or harder than I ranked them; I just felt that, for a beginner, this may be a good path to learn on, especially since some patterns are used to create other ones (the concept of #2 helps to make #3!). And really, truly lastly, the most important thing about making bracelets is having a good time while you’re doing it. You’ll see me make some mistakes as we go along this process, and that is entirely okay. The point of making these is (hopefully) not to make them to a professional degree — you might find that more stressful than creative. In my opinion, the fun part about bracelets is making them — any little quirks to your finished product add character.
1. (Easiest) Basic knot – Ludus (playful love)
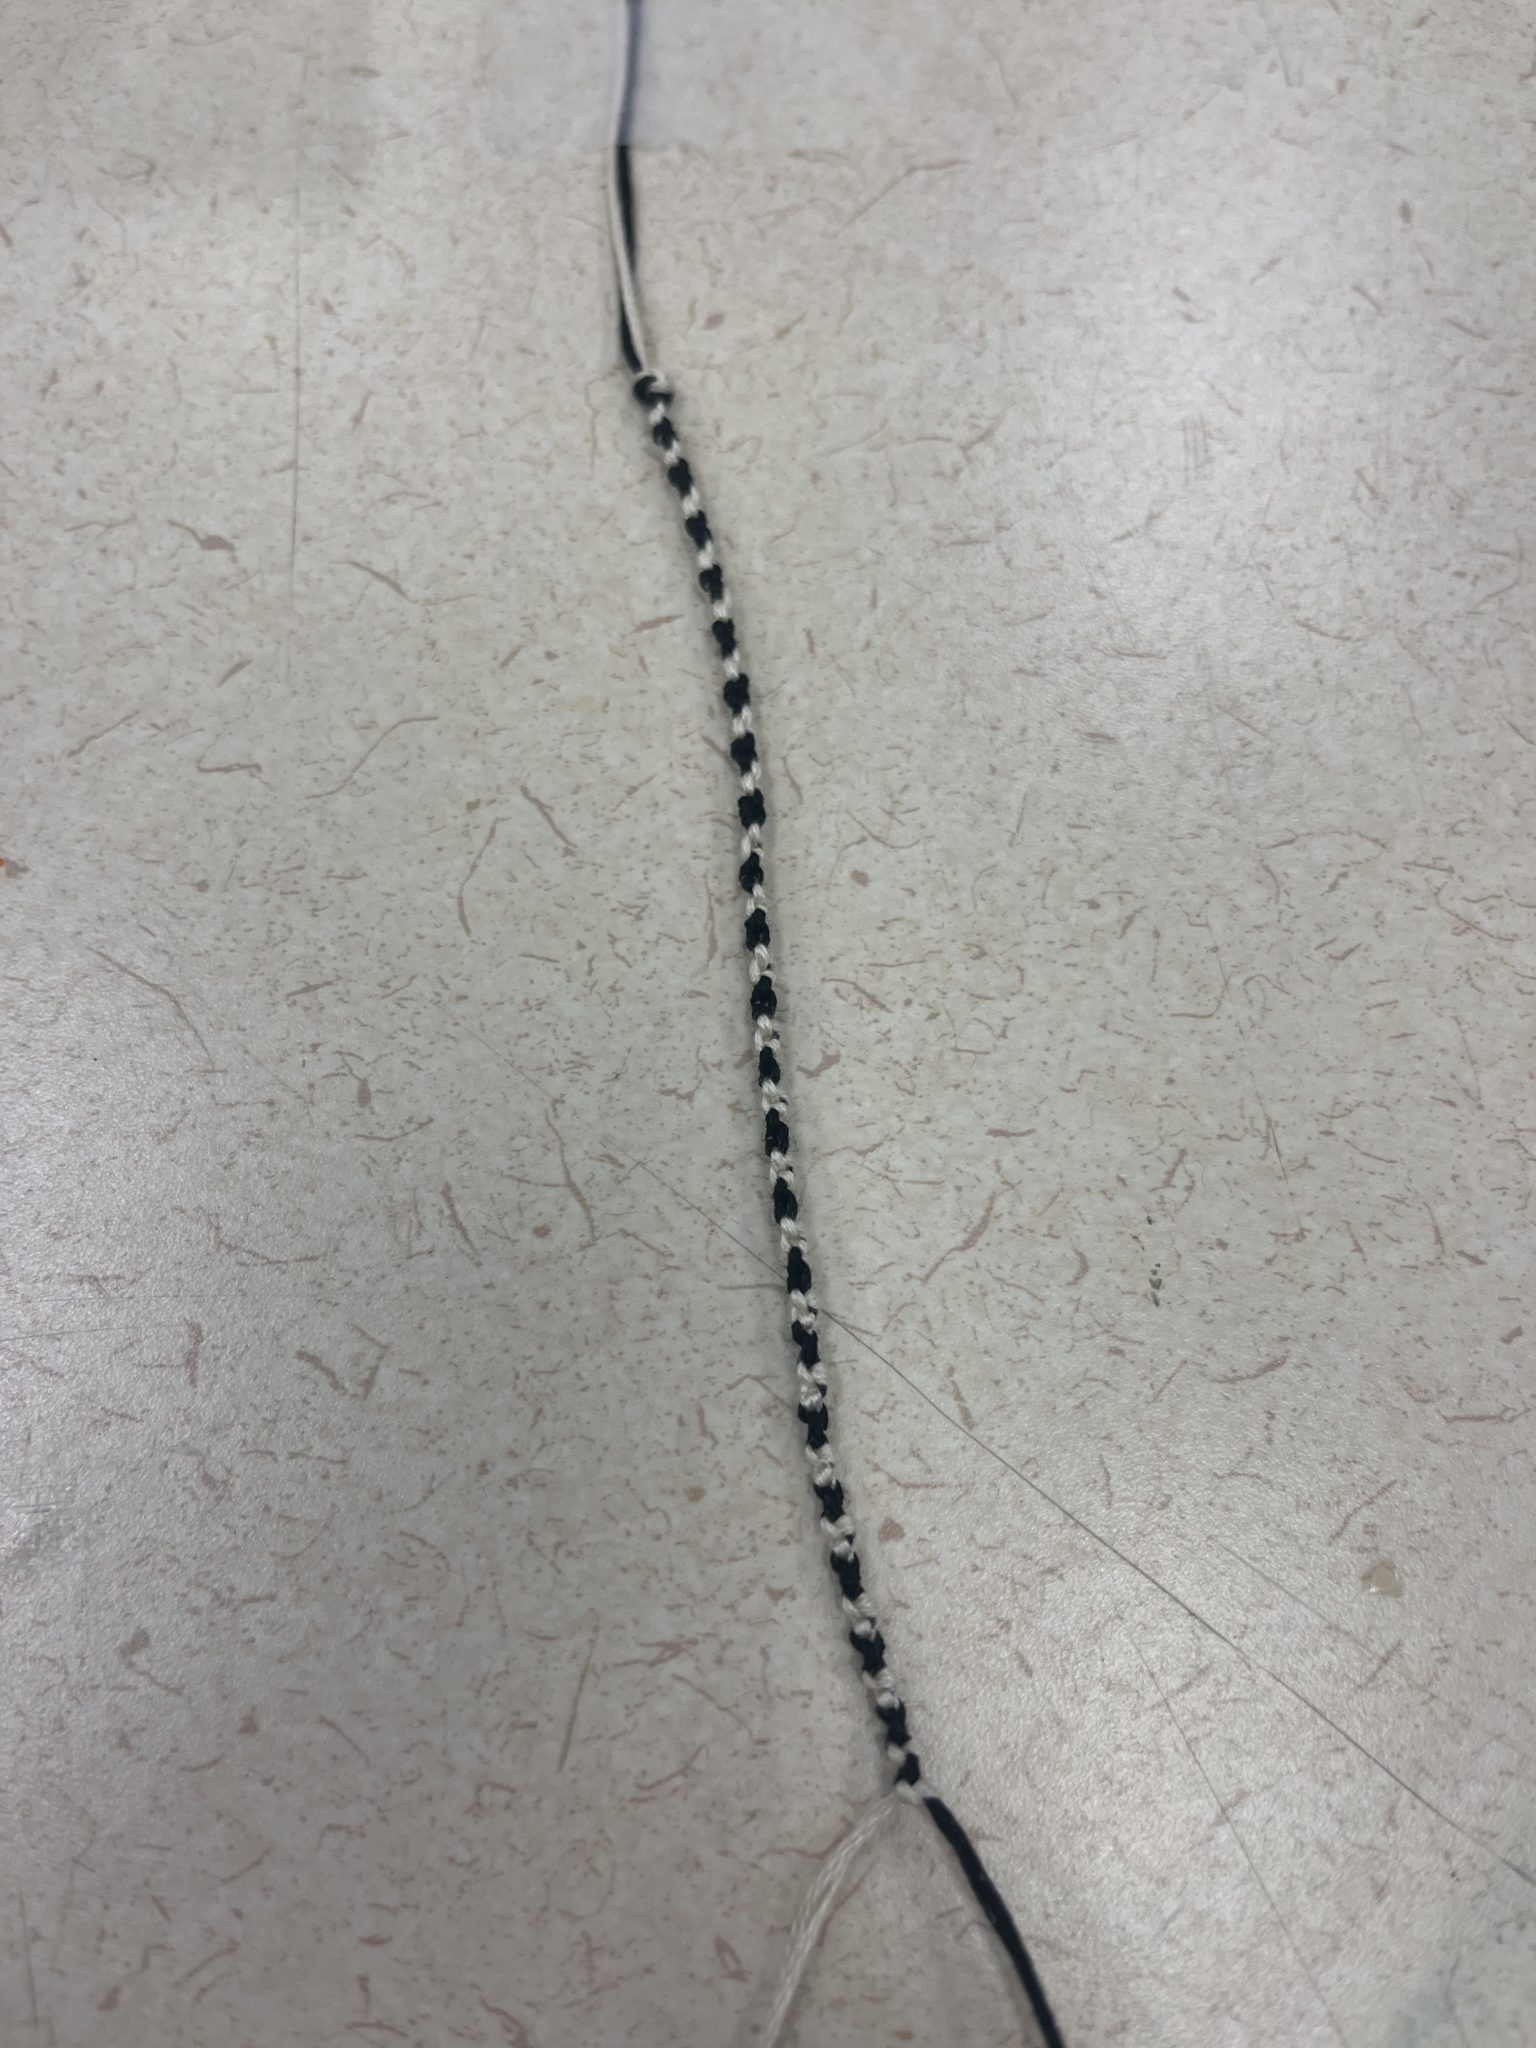
Ludus is the feeling you get when you are hanging out with a friend and you wind up laughing so hard your stomach hurts. I think the basic knot makes a very cute, playful design (especially when you use a lot of colors!) and is a wonderful gift to give those folks in your life. A tip for all the bracelets I’ll describe — use colors that will matter to your person! For instance, if they’re a big Dallas Cowboys fan, you could make a navy and silver bracelet. If they dress like Barbie, you could make it pink!
Description: This bracelet is very straightforward and creates a subtle pattern that will accent pretty much anything. For clarity, I used two colors (ivory and black) for this pattern, but you can easily add more color and/or thickness to the design by using two more strings (either of the same colors or different ones!) and ‘assigning’ each to the original two strings. Complete the pattern as is, pulling each pair of strings in the knot as if each pair is one string. If you’re feeling really creative, you can ‘assign’ three or more additional strings….the limit is your imagination!
Directions: Take a skein of thread, pinch one end in your fingers, and measure from the tips of your fingers to your elbow. The easiest way I found to do it is by resting the elbow on the table and stretching it up to your fingertips. This is the only bracelet in this list that will use this small amount of thread.
1. Once you’ve measured and cut your strings, hold them together as if they are one strand. Tie a knot at the top of the strings and put some tape above the knot. Separate your different-colored strings in an upside-down V formation.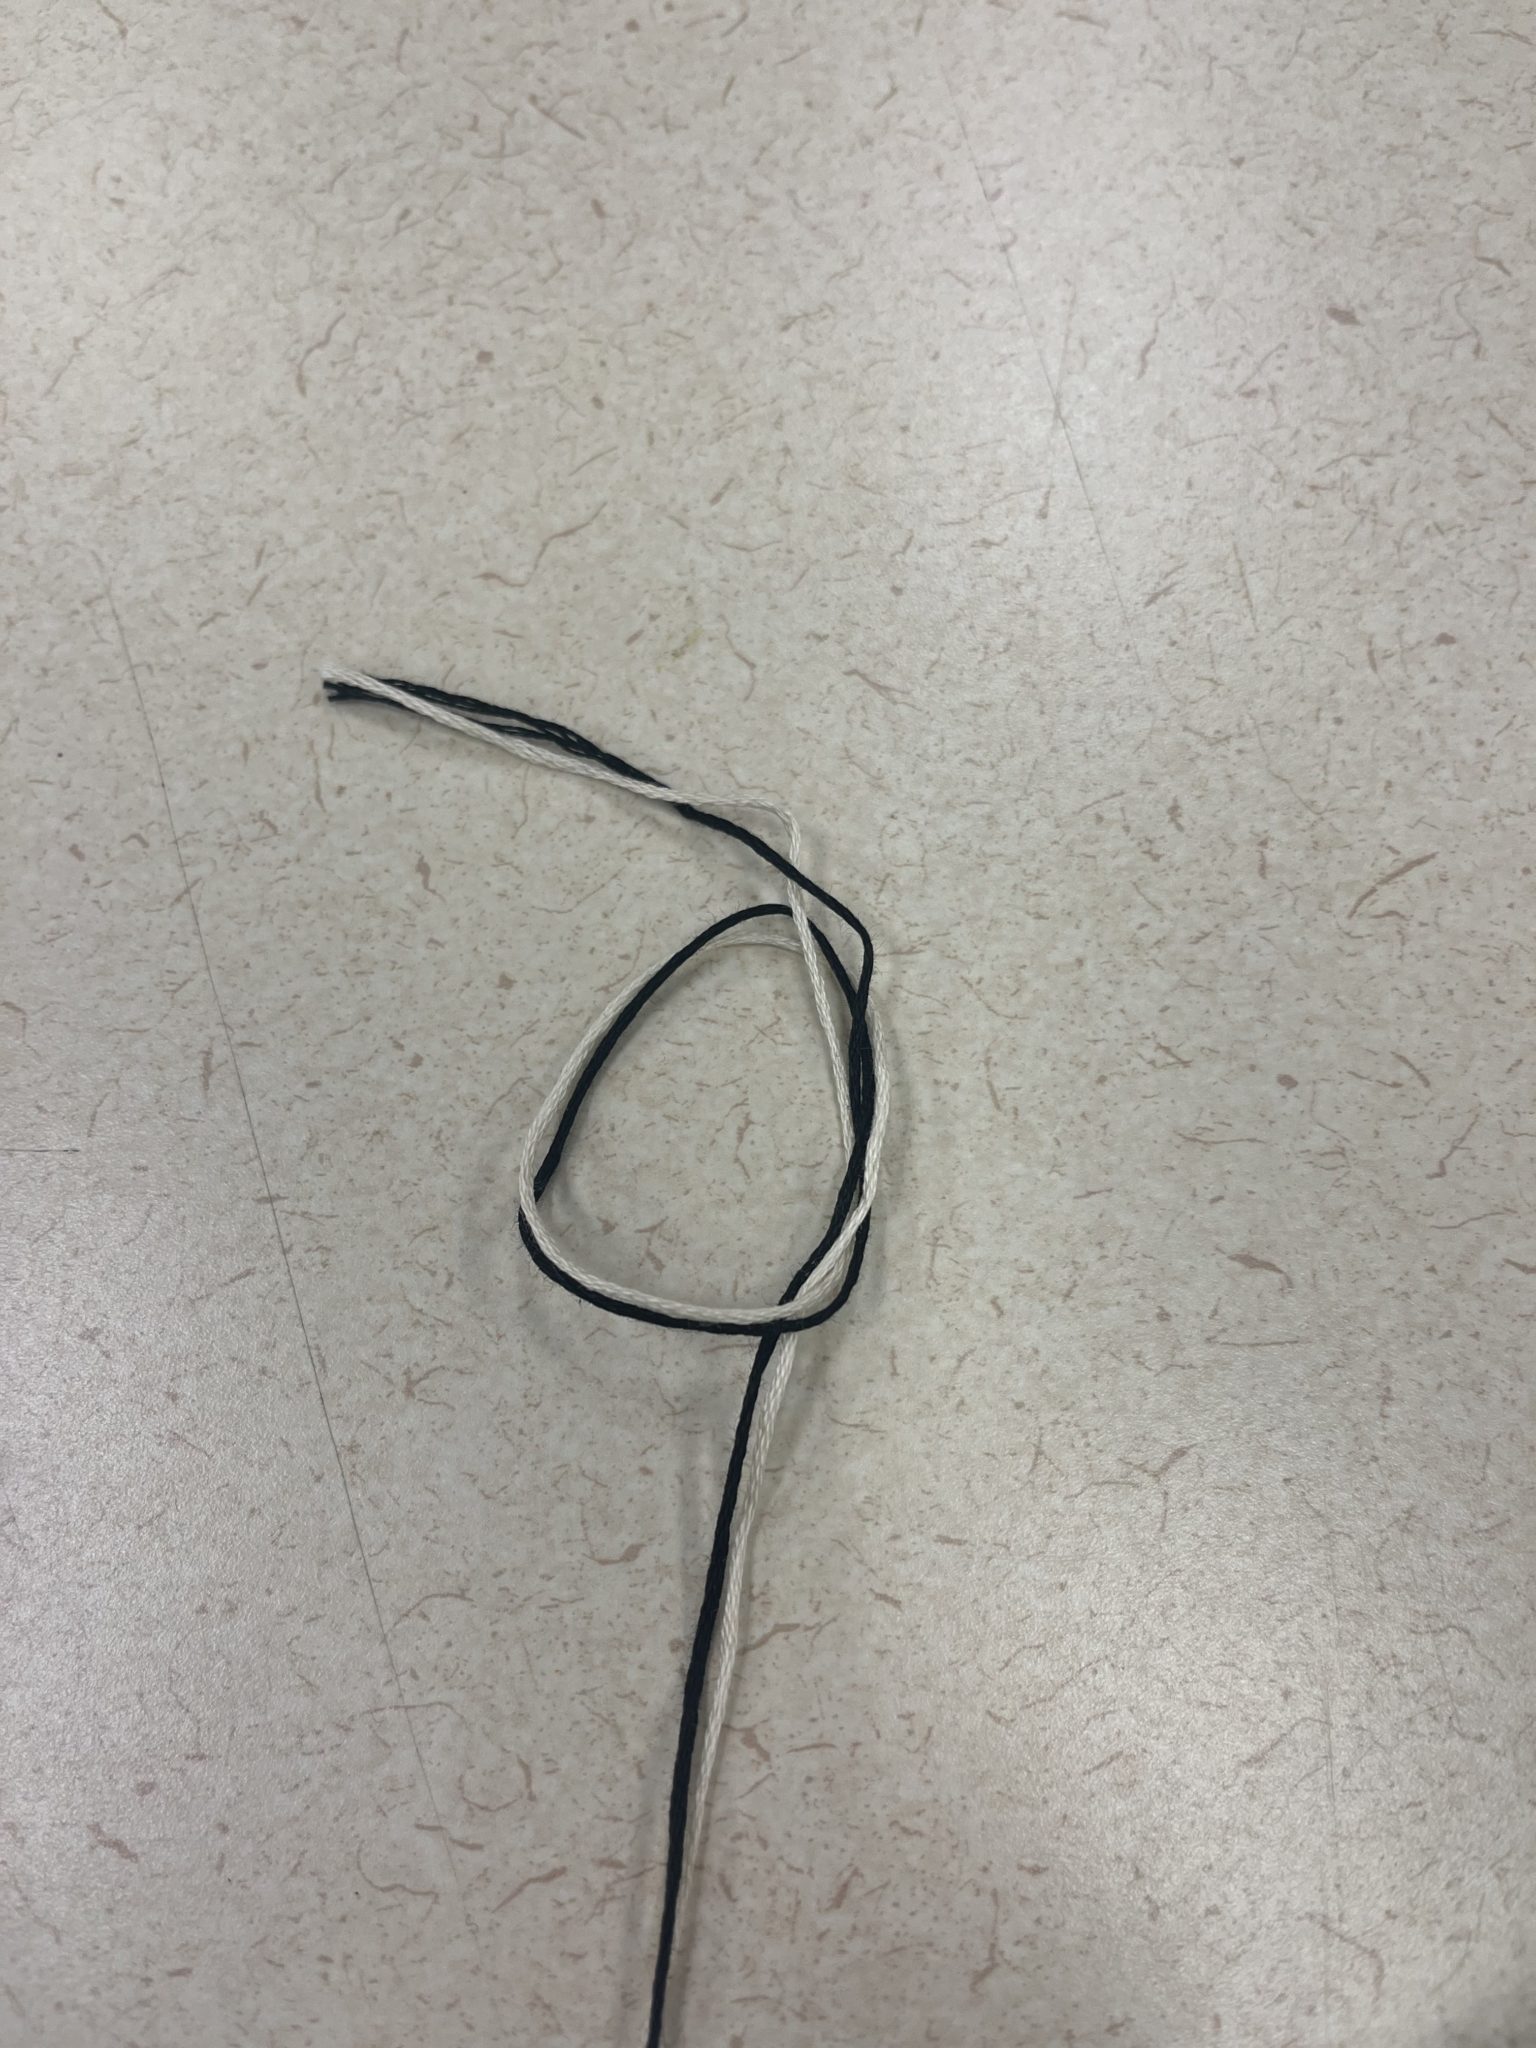
2. Using the thread on the left, create the shape of the number 4 with your two threads. Pull the ‘tail’ of the left-hand string over and under the right-hand string and through the ‘eye’ of the 4. Pull this knot tight! Congratulations — you have just done a forward knot.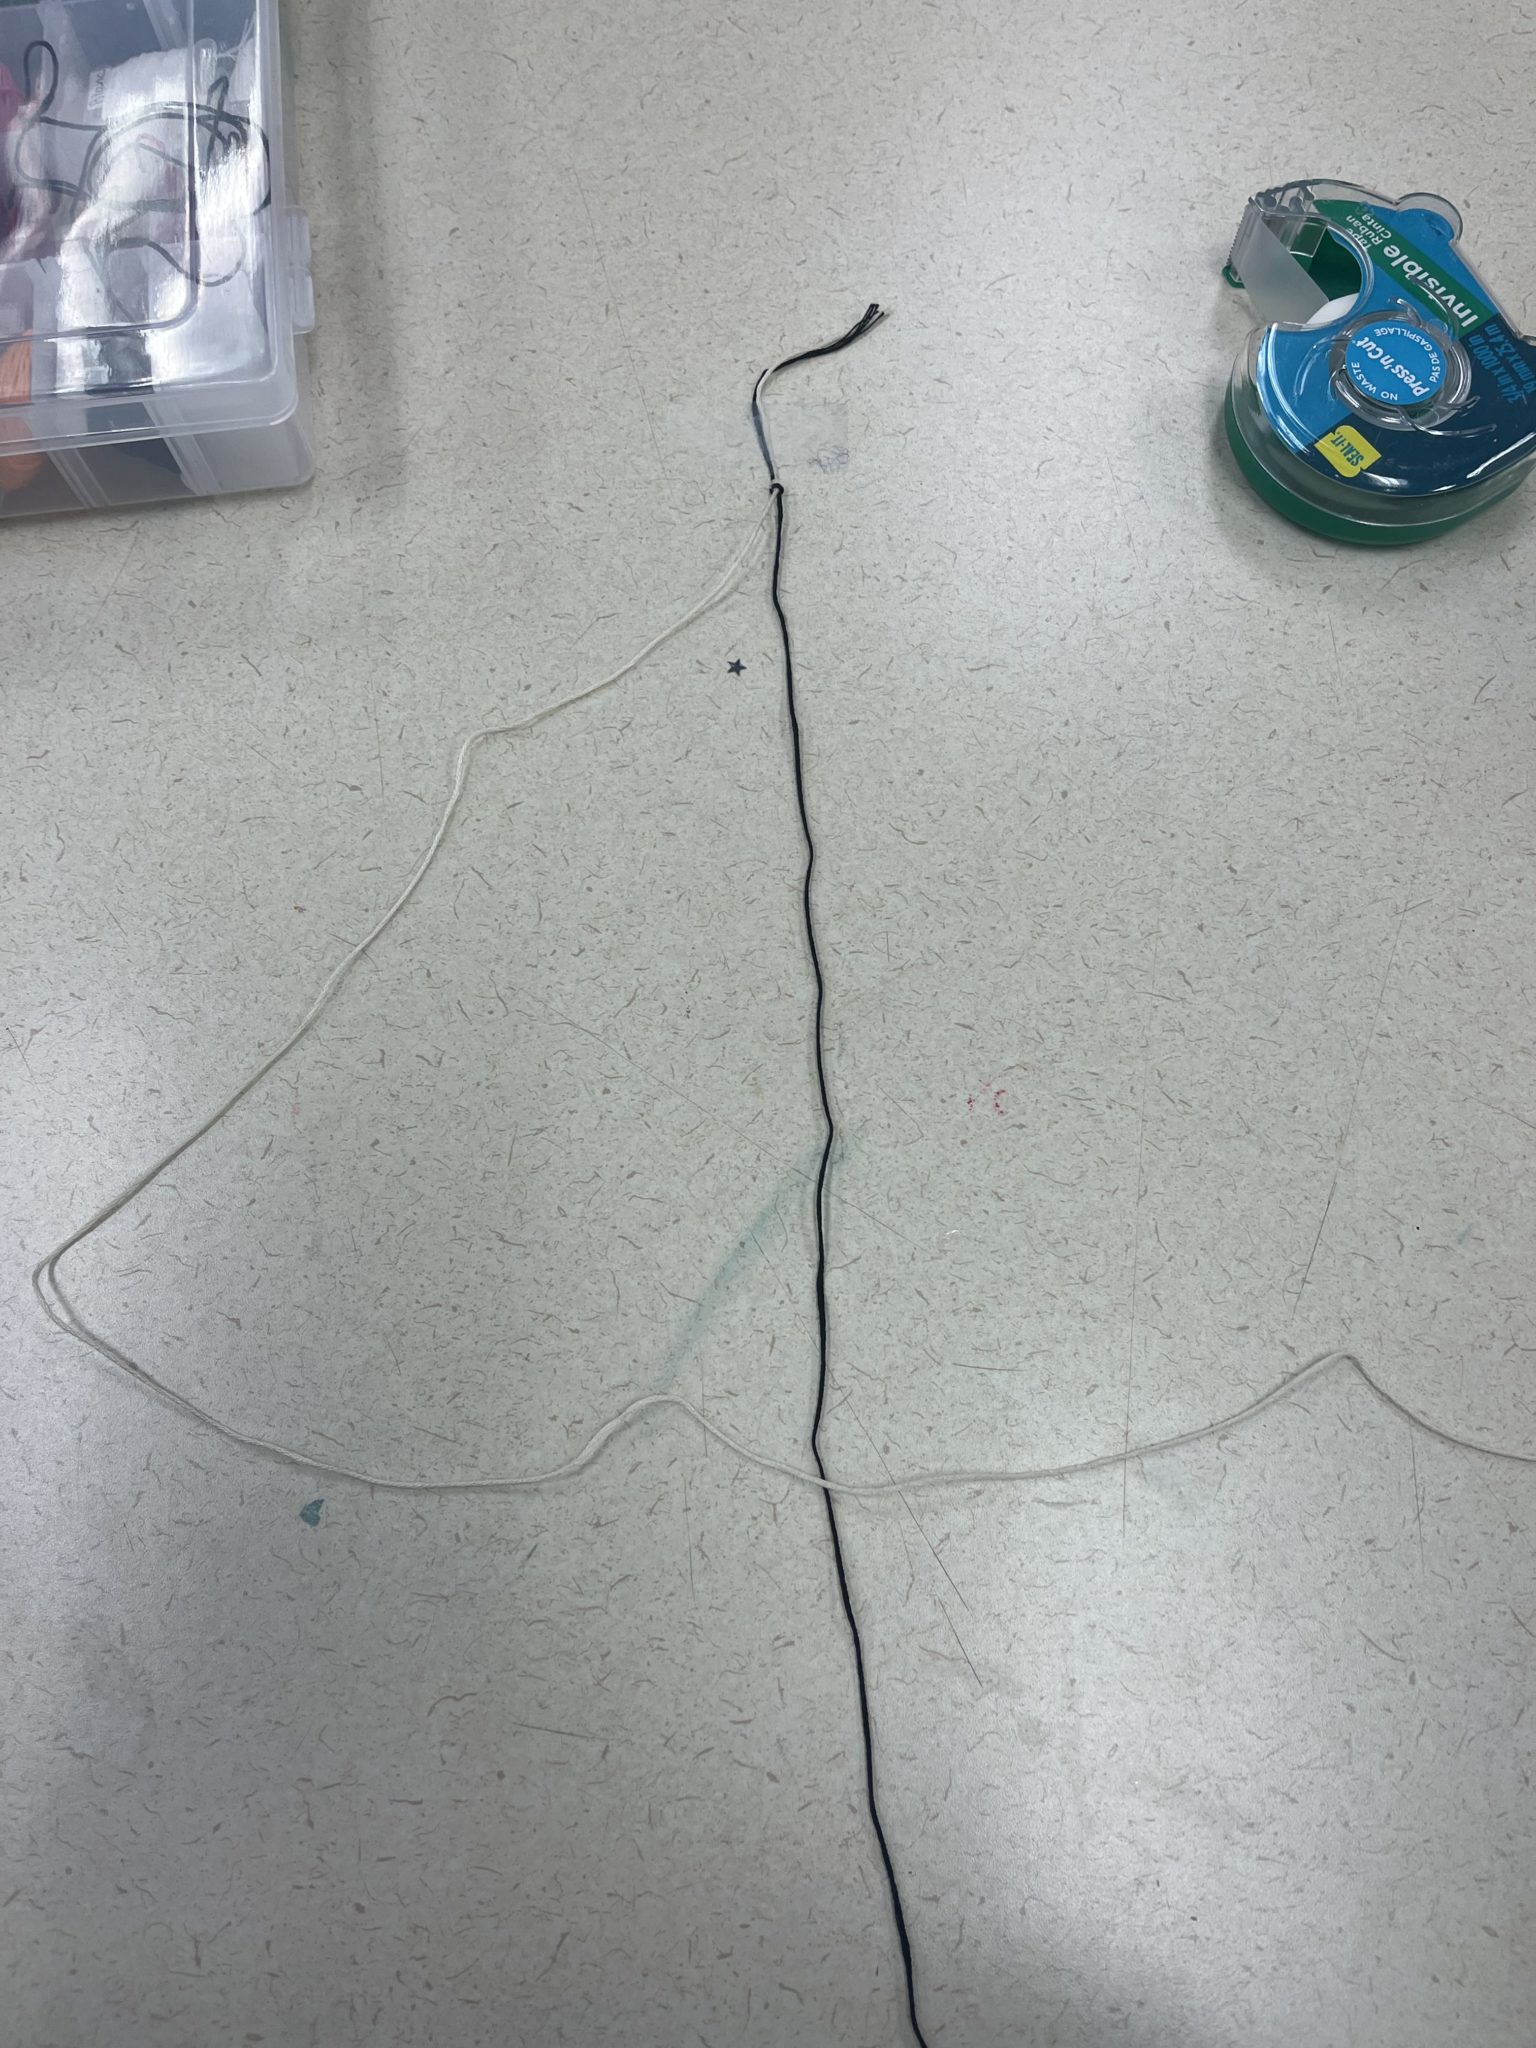
3. Now, using the thread on the right, make a backward four and pull the ‘tail’ through the eye again. There’s your backward knot!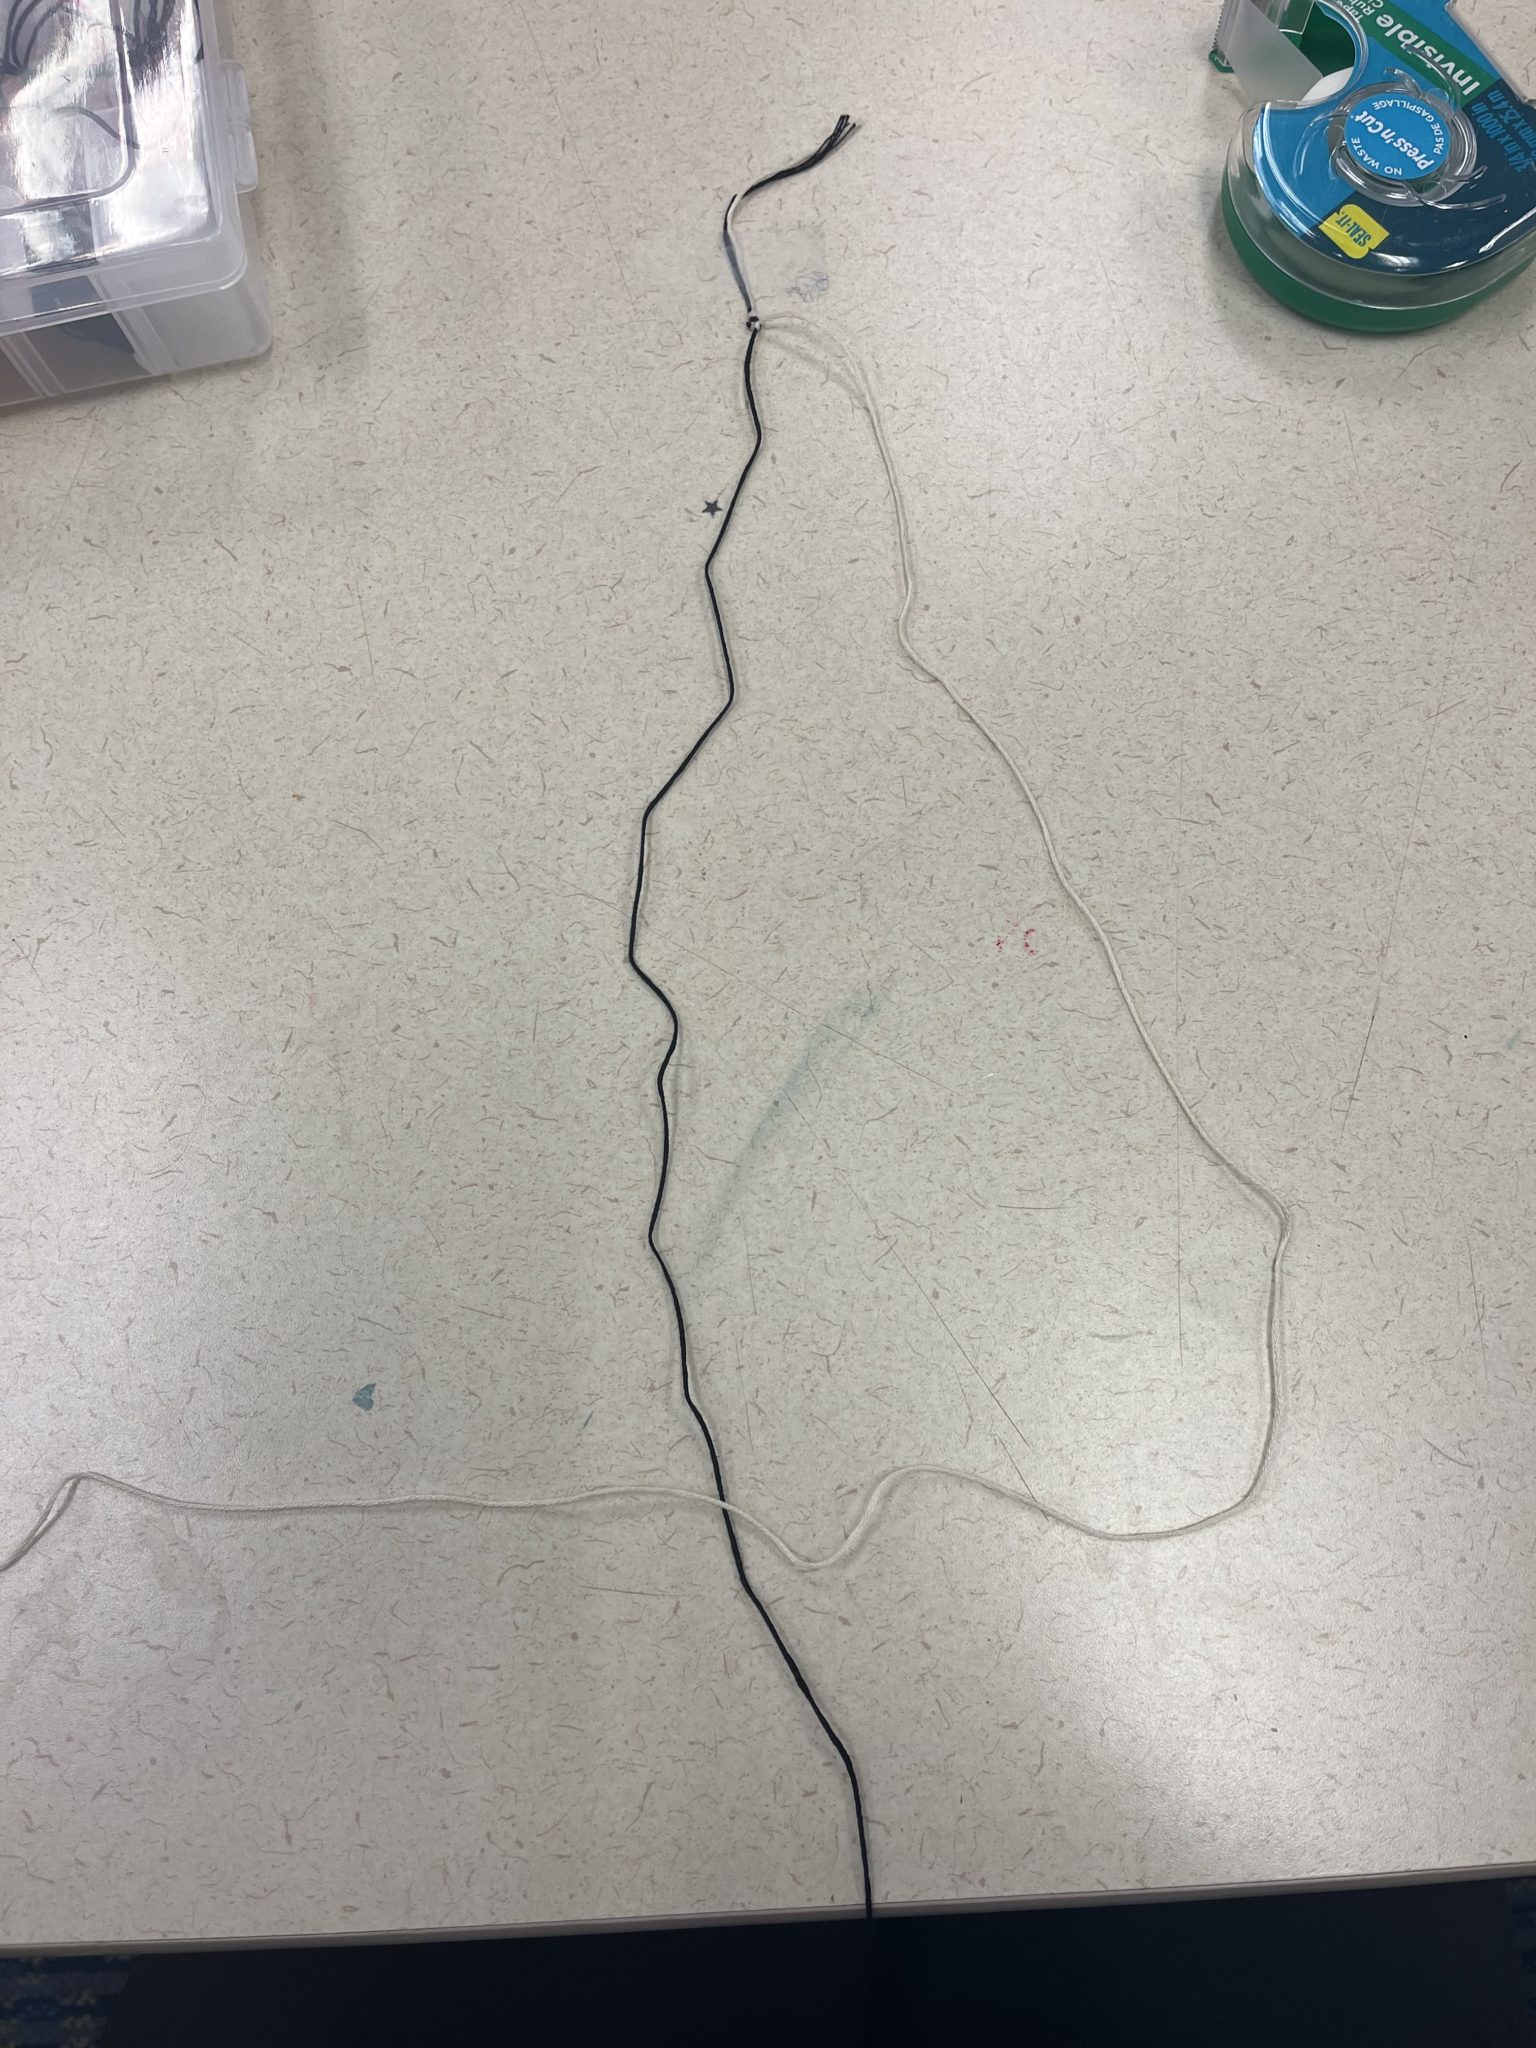
4. I recommend doing two knots each time you alternate between forward and backward — for this bracelet, that would mean doing two white knots and then two black knots, and so forth. This is a good technique because it helps to strengthen the bracelet overall, and when you use more colors, it also helps to showcase them best.
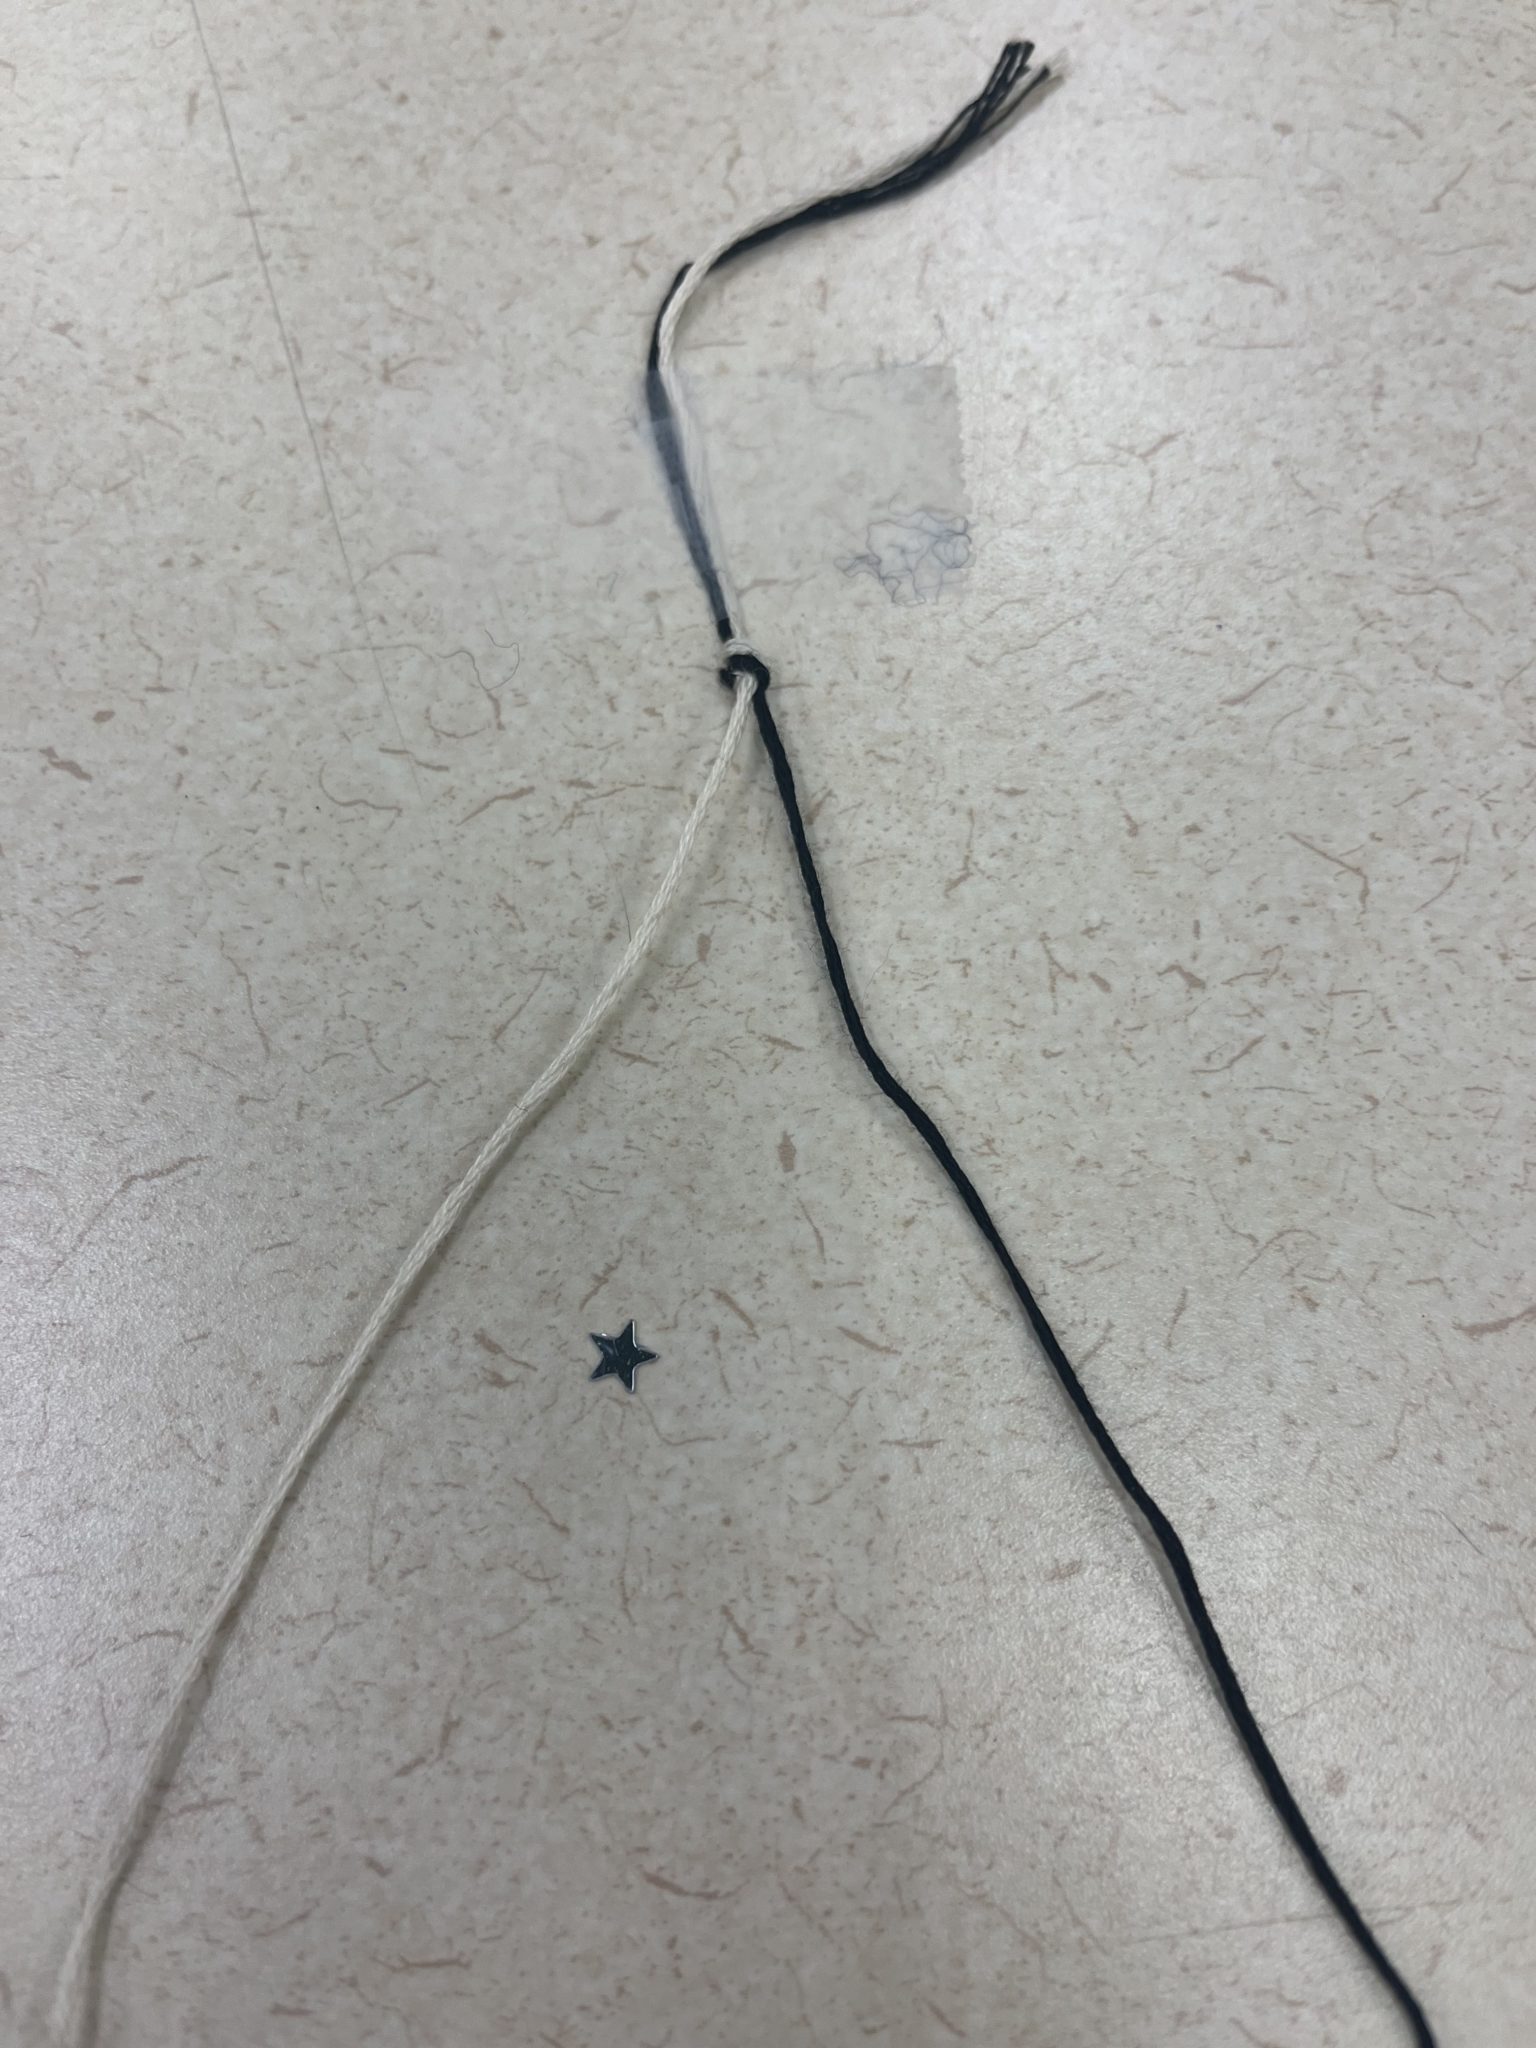
5. Finally, when you’re all done, feel free to stop early if you’re finding that the finished bracelet might be too long for your wrist! Take the strings together and tie a knot like you did at the beginning. Now it won’t come undone!
6. For the final step, ask a friend or a family member to tie your bracelet onto your wrist. These bracelets are traditionally worn until they fall off. Some people like to make a wish when they tie it on, and the saying goes that when it falls off, your wish will soon be granted.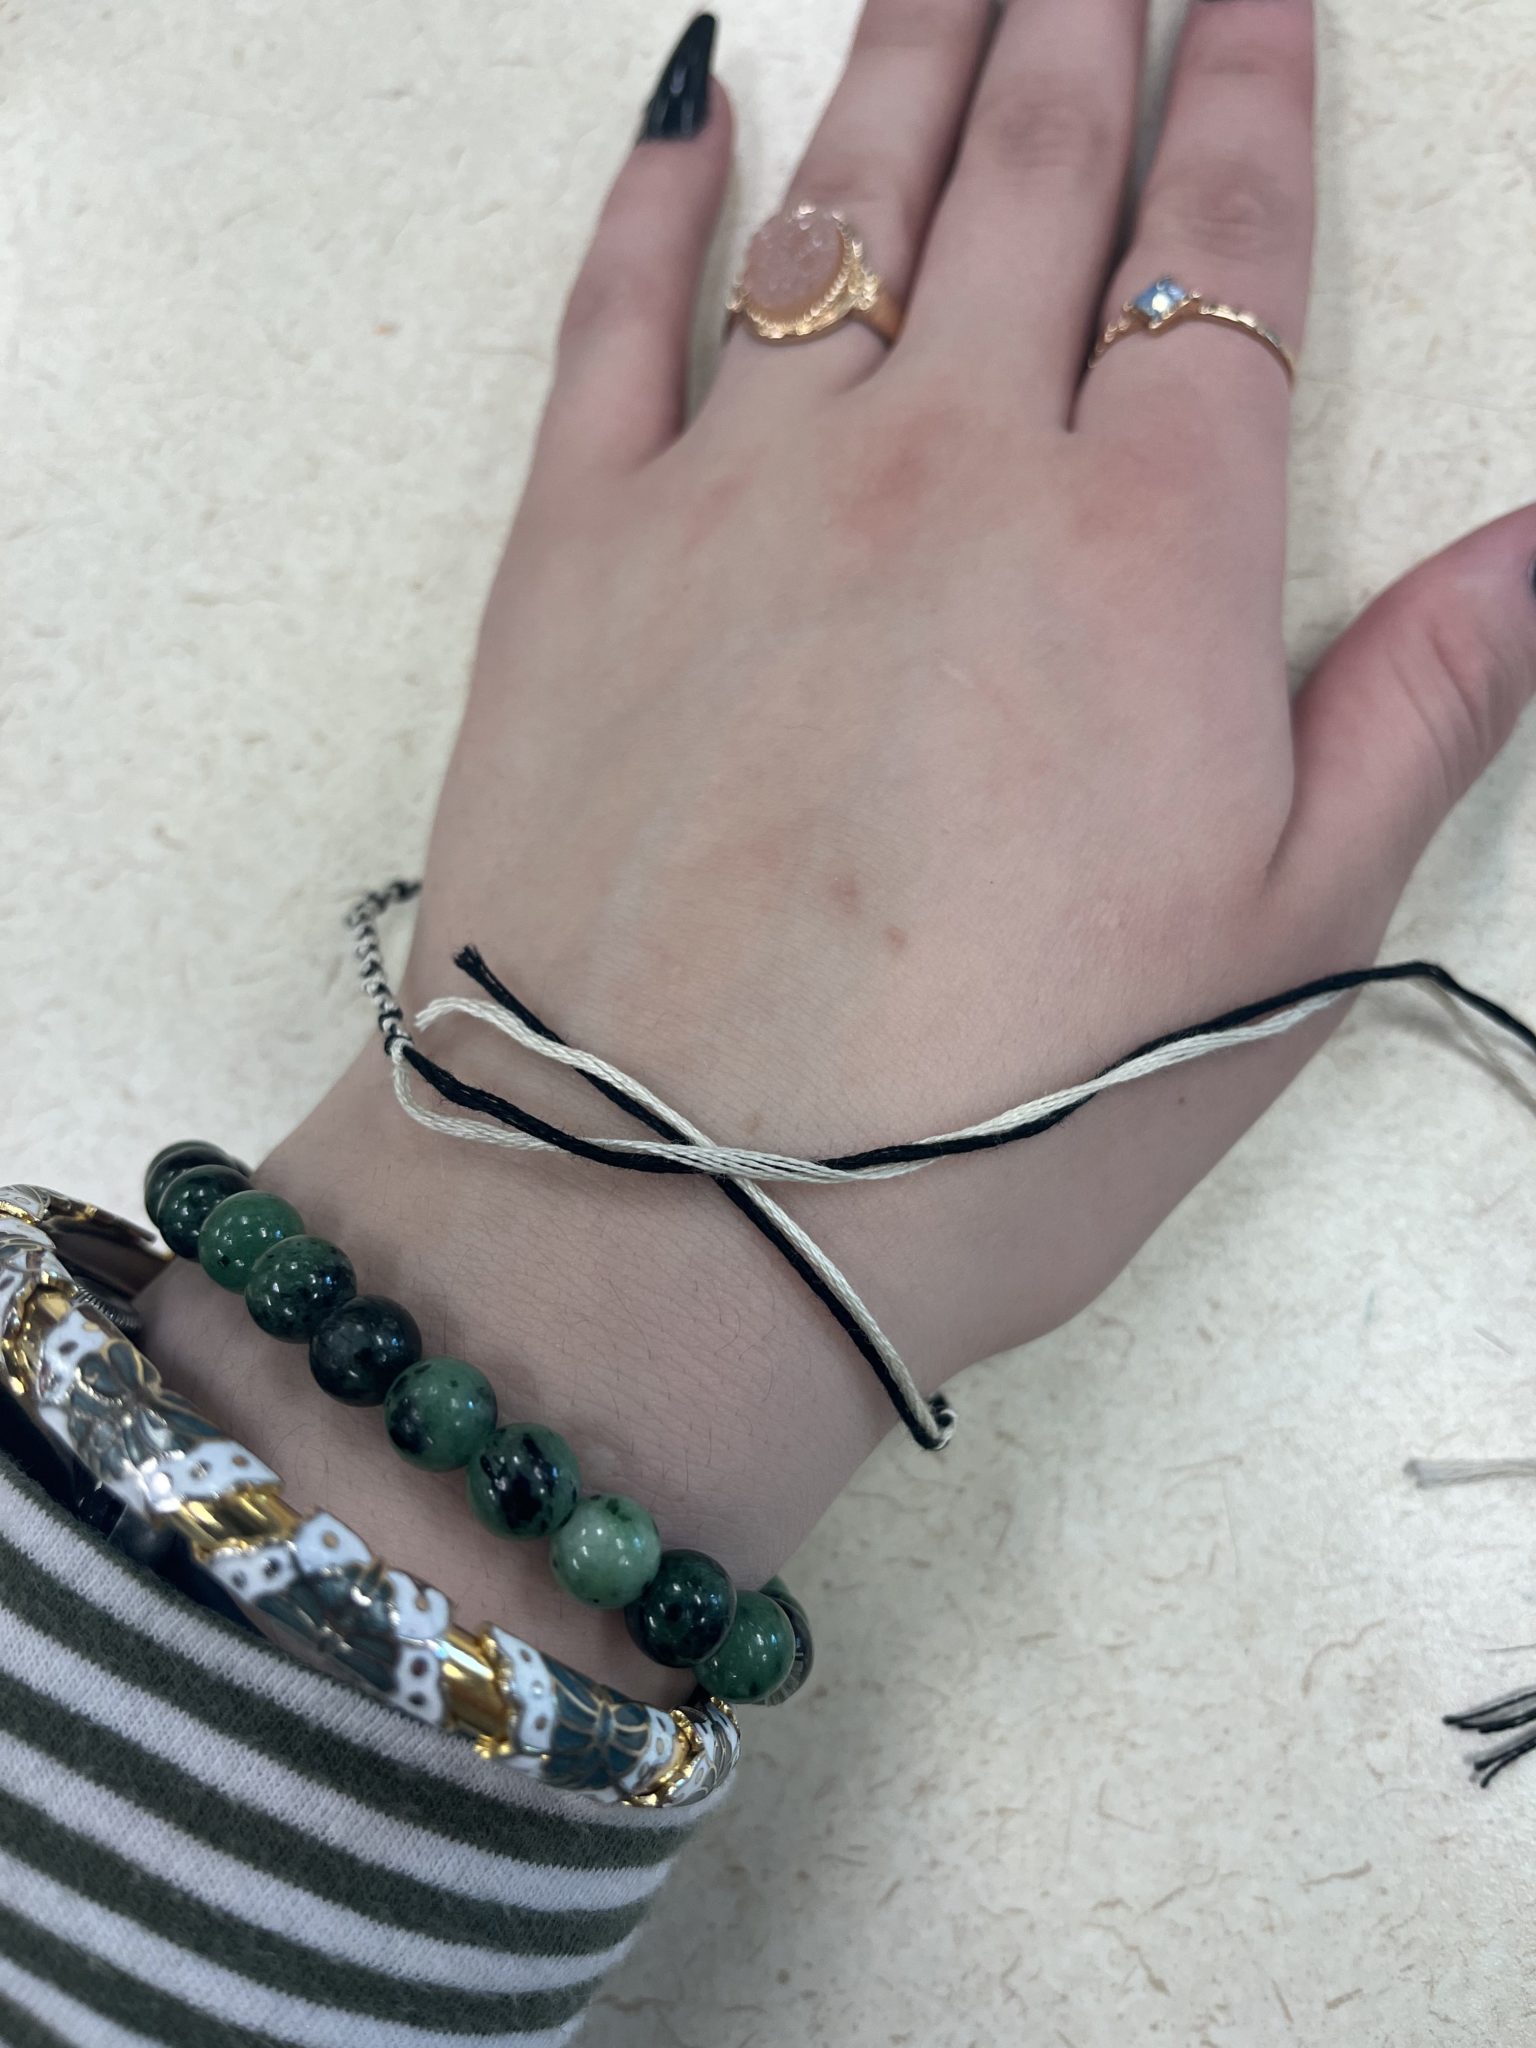
Congratulations! You’ve made a friendship bracelet!
2. (Easy) Diagonal – Agape (love of the world)
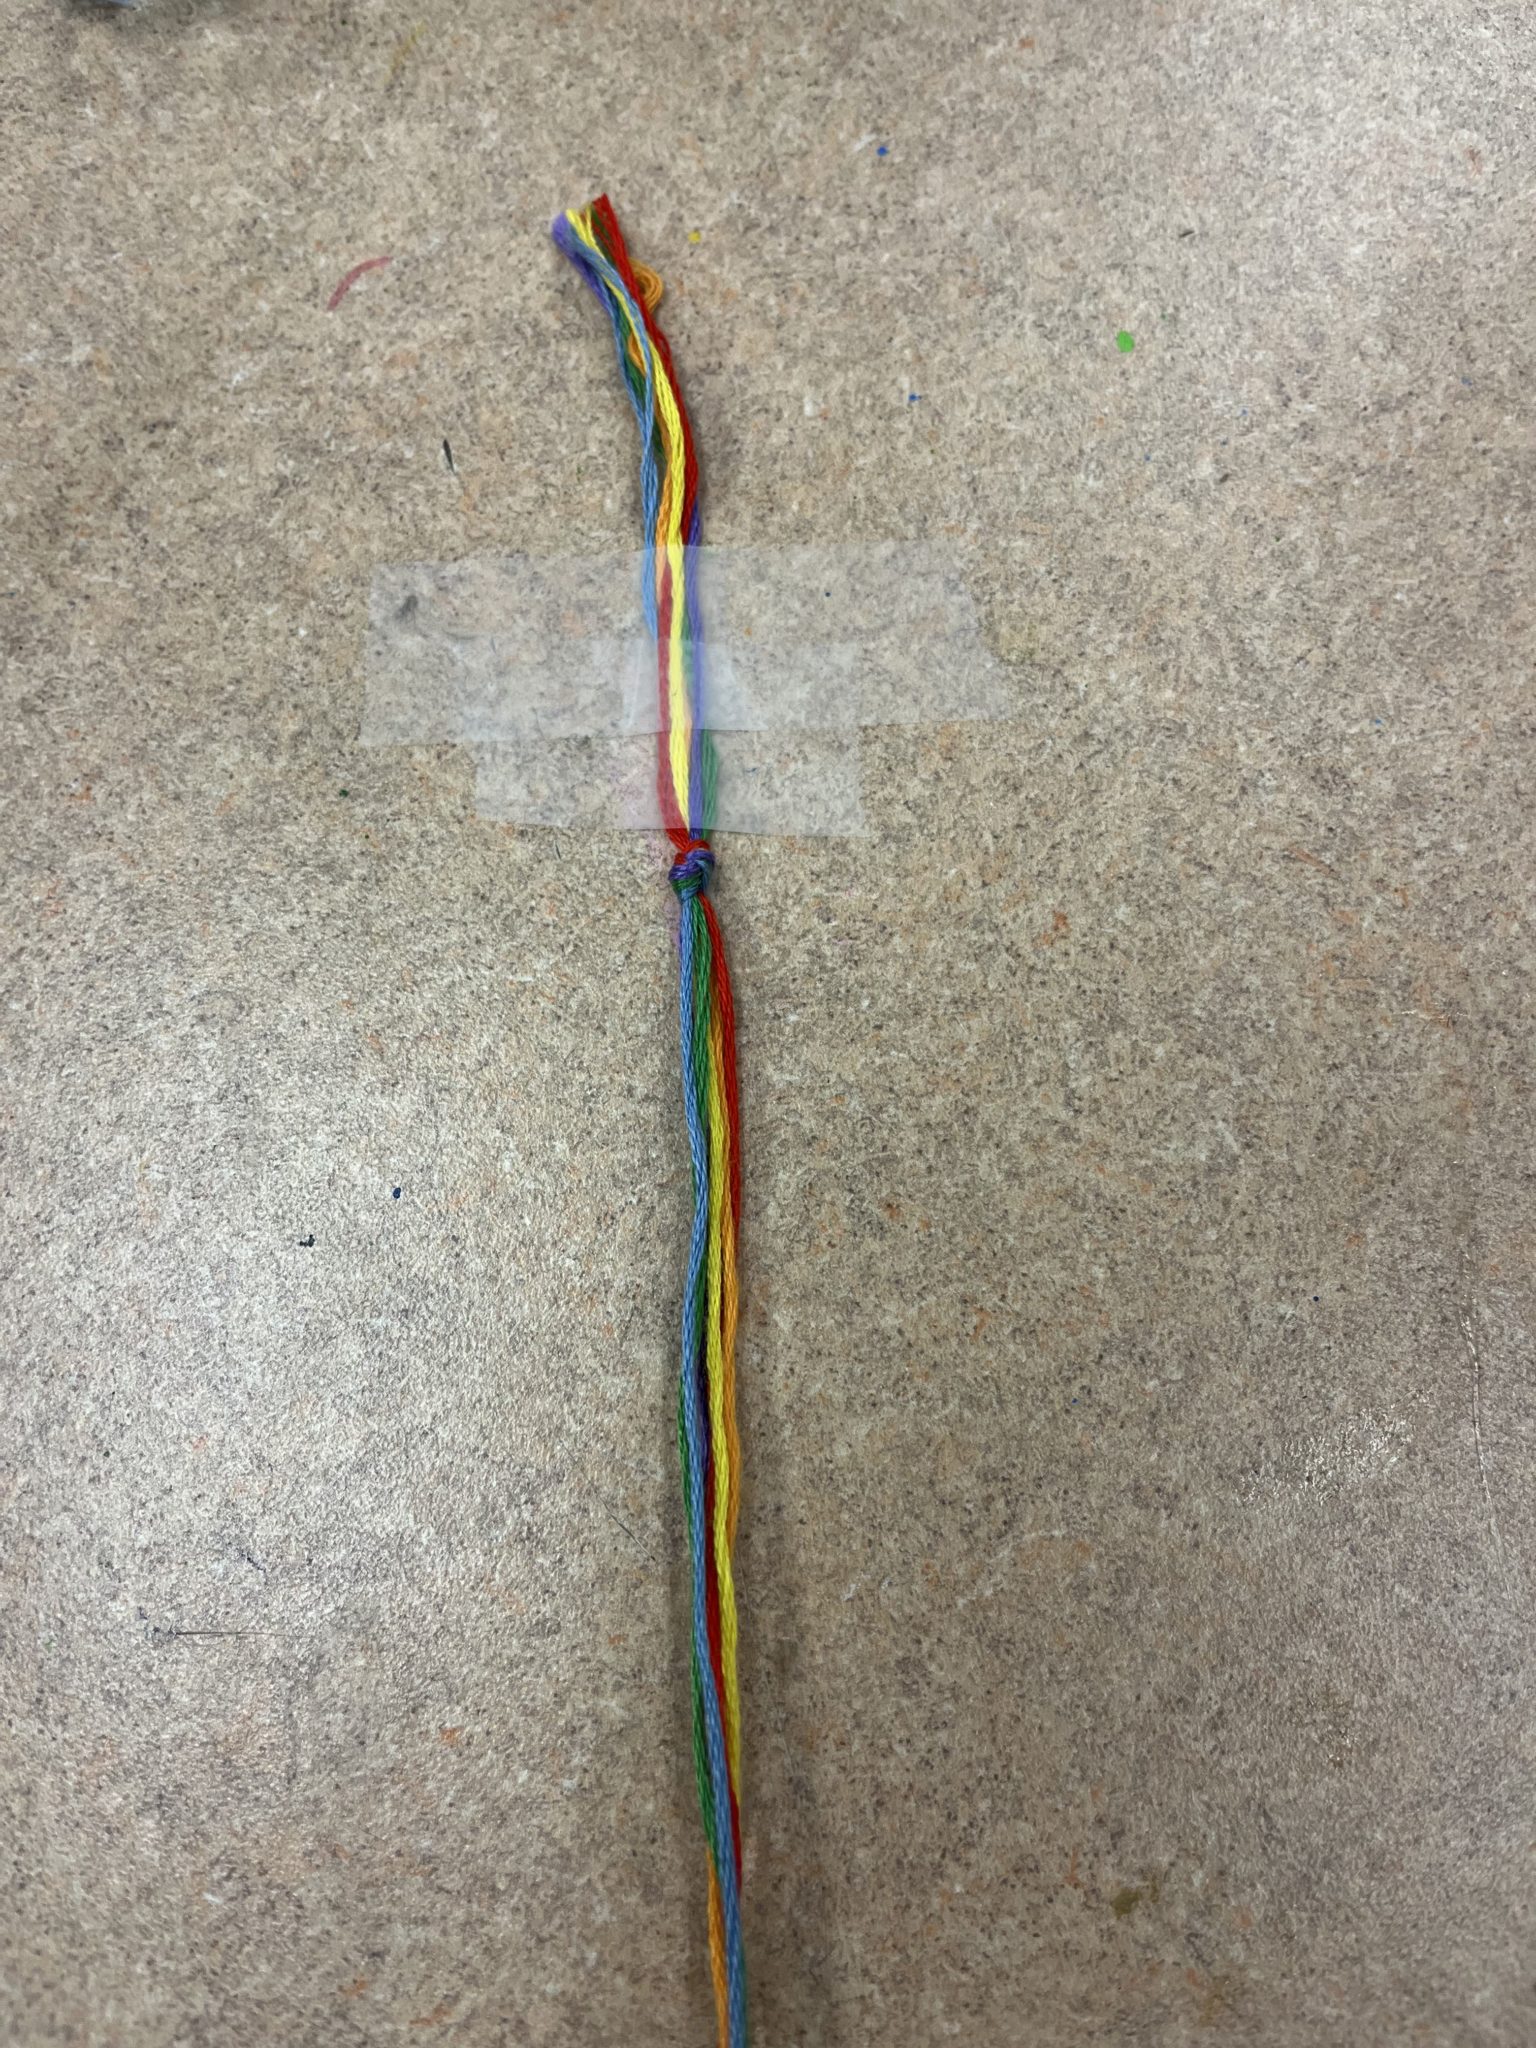
Agape is selfless, worldly love — the feeling you get when you see a couple laughing together on a walk, or when you see a little kid playing with a dog. It’s the sense of connection that binds humanity together. It also is the basis of respect and helps to inform the way we treat each other. For that reason, I’ll be making a pride flag bracelet as a symbol of love. This pride flag is a rainbow, which means it’ll have more width than a traditional diagonal bracelet. If you’ve never seen the pride flag before, it is a rainbow flag that represents the beauty, diversity and joy found in the LGBT+ community. People use the rainbow as a symbol of support and allyship for LGBT+ people, who often experience discrimination based on their identities. If a rainbow or a pride flag isn’t something you’re interested in making, you can make a flag that represents your country or the country your ancestors originated from — or you can use any colors you like best! Your choice! 🙂
Directions: I recommend about 18 inches of thread, or about 46 centimeters, for this design.
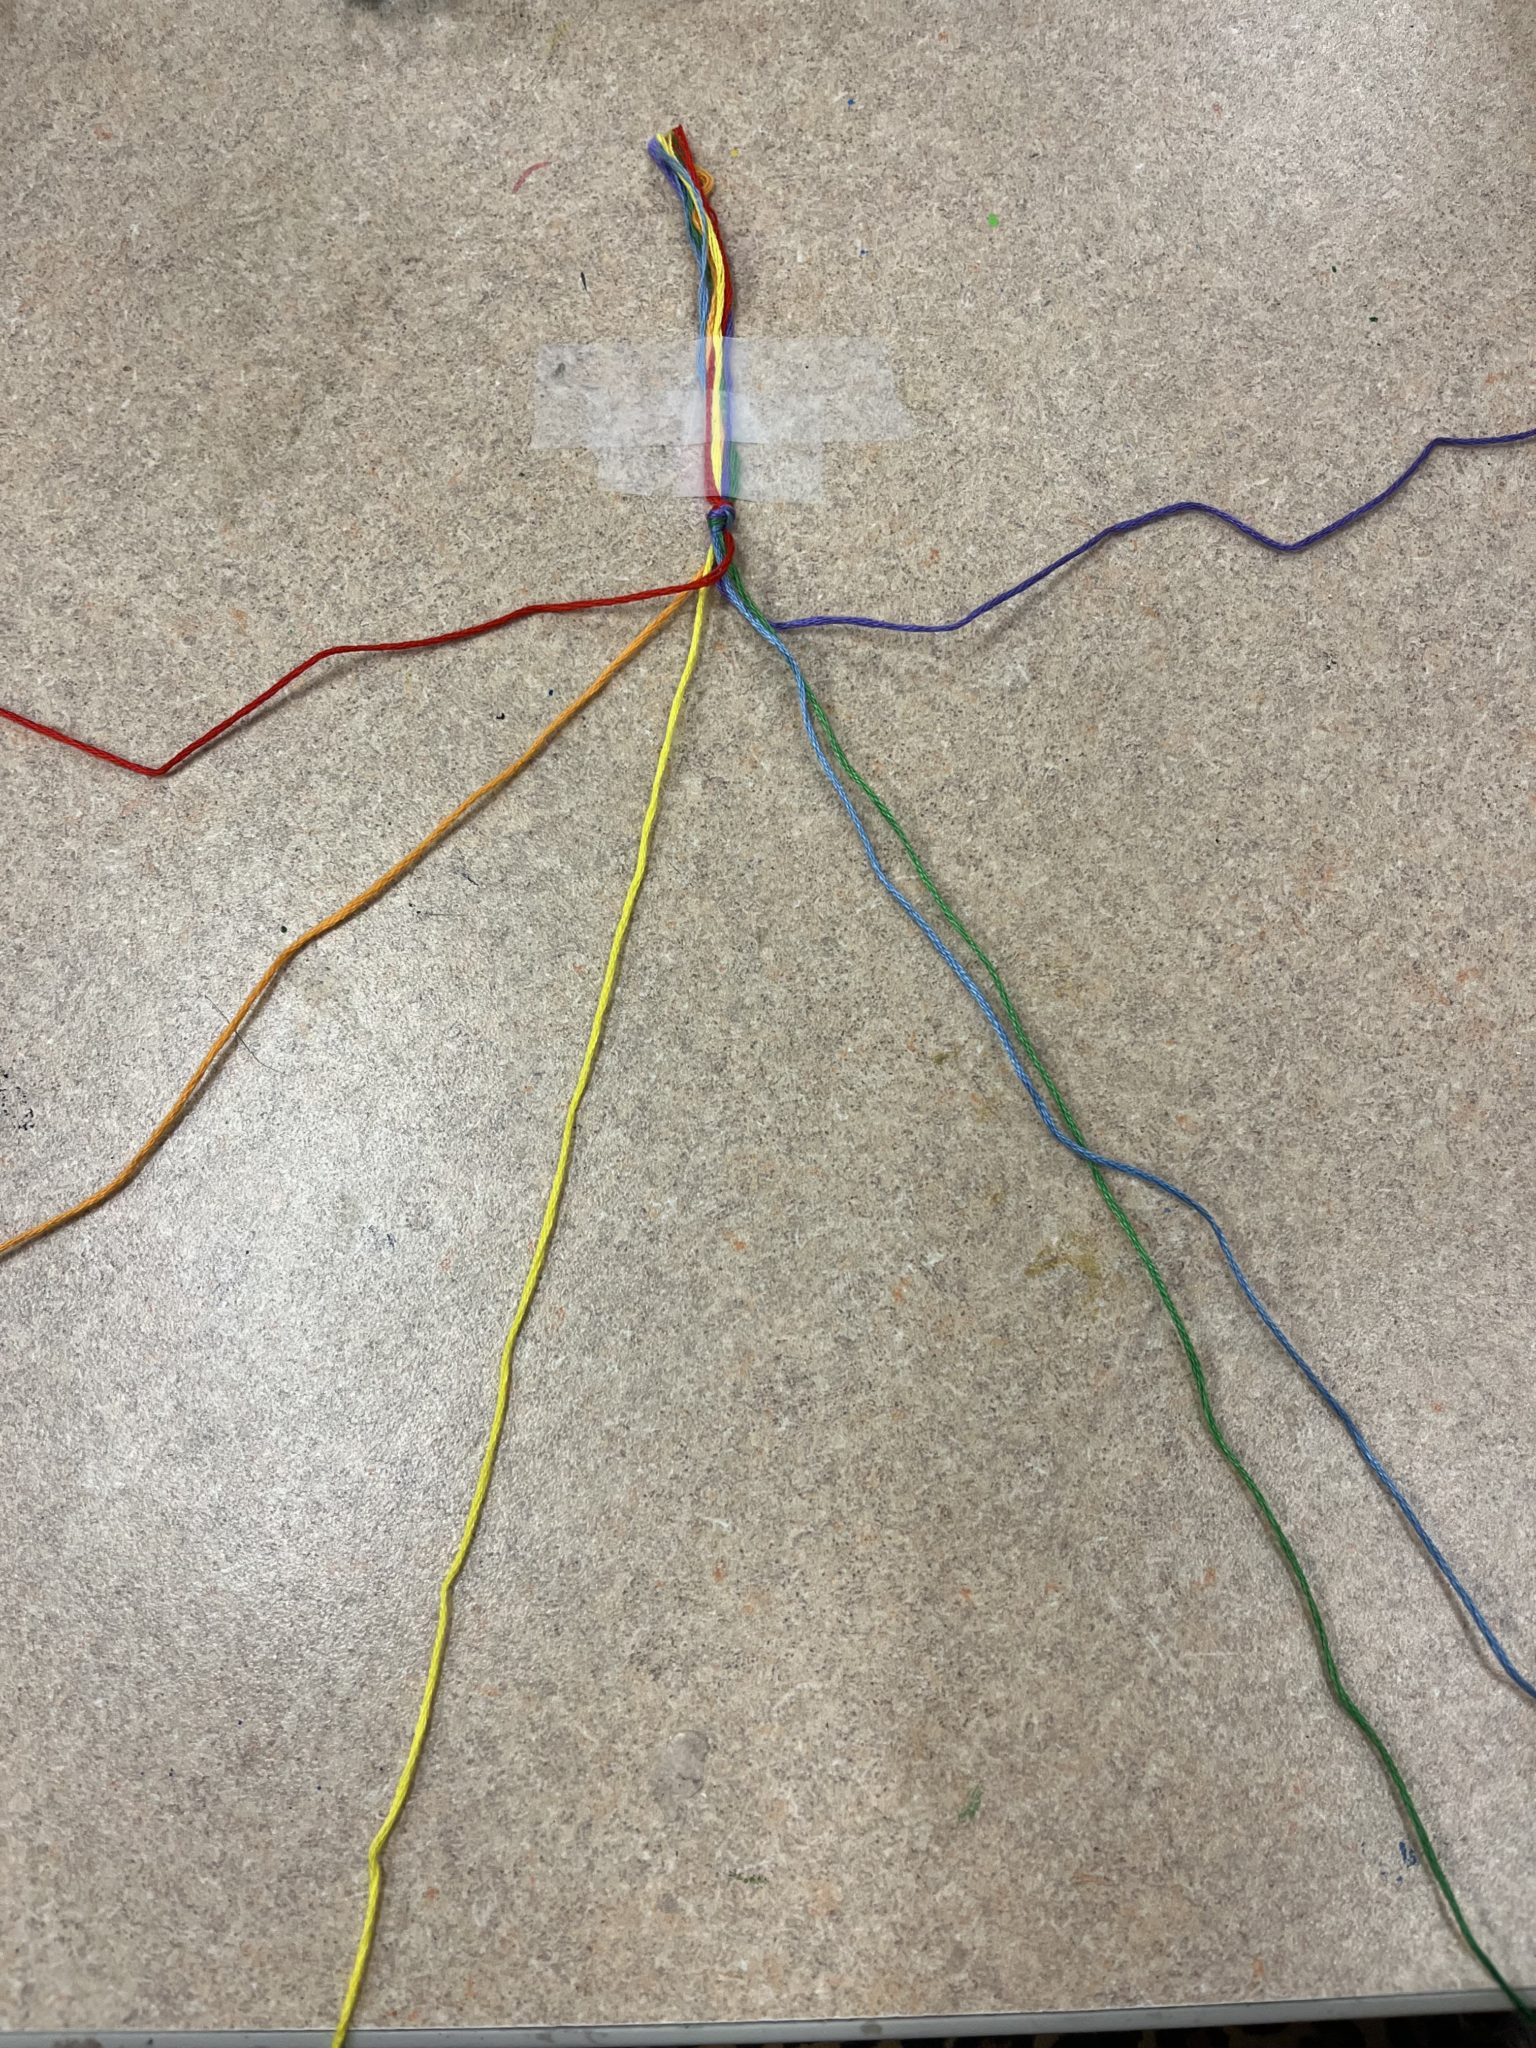
- Take all your colors, tie a knot, and place tape above the knot, just like with the first bracelet.

- Then, separate your colors. This will make the process much easier. Because I am doing a rainbow bracelet in rainbow order, this is how it will look:
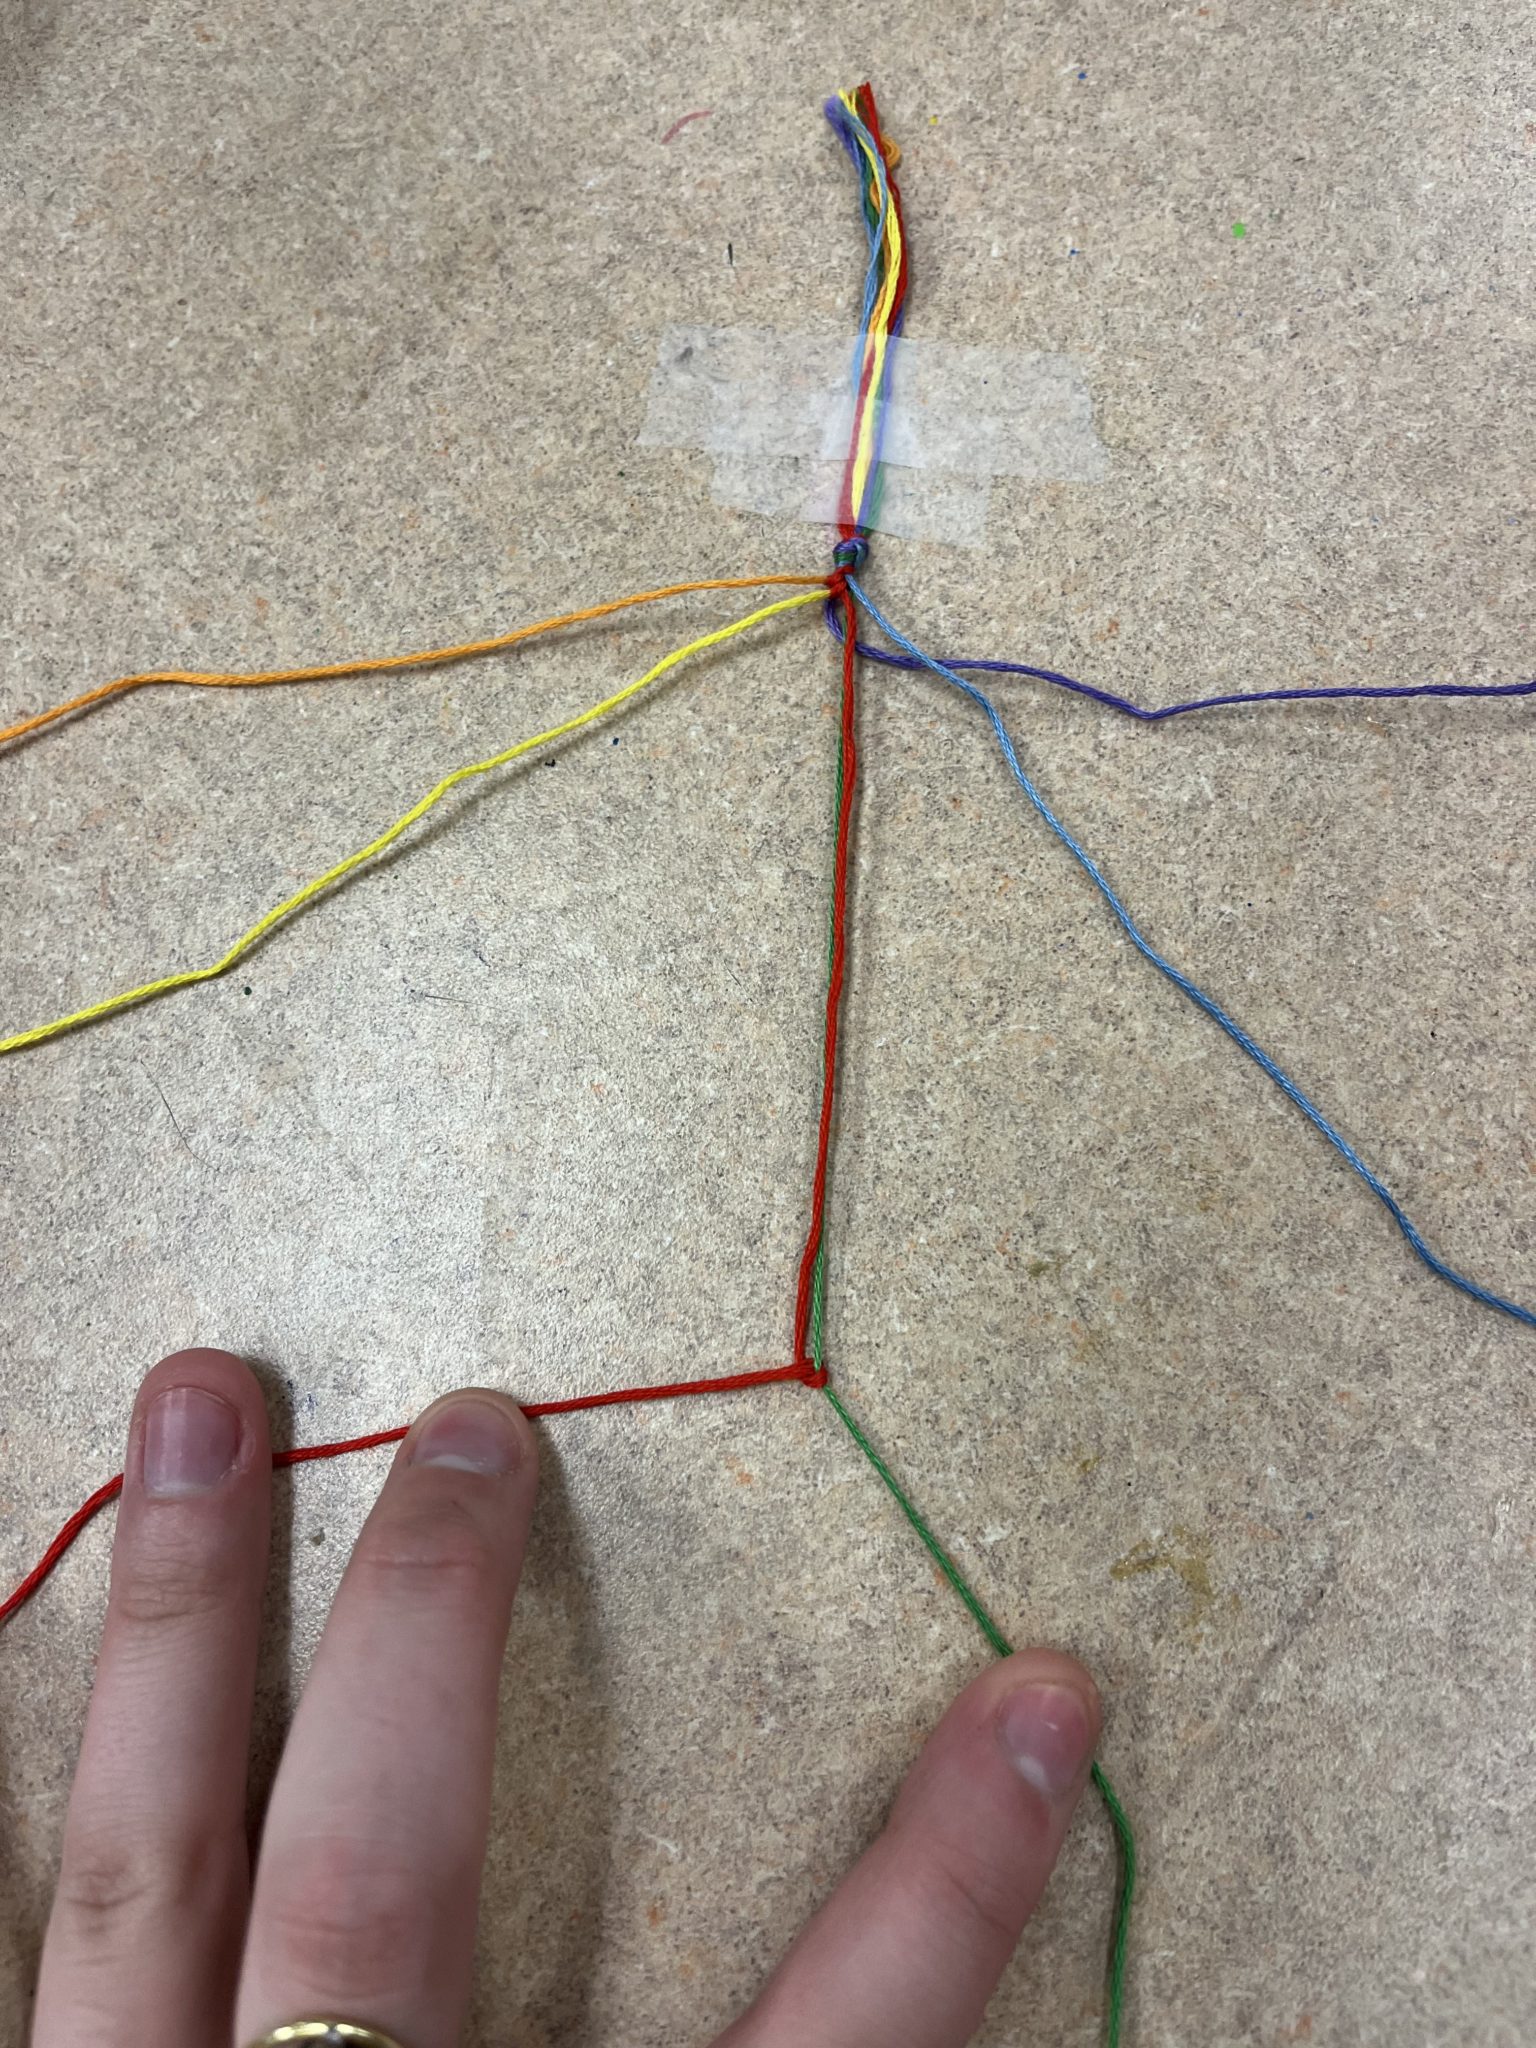
- Now for the fun part. Start by making forward knots with your first string (in this case, my red string) alllll the way until you reach the last string (in this case, my purple string!)These pictures show what that process looked like for me.
- Now for your next string — mine is orange. Do the same thing: make forward knots all the way to the last string. Importantly, because I did a row already, the last string I am knotting my orange string onto is the red string, because it now falls after the purple string.
- Keep it going! The process is the same for each set — use the color you are creating a line of (also called your lead string) to create forward knots all the way to the string farthest to your right. Then do it again! You’ll notice I used a lot of tape to keep this bracelet down. This is a problem I run into pretty frequently. To avoid having to continually tear new tape, you can use a clipboard to hold your bracelet down so you can pull the knots taut.
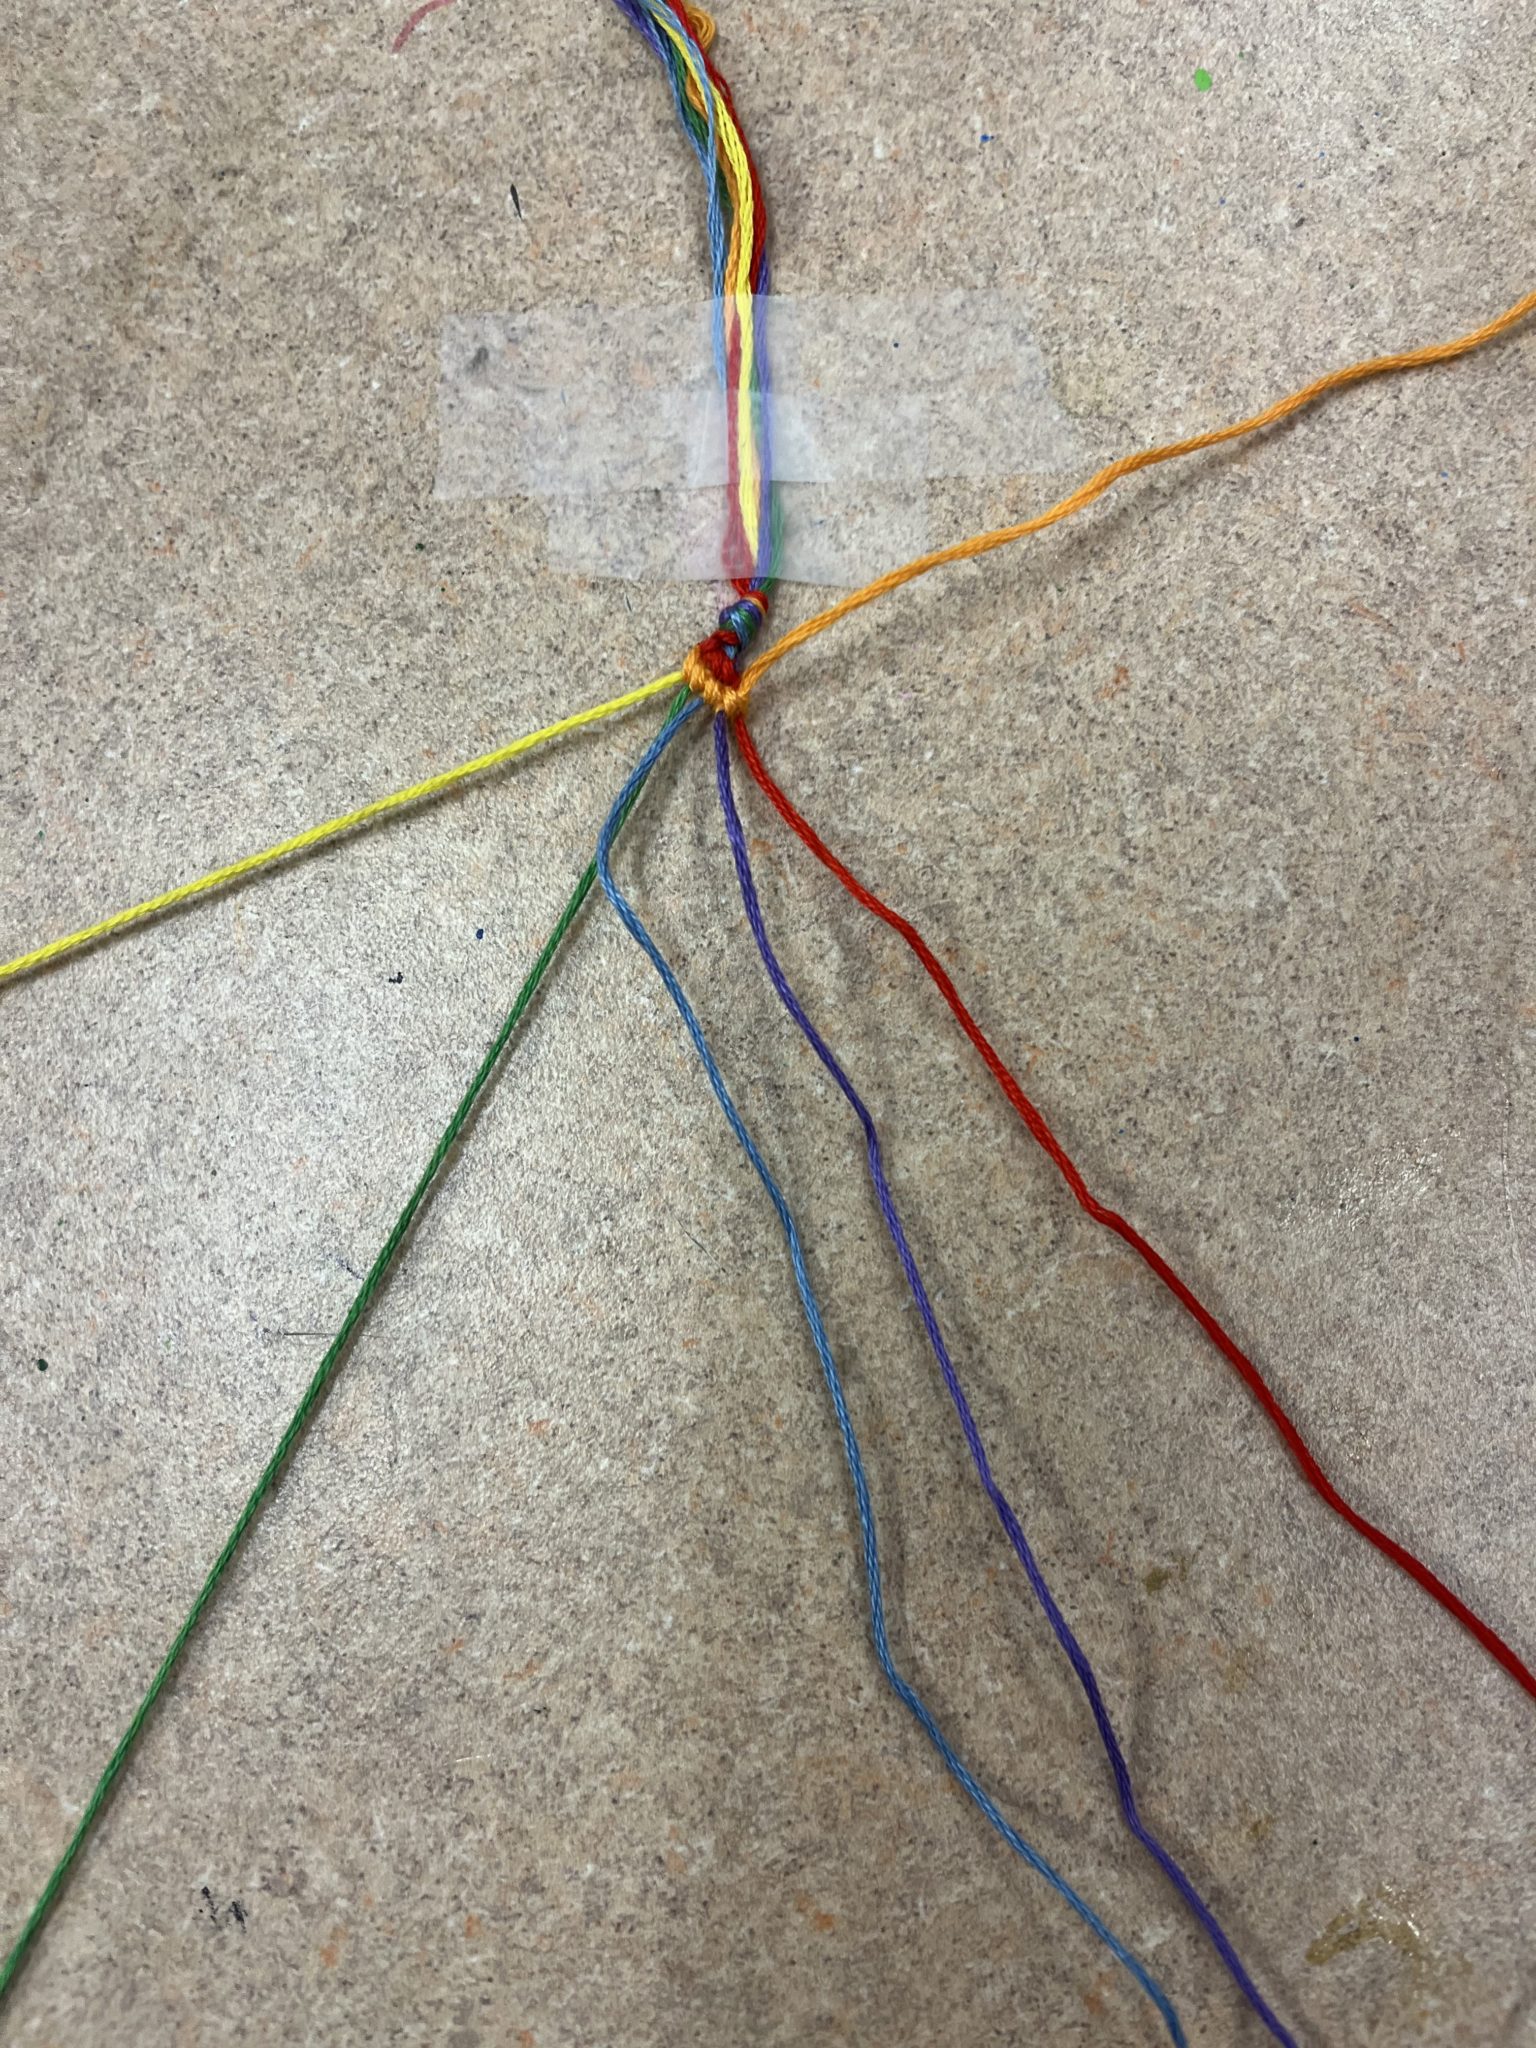
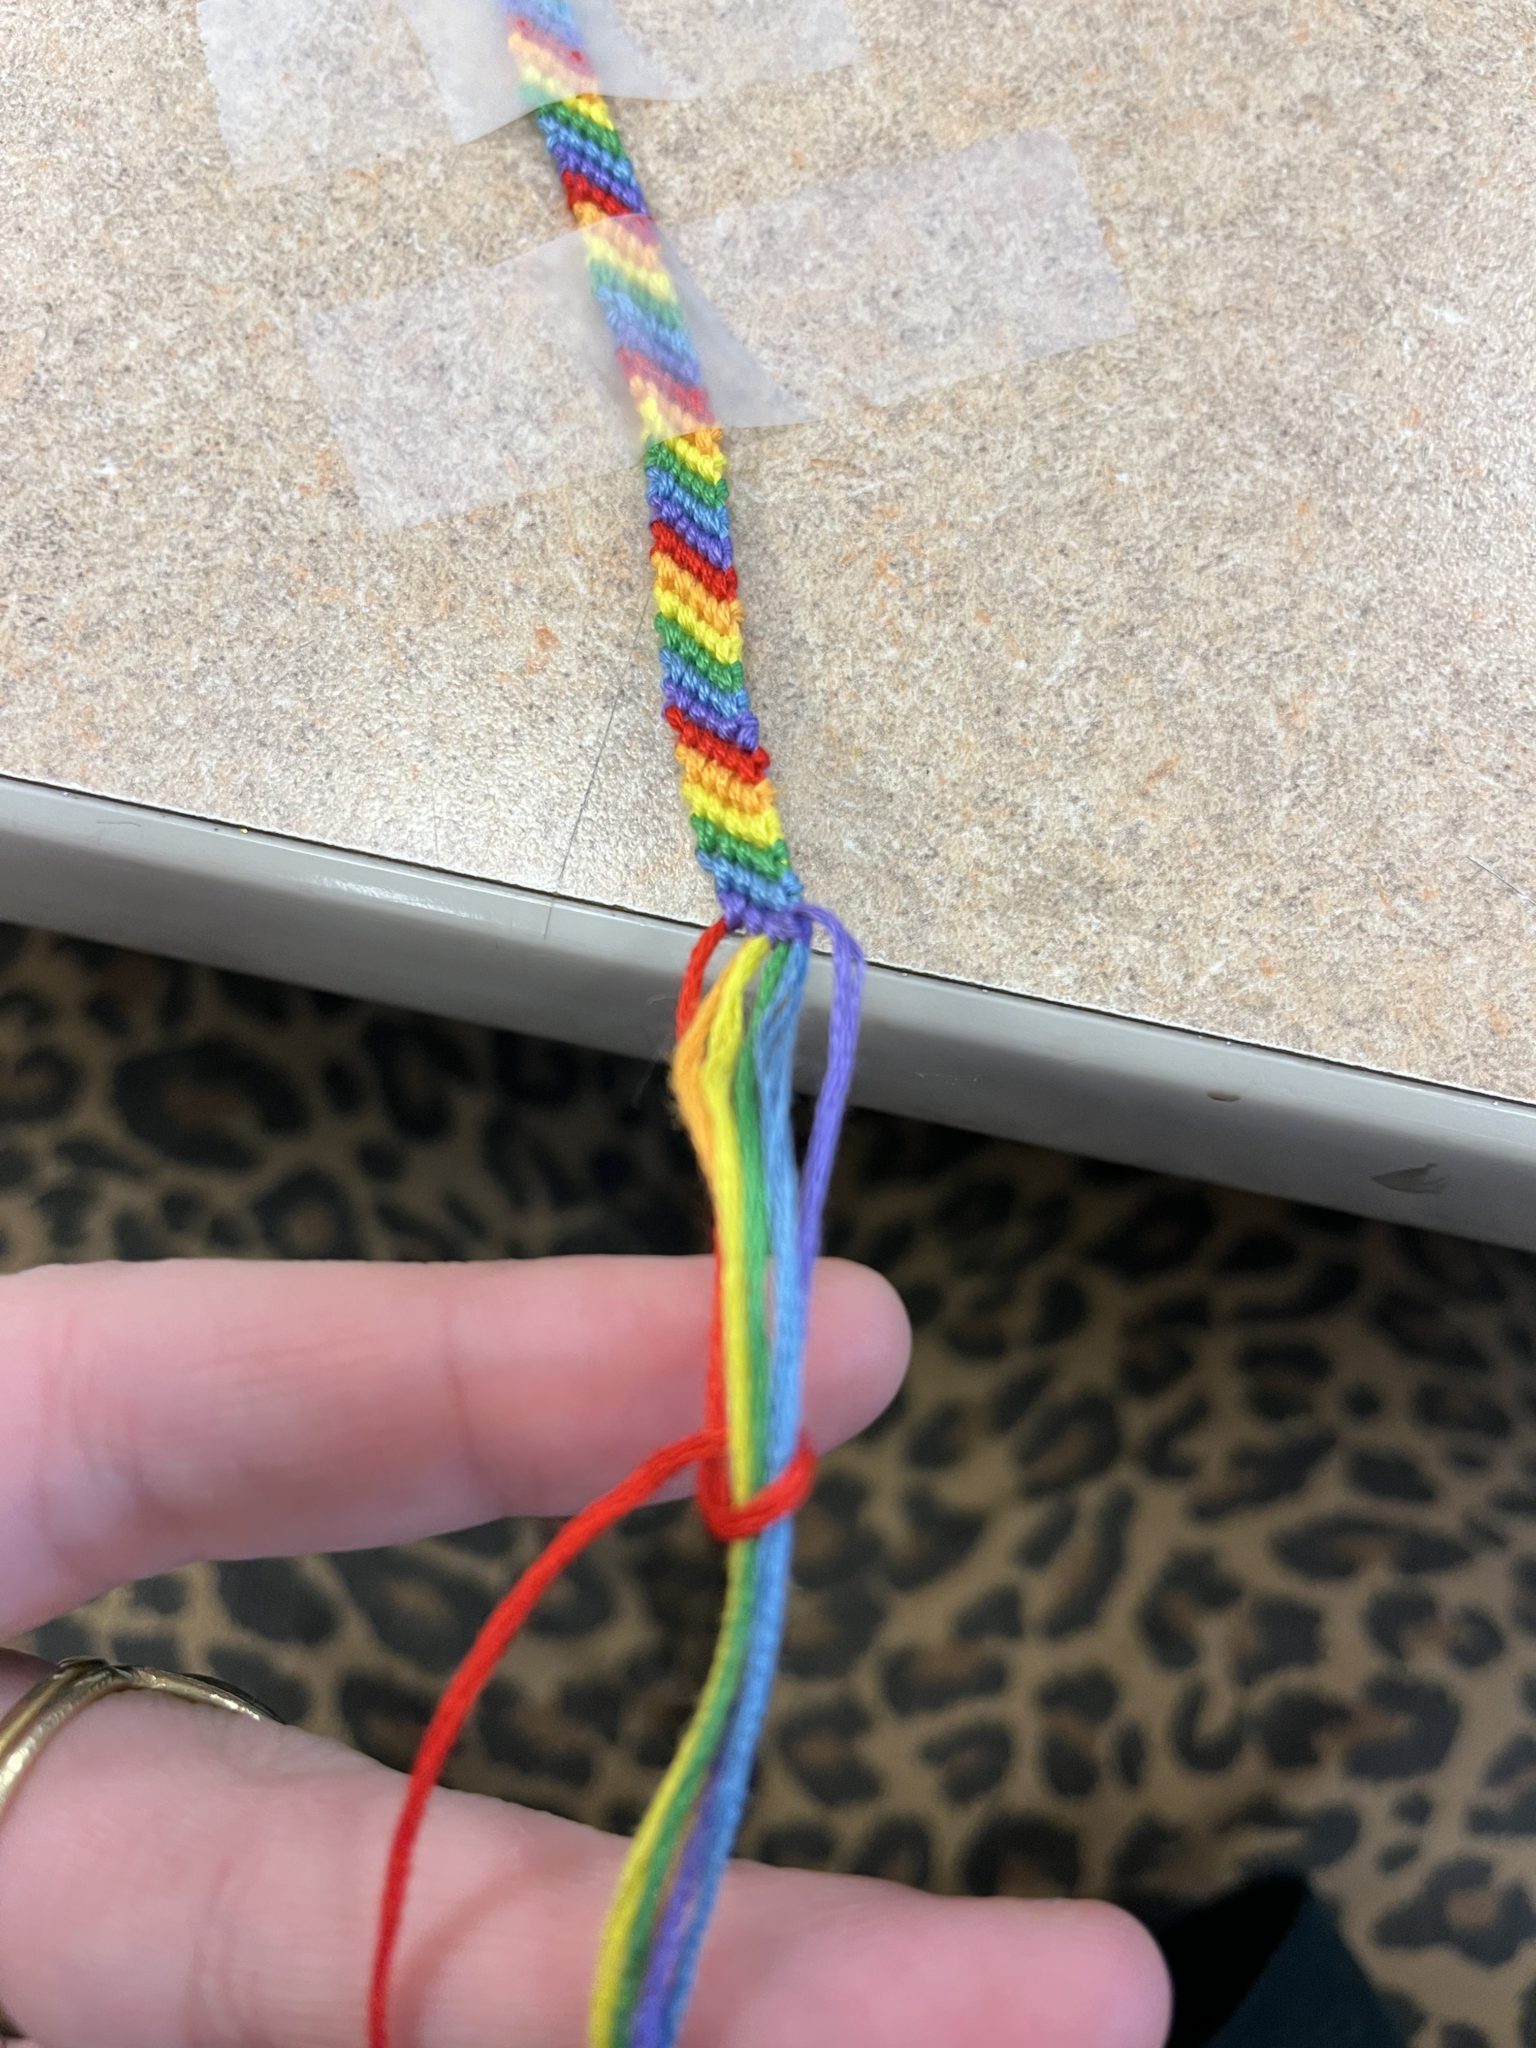
- Finally, the finishing touch. When you are done, you can either tie a knot like the one at the top of the bracelet, or you can do the technique I tried of knotting together all the strings as shown in the picture, treating all strings but one as one ‘strand’. You can use forward-backward knots for this, which means knotting once forward and once backward with the same string. This will cause it to be as even as it can be.
3. (Intermediate) Chevron – Philautia (love of yourself)
I’m very partial to the chevron bracelet. My sister made these bracelets a lot when we were younger, and I’ll never forget the time she made me a chevron with all my favorite colors. I still have that bracelet, actually! Just goes to show — these are much more than simple jewelry. Once you get into your rhythm with this one, you’ll find yourself flying through it! It’s definitely a project one must dedicate time and energy to — this is why I think of philautia, or the love of yourself. To sit down and dedicate yourself to a task is to treat yourself with respect, no matter what it is. When someone sits down to jam on their guitar or doodle in their sketchbook, they are dedicating time to themselves and to self-expression. I recommend choosing your favorite colors for this one. (A rainbow also looks cute as a chevron!)
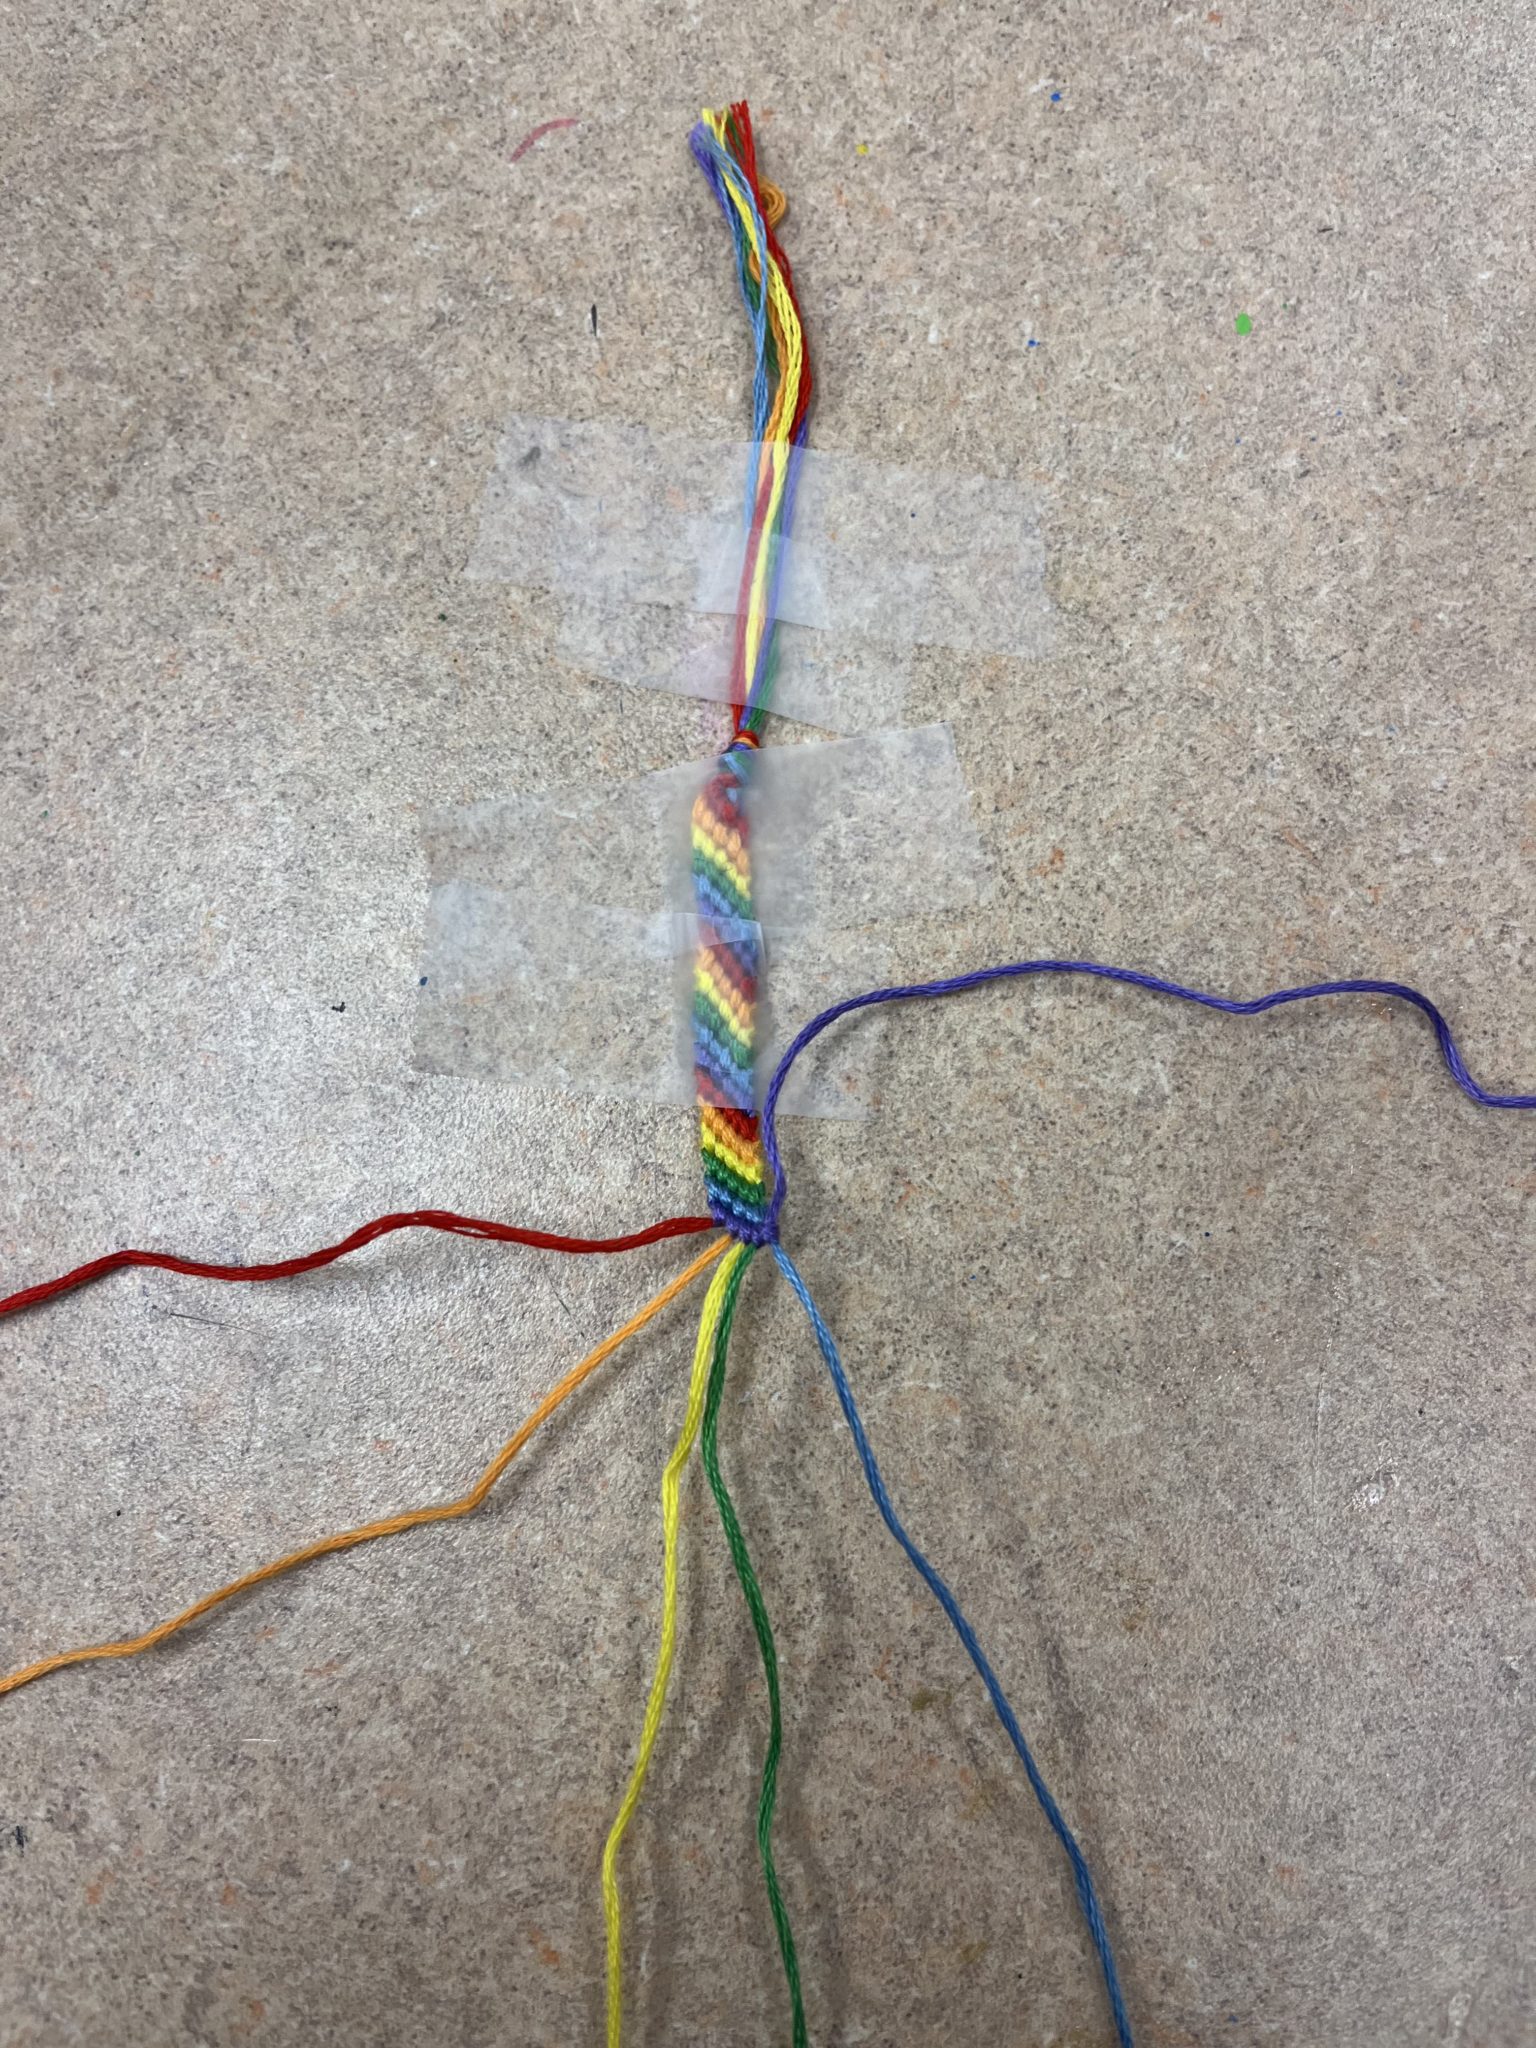
Directions: The most common length recommended for this design is 72 inches or about 183 centimeters. The reason it’s so long is that you need to fold the strings over themselves to make the pattern properly, as shown in this picture.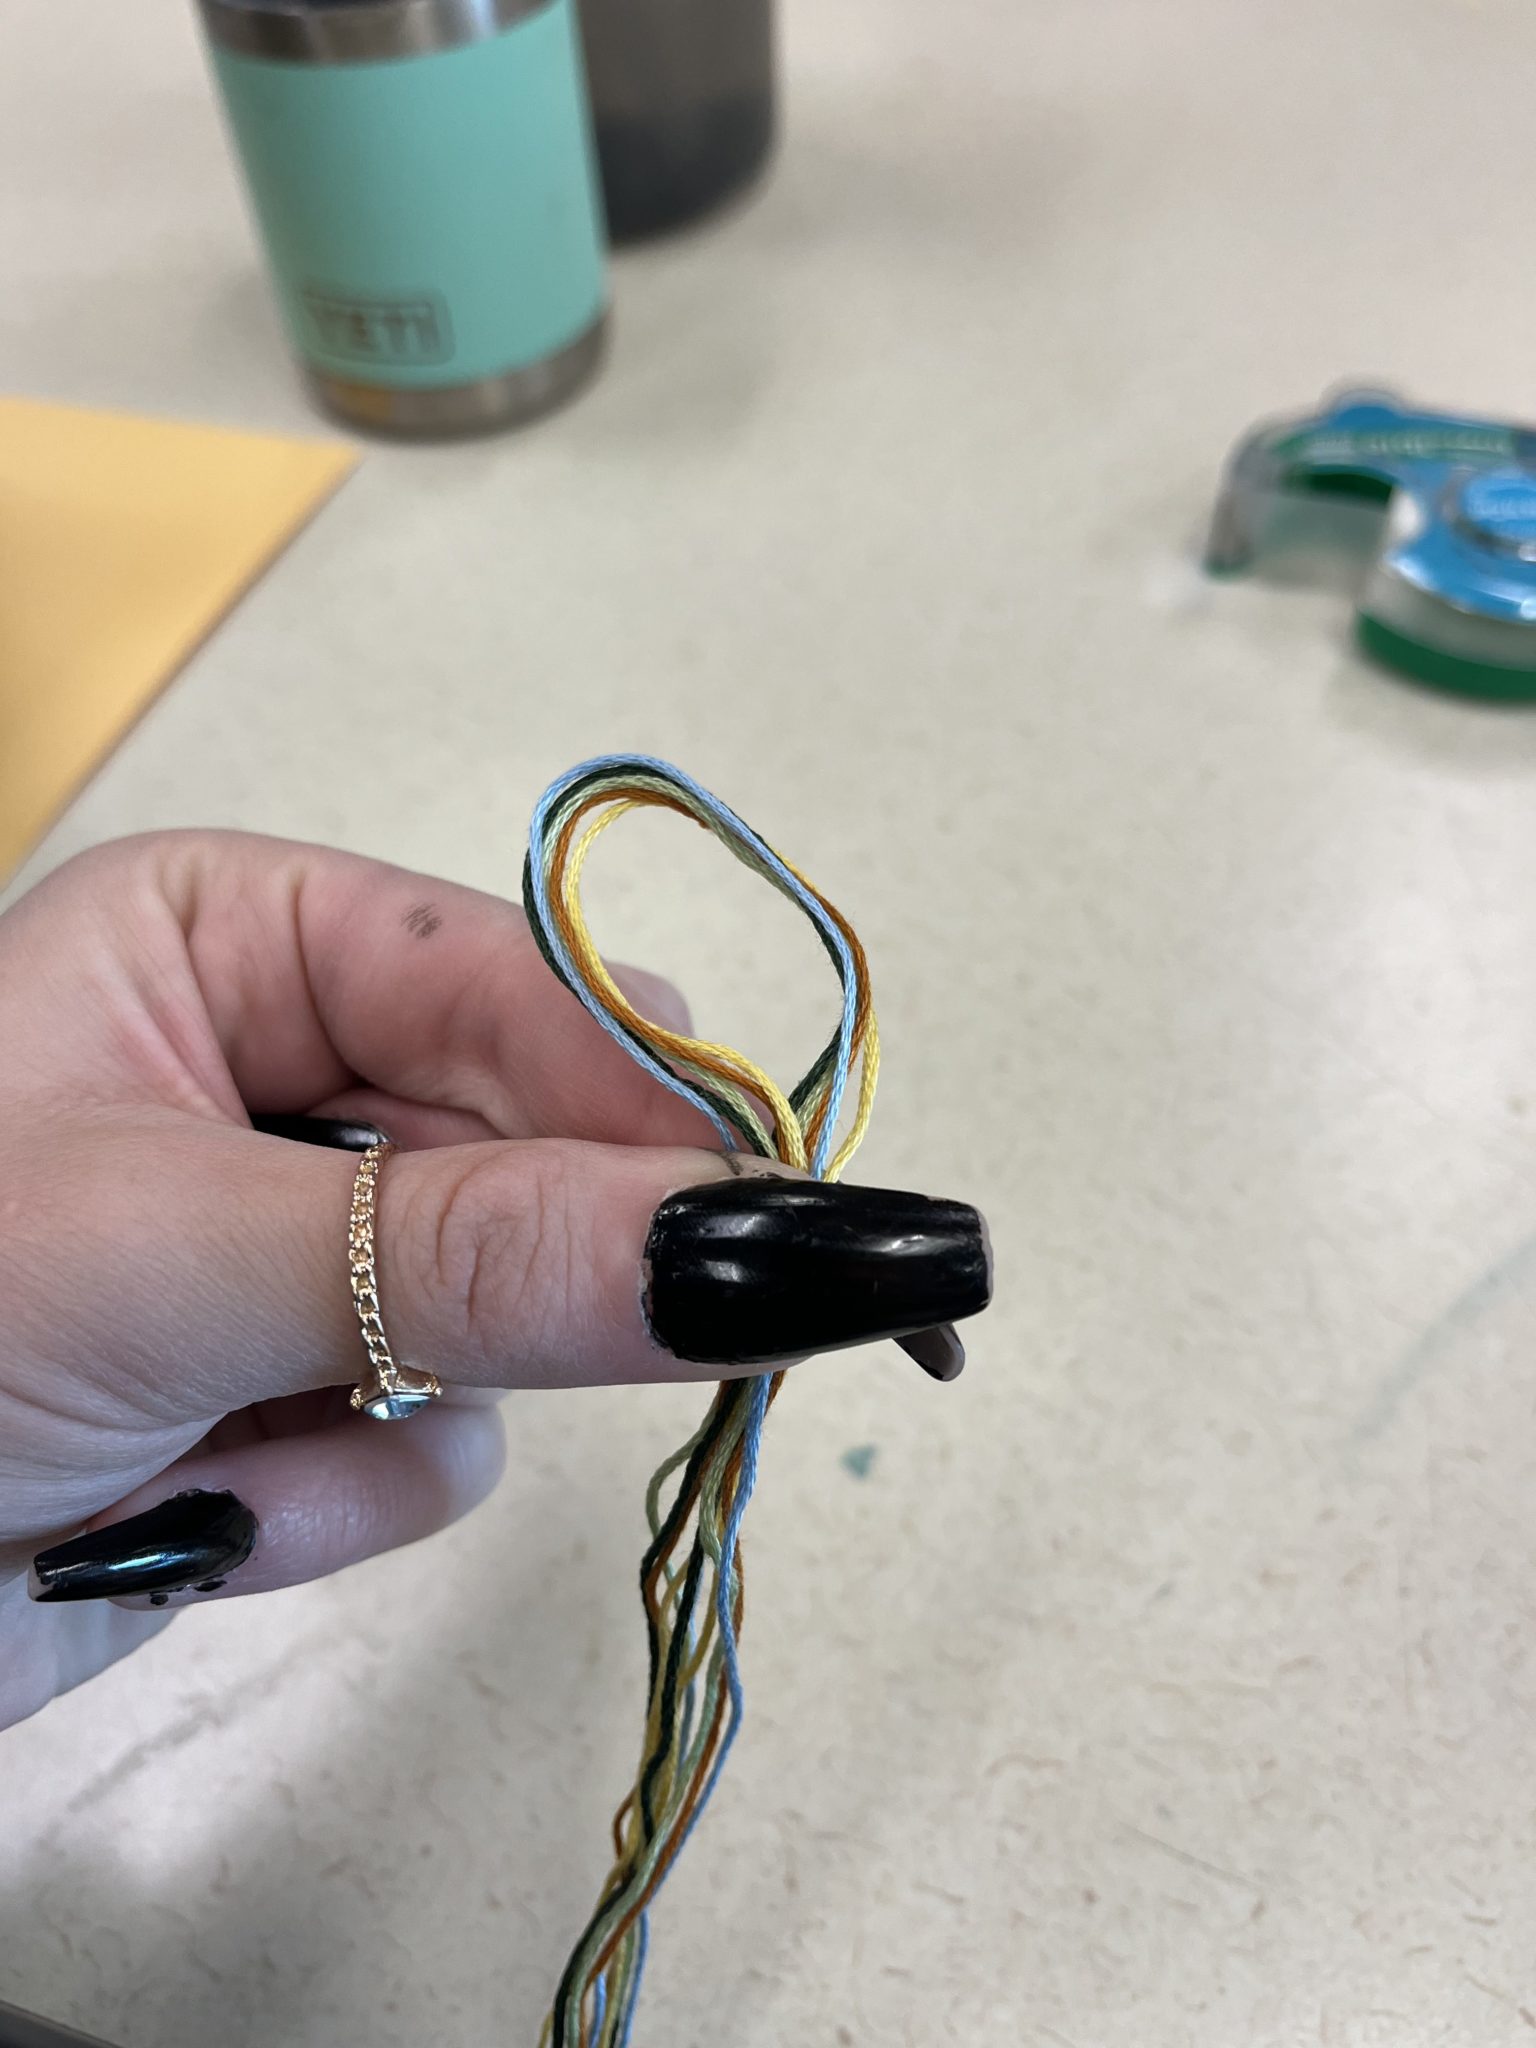
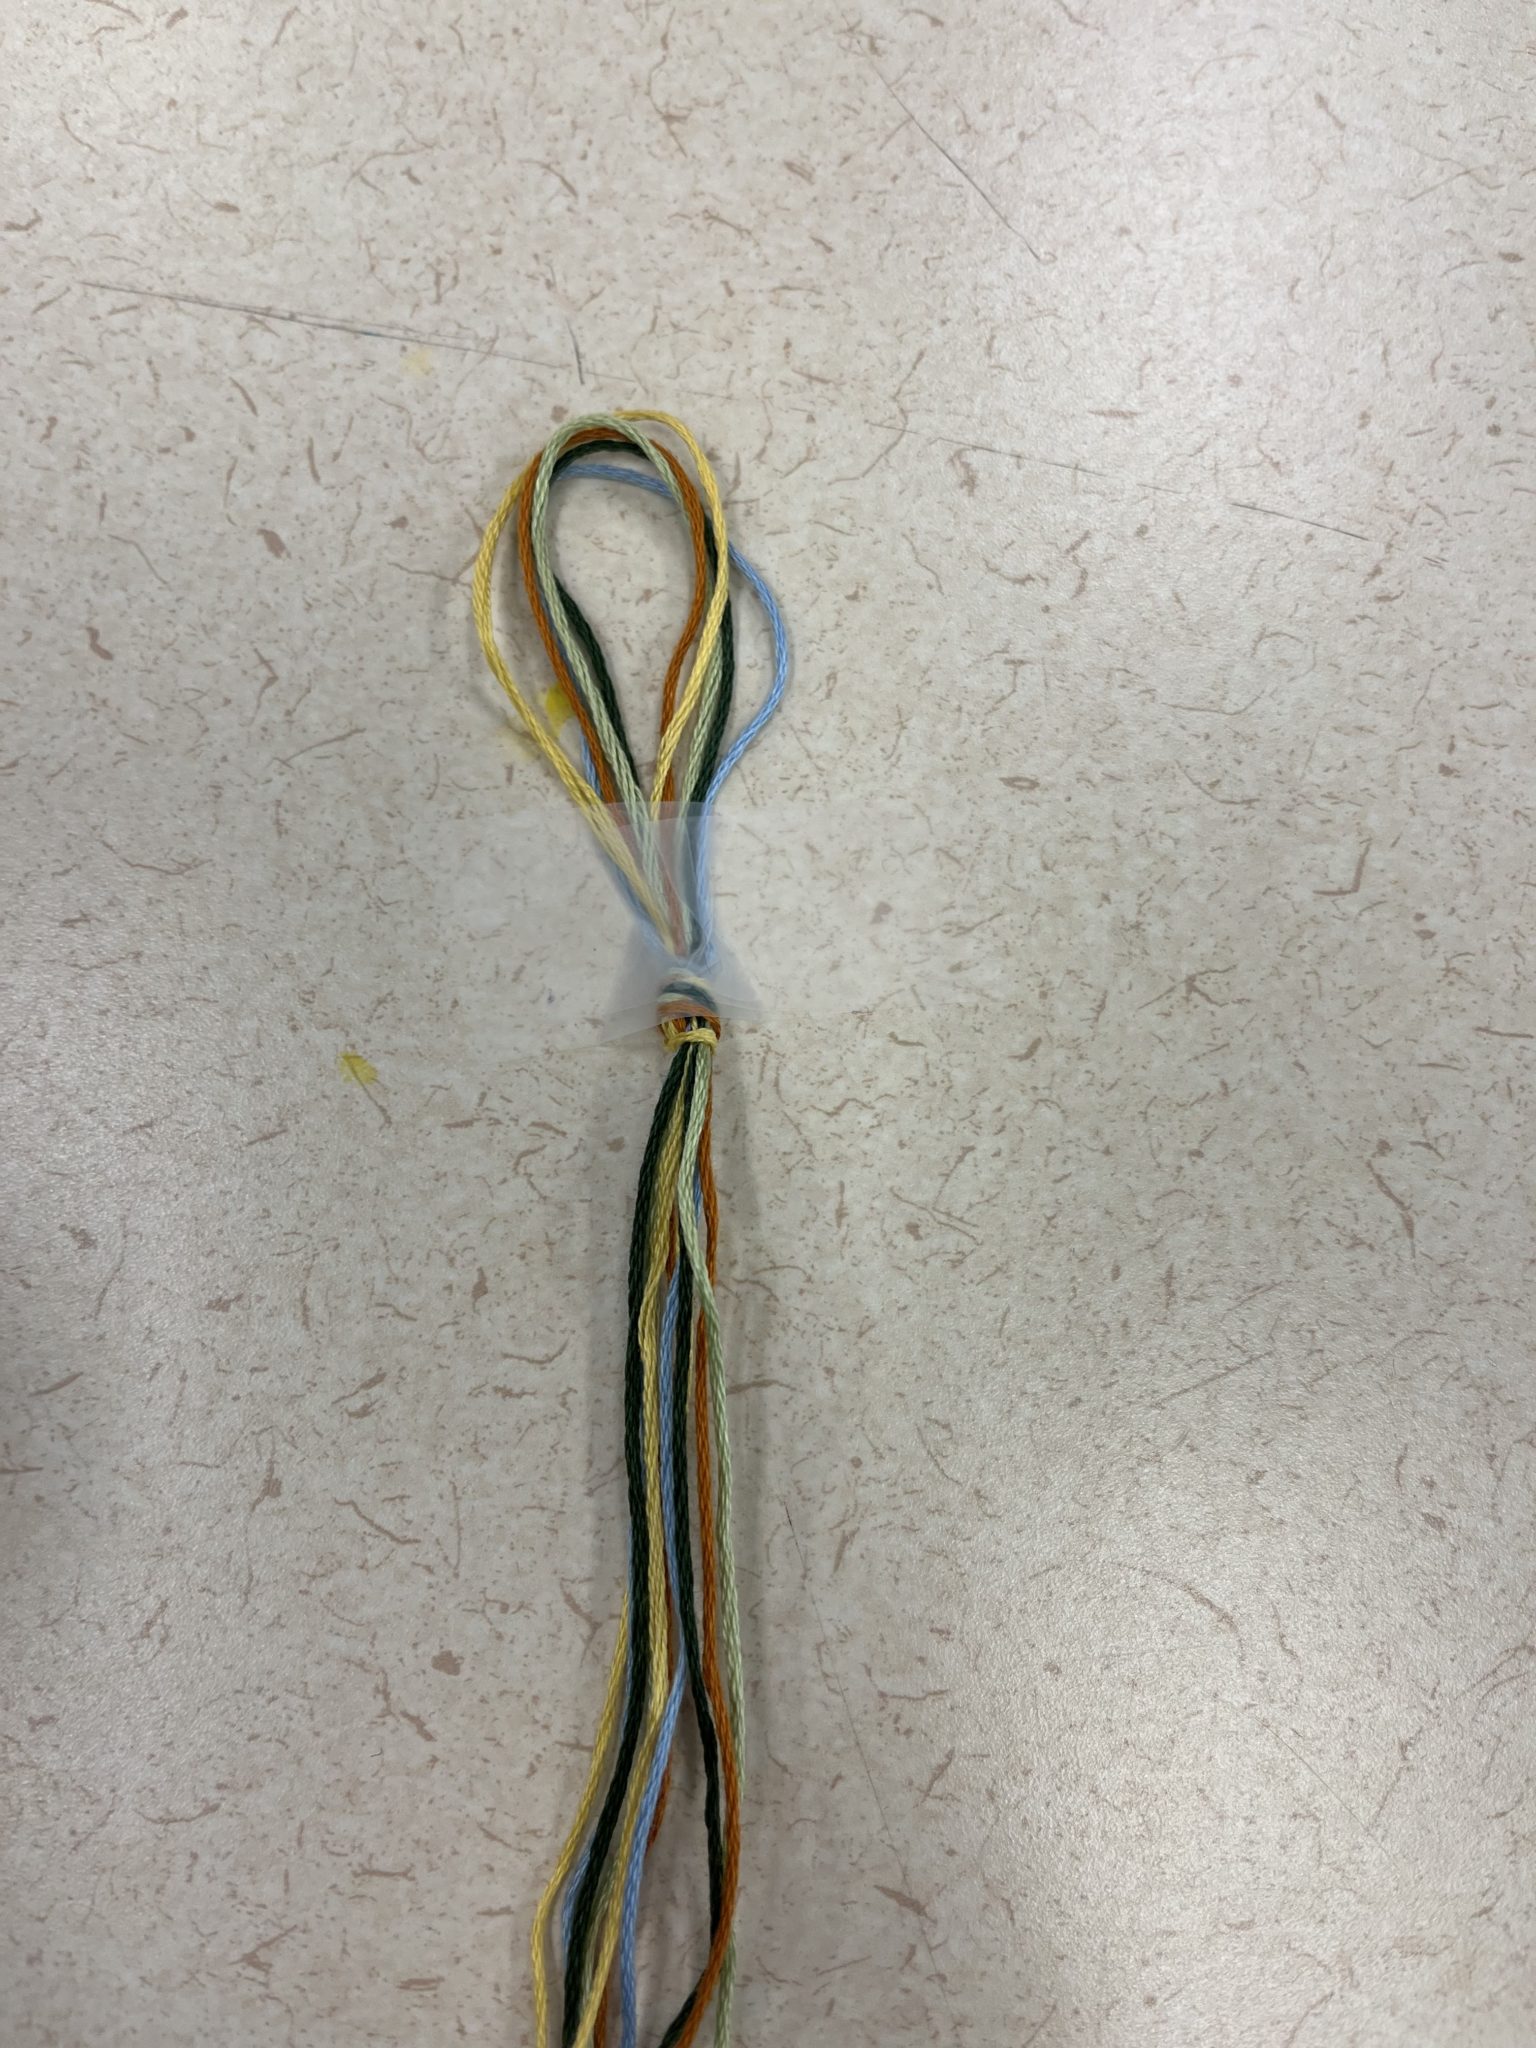
- Once you’ve measured your strings, fold them so they are equal on both sides. When you see the same sort of loop as shown in the picture, use the loop to tie a knot.
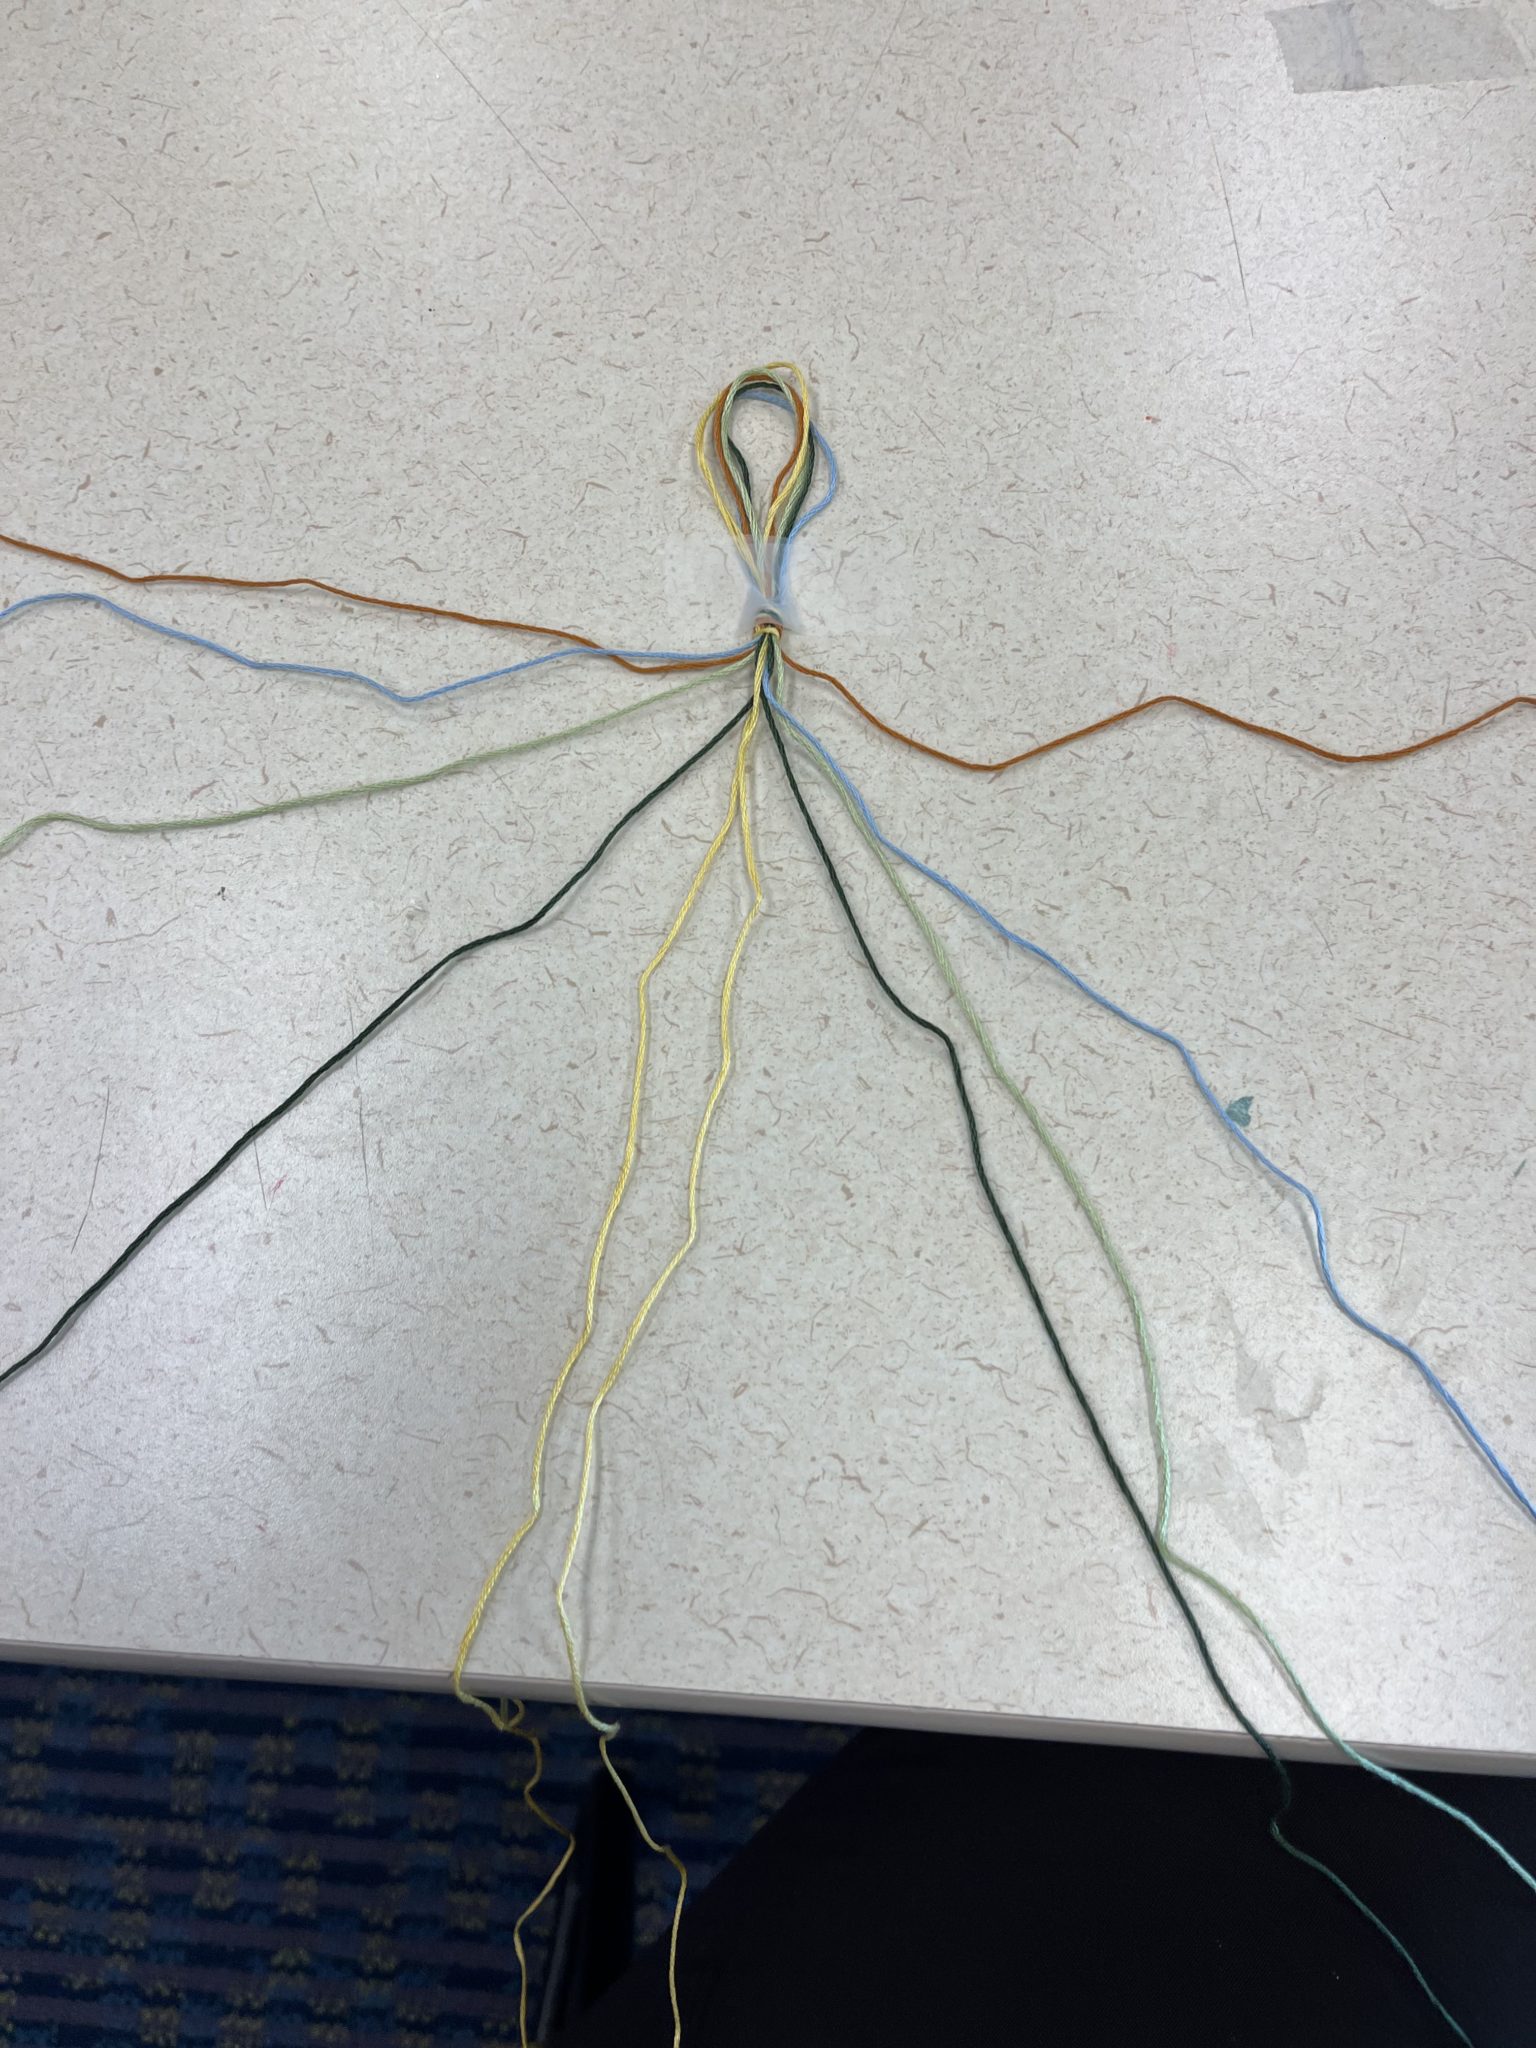
- Now, just like you did for the diagonal bracelet, you’ll need to lay out your strings. You will want to create a pattern that mirrors itself. If you gave each color of string a letter, the pattern would look like ABCDE-EDCBA.
- The best way to describe the process of making this bracelet is that you are using the same technique as the diagonal bracelet, except with TWO sides to it. Because of this, you will need to separate the halves of this bracelet. One side, the left side, will use forward knots to get to the center of the bracelet; the other side, the right side, will use backward knots to get to the center. The thing about the chevron that is different from the diagonal pattern is that you do not go all the way to the opposite side. Rather, you proceed to the middle of the pattern, knotting until you get to the ‘E’ string, and then you switch to the other half of the bracelet.
- When you have knotted using forward knots of the A string onto the E string of that side, you will switch to the other half of the bracelet and use backward knots of the A string of that side to bring your A string to the middle. You will knot the A strings together as shown in the image, to create the crux of the V shape of the chevron.
- Phew, that was wordy! I promise this pattern is way more intuitive than it seems at first. This final picture shows how I ended the bracelet once I felt that I had done enough sets of the chevron. I split the two halves of the bracelet into two diagonally patterned strands and used the technique I used to make diagonal bracelets. Once you are done with this, you can tie the ending strands together, tie them separately, or both, to create the end of the bracelet.
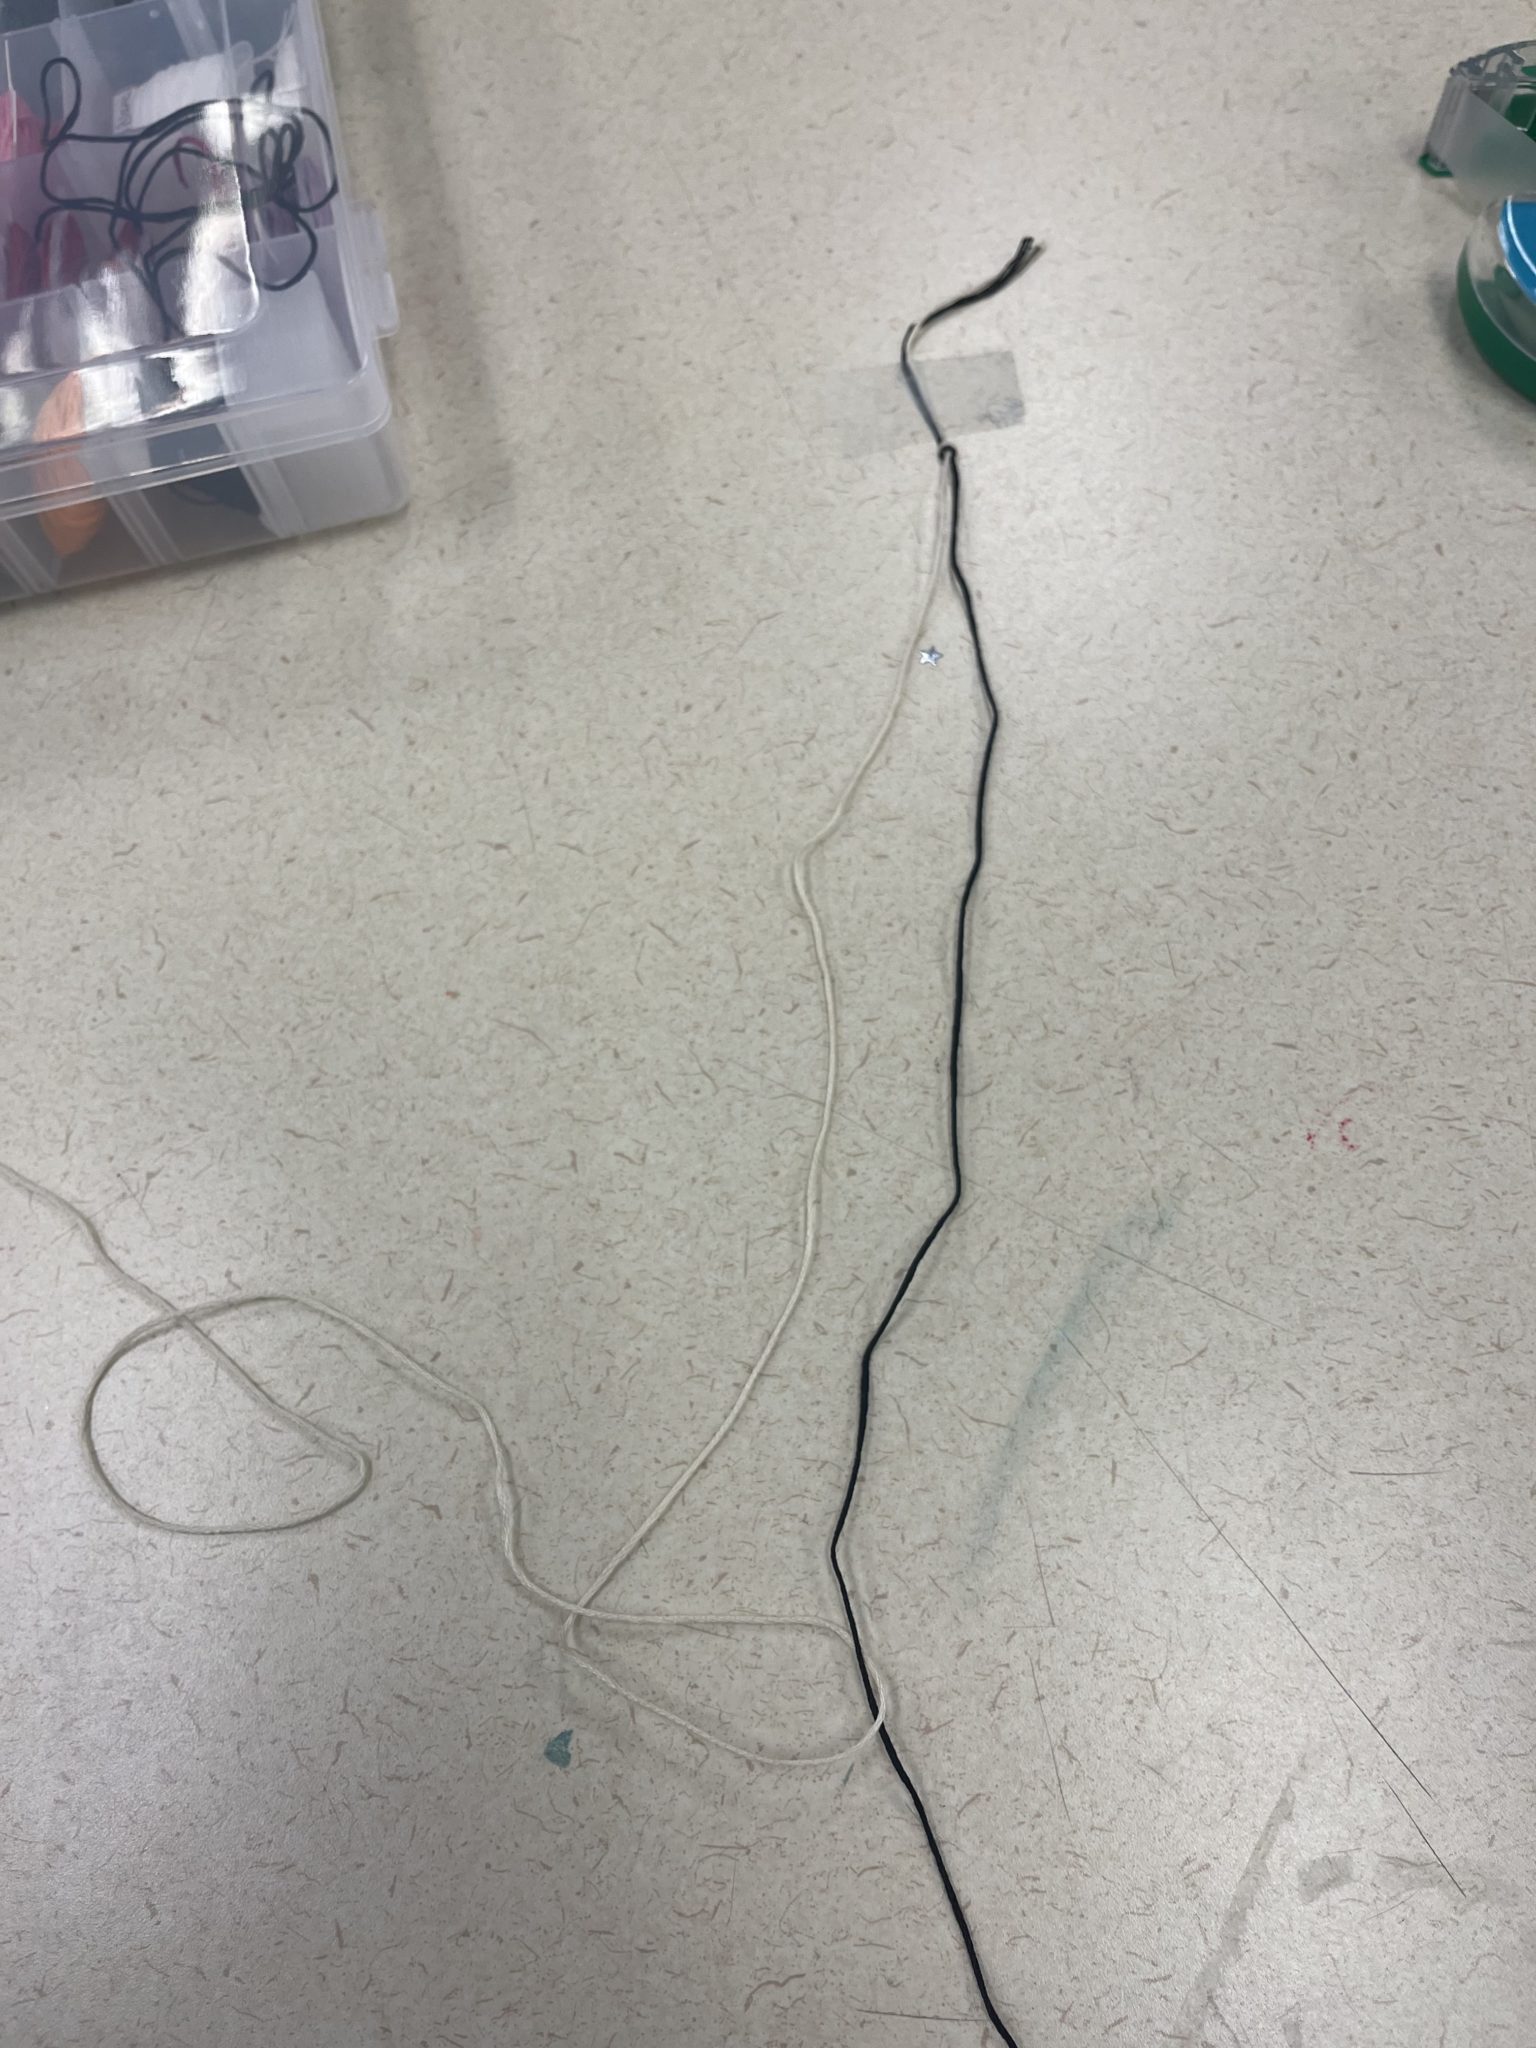
4. (Intermediate) Zigzag – Philia (friendly love)
Philia is the concept of a deep respect and enjoyment of another person. I chose the Zigzag pattern to represent friendship because I think friendship is one of the most important things in life and something we shouldn’t take for granted!
Directions: I recommend around 20 inches, or about 51 centimeters, of thread for your longest string. Honestly, I never measure the strings after the first string on this bracelet. Instead, once I’ve measured the longest string, I line up the next string and cut it an inch or two shorter than the string before it in the pattern.
For this bracelet, you will probably want to select colors that fade into each other well. I chose green and gold, and I think it turned out beautifully! You may want to lay your colors together like I did in this picture to see if they look nice together. Some colors can be gorgeous on their own but look boring when placed next to other colors. 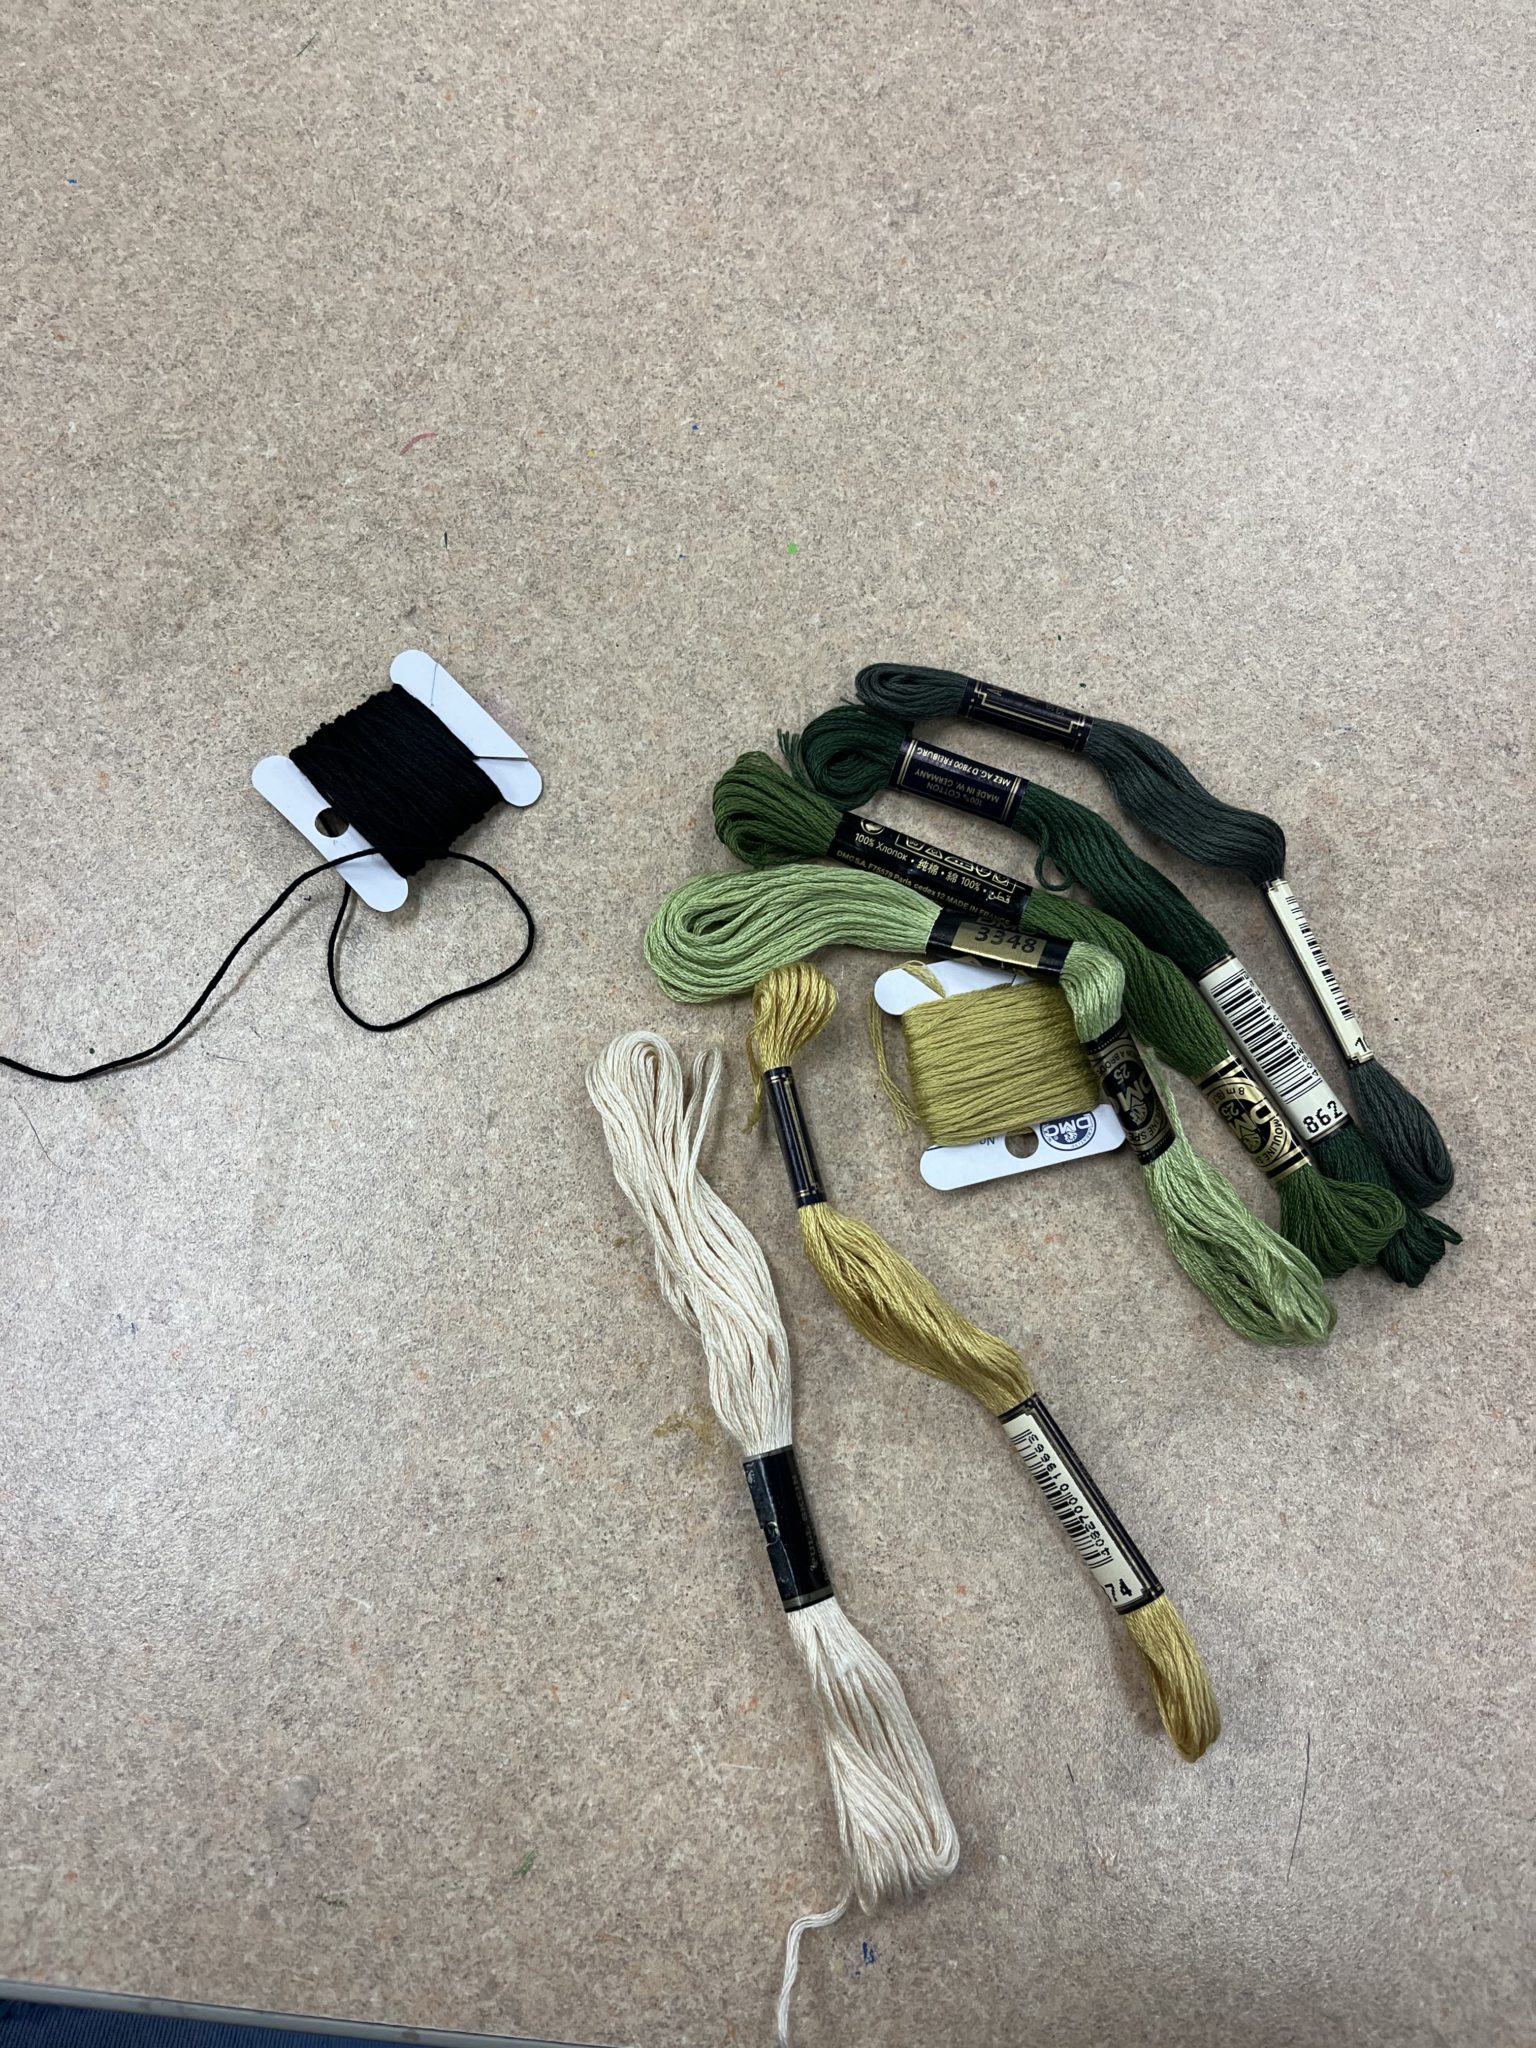
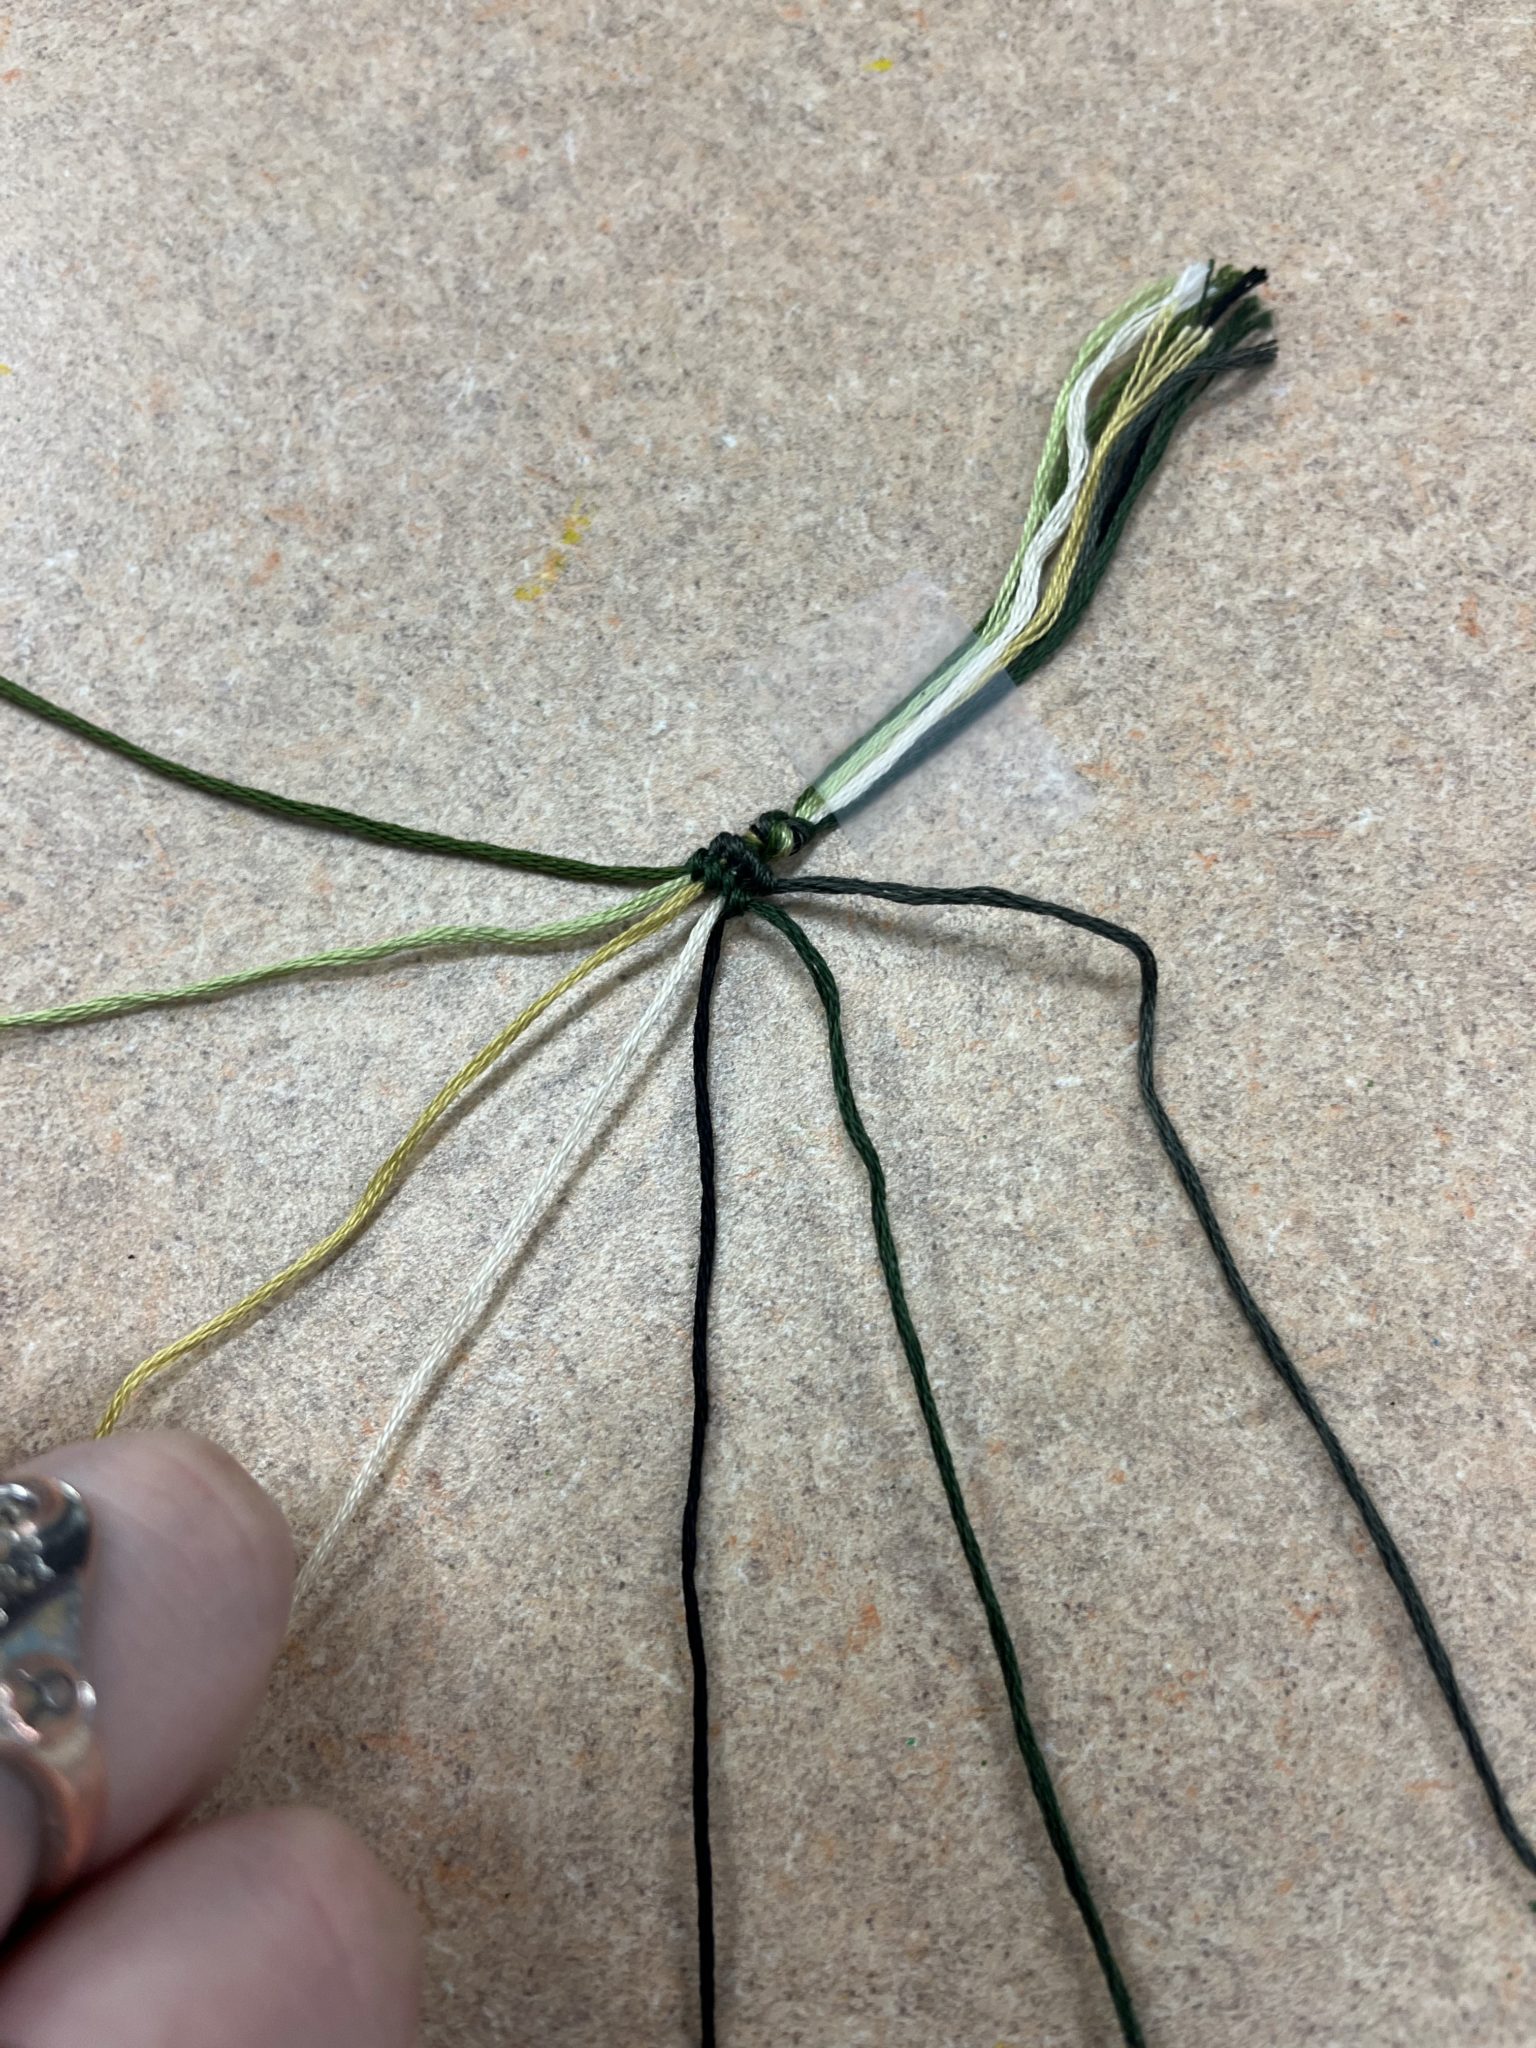
***IMPORTANT NOTE*** One of these threads–for me, the black thread–is what I’m going to call an anchor thread. This thread is knotted onto but not knotted with — this means, in the case of my bracelet, that you will see every color used except black. This will make more sense with the pictures!
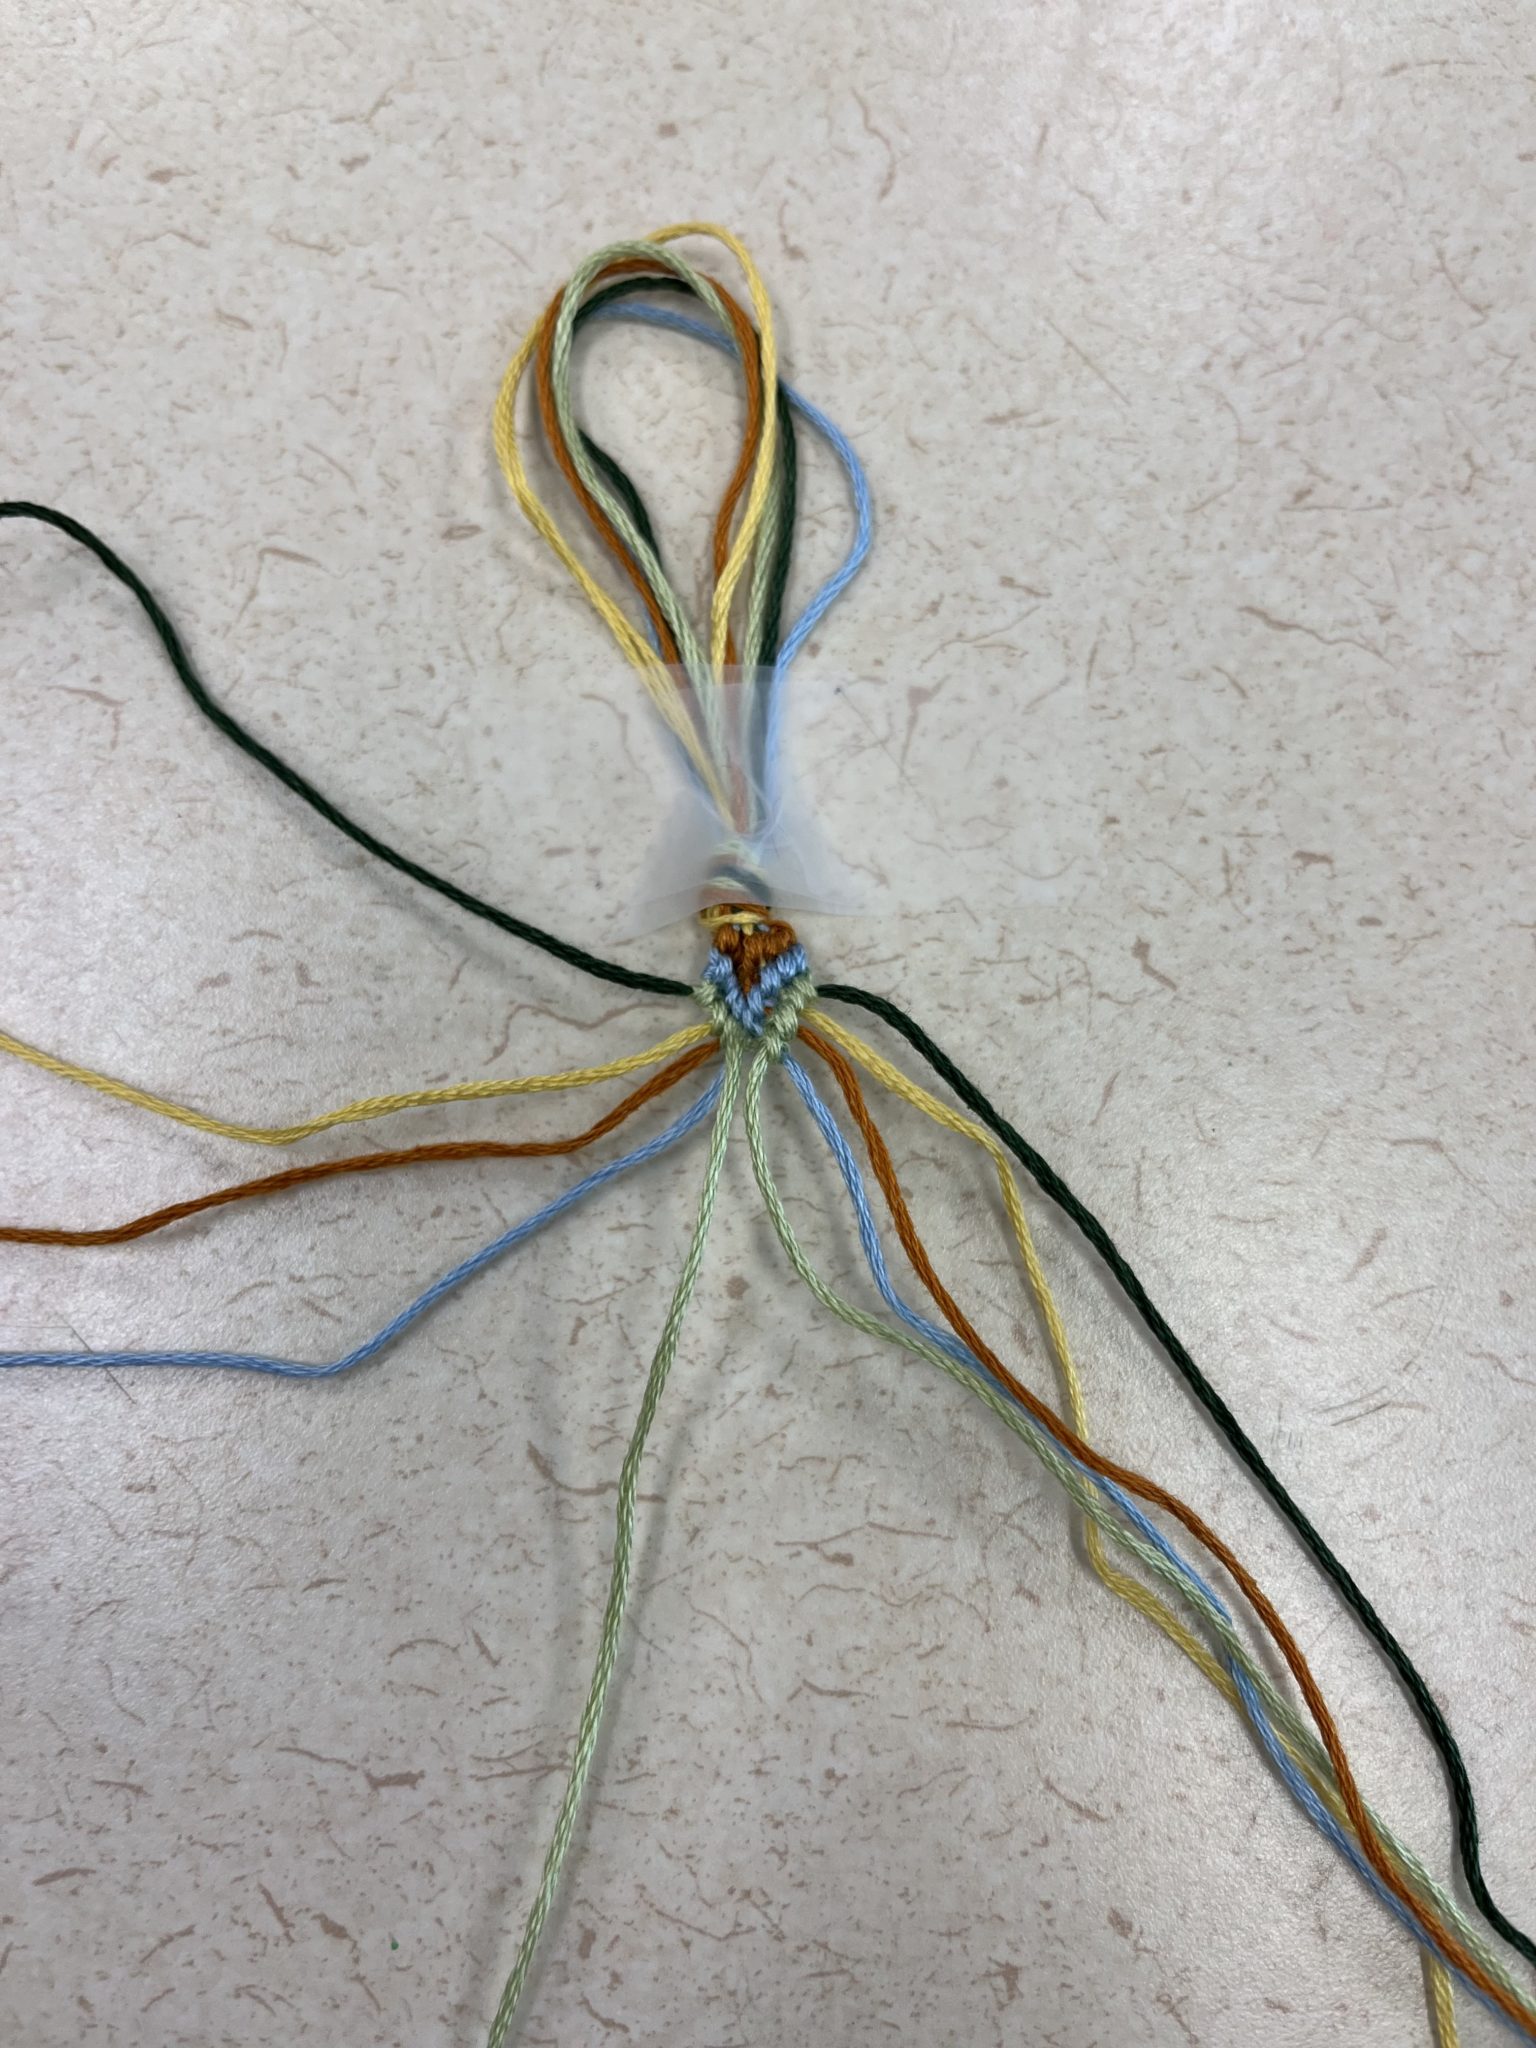
- Lay out your threads, from longest to shortest — in my case, this is also from darkest to lightest (it can be lightest to darkest, or warm to cool tones, whatever works for your colors). Put the anchor string all the way to one side–I tend to put it all the way on the right.
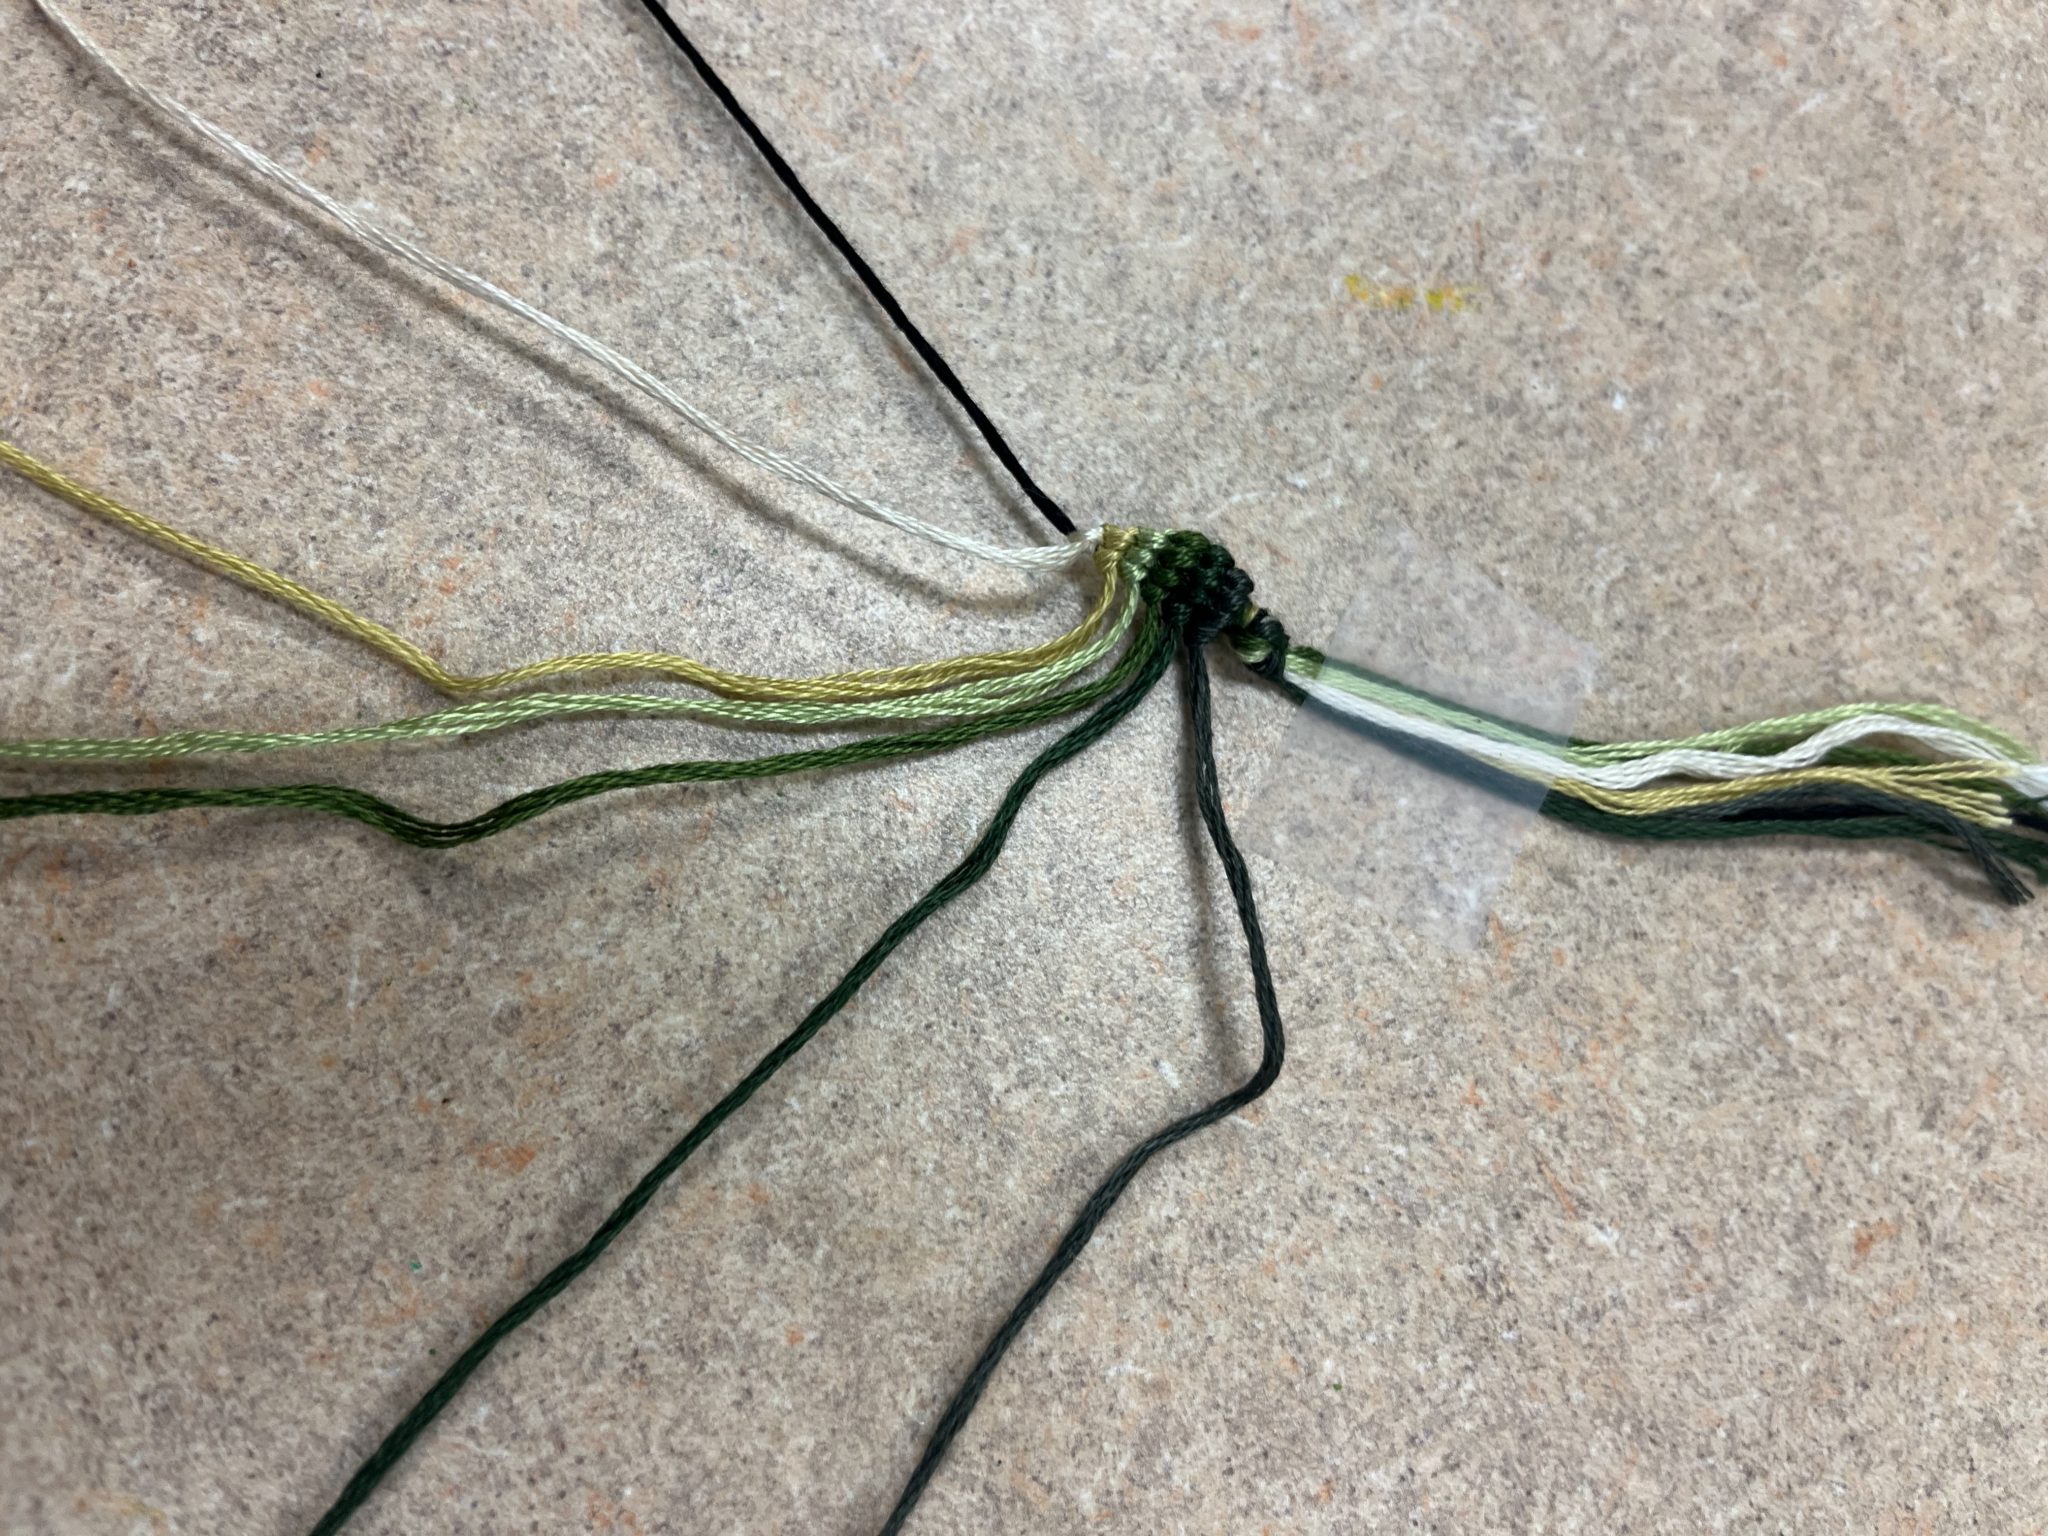
- Now, take your longest string and make forward knots all the way across until you reach your anchor string. This will leave your longest string on the ‘outside’ of the pattern since it is past the anchor.
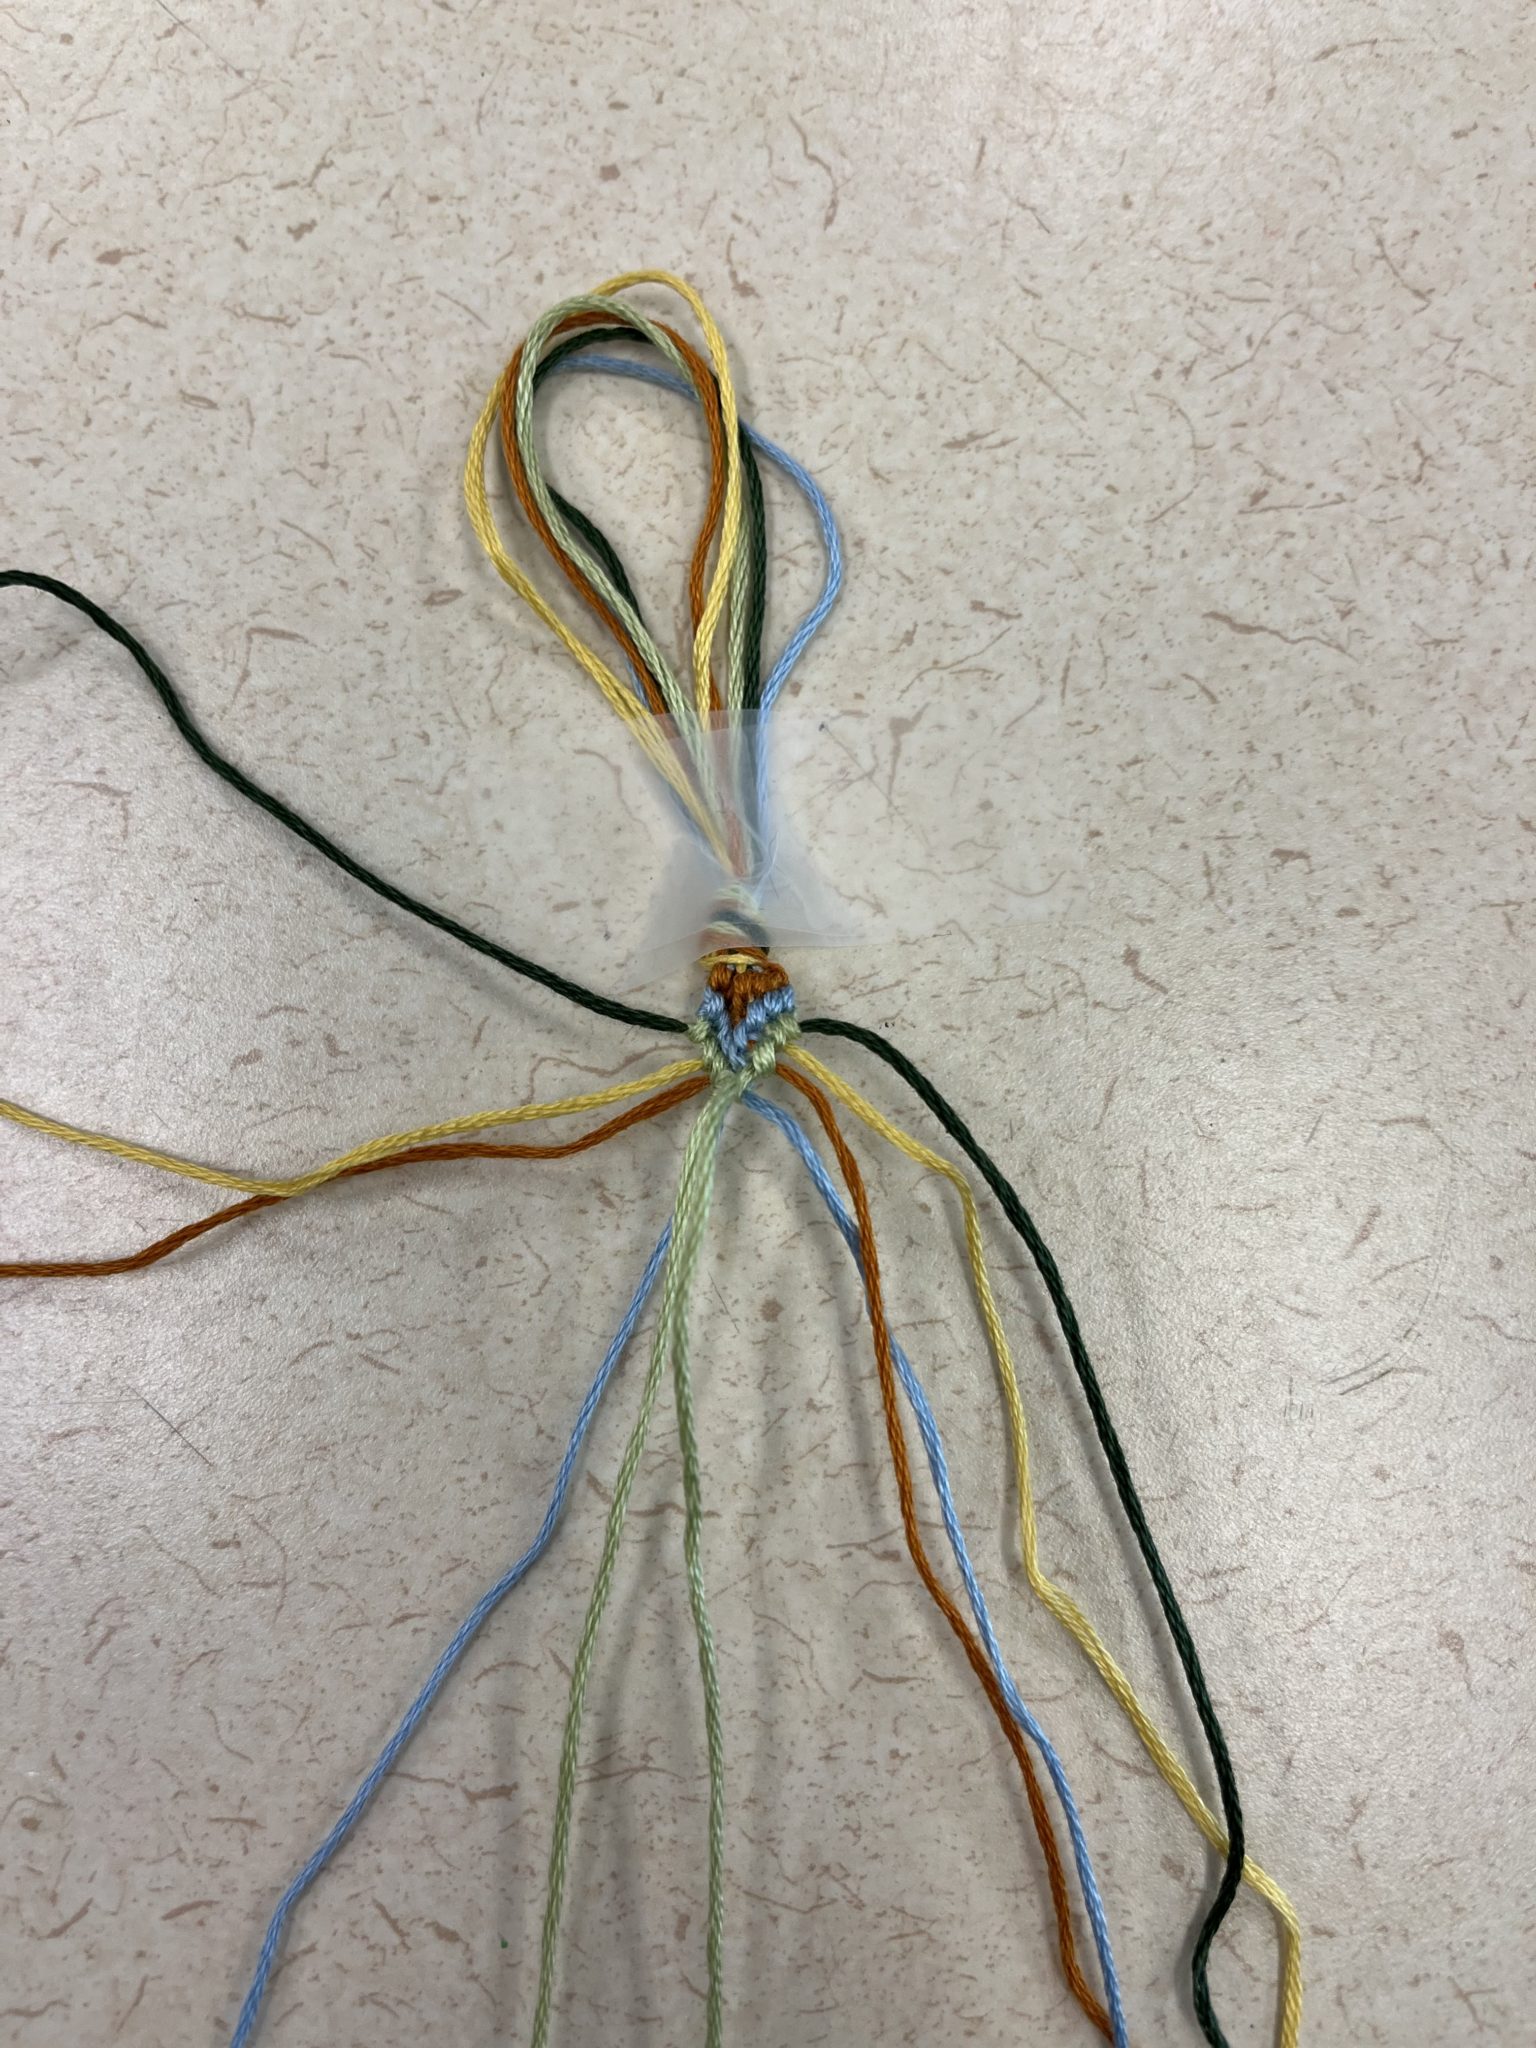
- Next, take that second-longest string and knot all the way to the anchor string without knotting over the previous color’s string. It’s important to stop right at the anchor for the pattern to look right!
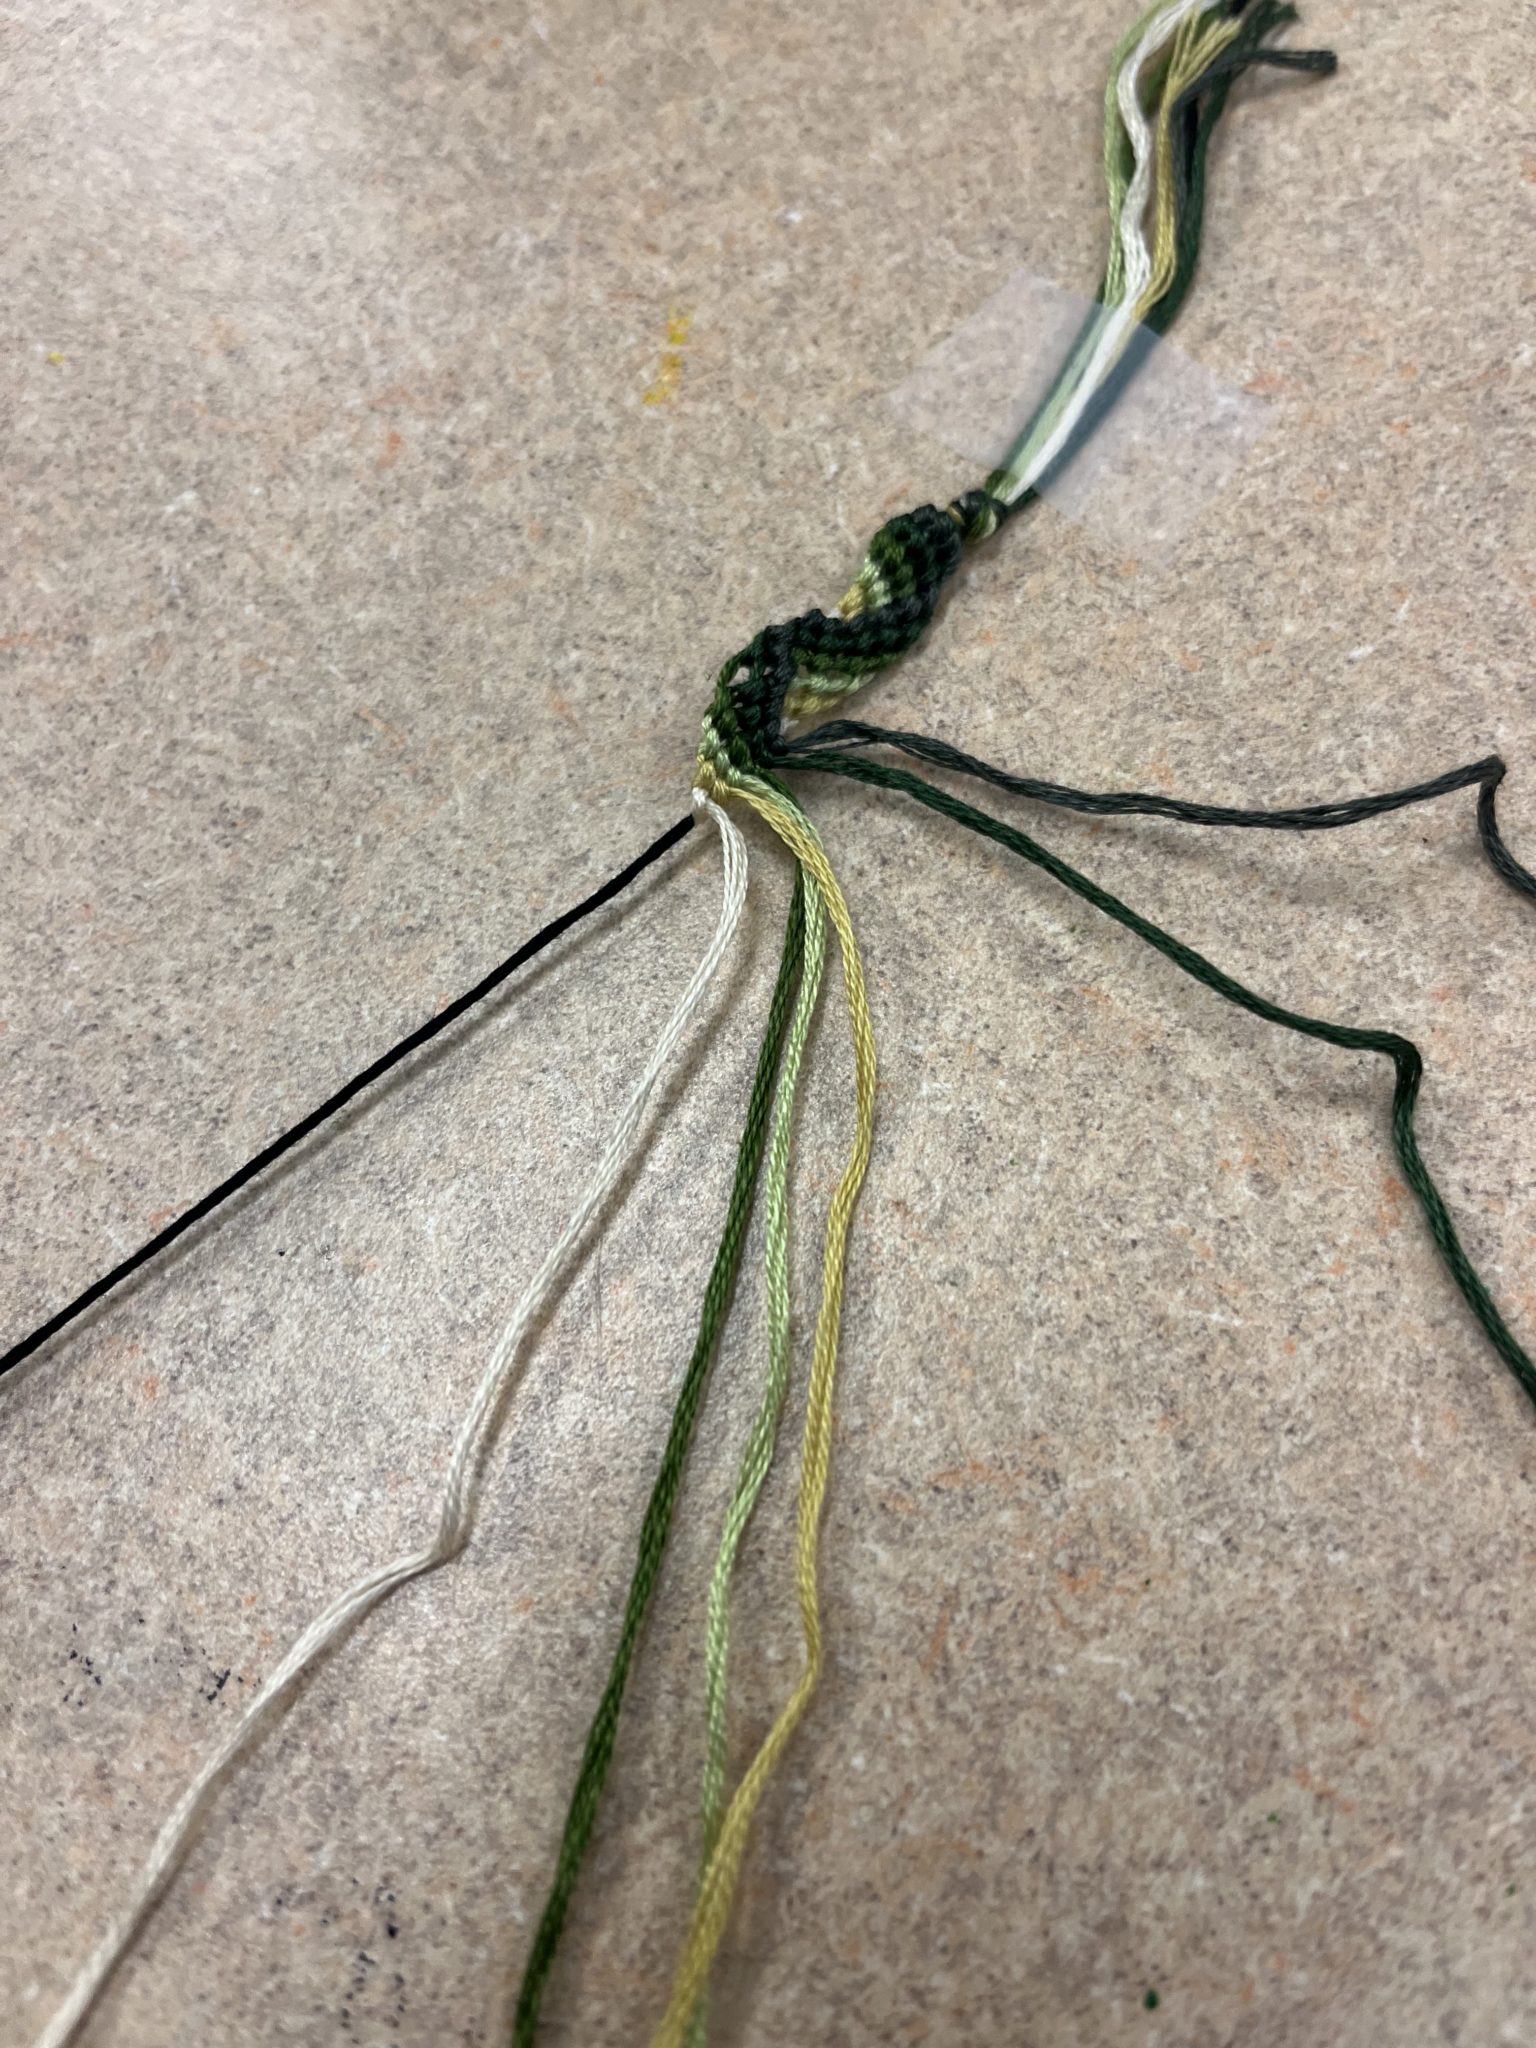
- Continue this process until you have used all of your ‘real’ colors and your anchor is now fully on one side of your pattern again. This is what that looks like (apologies for the change in angle):
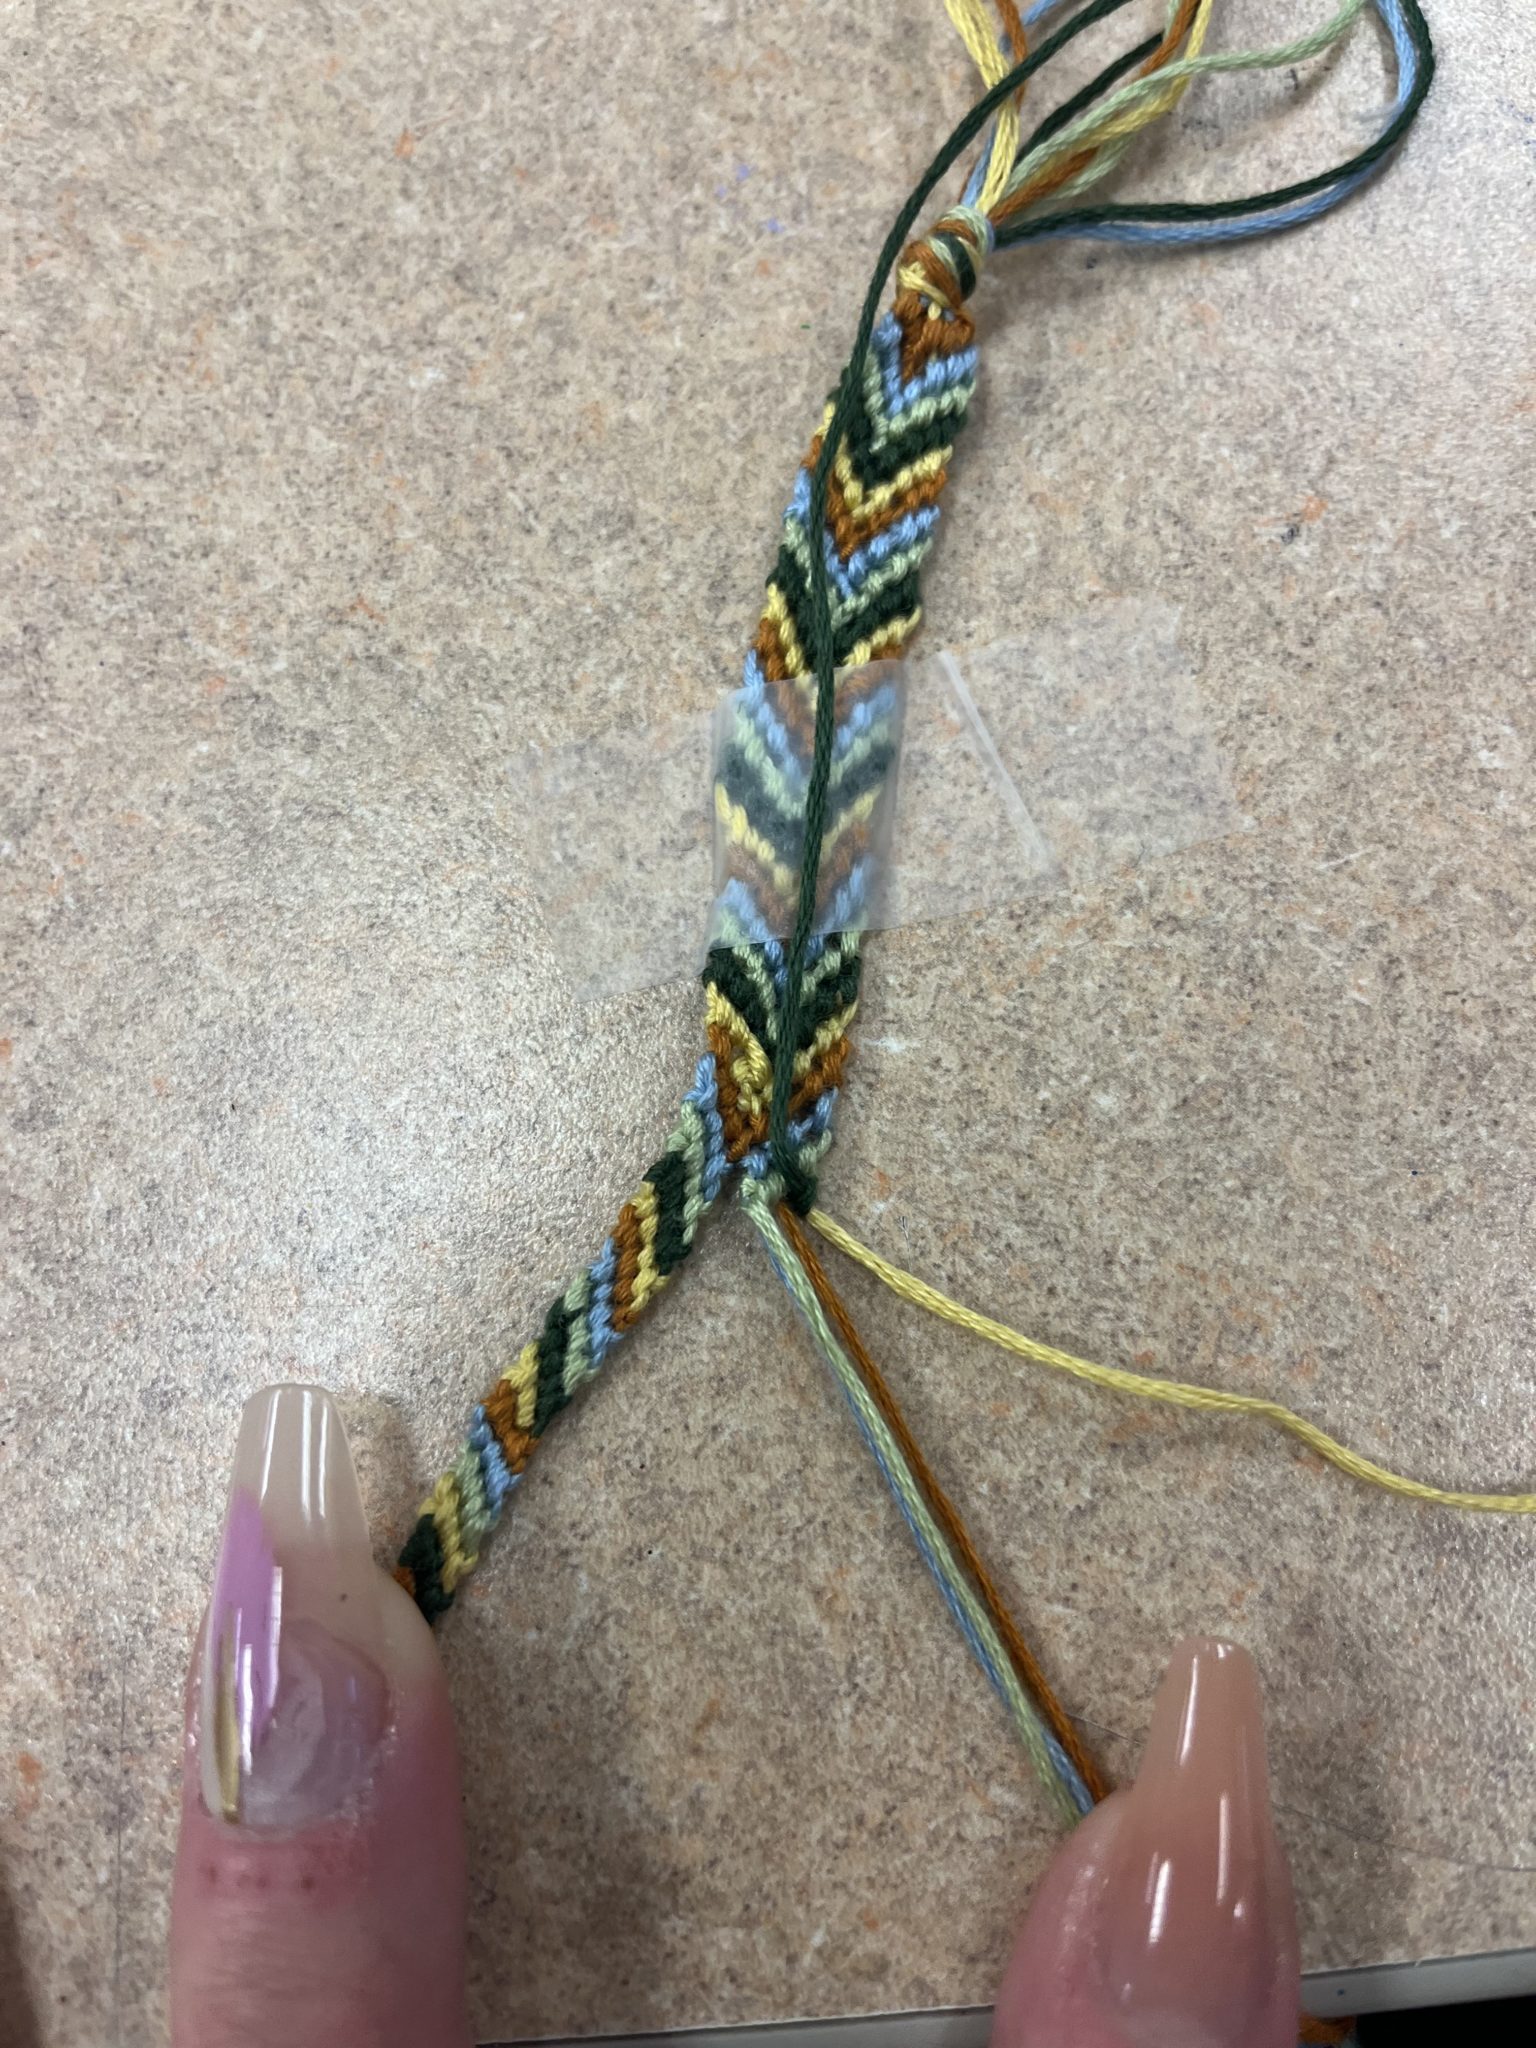
- Now, reverse the process to create the zig-zag. You will use backward knots to get that first, longest string all the way to the anchor again, and then you will do the same to get the second-longest string to the anchor. This is what it will look like when you have done a few sets: This last picture is the final product.
 This last picture is the final product.
So pretty, right? This pattern is pretty straightforward once you get the hang of it, which isn’t too difficult to do. I will say, this is my personal favorite pattern because it looks so satisfying when it’s all done! You might notice that the pattern is different here at the end. Sometimes, if I find that I mismeasured my string, I will turn a pattern string into the anchor string by knotting the other colors over it as if it has been the anchor string the whole time. This is why I normally choose black or white as an anchor color because they tend to look good no matter what the other color combination is.
I hope that you’ve enjoyed reading this article and creating your own friendship bracelets! Remember, it’s completely okay if your first second or tenth bracelet doesn’t turn out the way you expect it to–art is a process, and textile crafts like bracelets and weaving take some time to get used to. Have a wonderful time gifting these or making them with friends and family!

