I love winter, especially snow. This is probably one of the reasons I love sharing winter-themed activities. I’ve also discovered a new appreciation for crafts that can be adapted in multiple ways.
These melted snowpeople can be created with or without paint, allowing children to practice fine motor skills while creating art.
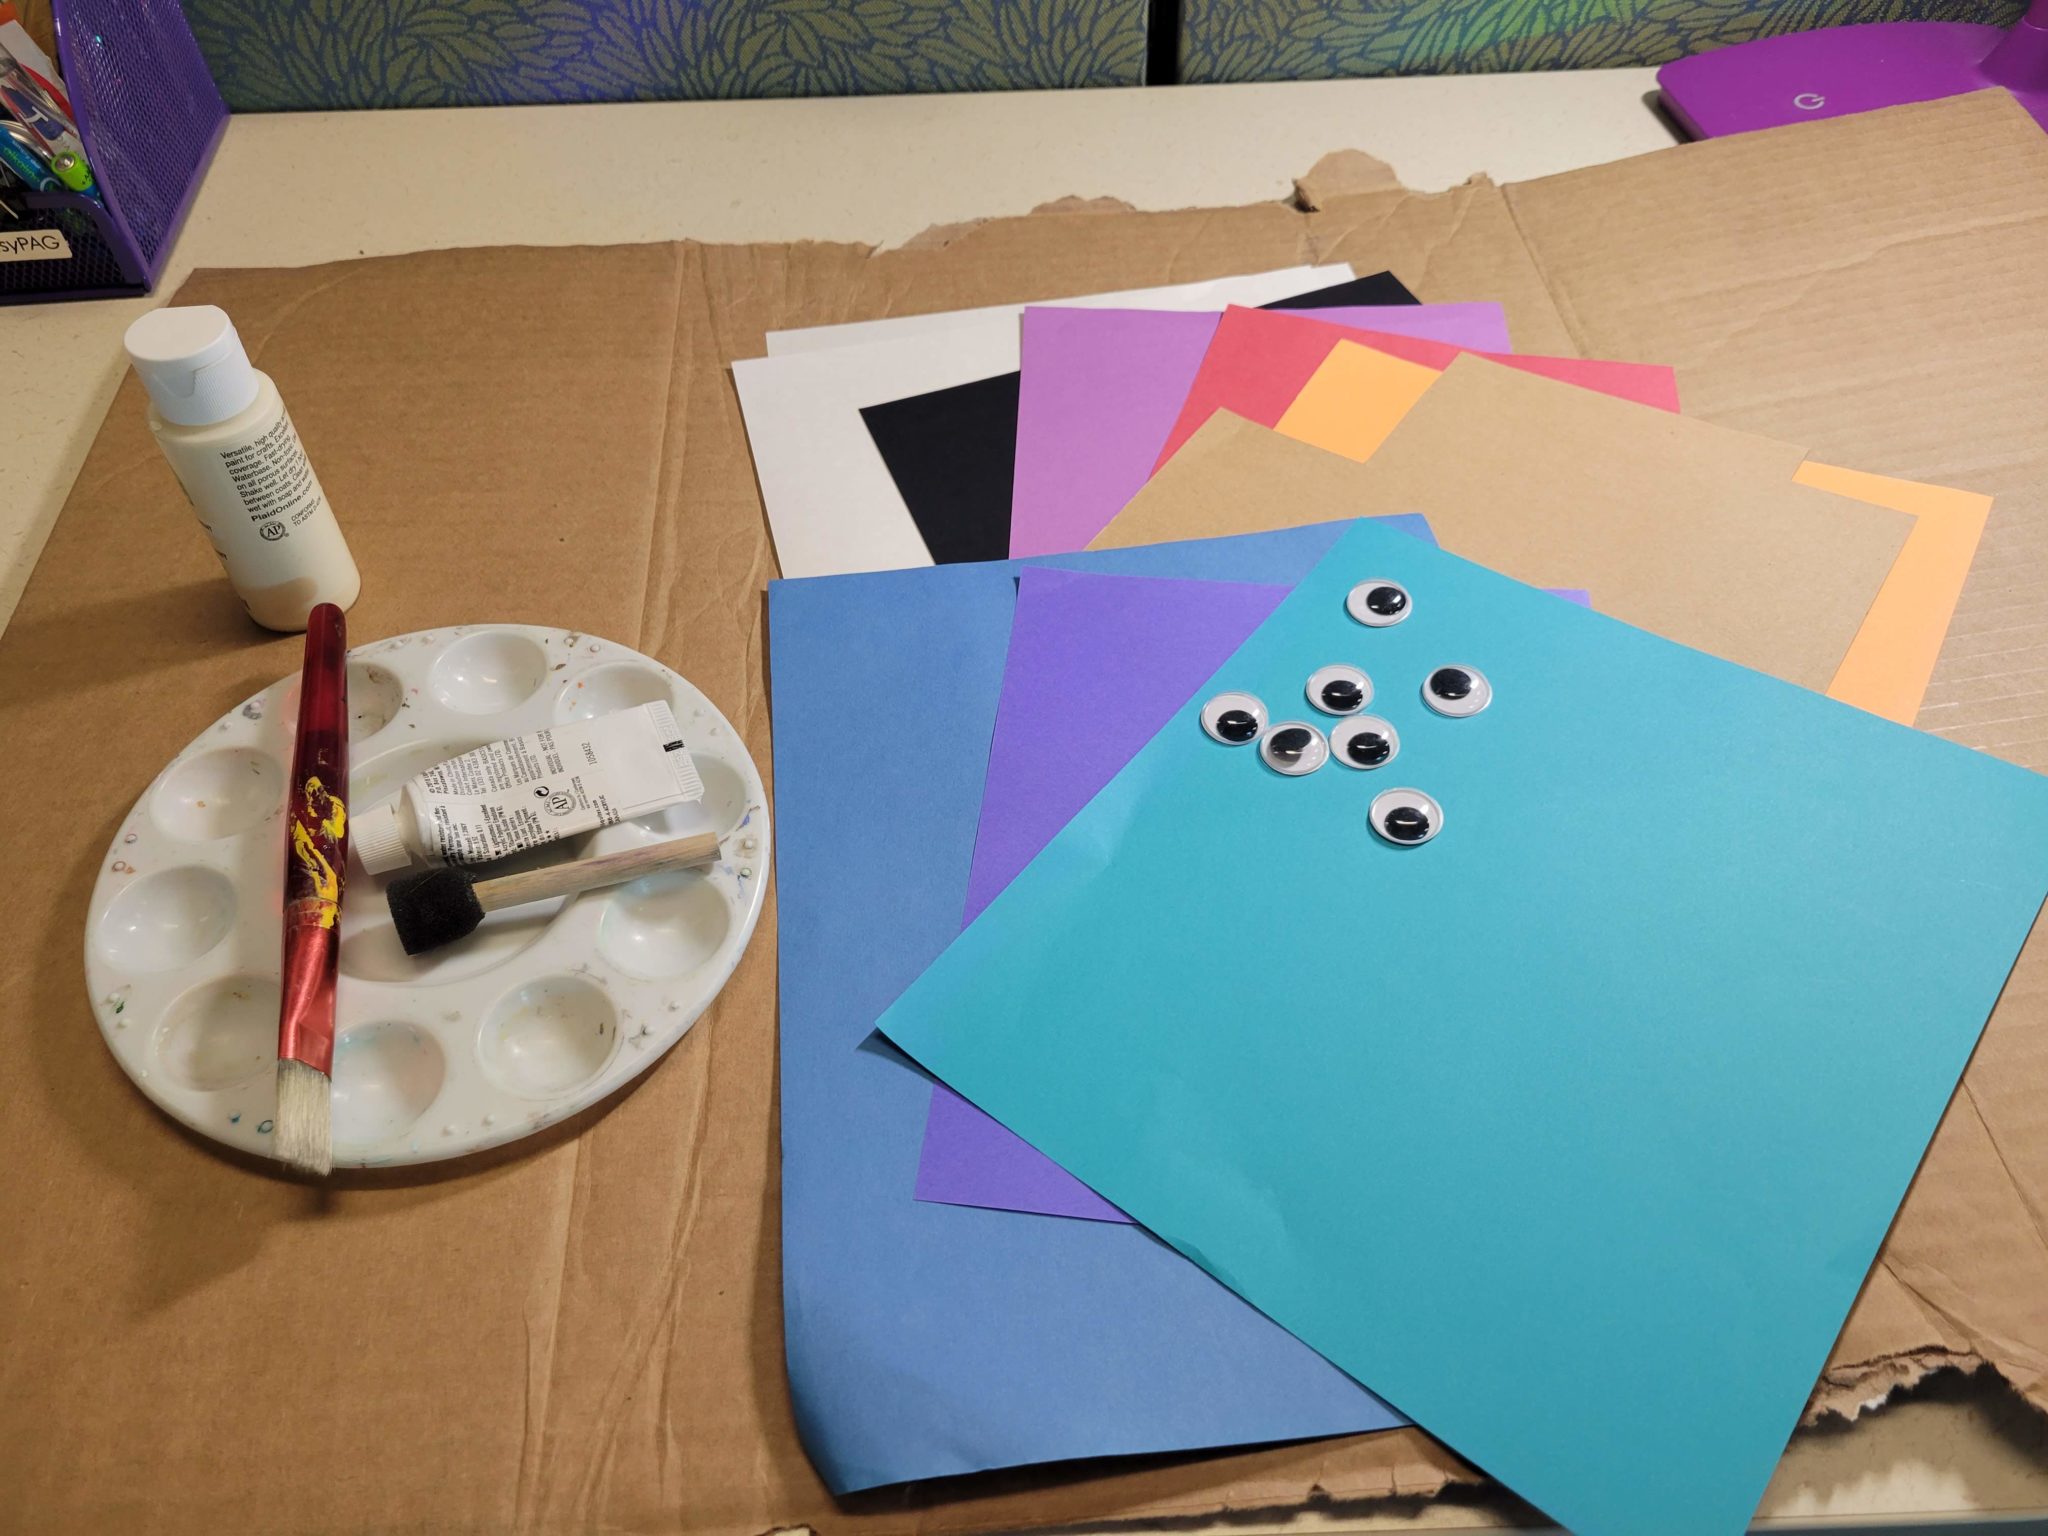
Your necessary supplies:
- Scissors
- Glue
- Black paper
- Orange paper
- Brown paper
- Blue paper (full size)
- Other colored paper of choice (not white)
- Googly eyes (optional)
You will also need the materials for the snowperson. My examples use white paint and a small sponge and a white piece of paper. I used about three tablespoons of paint and a little less than one full sheet of white paper.
Step One: Melt your snowperson
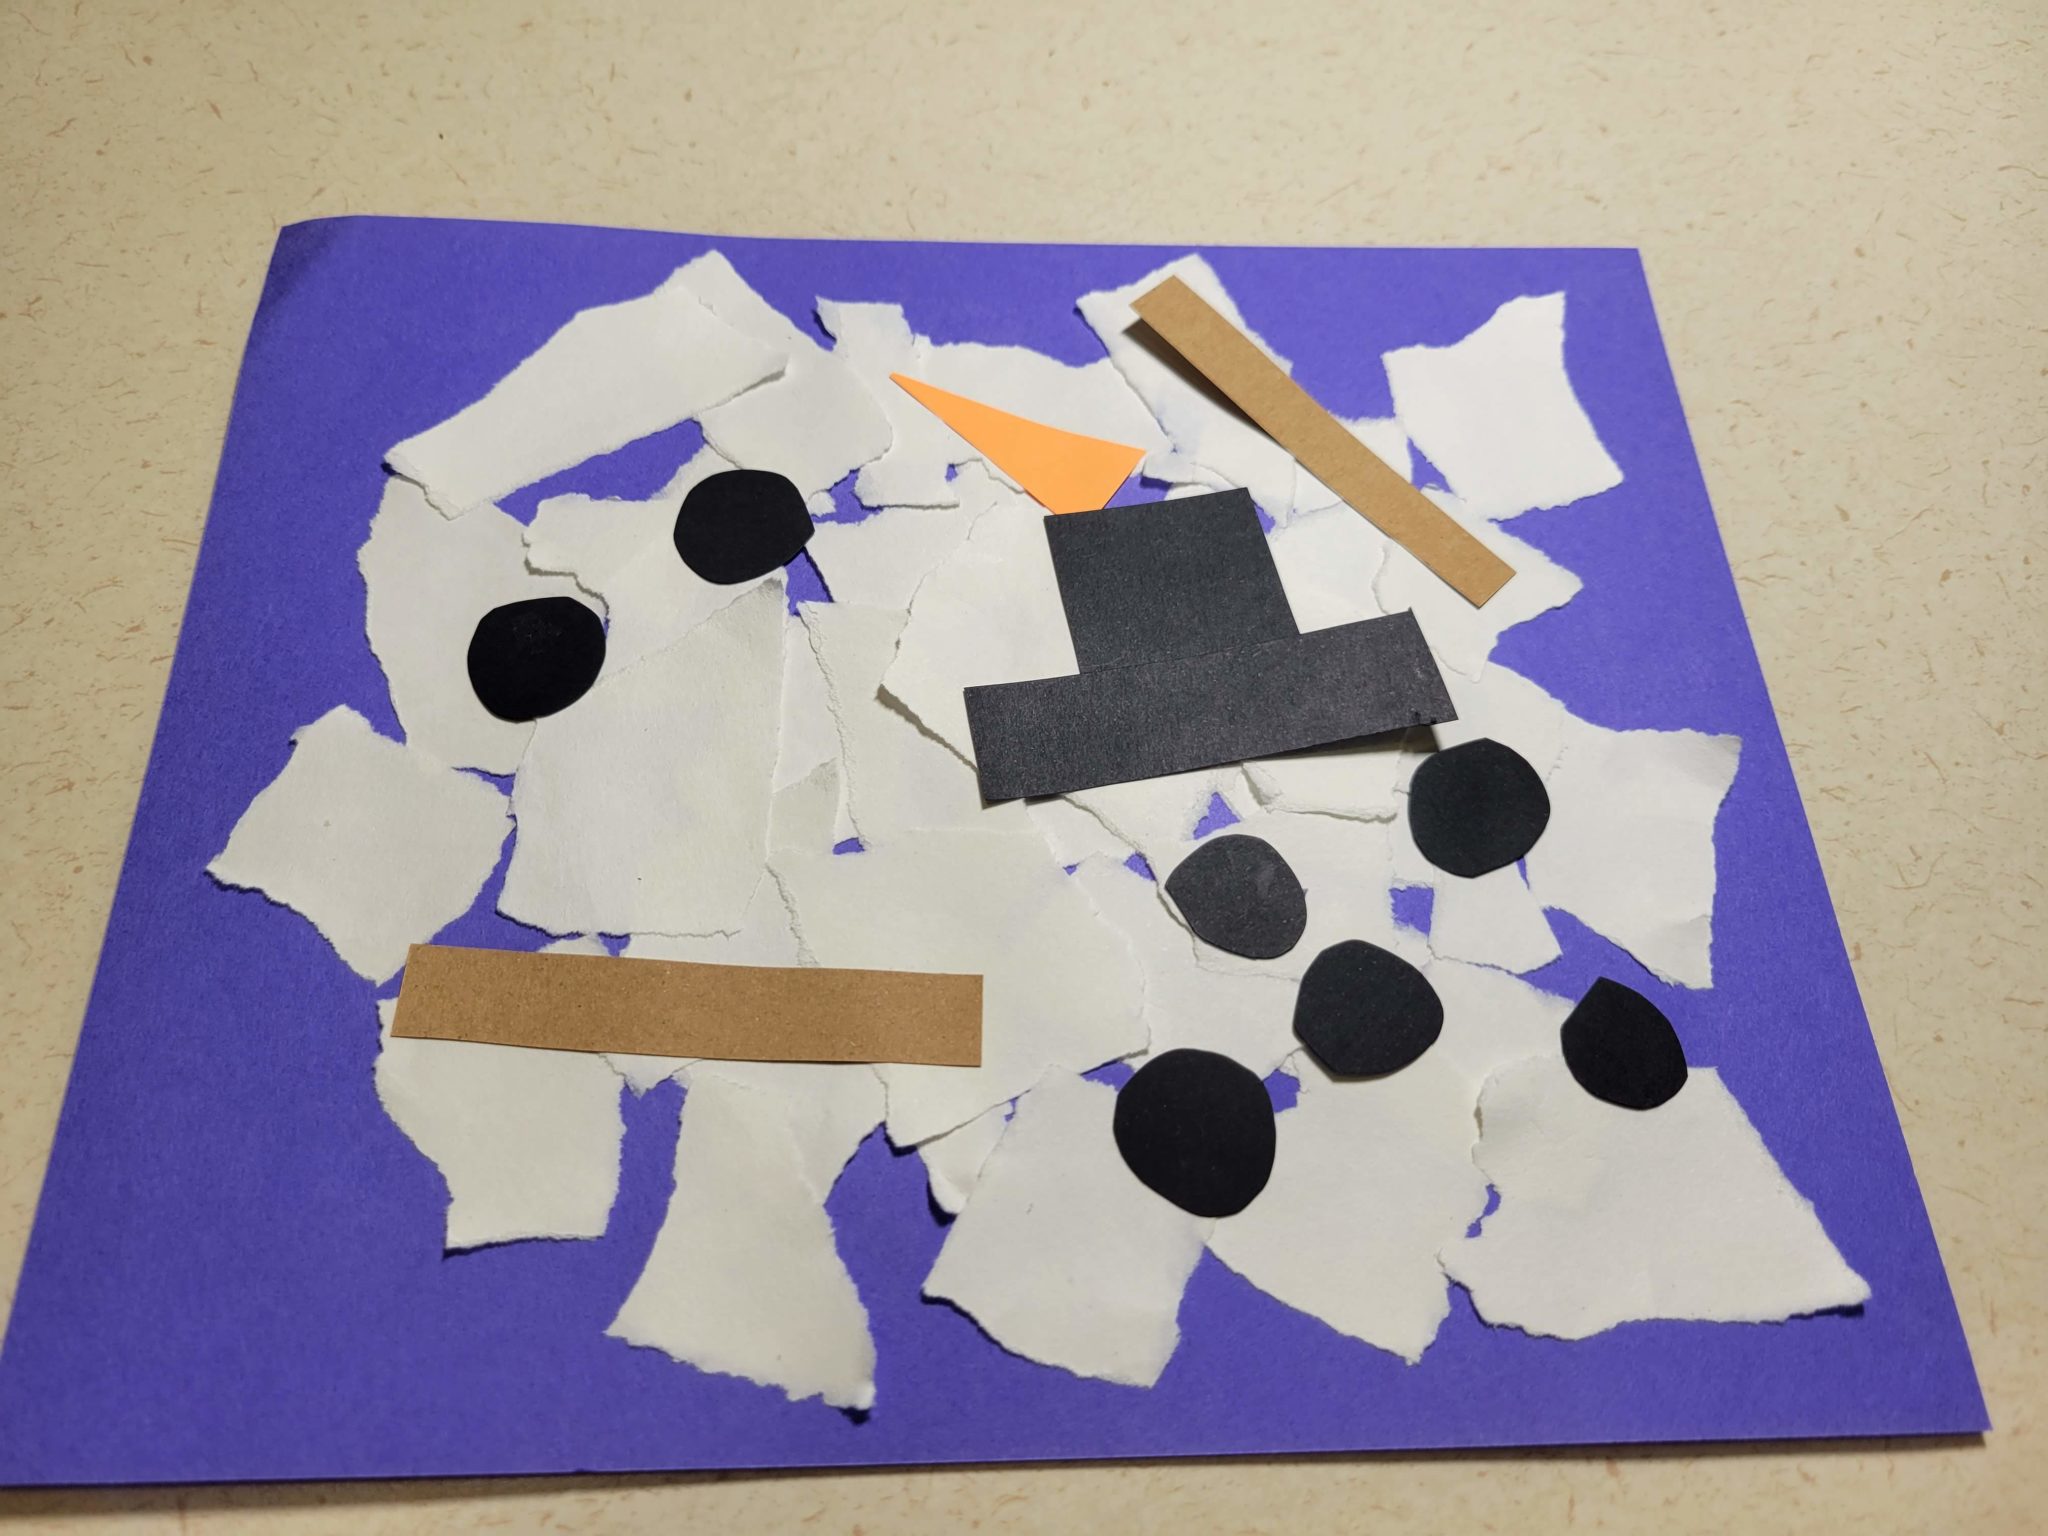
Choose what your snowperson will be made of: paper or paint. If using paper, tear (or cut) a piece of white paper into pieces no smaller than a half-inch square. I started out cutting the paper, then switched to tearing. This went quicker and I like the rough edges better. Next, glue the little pieces of paper onto the blue paper. There is no wrong way to do this, so long as the white paper is all stuck to the same side of the blue paper.
For my first painted snow person, I dabbed randomly across a piece of blue paper with a small sponge. For the second painted snowperson, I used the same sponge but spread the paint. Other tools you can use for painting are fingers (with finger paint), paint brushes, Q-tips or cotton balls held with clothes pins.
Step Two: Body parts and Accessories
My snow people all have orange triangles for noses, black hats made from two rectangles, brown paper arms and a long squiggly piece of colored paper as a scarf. I also used black circles to represent coal for a mouth and googly eyes.
Step Three: ‘assemble’ your melted snowperson
Glue the pieces you created in step two randomly onto your melted snowperson. Again there is no wrong way. I found the glue stuck better once the paint was completely dry. Once you’ve placed these pieces, step back and admire the art.
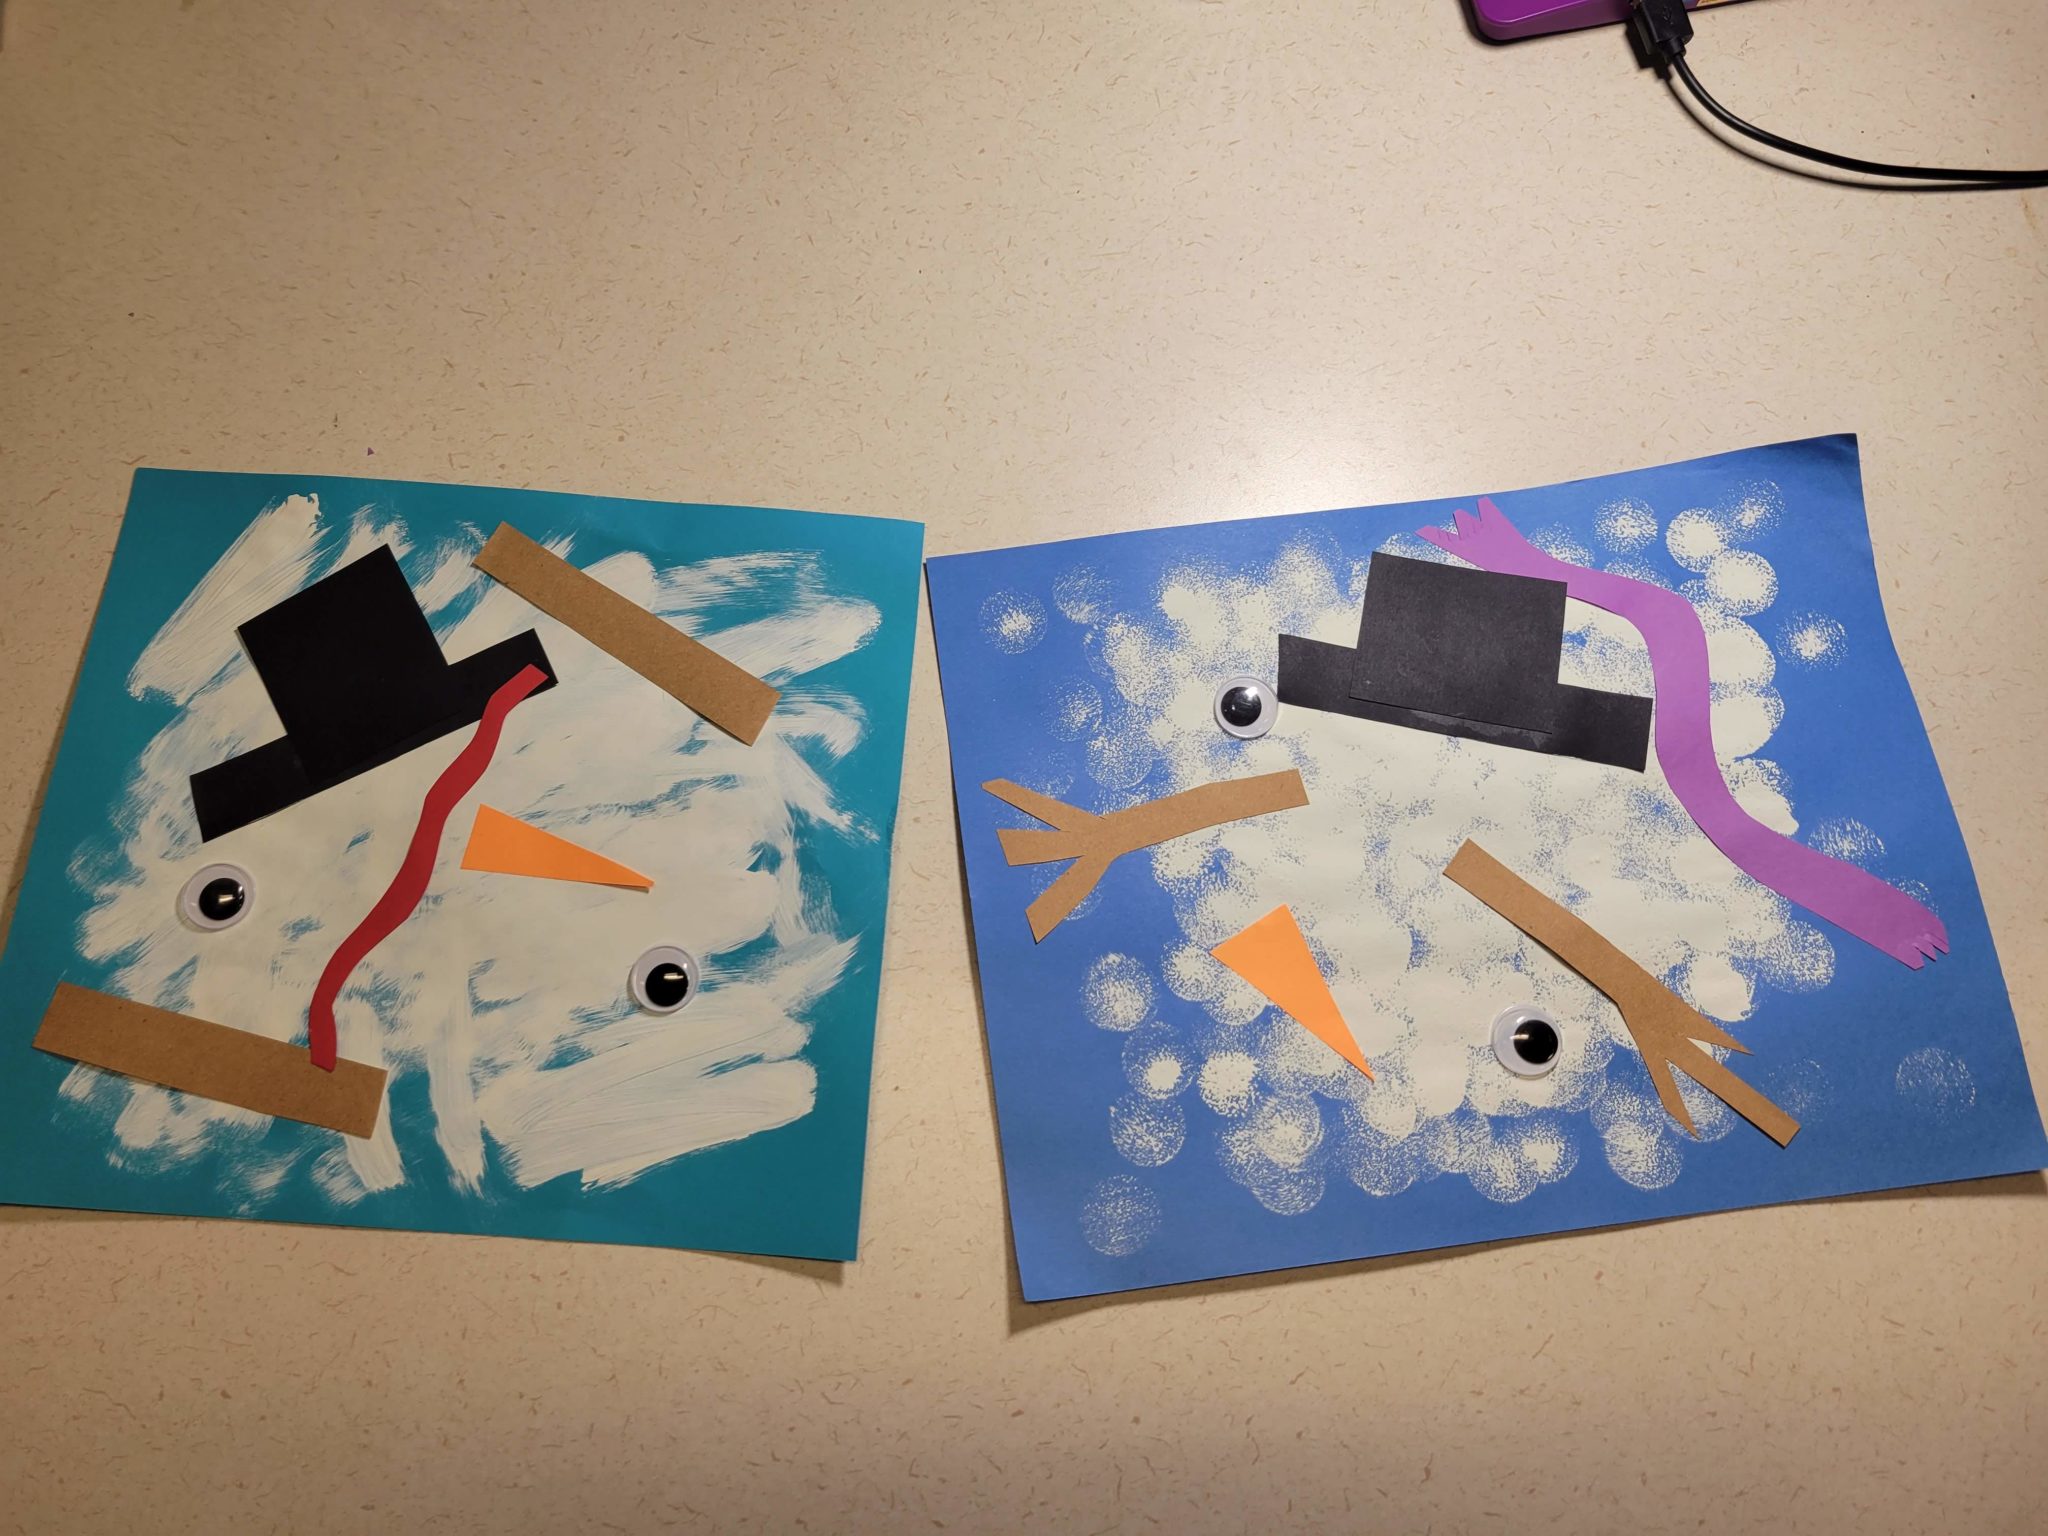
I enjoyed working with the paint and think the googly eyes are just too fun not to use. But if you don’t have paint and/or googly eyes, or would like less mess, go with paper. Crumpled pieces of white tissue paper would also work and would be super cute. See what you have around the house and go from there.
Happy creating!

