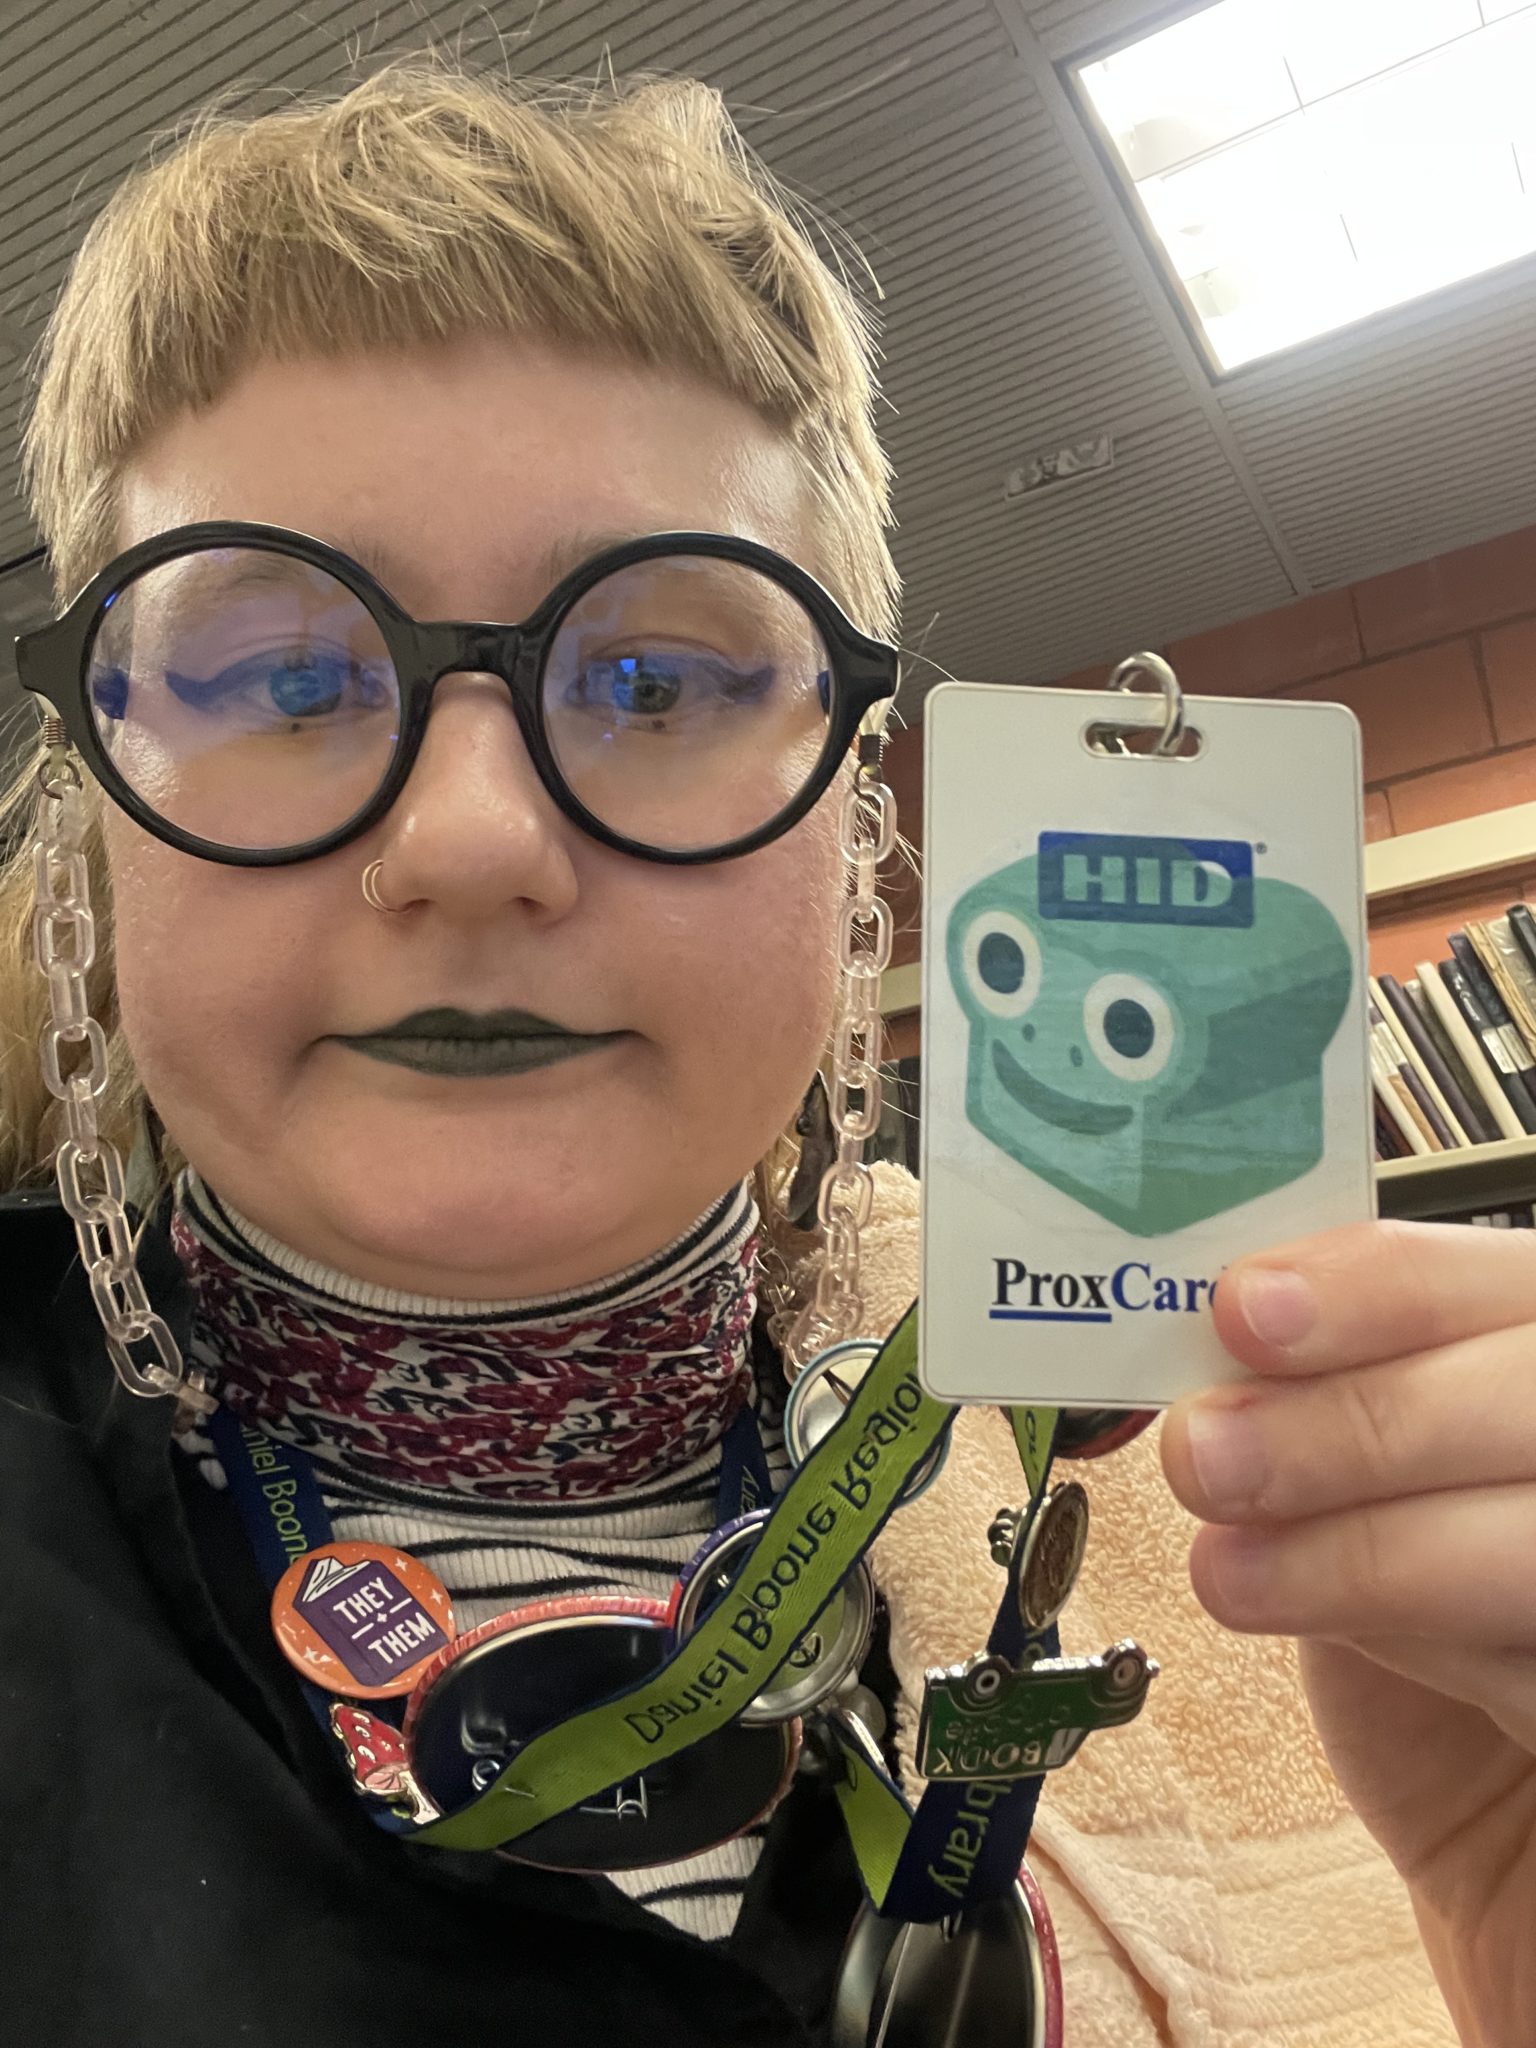
In another installment of Grae finds household objects and turns them into art — a.k.a mundane magic🪄 — today we’ll learn how to make your very own sticker sheets using toner-printed images, packing tape and waxed or parchment paper! This craft has it all: it’s easy and engaging; astonishing and adorable; low-cost and endlessly customizable. Moreover, thankfully stickers never seem to go out of style, which is probably all thanks to Lisa Frank. Thanks, Lisa!🦄
First, I’d like to cite my sources and direct you to one of the library’s most incredible resources (if you aren’t already familiar): I encountered this craft on Creativebug, in particular from the kind, crafty cunning of Creativebug’s editor-in-chief Courtney Cerruti, who has done a lot of work with image transfer, which is the artistic technique that allows for the sticker spell to happen.✨ If you’d like, you can watch Courtney’s video demonstration here; sometimes I find it helpful and reassuring to watch someone else make something, as well as read about it and then try it out myself. If you’re going to go this route, you’ll need to log in with your library card number and pin, which is usually your birthdate in the following format: MMDDYYYY.
If you don’t want to watch or are tuning in from outside DBRL’s two-county service area, do not worry! I am here to spread the make-your-own sticker sheets word. Read on!
Materials

To make this craft you will need:
- toner-printed images*
- the “toner” part is extremely important! why? basically, toner is a plastic powder that, when heated up, melts and adheres to paper, creating an image which you’ll be able to “lift off” the paper and transfer to your packing tape (if you’re toner-curious, you can read more about how it differs from ink here)
- don’t have a toner printer at home? all of the library’s printers and copiers use toner, so you can come in to print out or make copies of your images for 10¢ a page for black and white printing and 50¢ a page for color
- transparent packing tape
- any brand will do, just make sure the tape you use is clear/transparent so that you’ll be able to see your toner-printed images once they’ve transferred onto the tape
- if you use pigmented yet transparent packing tape, such as a brown-tinted one, you could get a cool sepia effect on your images
- most packing tape comes in a width of 2 inches, but you can layer two pieces of tape or more on top of one another to make bigger stickers
- scissors
- 2 sheets of waxed or parchment paper
- this non-porous/non-stick paper will serve as your sticker sheet; you want a non-porous paper so you can both store the sticker and then easily remove it once you’re ready to adorn whatever surface of your choosing, such as a card or letter; your water bottle, backpack, lunchbox or laptop; your school/work keycard/keychain; etc.
- I recommend using two separate sheets of waxed/parchment paper for this craft: one for drying (you’ll be getting the packing tape wet — more on this in the process section!) and one for storing your stickers. when the waxed/parchment paper gets a little wet, it wrinkles up, which isn’t a deal-breaker, but could cause your stickers to lay a little askew and become a little wrinkled themselves
- a tub of water and a small towel for drying your hands
- Courtney recommends using warm water for comfort, a tip which my cold, winter-blown hands greatly appreciated 🥶
- a hard craft tool with a blunted edge, such as a ruler with a rounded edge or a bone folder — or your finger/knuckle!
- you’ll use this tool/digit for burnishing or rubbing the tape that you lay on top of your image; this action helps the toner adhere to the tape, producing a vibrant sticker
- you want to avoid any tool that is sharp or has a severely angled edge: when you try to burnish/rub the tape, you could rip through it, causing a hole in your sticker
- I found that my knuckles worked best; you don’t have to press exceedingly hard!
*A note on images
If you’d like to use the images I created for my sticker sheets, I’ve got the PDFs for you below! I’m also including a PDF of the sticker designs Courtney Cerruti features in her crafting video on Creativebug.
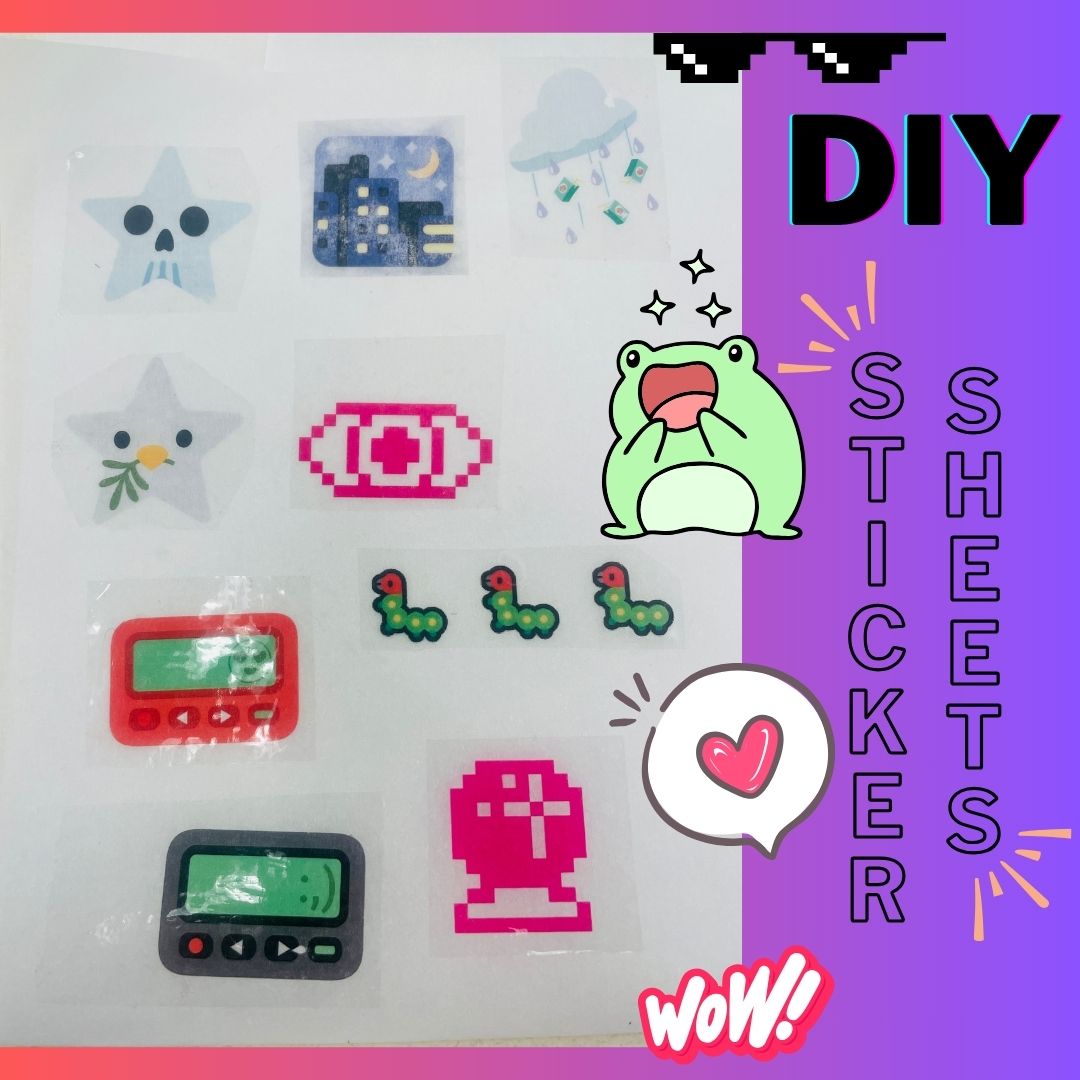
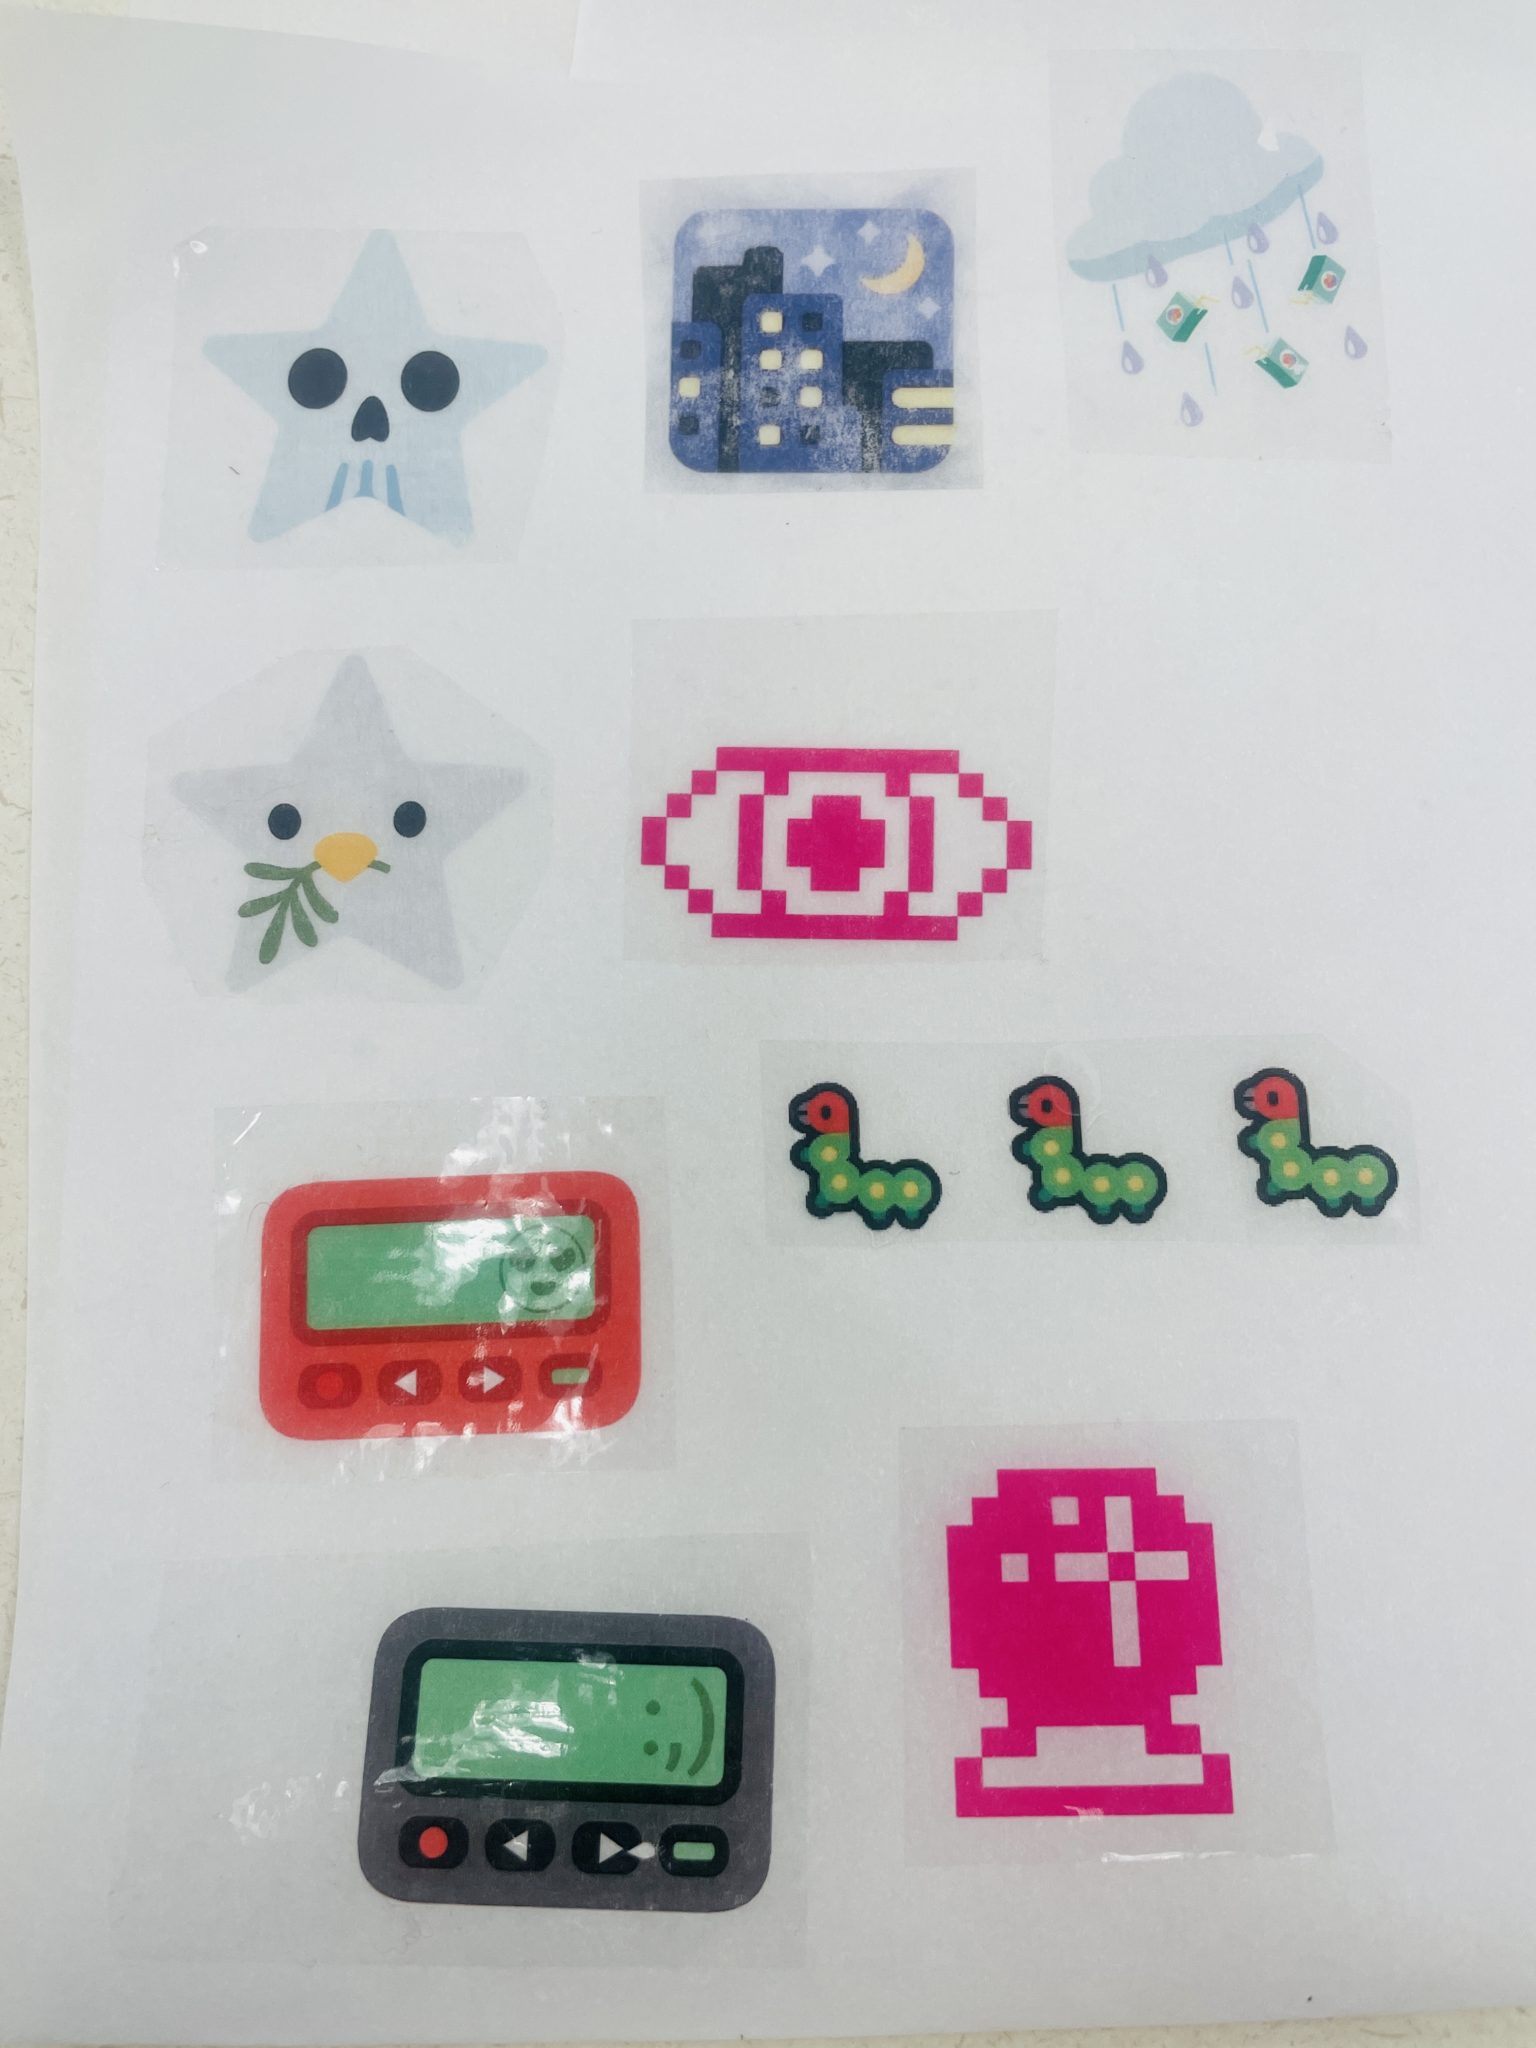
I decided it would be fun to make stickers out of various emojis and emoji fusion via Google. I sourced my emojis from Emojipedia and Microsoft Word/Window’s version of emojis; I also used some of the icons available in Microsoft Word. You could also make photocopies or scans of your own original drawings to then turn into stickers. If you’d like more ideas for what images you could make into stickers, check out this DIY Stickers booklist.
✨ emoji fusion + emoji + MS Word icon sticker sheets
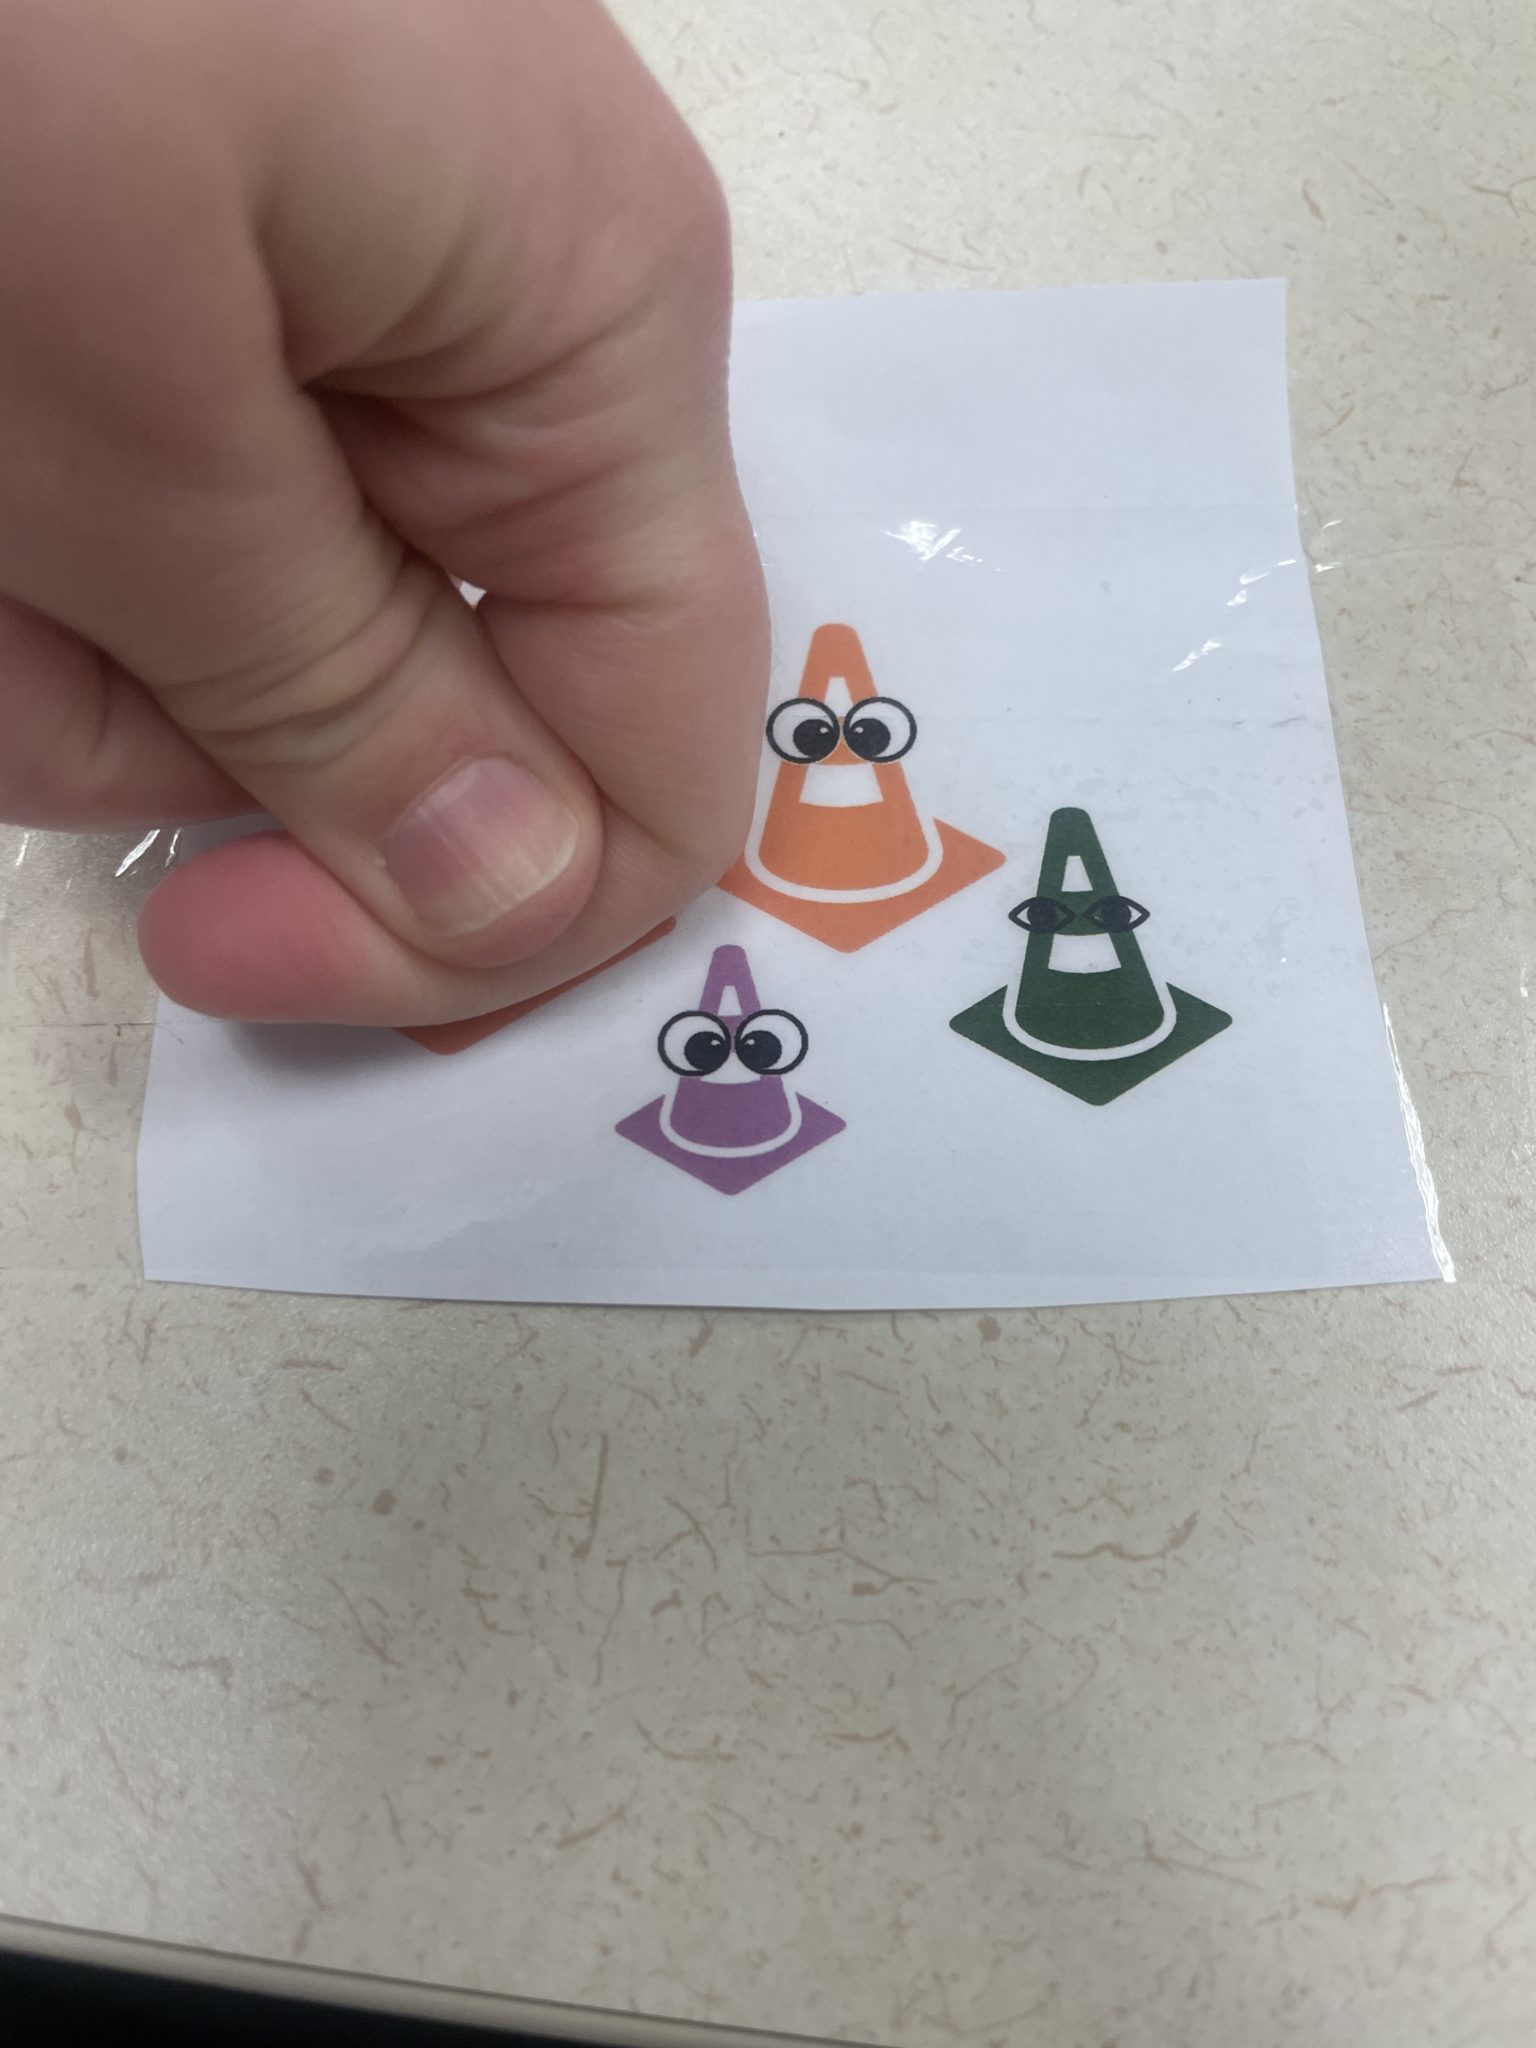
✨ special Coney family sticker sheet (IYKYK)
✨ DIY Stickers Sheet from Courtney Cerruti of Creativebug
Process
1. Begin by cutting out your images that you’ll be turning into stickers into manageable chunks.
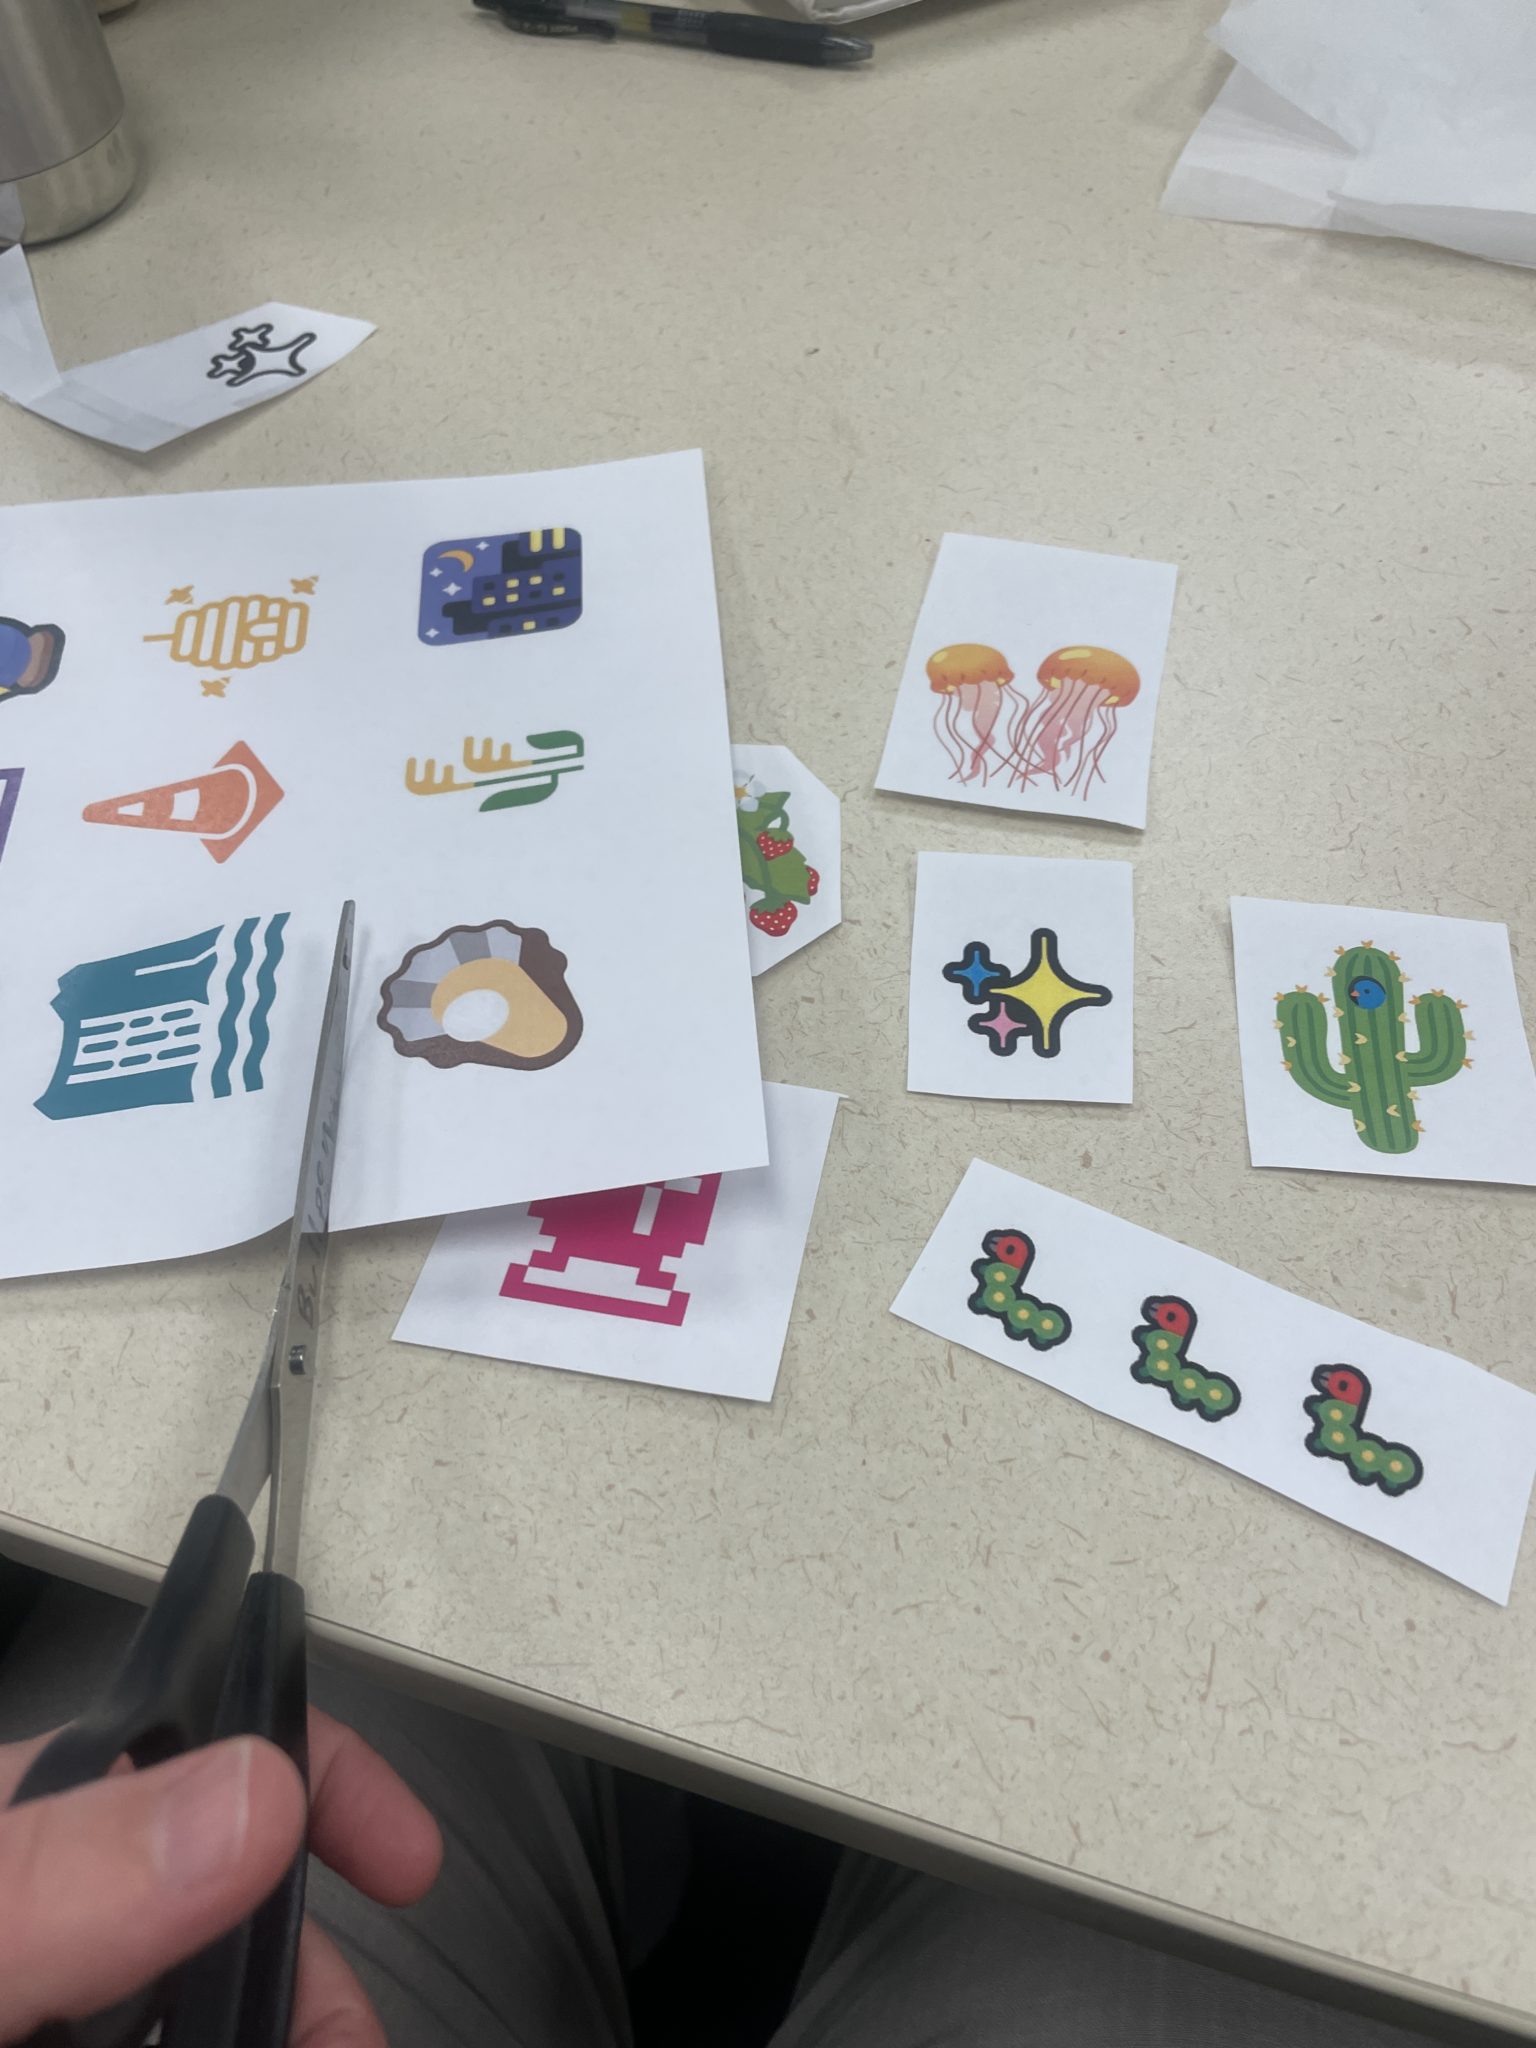
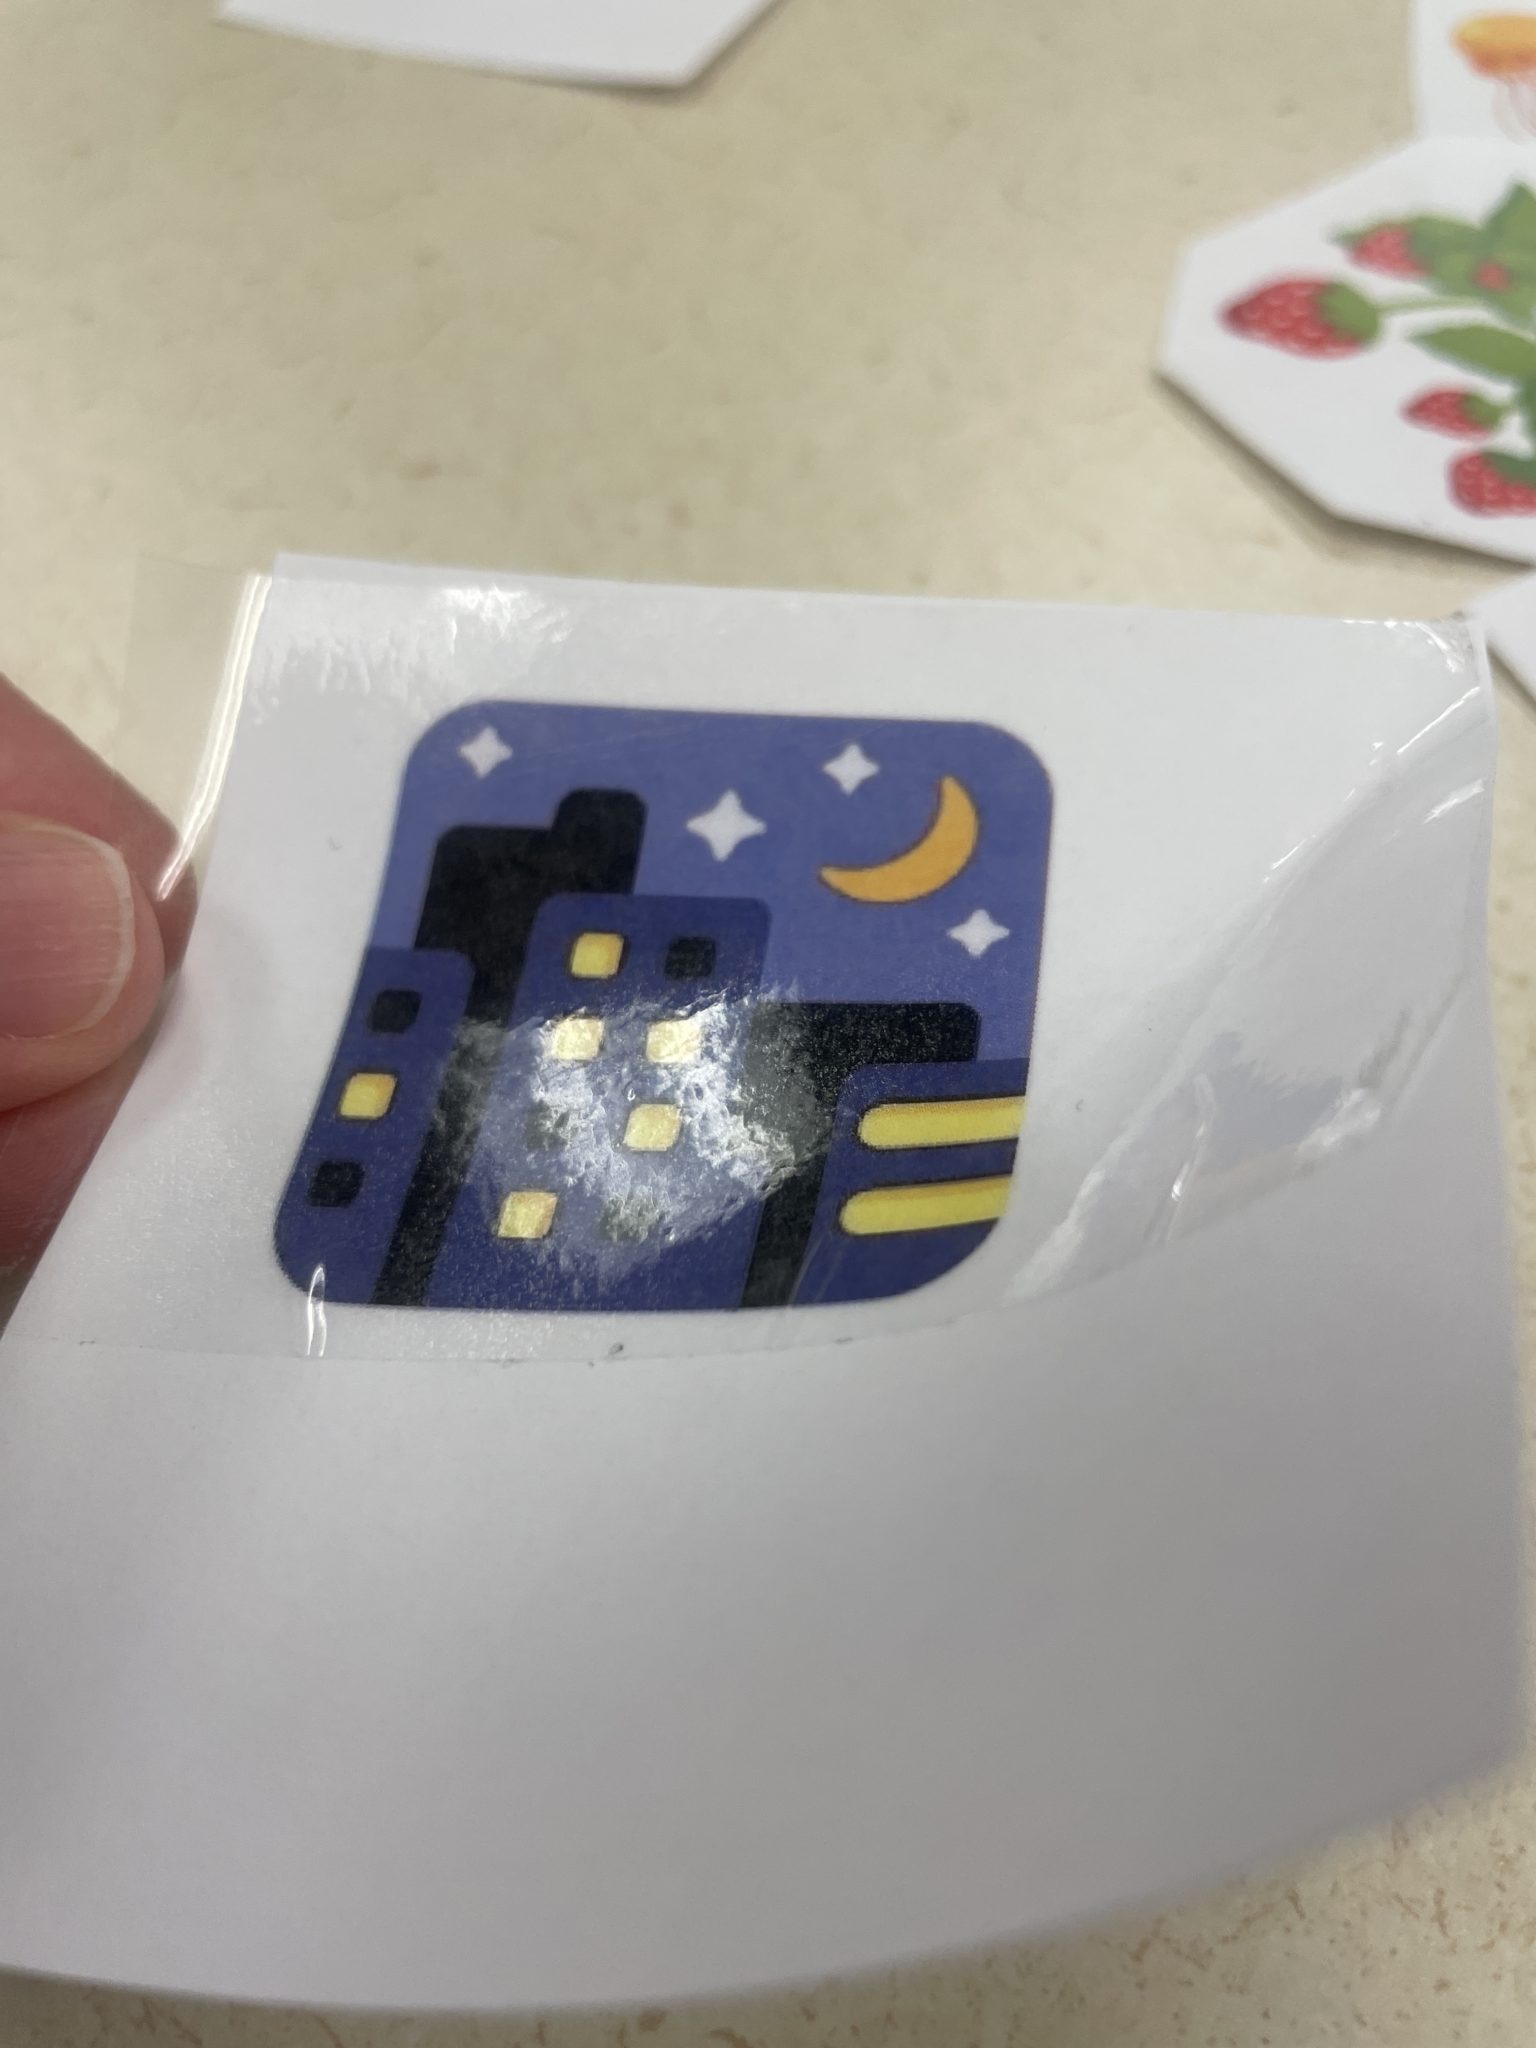
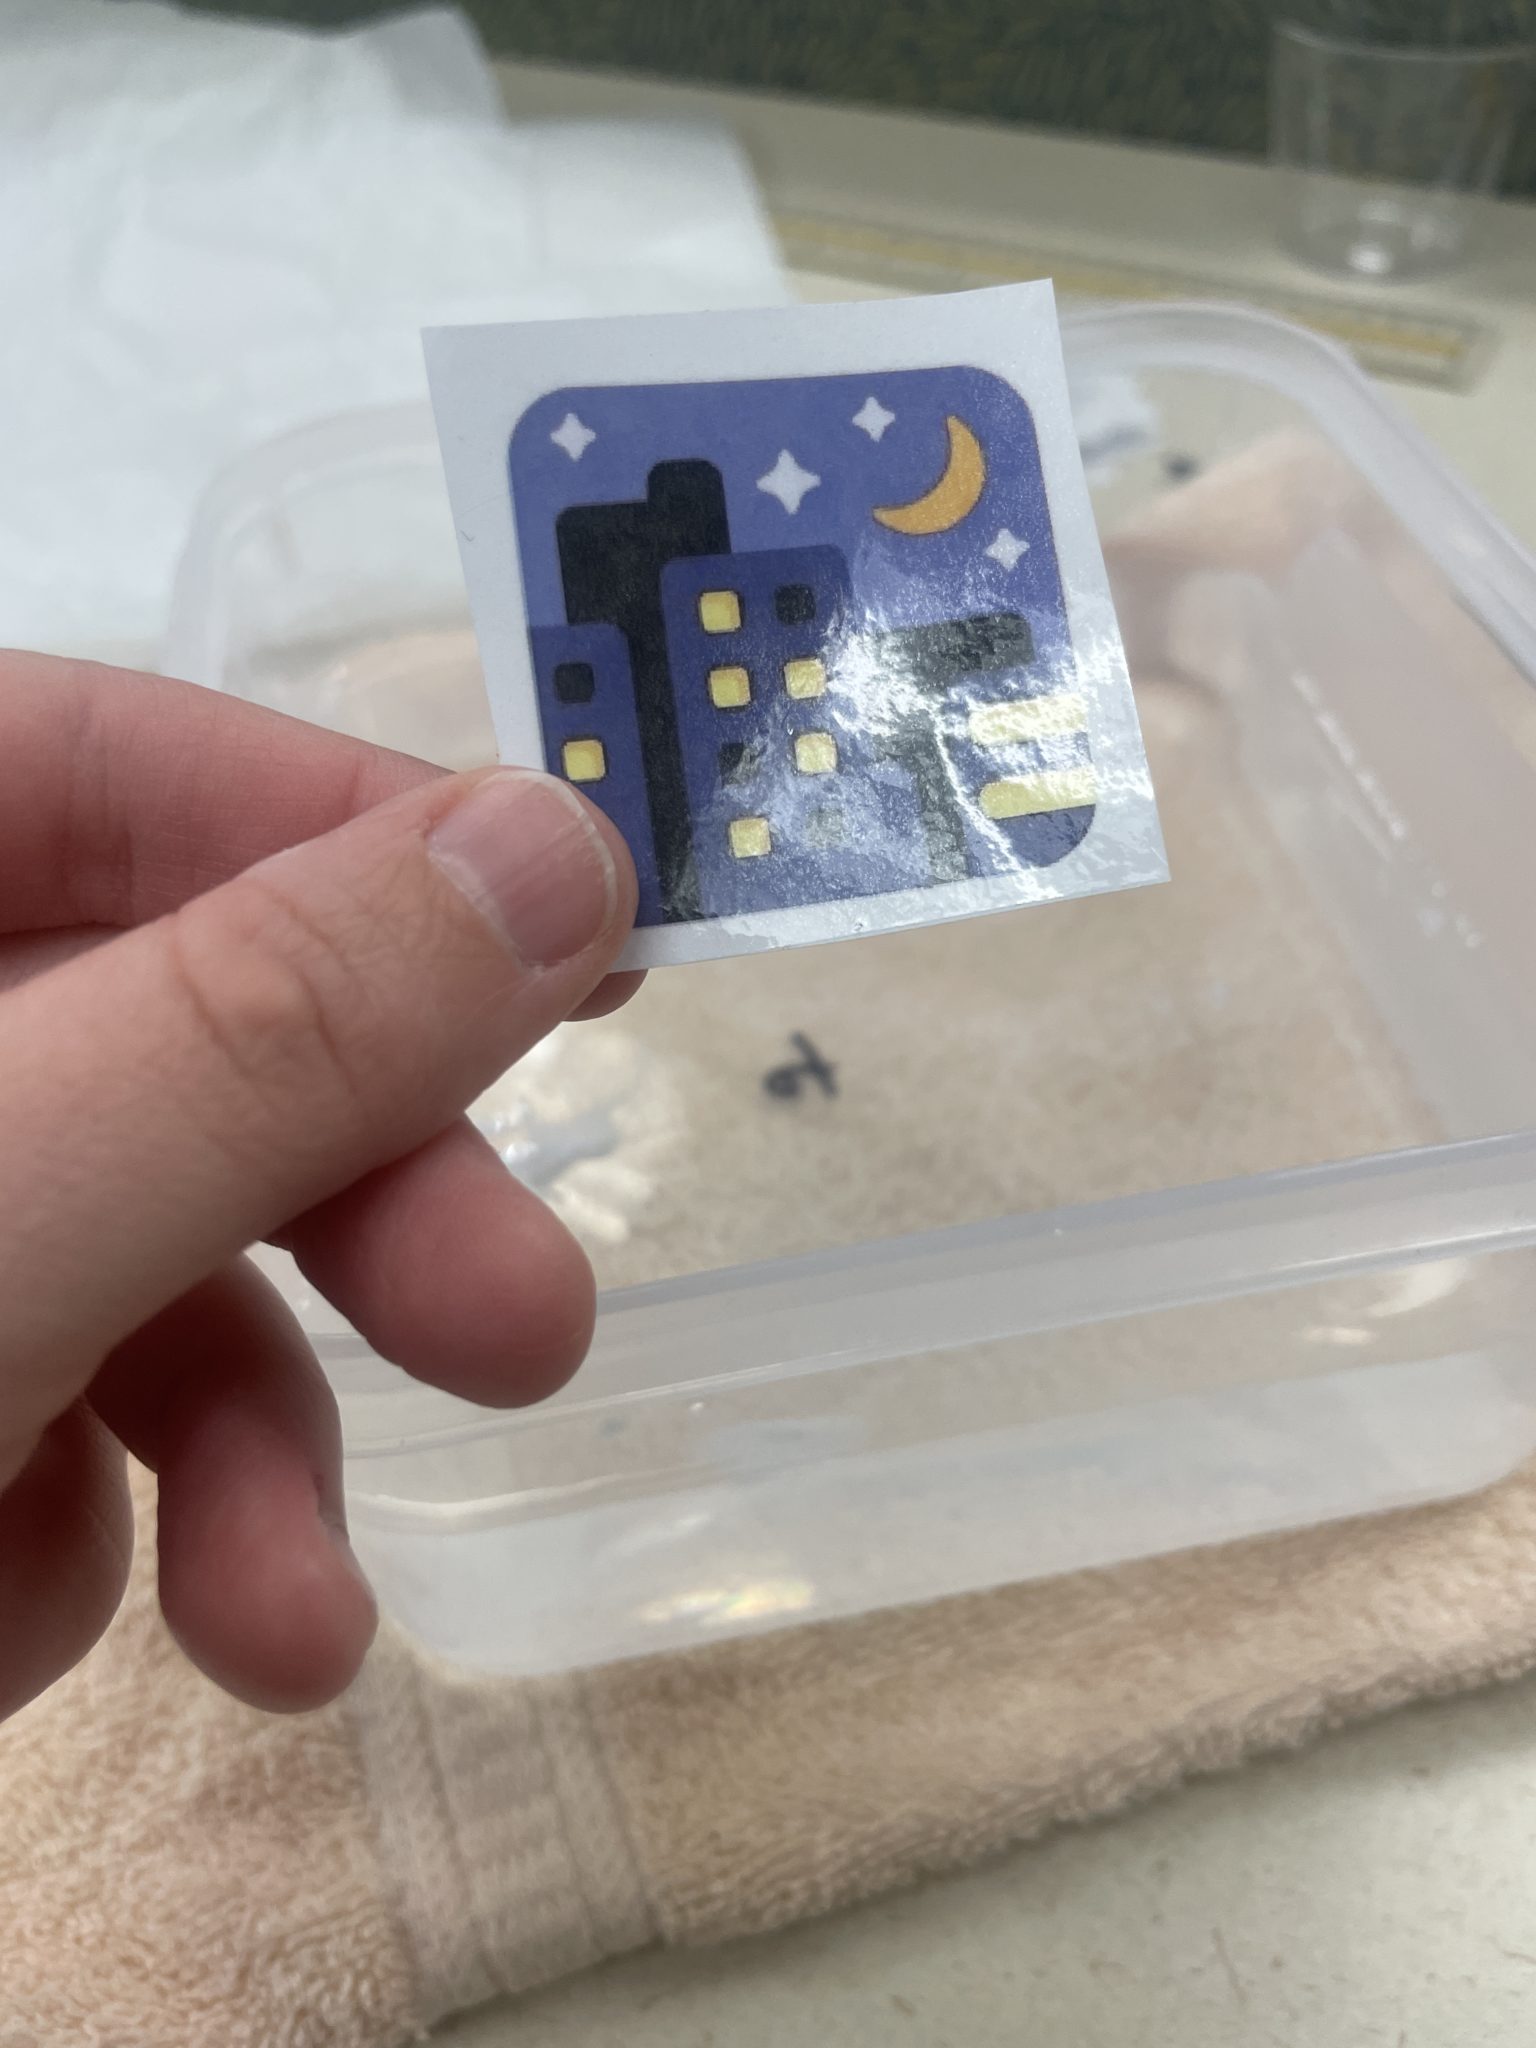
You could put packing tape over the entirety of the sample sticker sheets I linked above, but you’ll want to avoid air bubbles or wrinkles in the tape. Any place on your image that the tape doesn’t perfectly adhere to/lay flatly on will produce gaps in the image. But this distressed/faded look could also be a cool effect, as you will see later on in my night with stars emoji sticker: 🌃.
2. Cut off a section of tape, and tape up one of your images, being careful to lay the tape on the image without any air bubbles or creases.

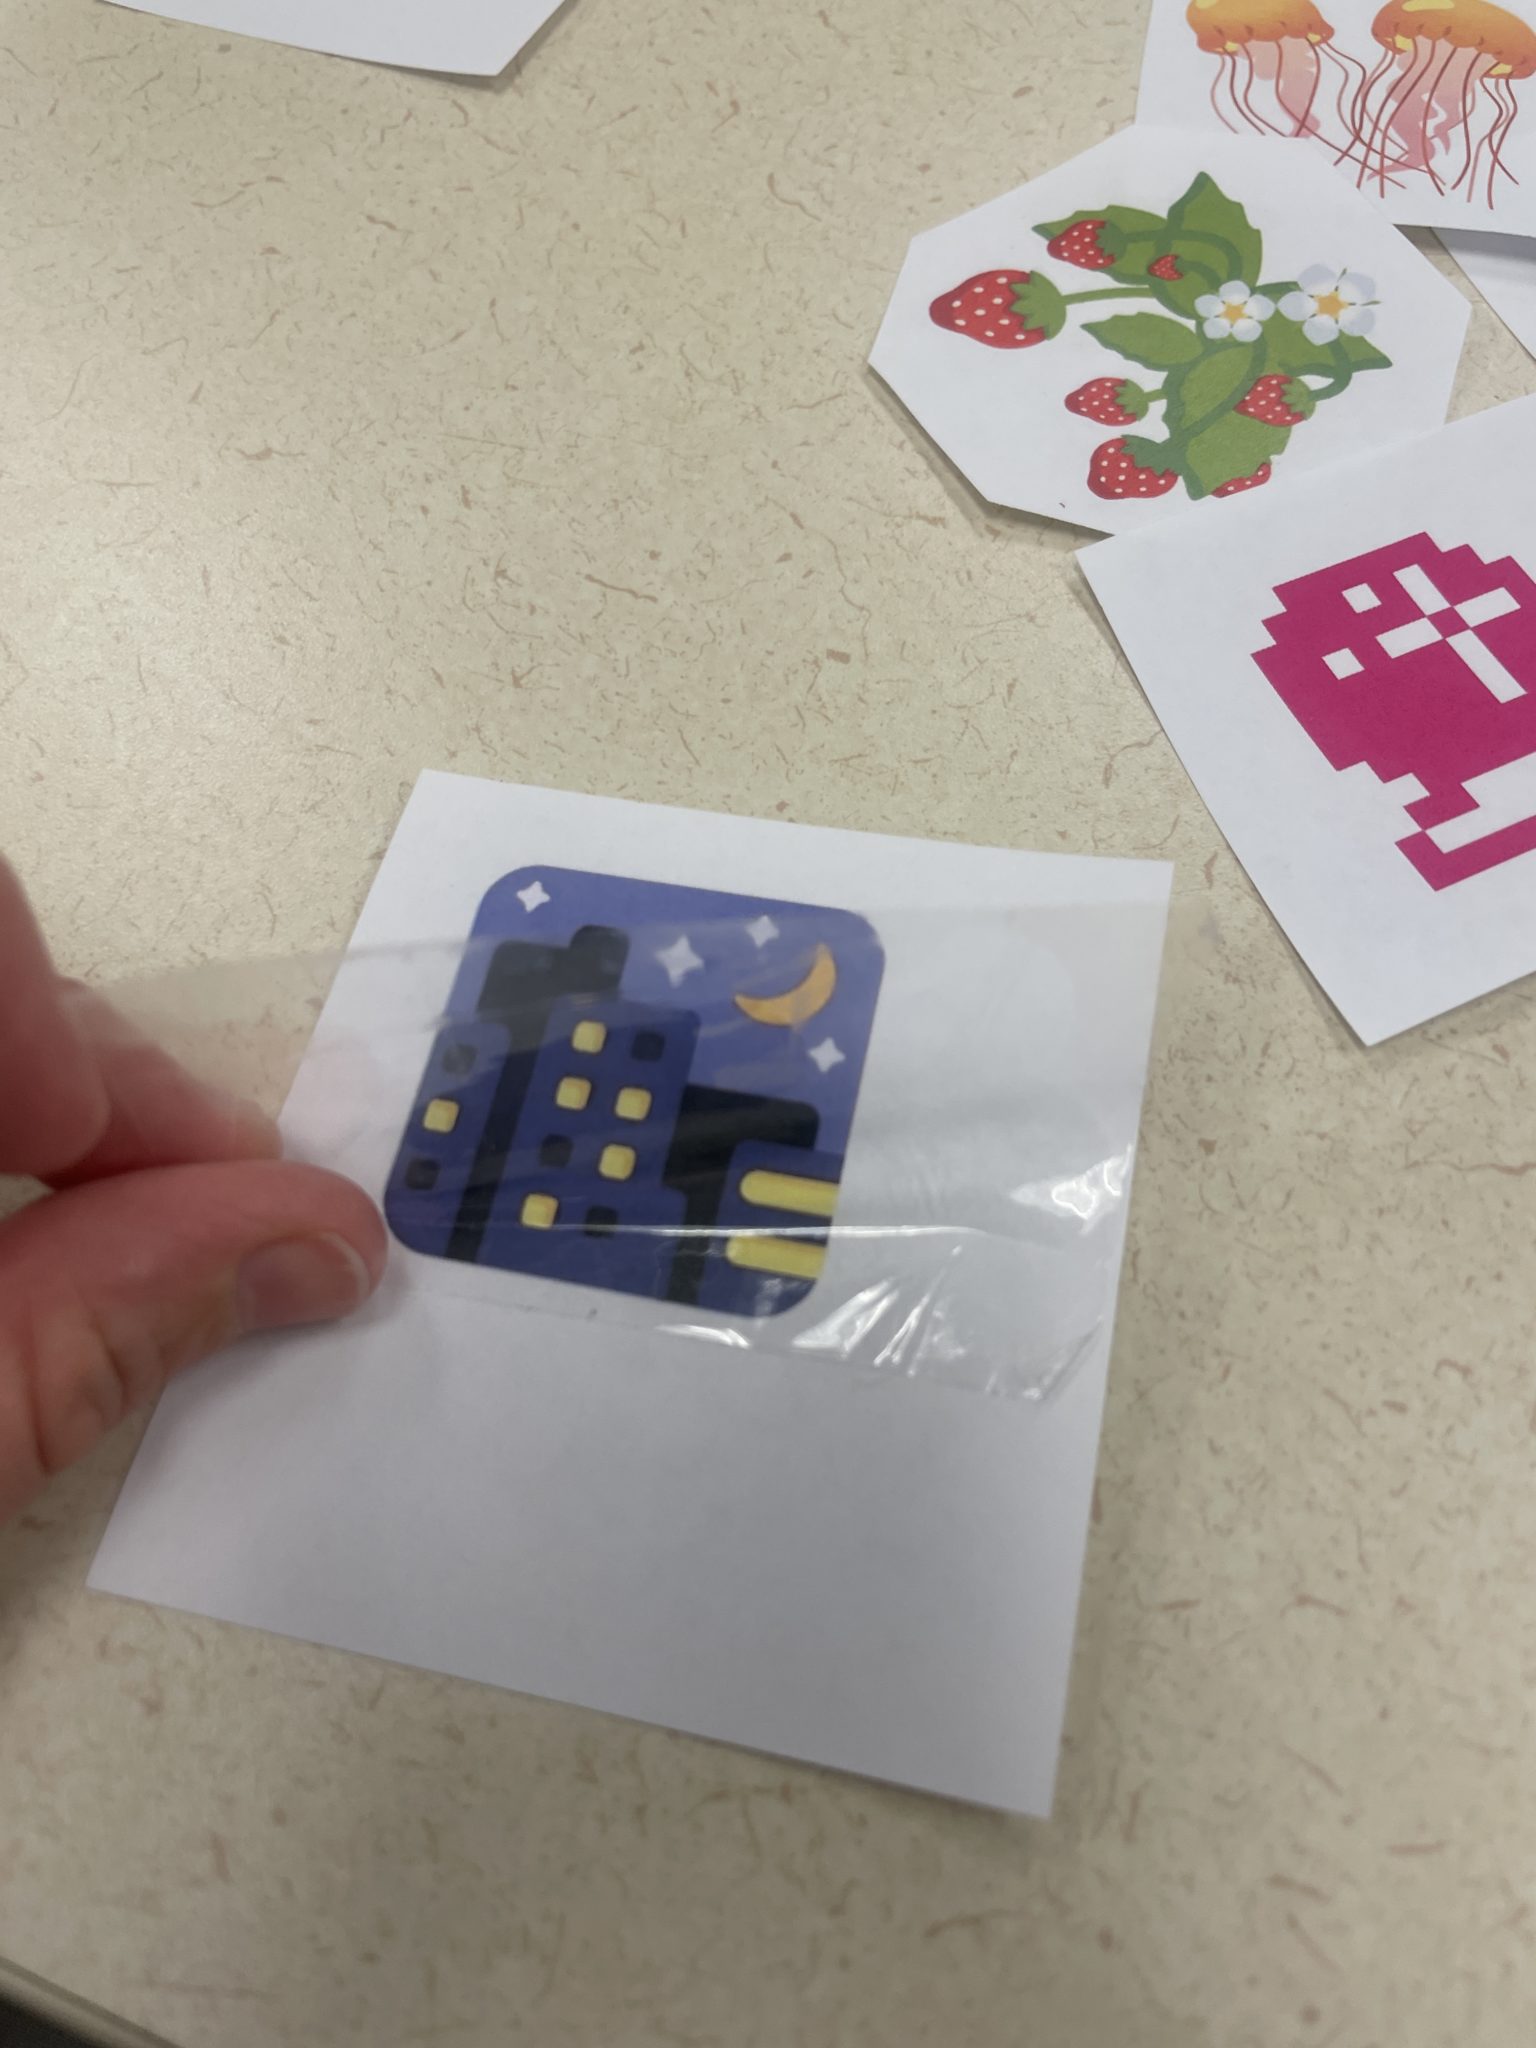
If you have any excess tape or parts of the sticker you won’t want (like the white space surrounding the emoji above), you can trim your sticker down.

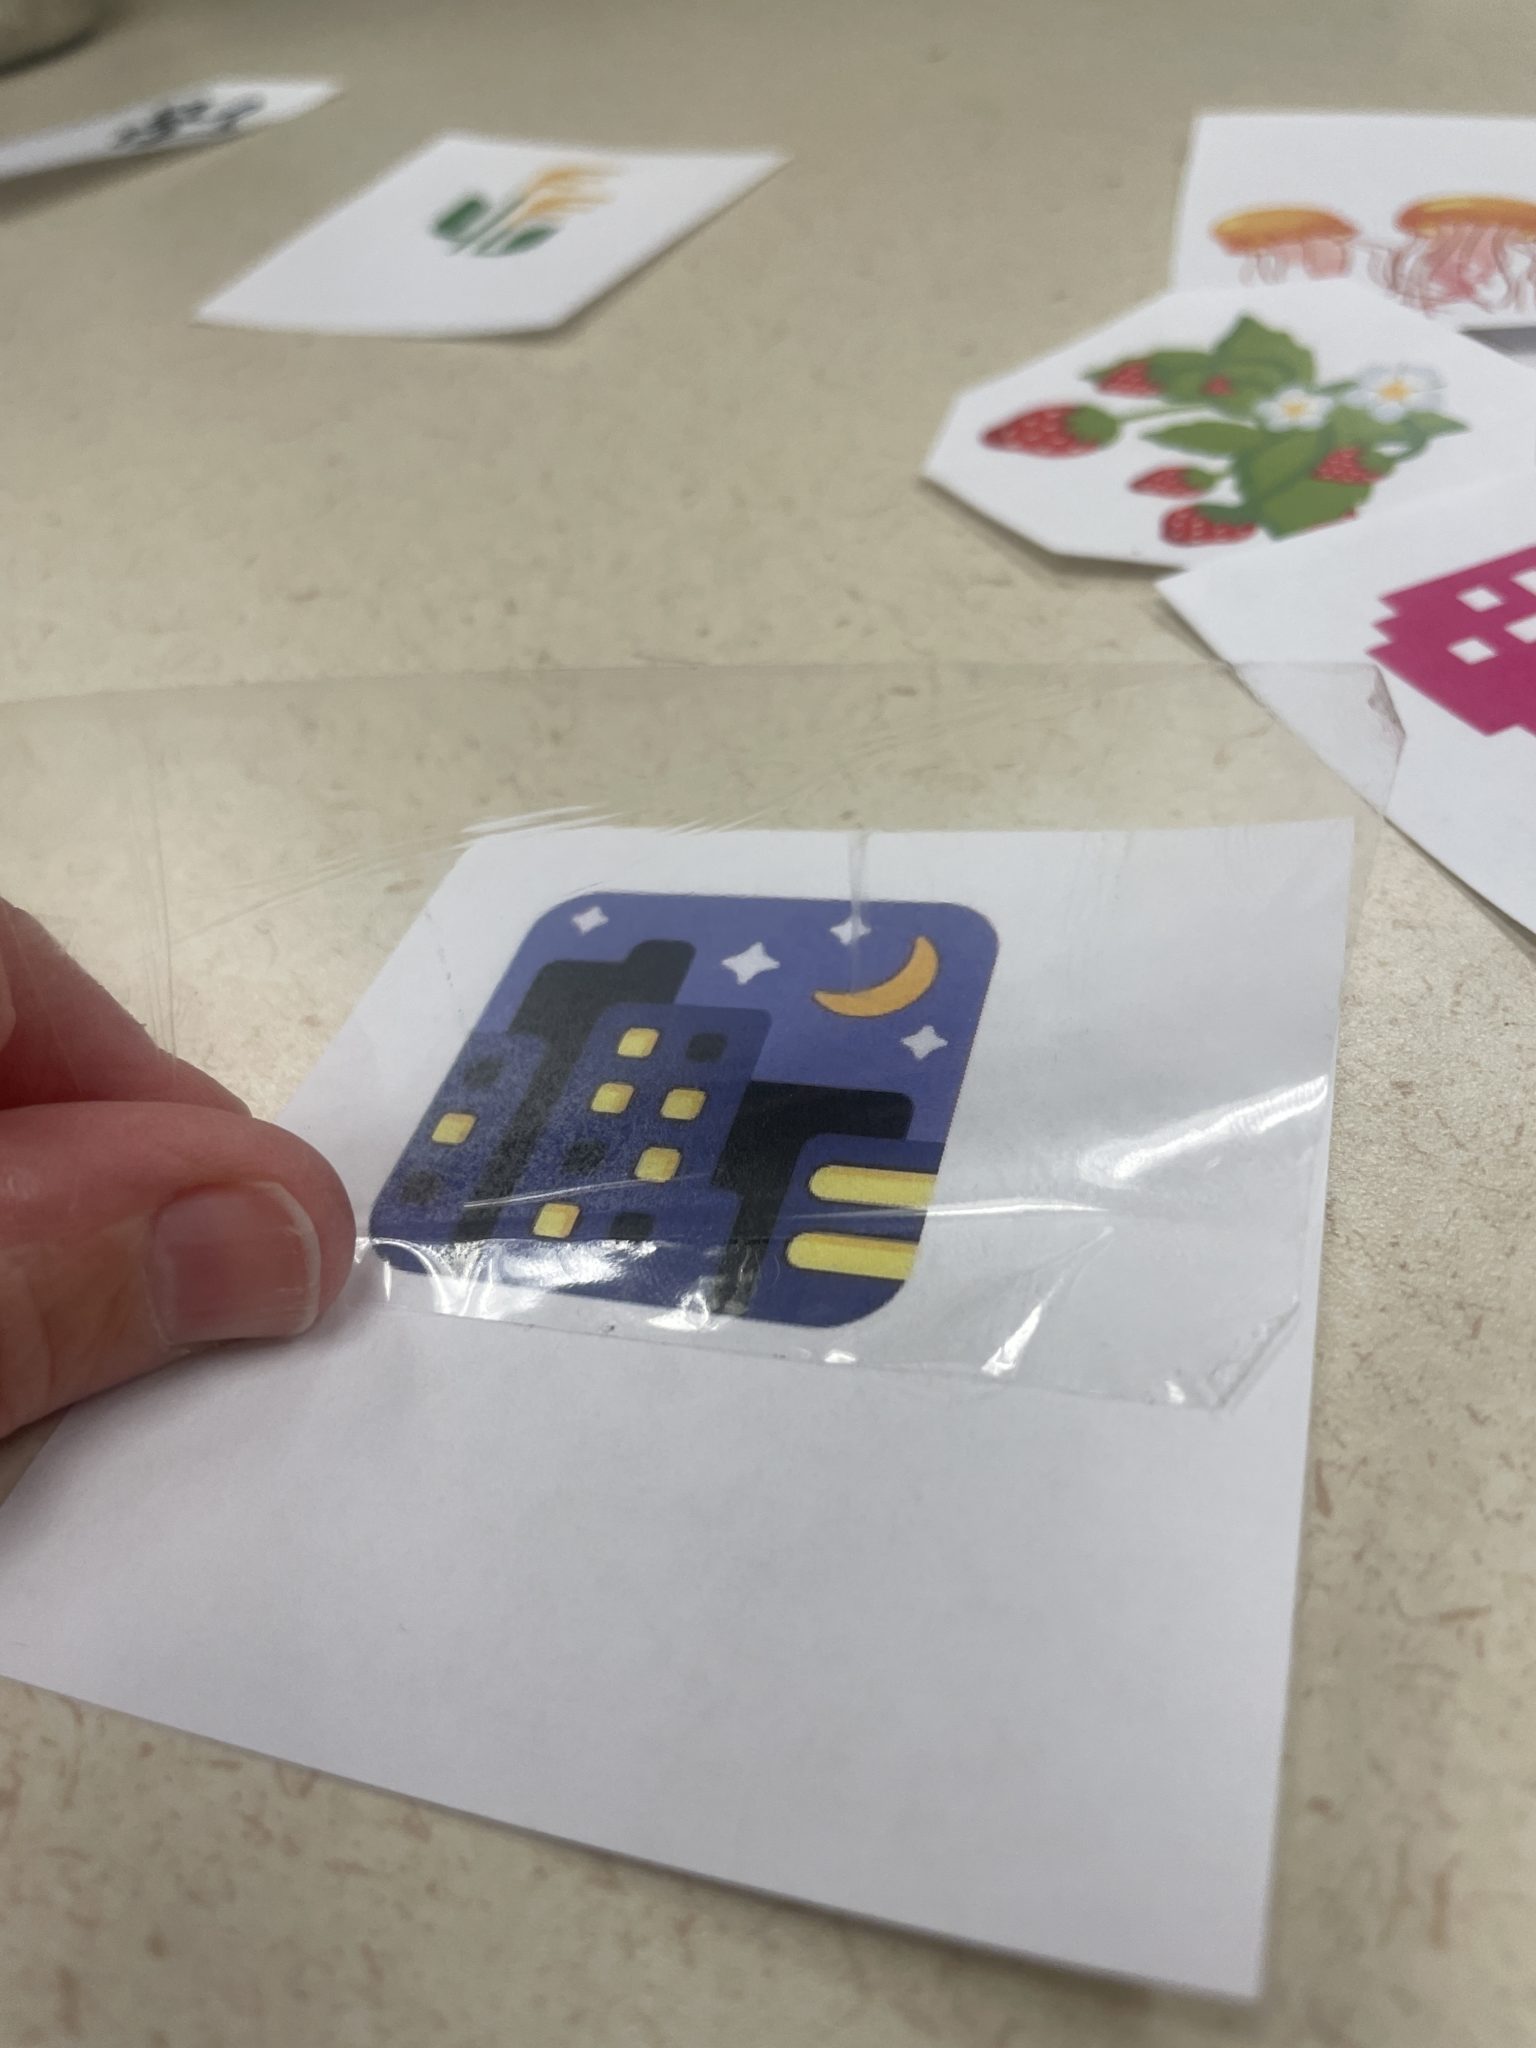
At this point, you should have a toner-printed image that is made a little glossy due to the packing tape layered on top of it, as seen in the above gif.
4. Burnish your image with your knuckle or hard yet blunted craft tool for a couple of seconds. If you forget to do this step (as I did for my night with stars sticker), not all is lost. Simply laying the tape flat on top of your toner-printed image will cause the toner to adhere to the tape okay, but if you want a really vibrant sticker, you should take time to burnish it for a couple of seconds.
5. ✨Here’s when the mundane magic truly begins!!!✨ Take your taped-up image and drop it into the tub of water. The soon-to-be sticker will probably curl up immediately, but do not fret! Alchemy is at work. 🔮
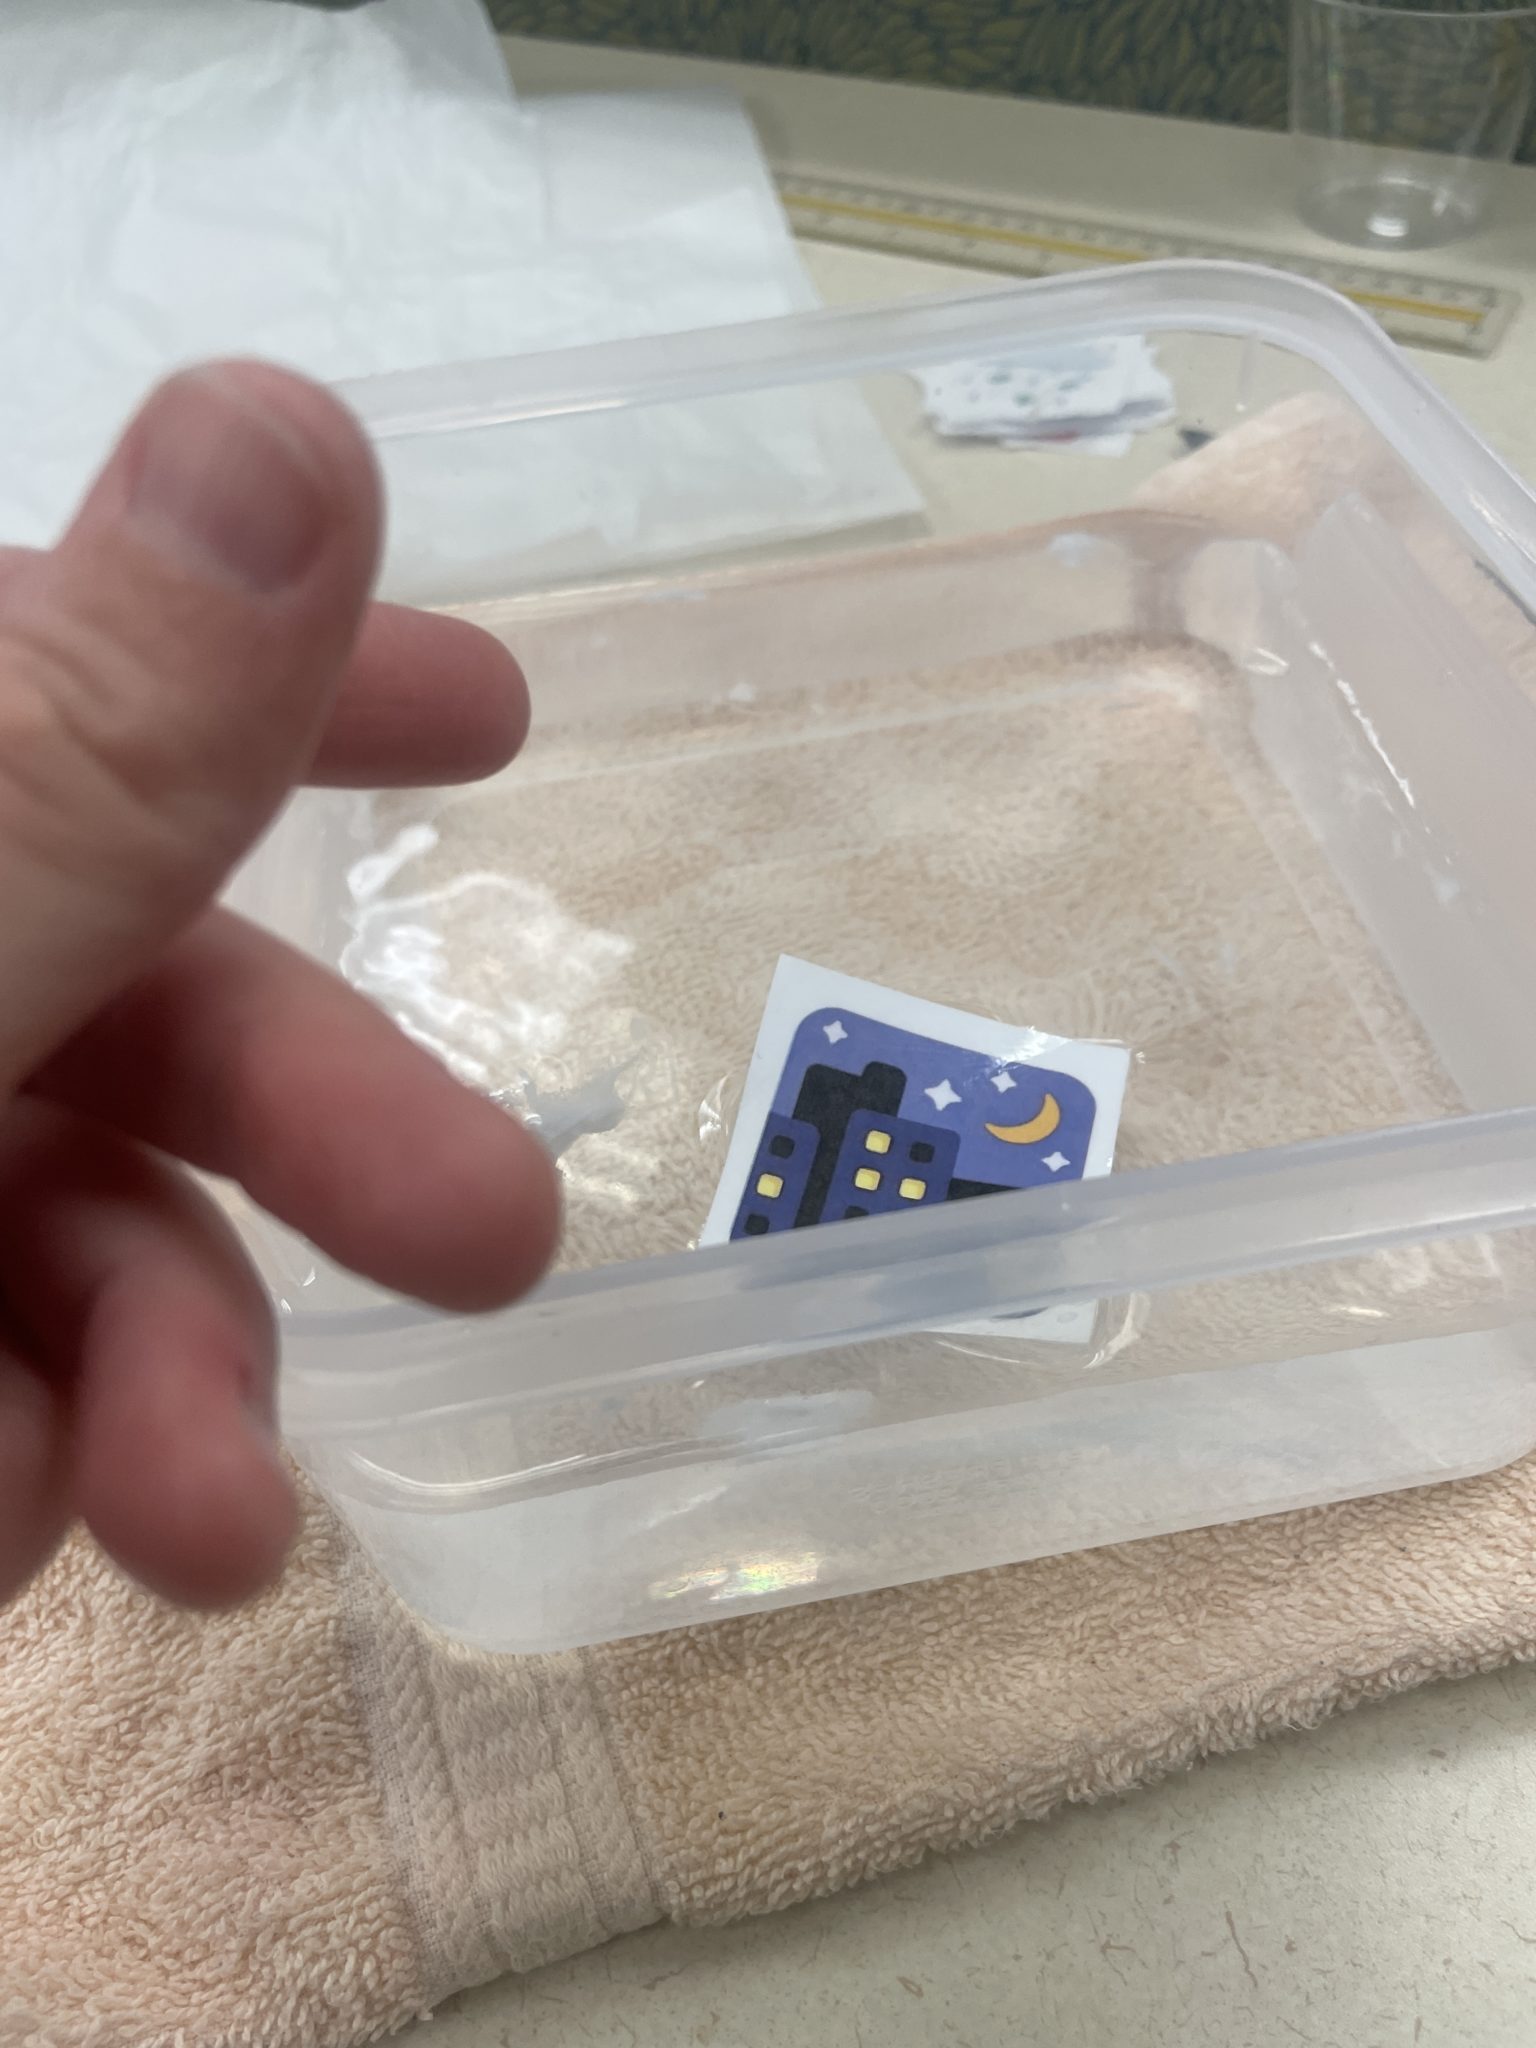
Leave the taped-up image in the water until it is thoroughly soaked. If your images are printed on lightweight computer paper, you shouldn’t have to wait more than a minute or so for this soaking to happen.
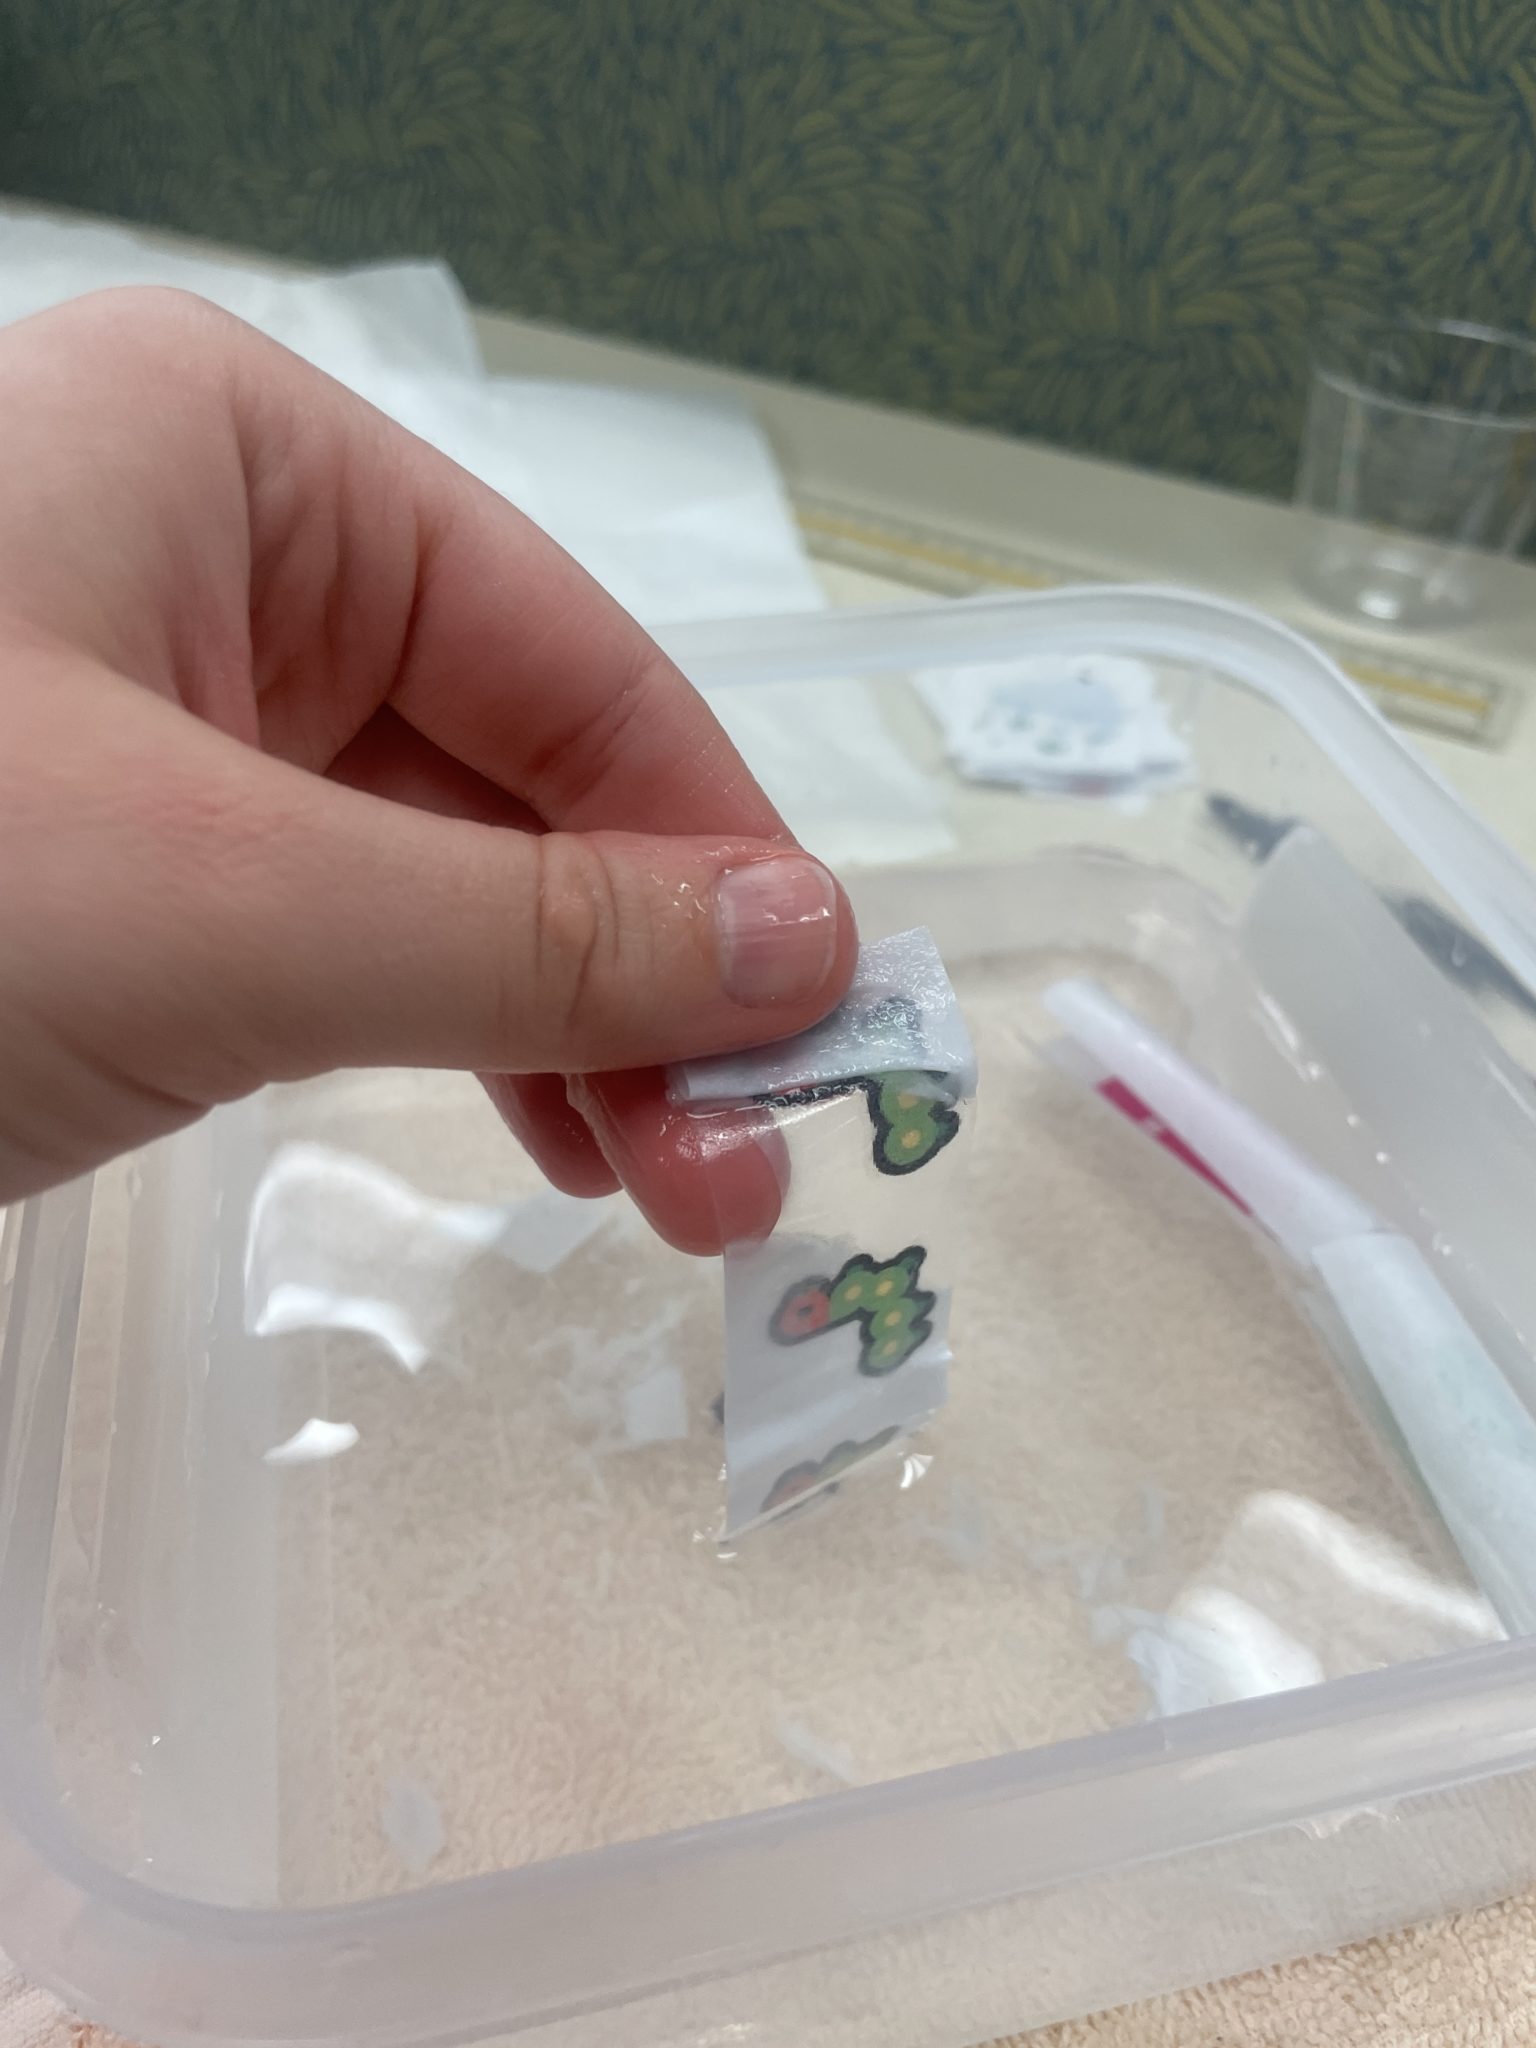
6. Once your taped-up image is thoroughly soaked, begin gently removing the paper fibers from the back of the taped-up image. A light yet confident pressure is all that’s needed to rub the fibers away. After all, magic relies on balance. ⚖️
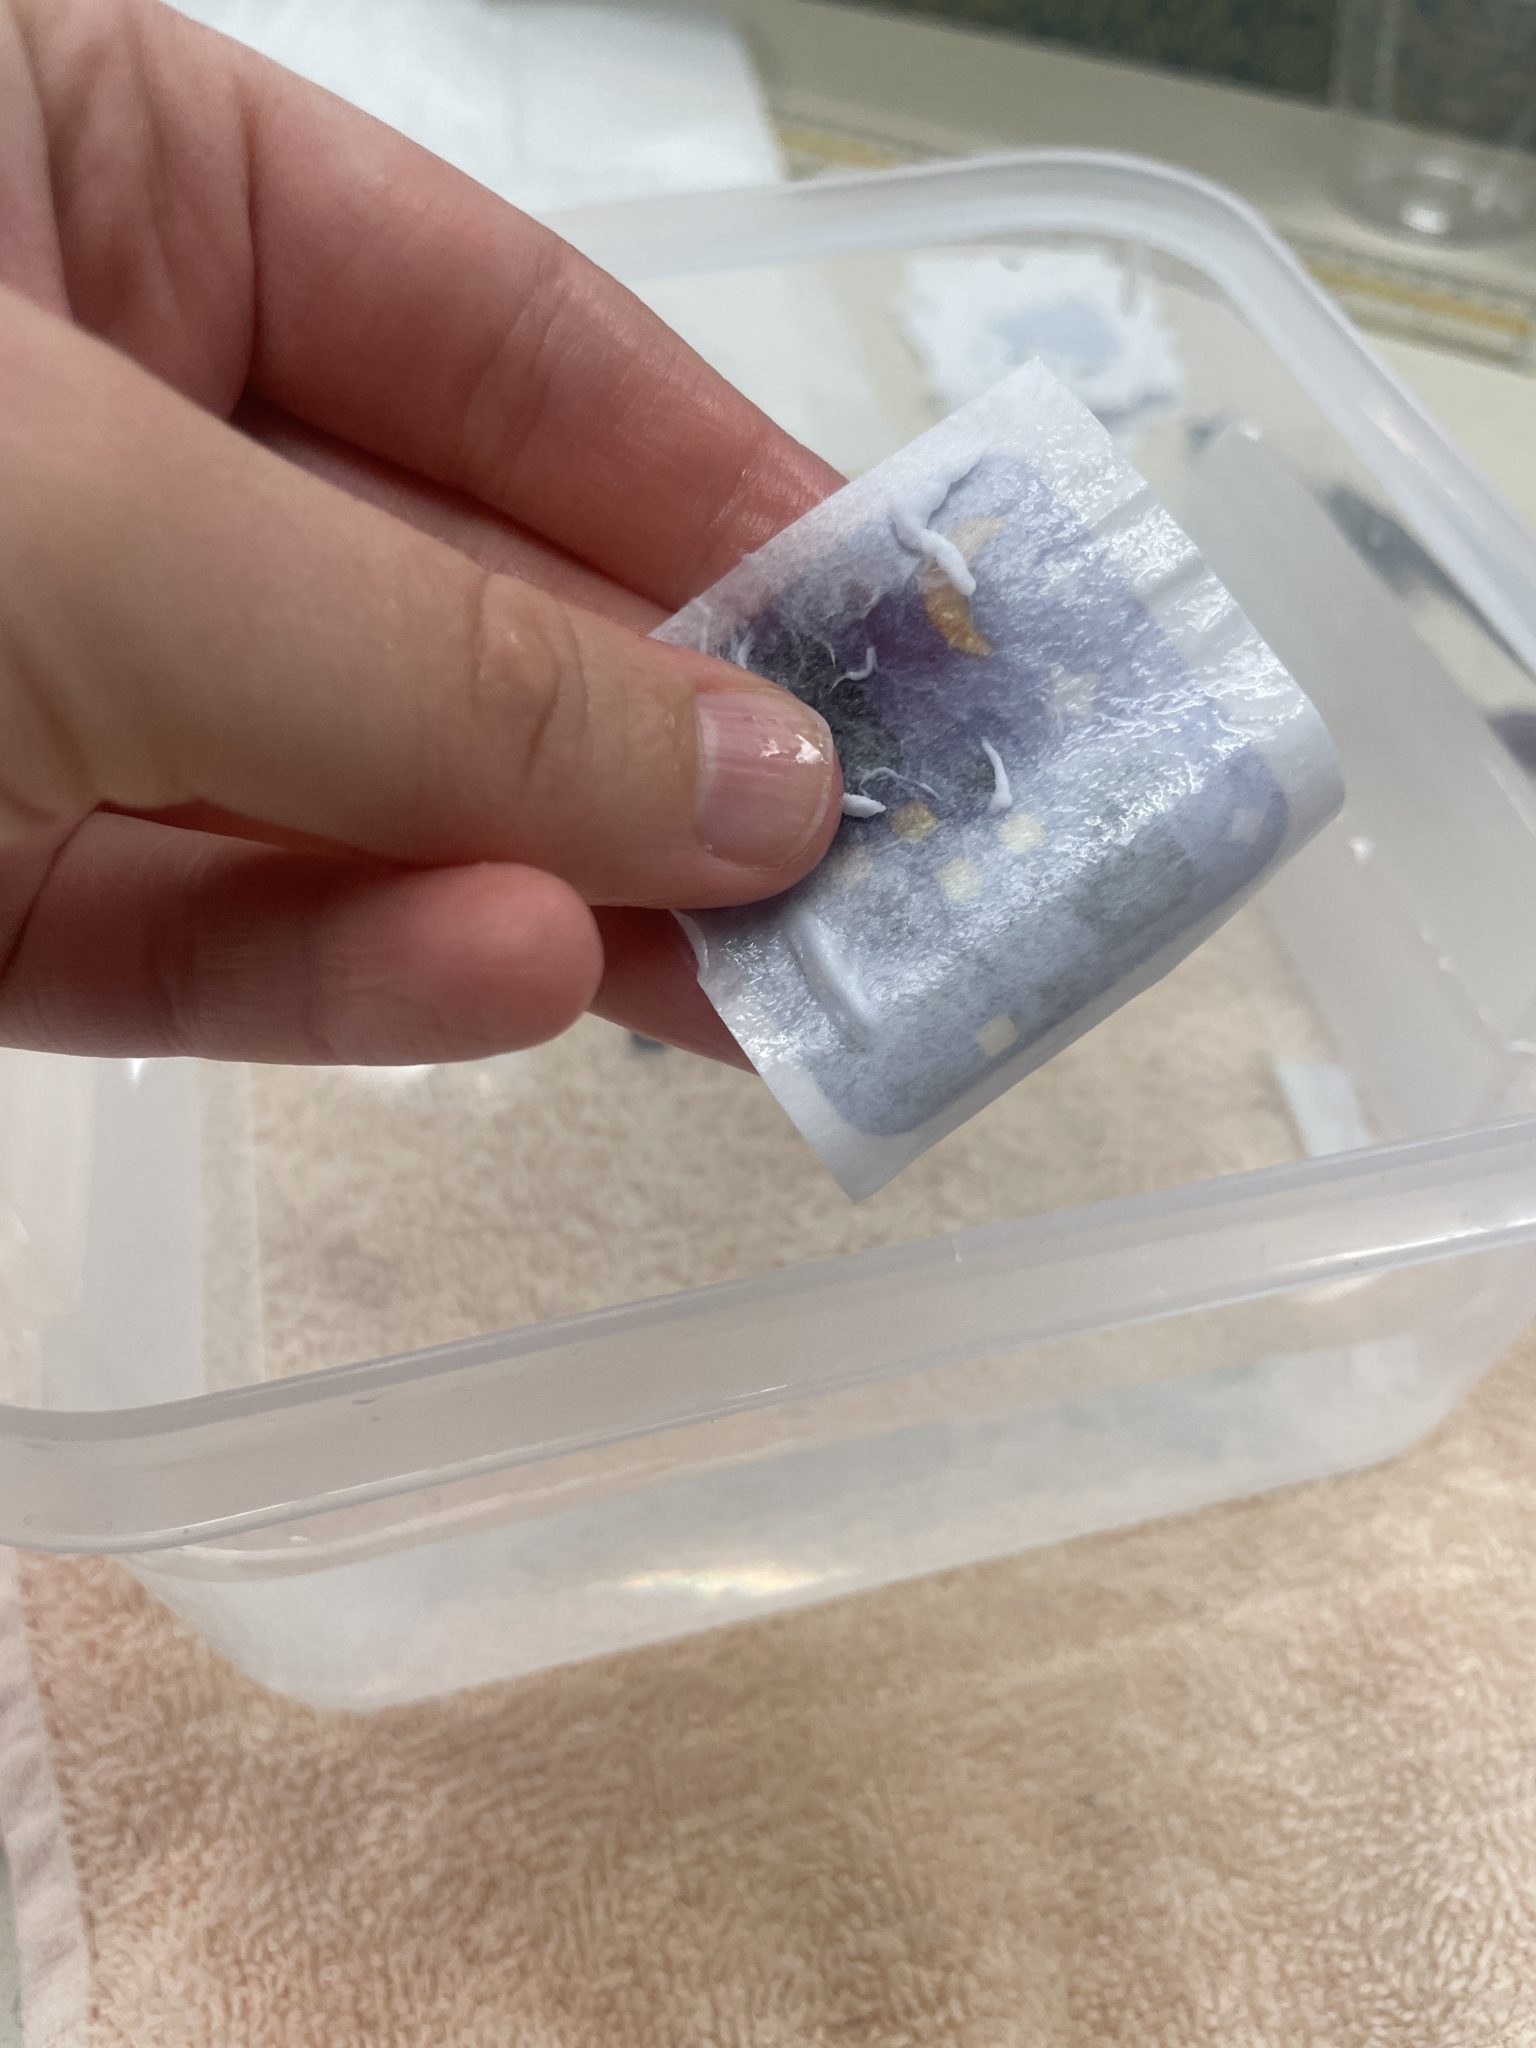
If the paper fibers aren’t coming off easily, you can always re-submerged the taped-up image in the water to help remove them, as demonstrated in the gif below:
If you let your soon-to-be sticker marinate in the water for more than a minute, you might be able to peel off the back layer of paper in one lucky strip, as demonstrated on my three bugs emoji sticker-in-process below:
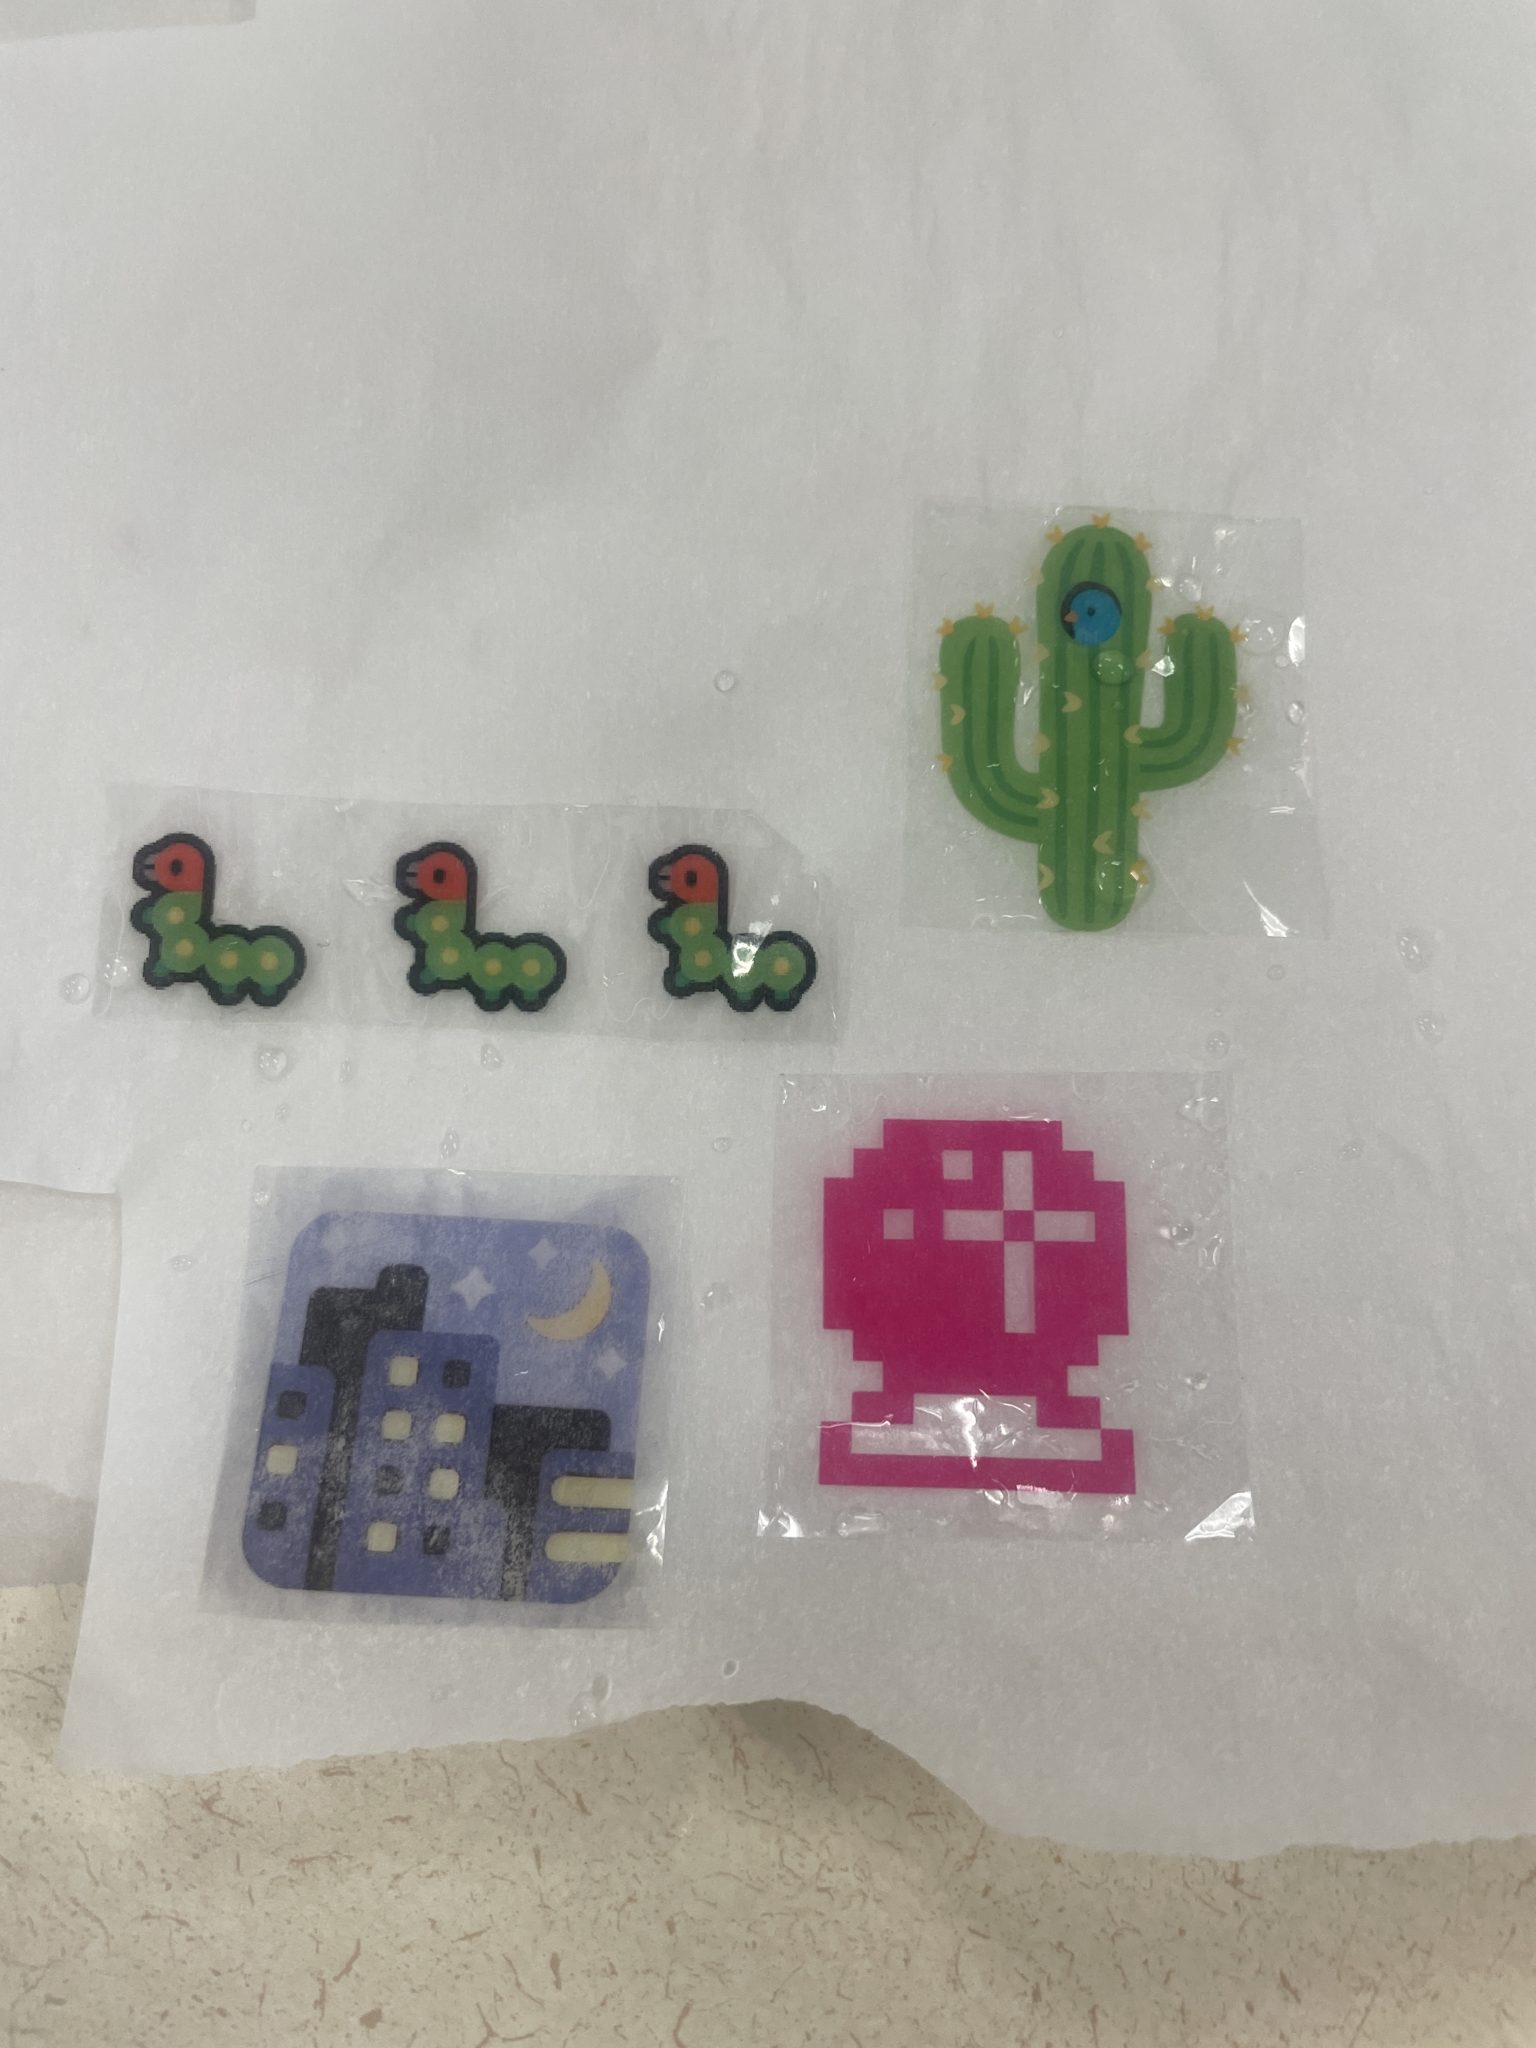
7. After you’ve removed the paper fibers, it’s time to lay your almost-sticker to dry on one of the sheets of waxed or parchment paper. Courtney Cerruti uses her pointer and middle fingers to “squeegee” excess water from the sticker before laying it flat to dry, which is an optional but deeply fun step — unless, of course, the finger-squeegee doesn’t vibe with your sensory needs. Set whatever boundaries you need to set with this step (and that goes for the entire spell-craft, too!); your almost-sticker will dry on its own with the help of air and time.

8. Repeat steps 1-7 with as many designs as you like! As your stickers dry and their transformation completes, you can transfer them to the second sheet of waxed or parchment paper for safekeeping until . . .
you’re ready to share them with the world!