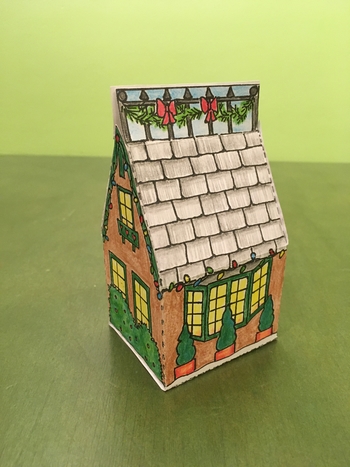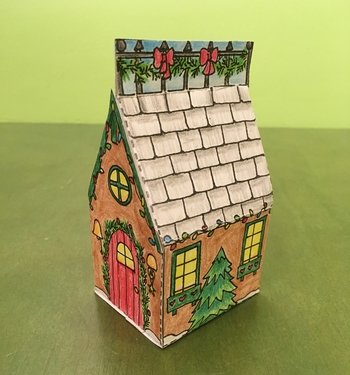
Handmade gifts are special for any celebration. In this blog, I’ll teach you how to create a winter cottage box that can be filled with homemade treats or a special gift!
For this project, you will need:
- Cottage box pattern
- White cardstock paper
- Colored pencils or fine tipped markers
- Scissors
- Glue
- Tape (regular or double-sided)
Directions:
1) Print out the pattern onto white cardstock. (You can use regular weight paper, but it will be flimsy.)
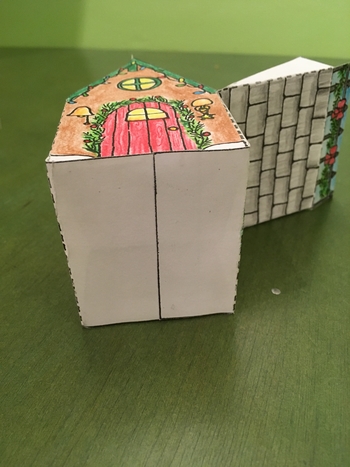
2) Color the cardstock using colored pencils or fine tipped markers. It’s easiest to do this first, before cutting the box out. 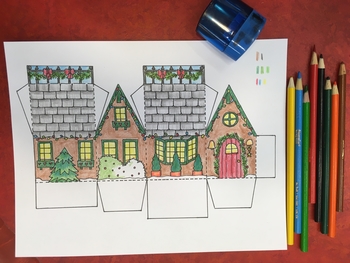
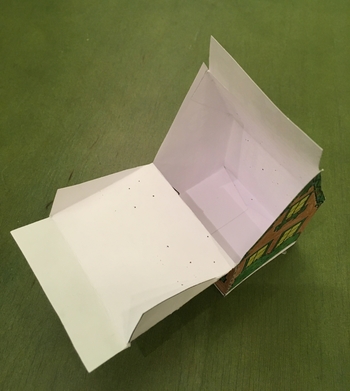
3) Cut along the solid black lines, around the perimeter of the box.
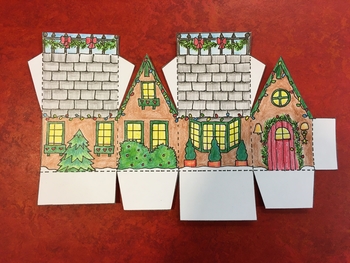
4) Fold along the dotted lines. It can be easier to fold both ways, especially if you use cardstock.
5) Using school glue or a glue stick, glue the tab at the right (by the front door) to the inside of the side with the fir tree. Then glue the bottom flaps to make a solid base.
6) Make sure your box is dry before you fill it with goodies! Glue or tape the top of the cottage box shut.