

Summer is coming to an end, and we’re gearing up for another school year, but there is always time for a simple craft activity! For this one, you will need some basic art supplies and a desire to add a pop of color to your home or to brighten a friend’s day! I made a bauble with four different fruits, but you could choose to make something with an individual fruit, a rainbow or just your favorite colors.
Supplies:
- paper
- scissors
- colored pencils, crayons, markers or other materials to color and decorate with
- ribbon, string or yarn
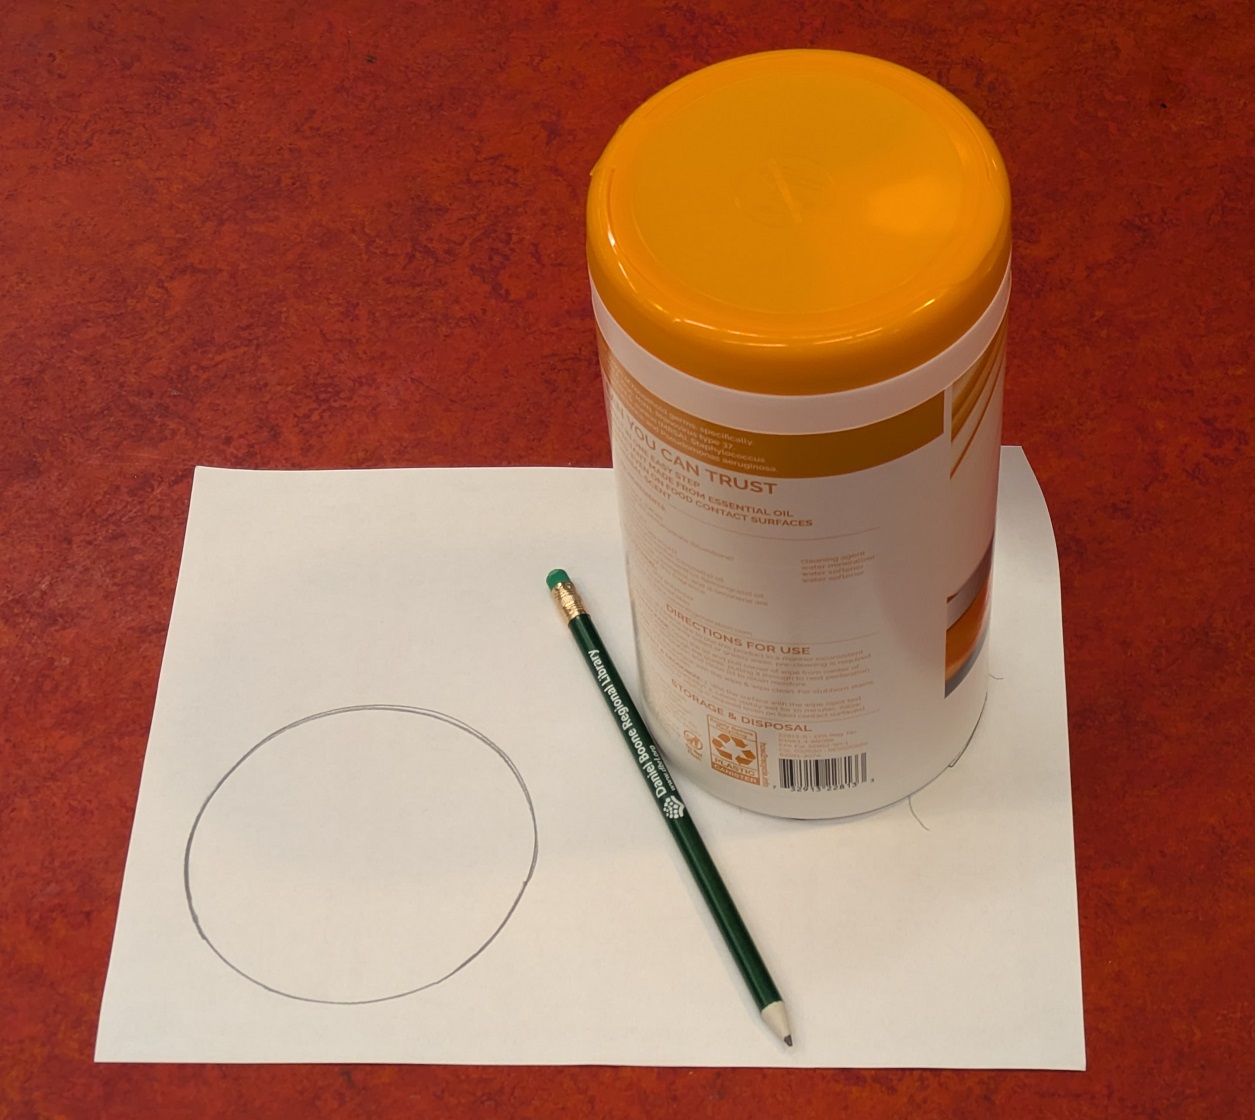
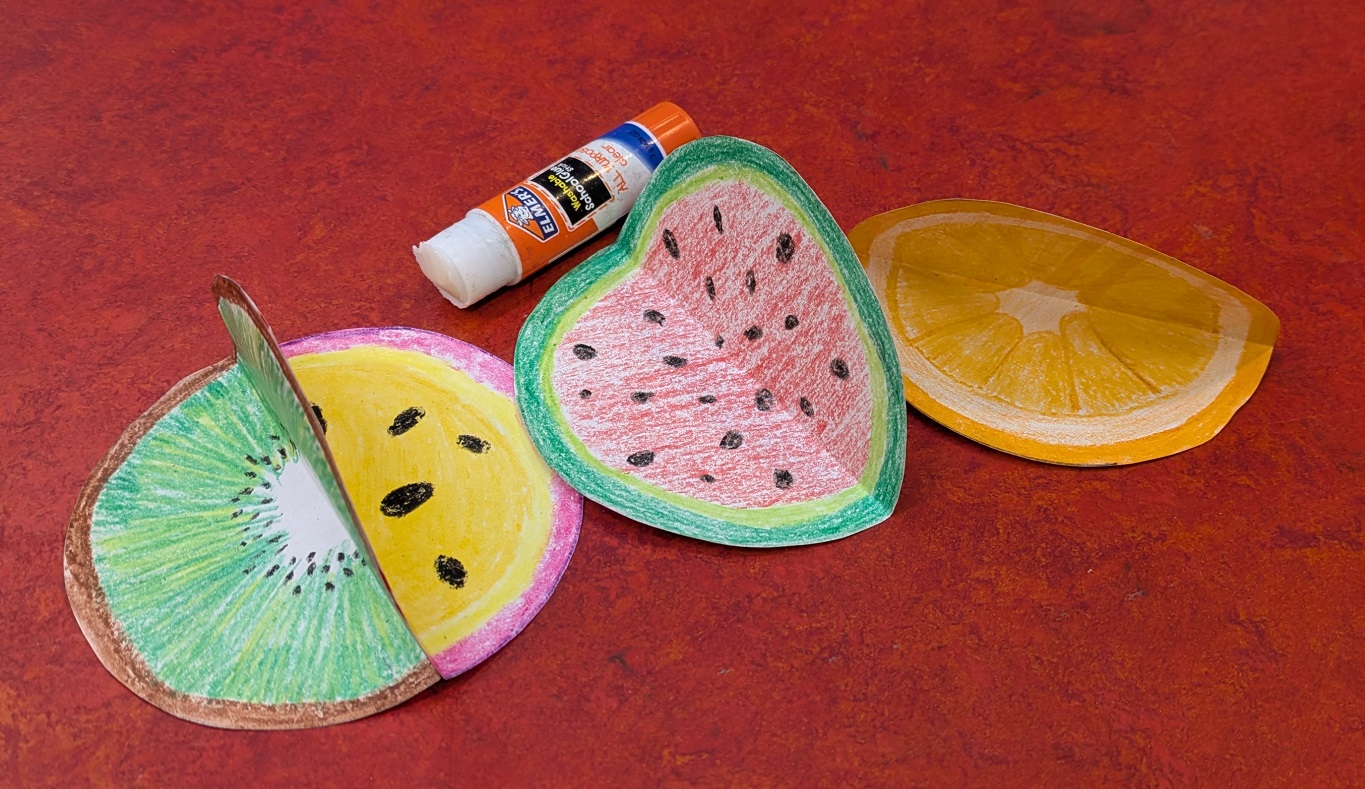
I made a bauble with four slices — kiwi, orange, passion fruit and watermelon— so I needed four circles to complete this craft. I found a round container and used it to trace my circles.
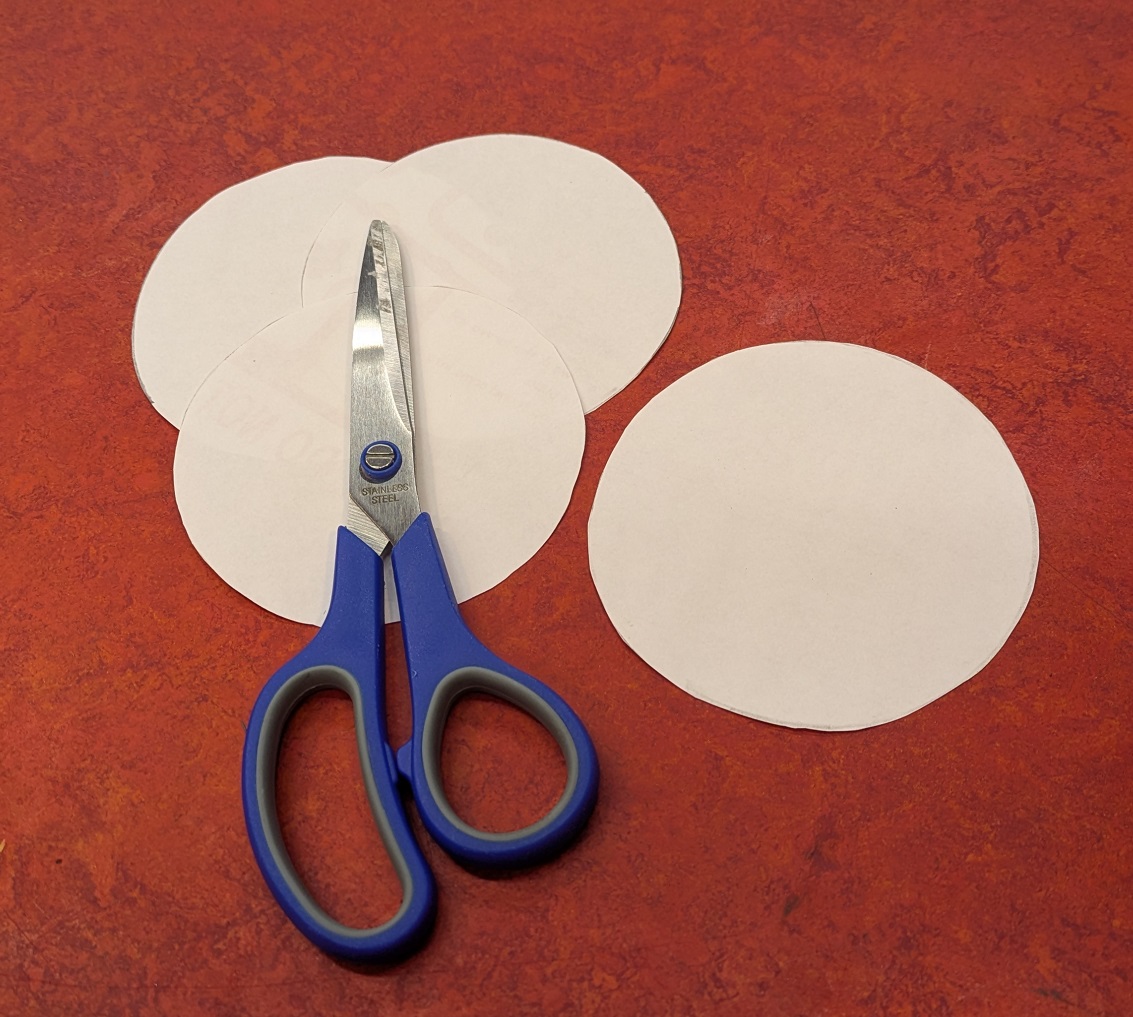
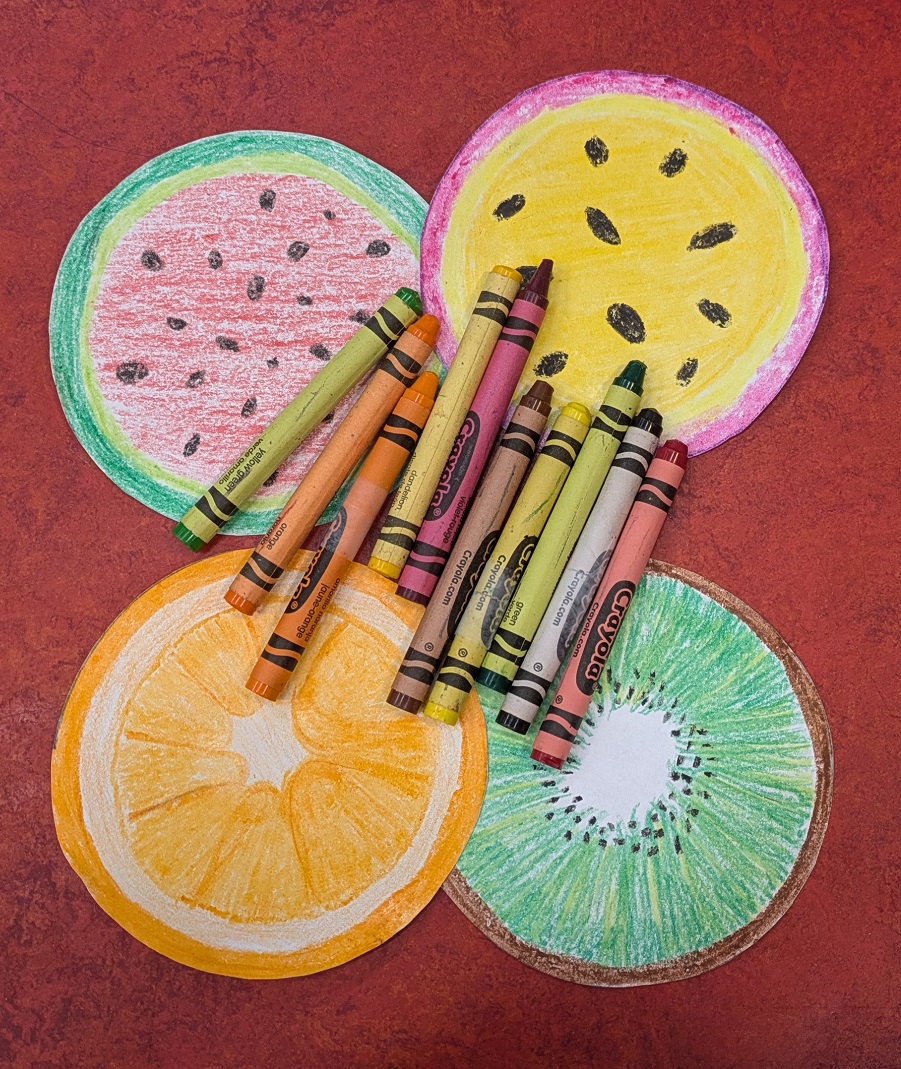
After cutting those out, I colored in my fruit.
Just one side of the circle needs to be colored!
Next, I folded my slices in half and glued them together.
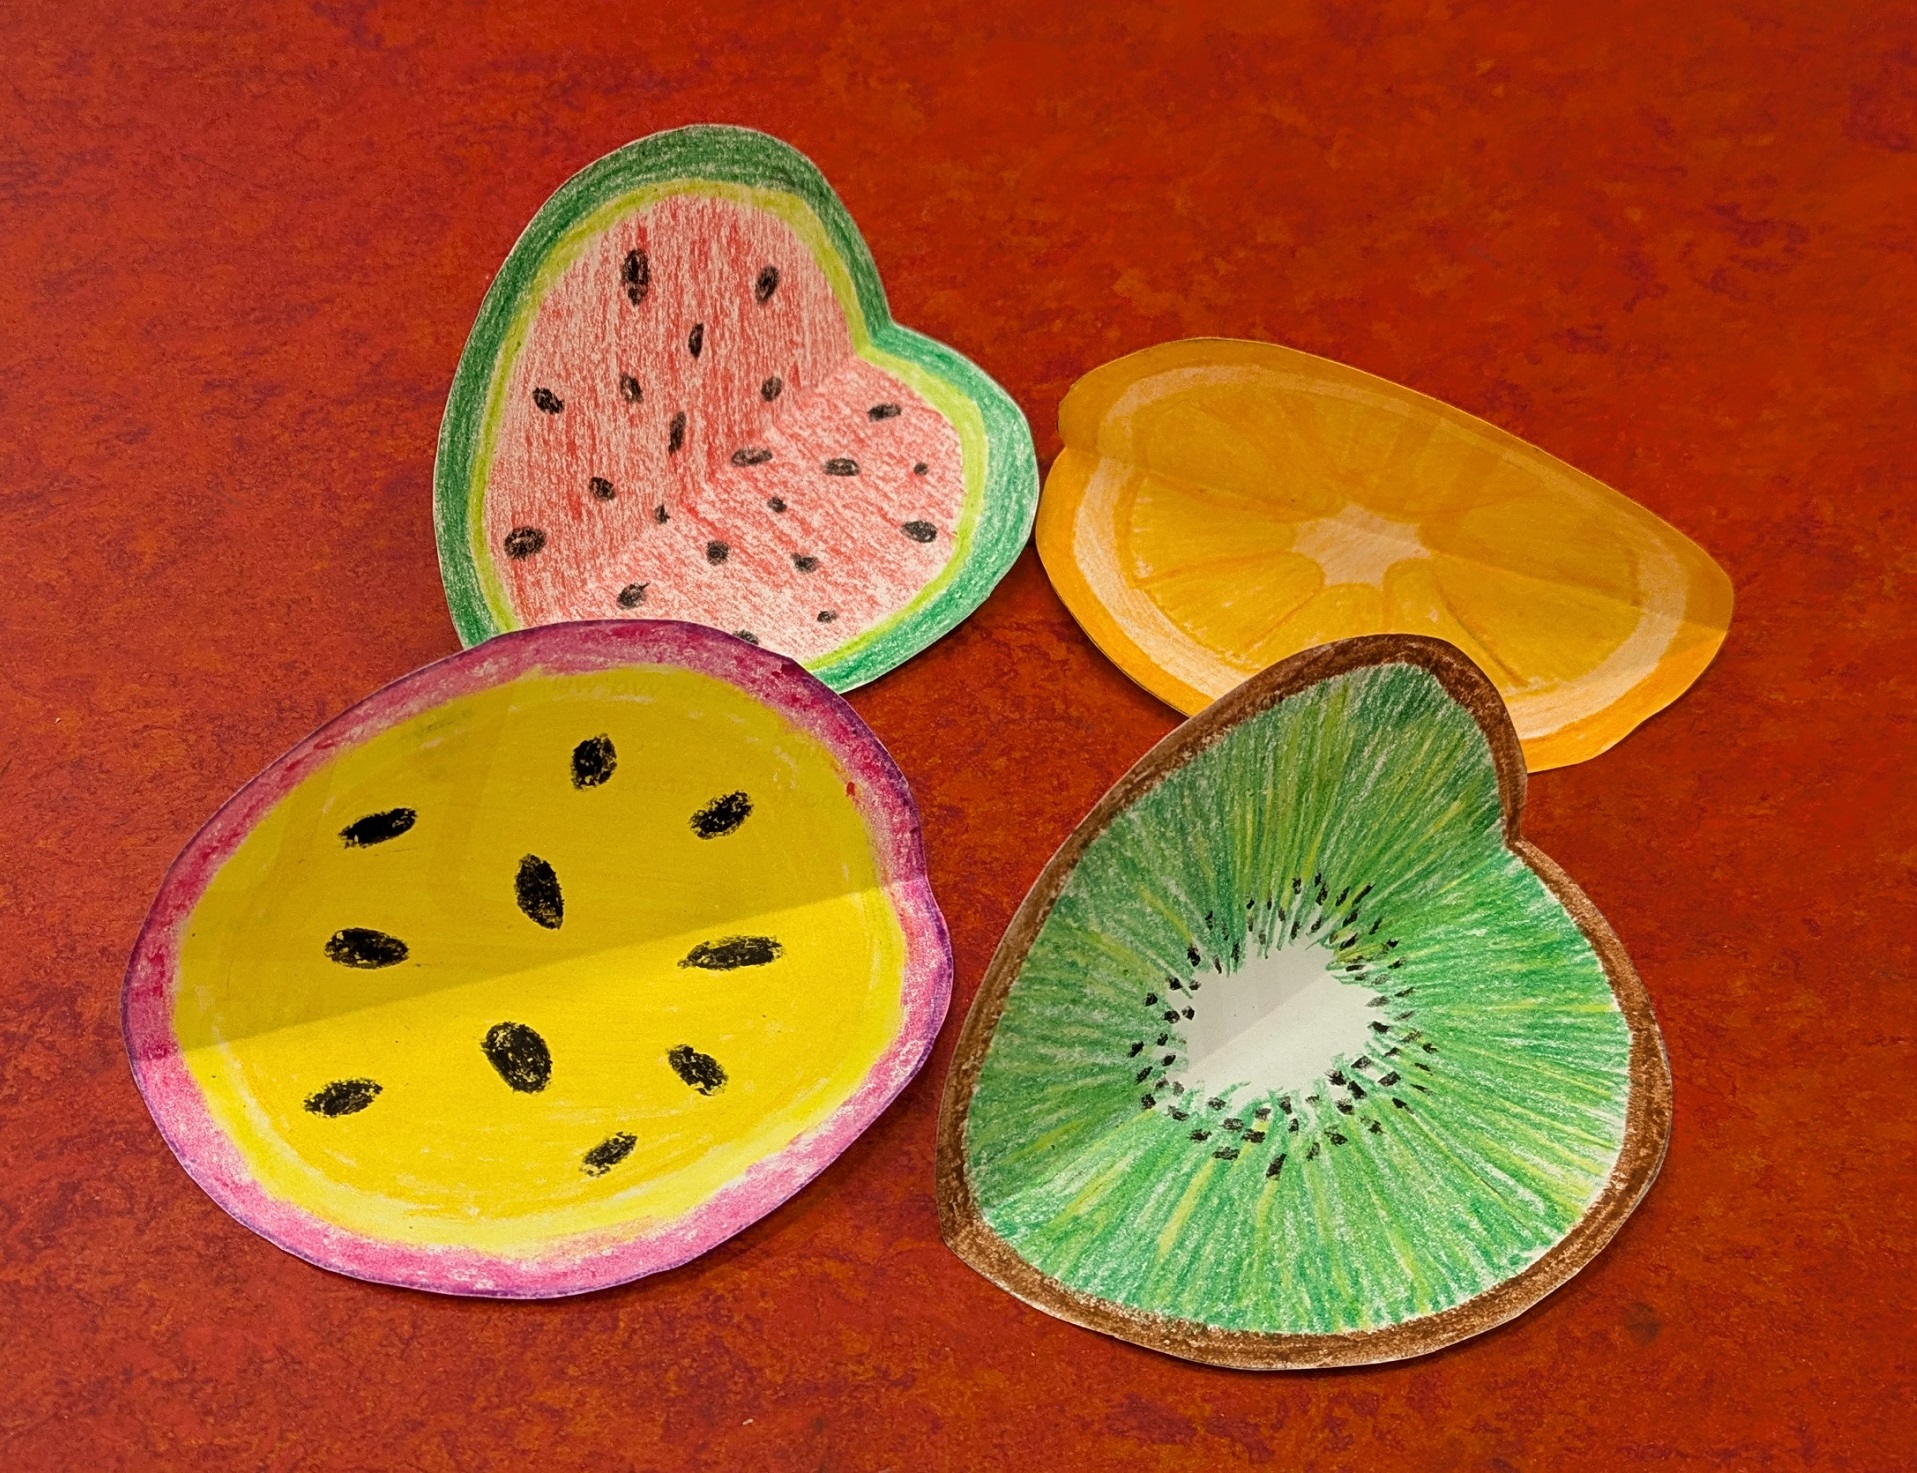
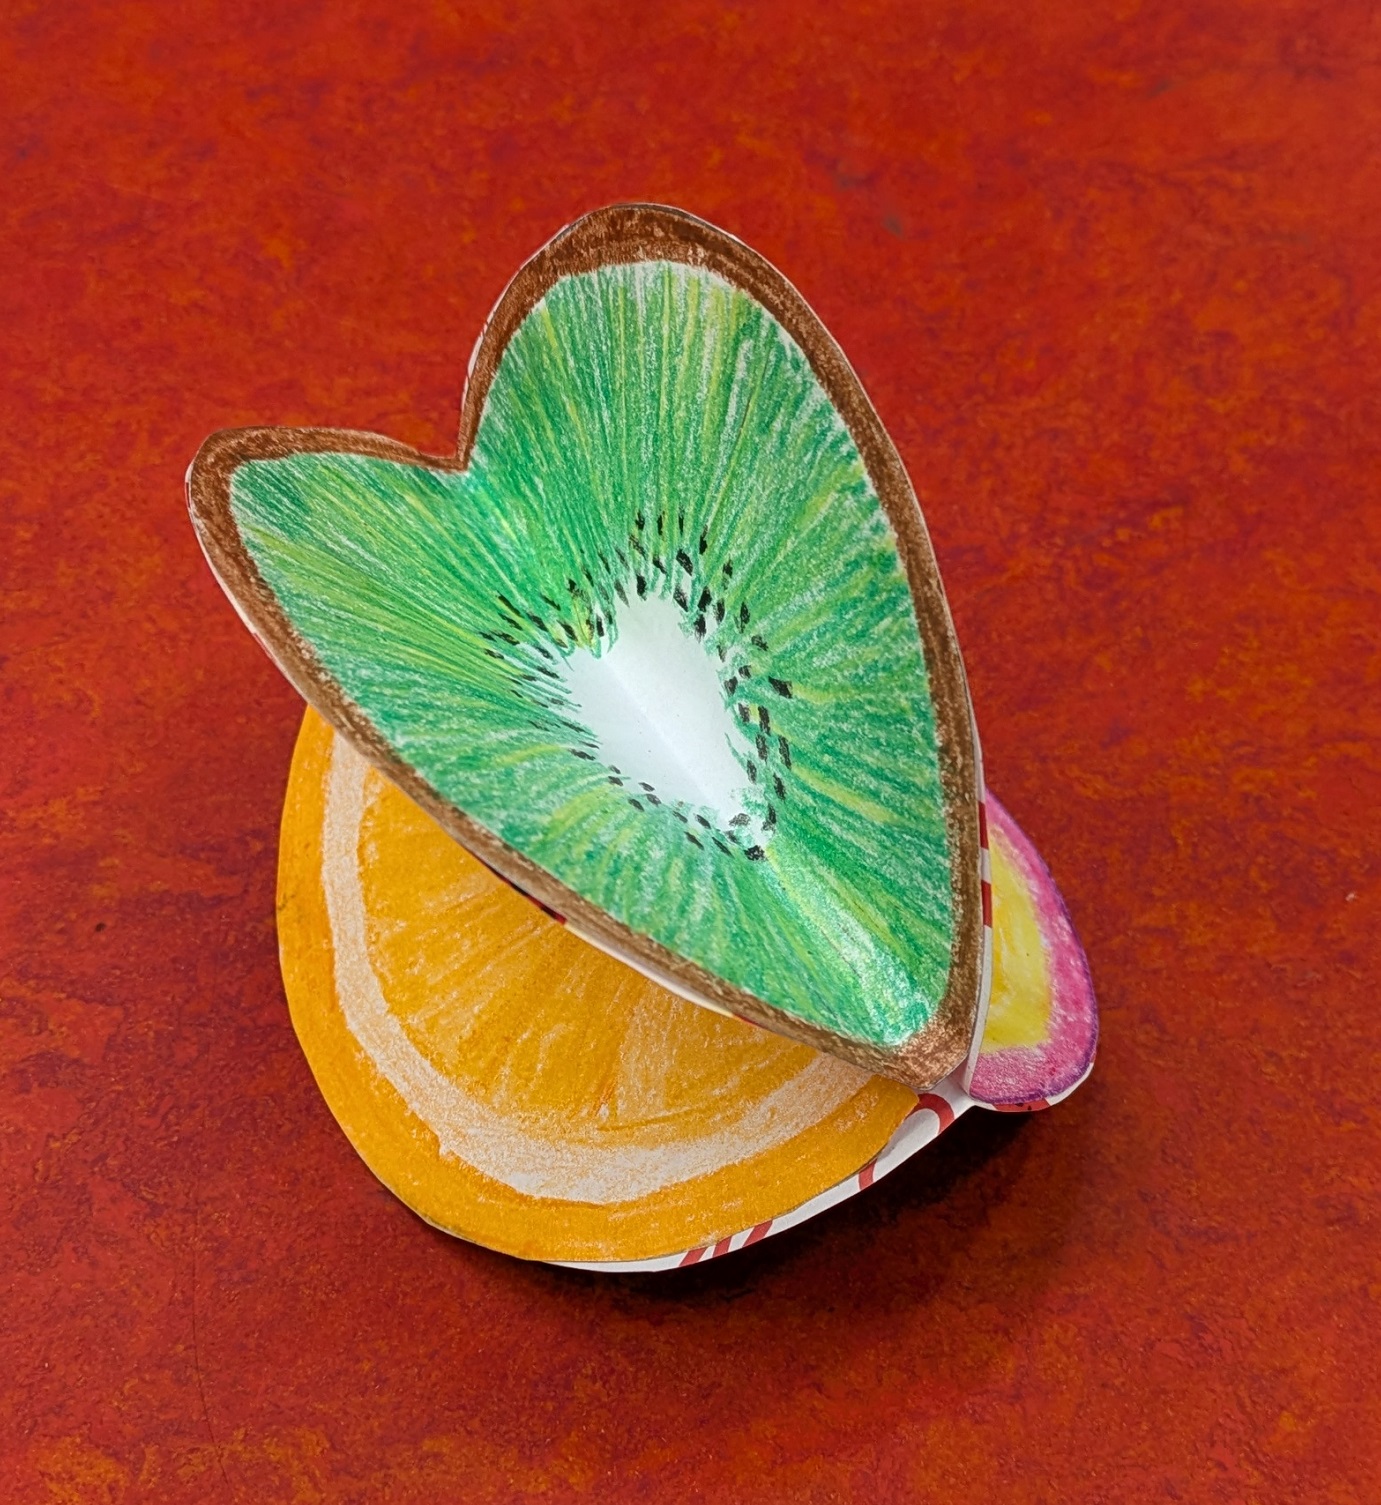
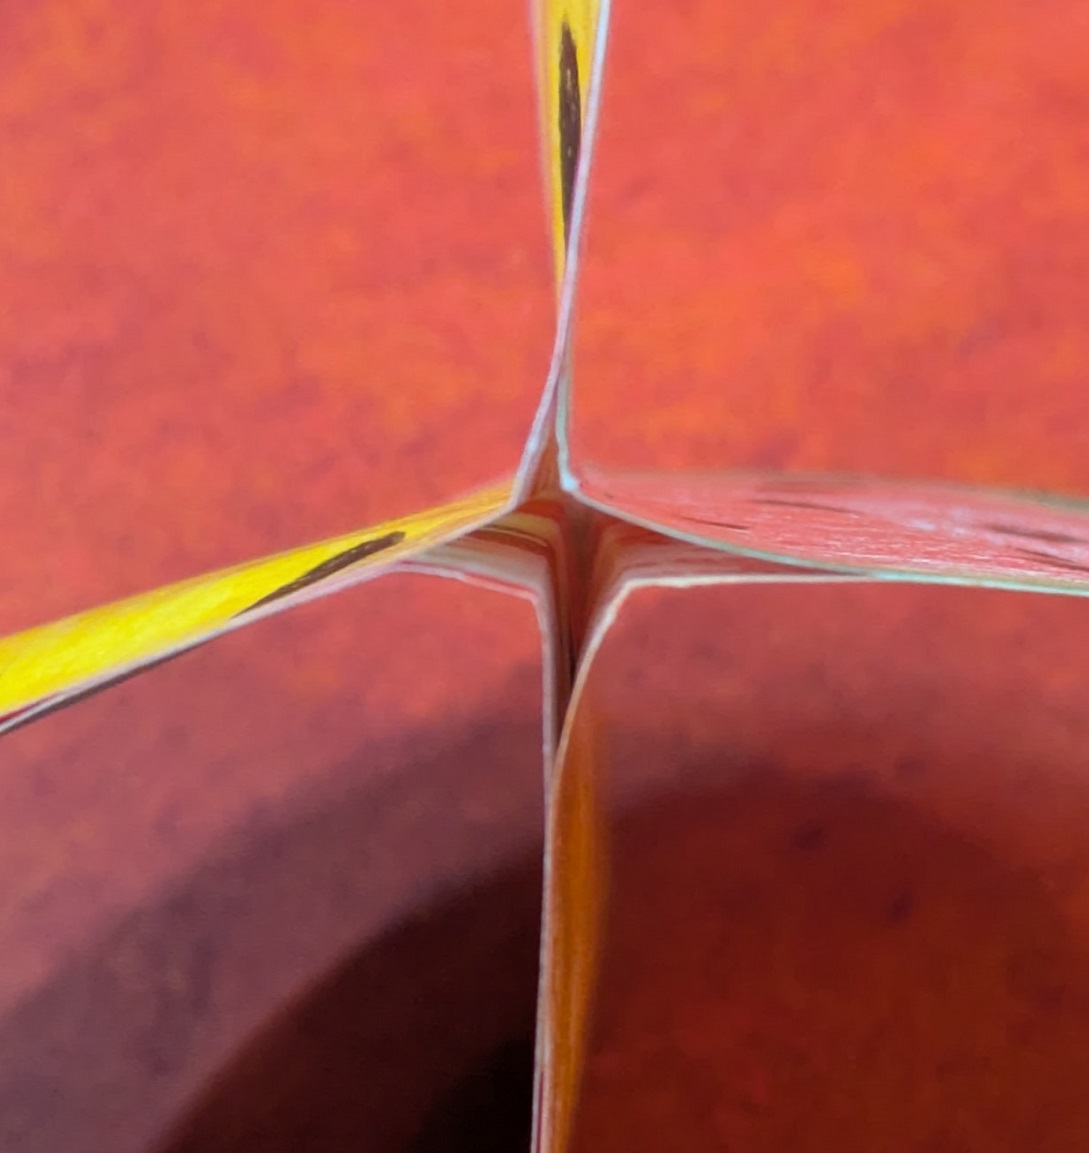
I trimmed off the overlapping sides and ensured that I didn’t fully seal one end, leaving room to apply glue and insert the string.
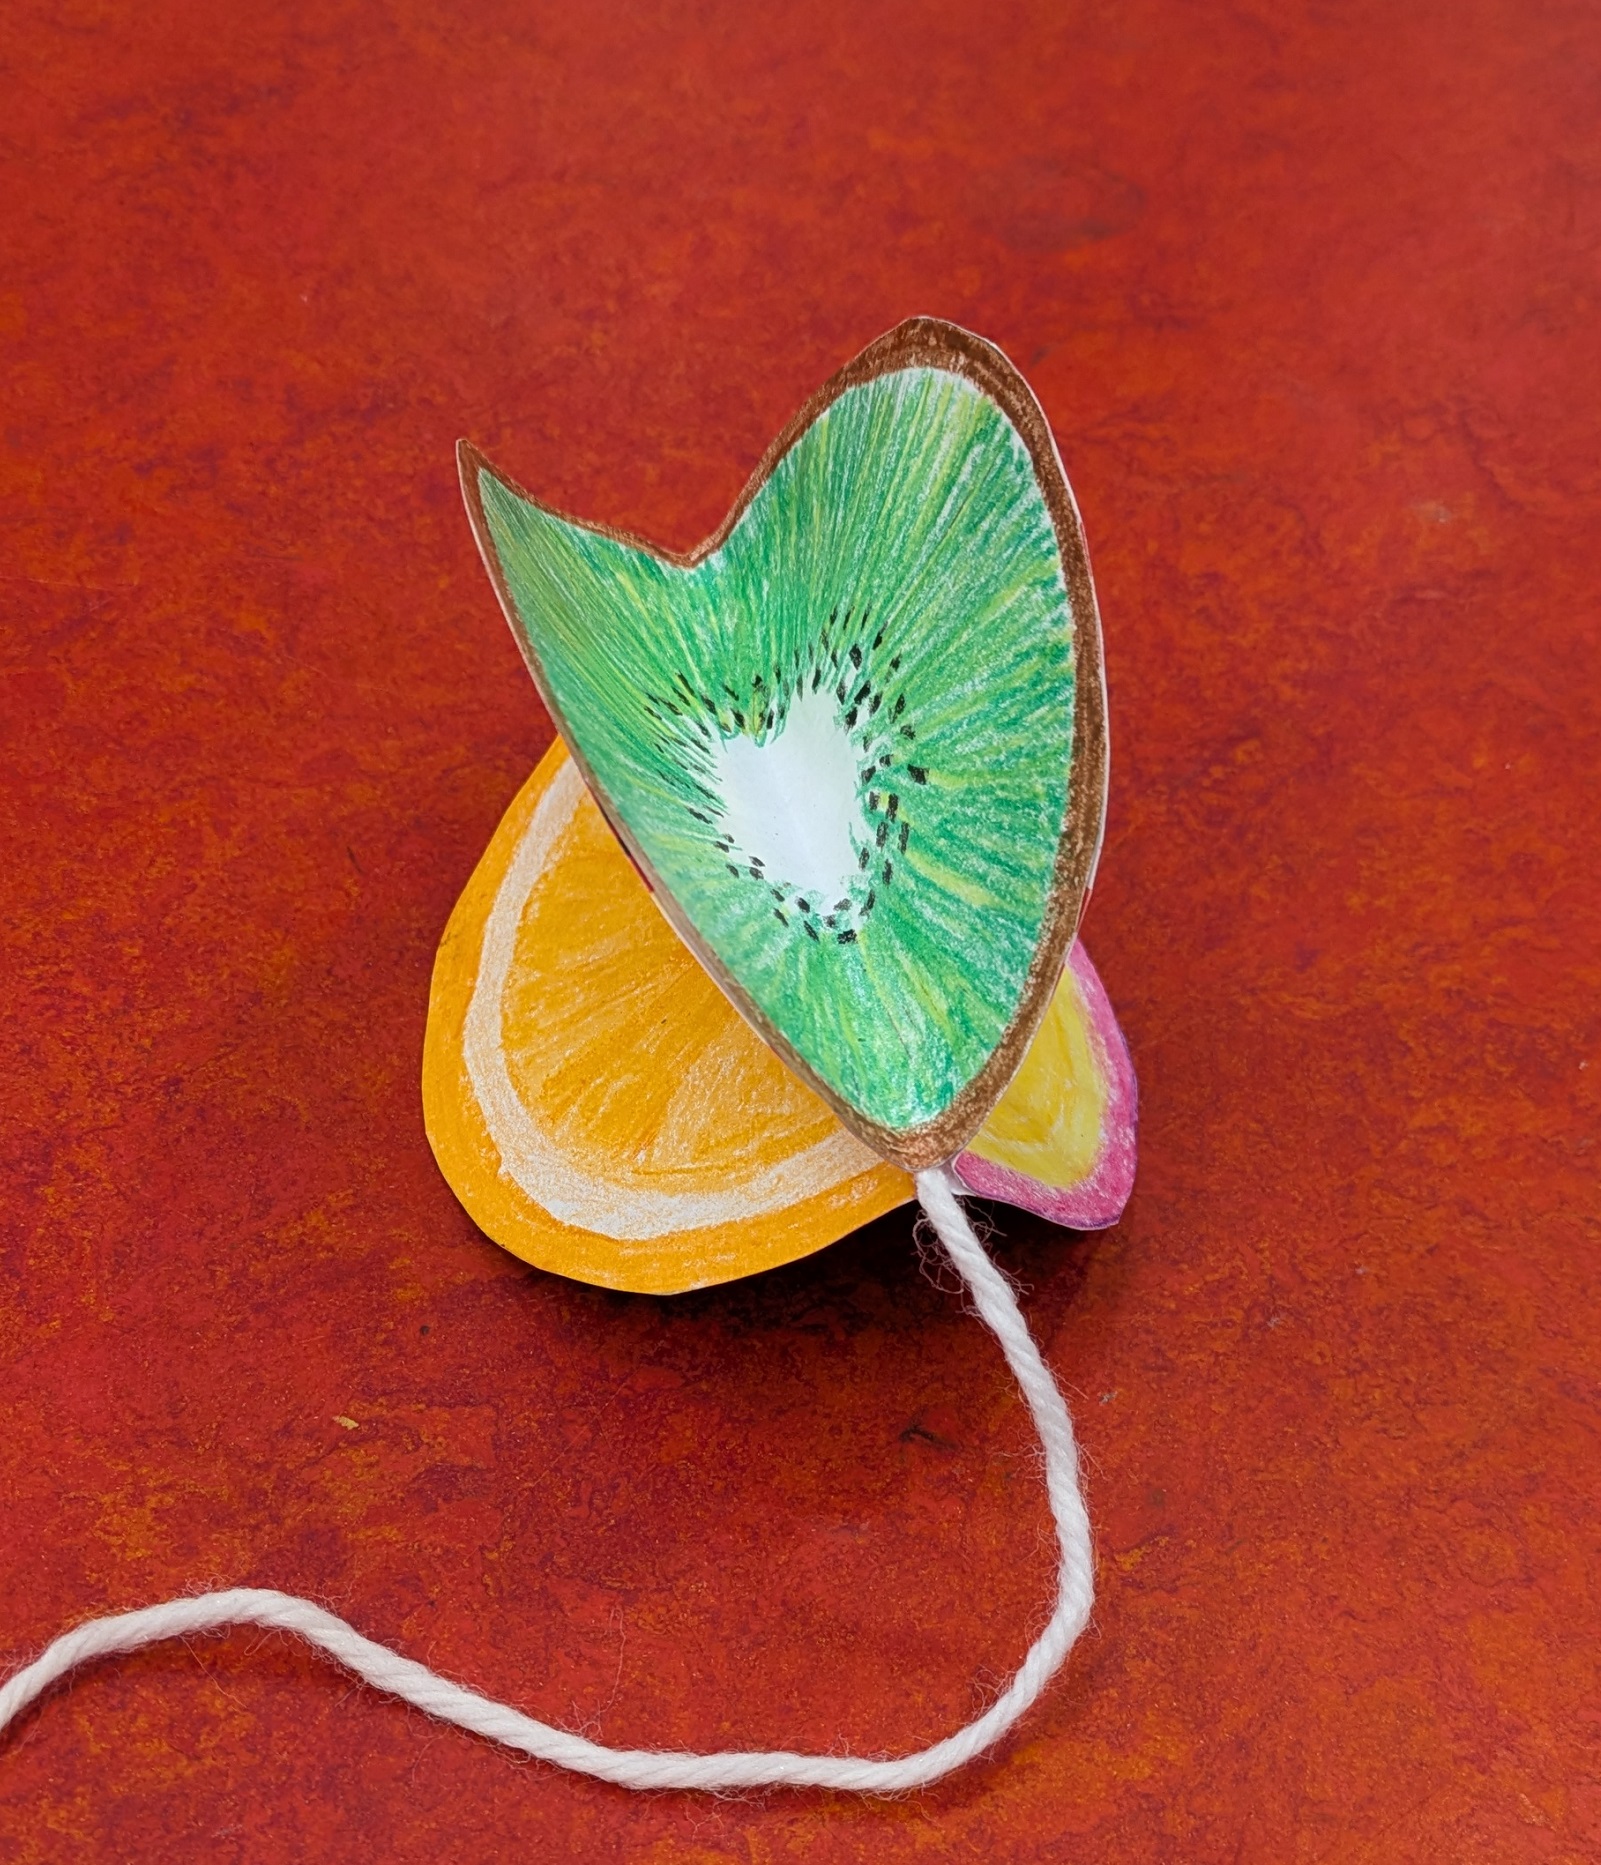
After applying the glue and pushing the string down, I held onto it for a few moments before letting it dry completely…et voilà!
Experiment with different illustrations and shapes by making the Earth’s core, a golf ball, detailed fruit or anything else your imagination comes up with. Making this craft with white paper and black ink would make a great newborn room decoration for any expectant parents in your life. You could also turn this into an art lesson by slicing up fruit and using it as a still life drawing example; then you’ll have something yummy to snack on once the activity is finished. Happy crafting!

