
Maybe there’s a birthday coming up and you want to make a decoration that can be used for years to come, or maybe you don’t need a special occasion to add a little whimsy to your décor; either way making your own pom-pom garland from yarn is a fun, kid-friendly craft that you can make with materials you might already have lying around.
For this craft, I will be using the inner piece of an embroidery hoop, but something similar can easily be substituted (more on this later). There are several other ways to make a pom pom, like using a fork.
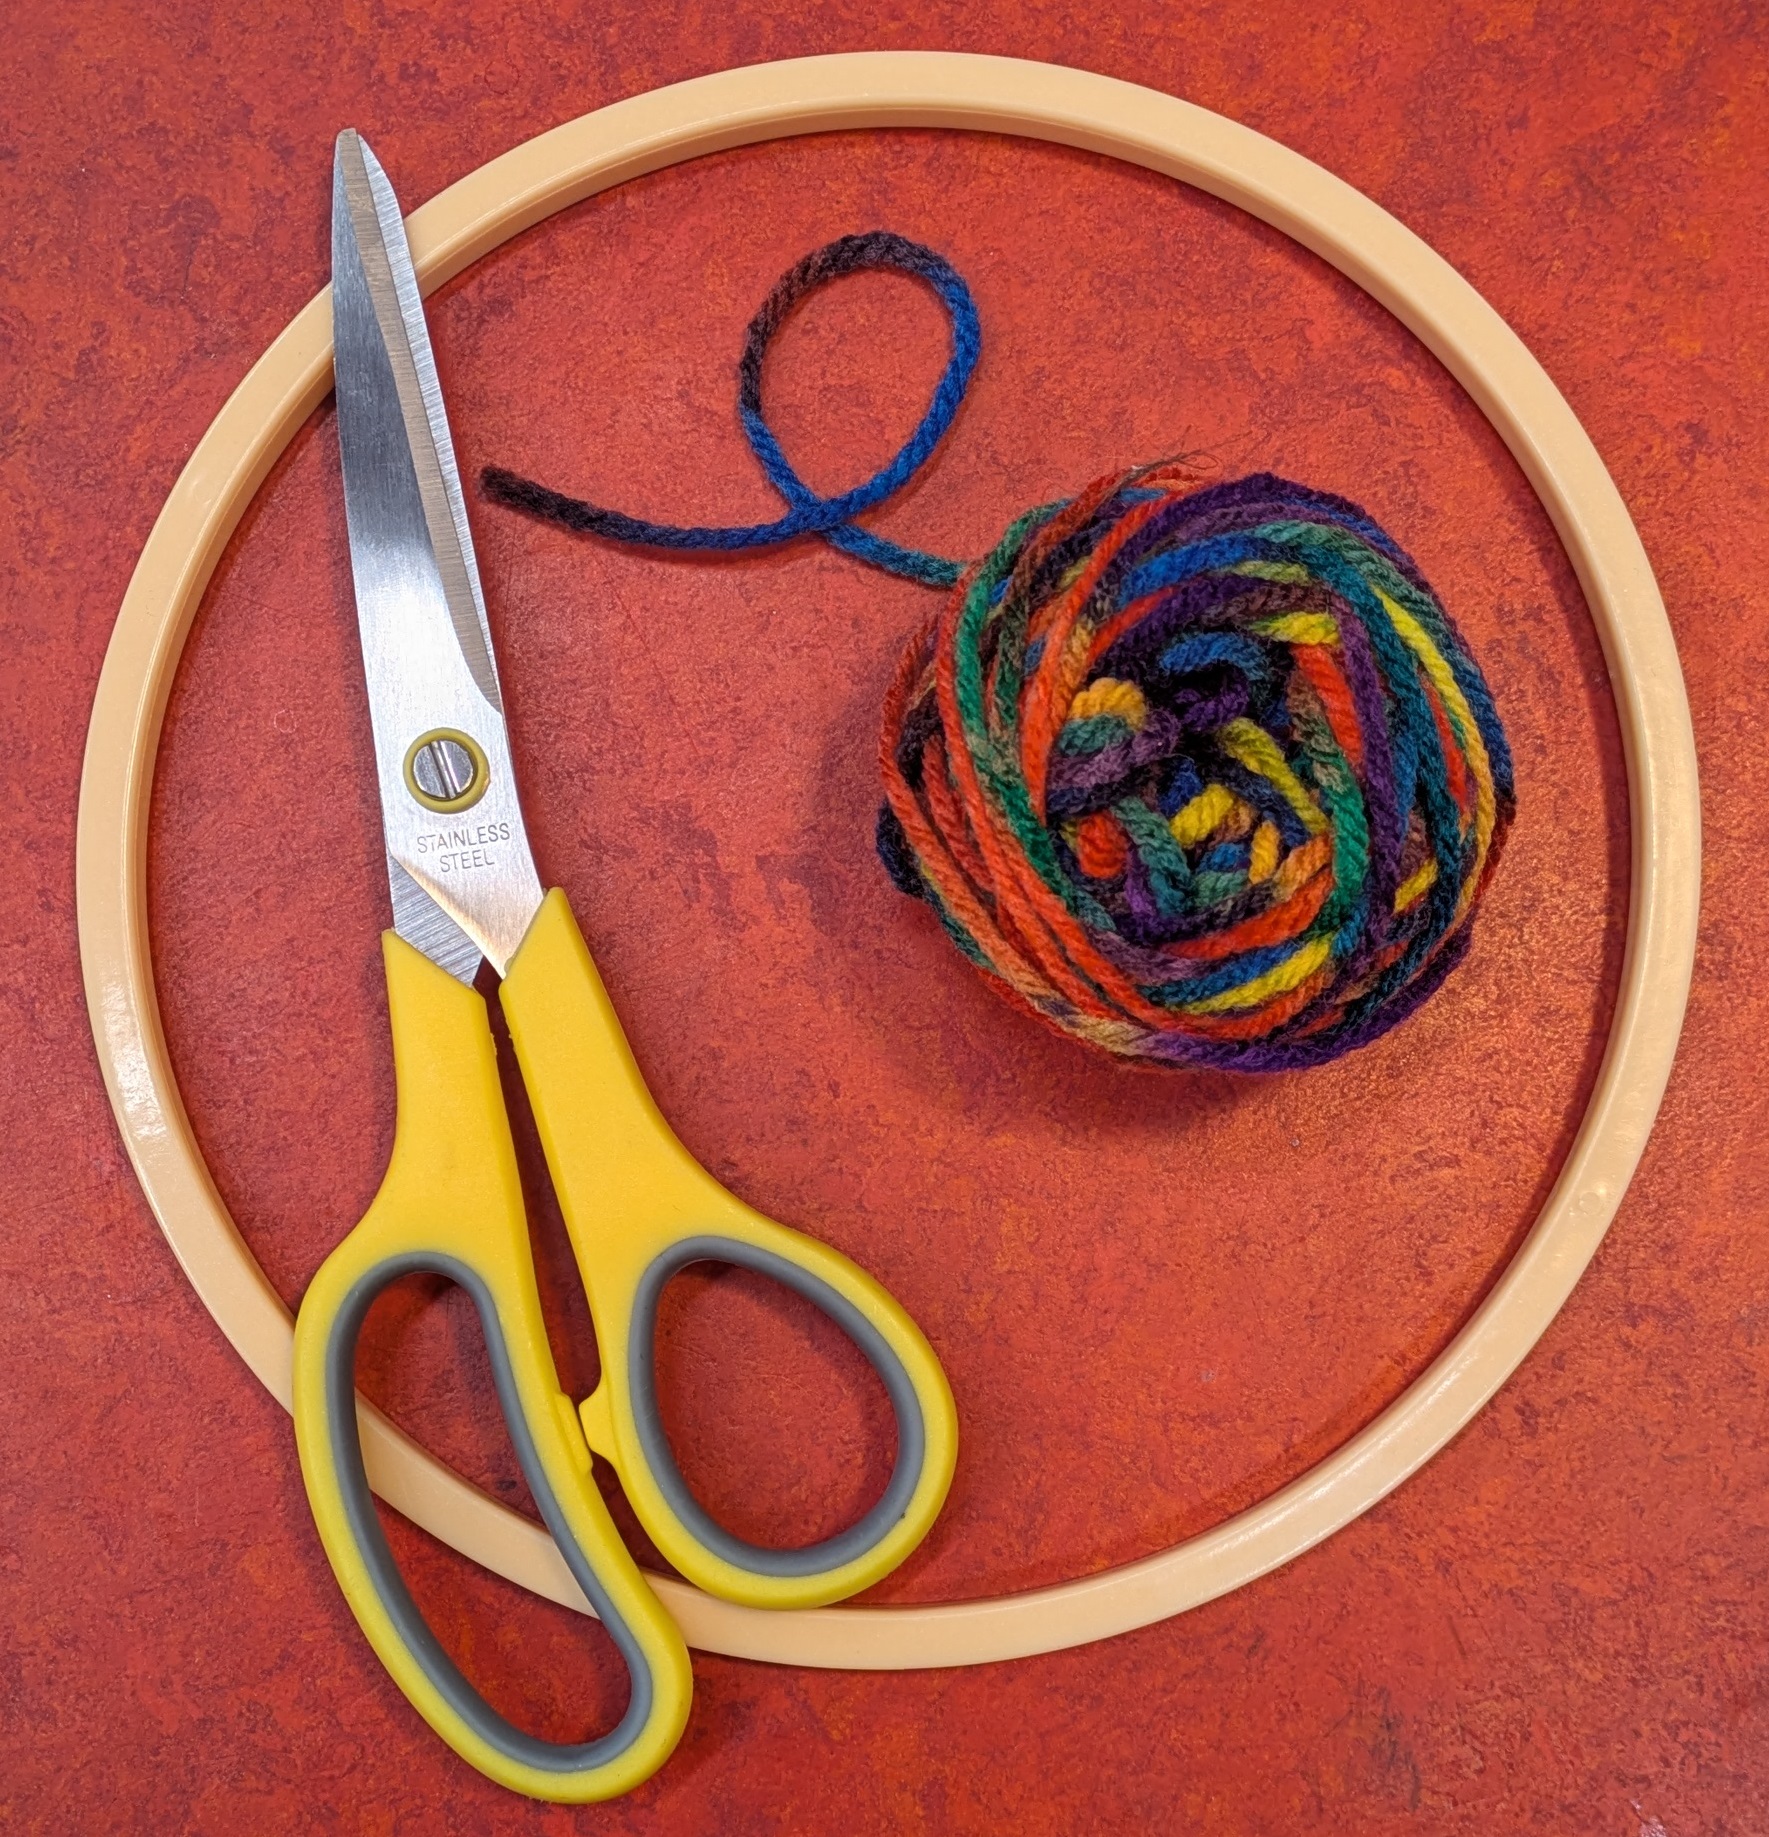
Supplies:
- yarn (lots)
- thread (a little)
- embroidery hoop or a DIY pom pom maker (store-bought is fine)
- scissors
- some patience
Pom-poms can be made in any size; I will be making medium sized ones because my embroidery hoop is about 7 inches wide, but using something smaller or bigger would also work. Start by wrapping yarn up and down around the hoop about 20 times. You could also experiment with wrapping it fewer or more times to see if you like one better. The thicker your yarn is, the fewer times you will need to wrap it around the hoop to make a fluffy pom-pom.
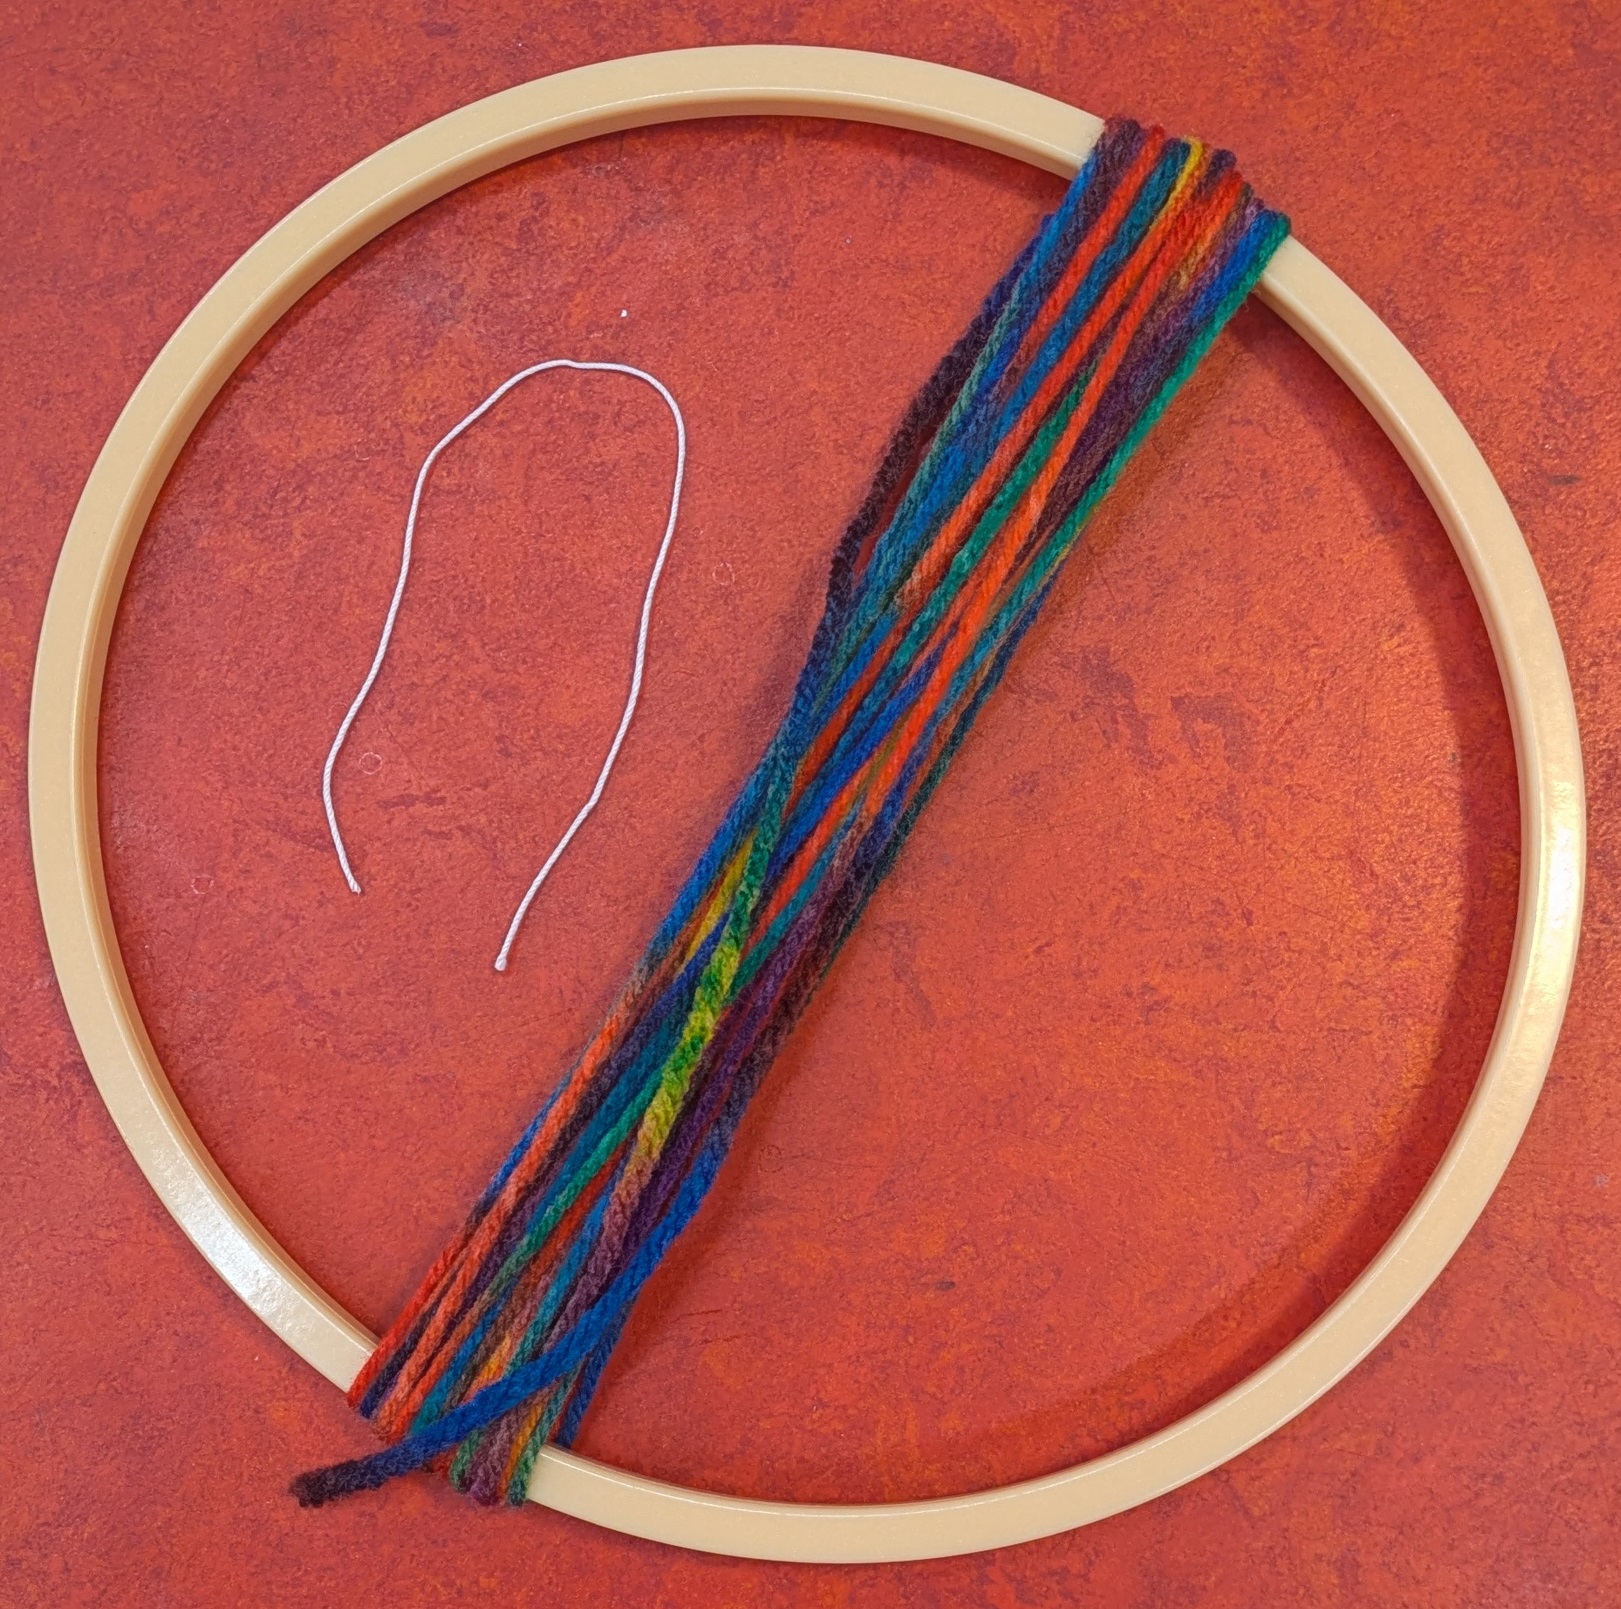
Next, wrap the thread around the middle section several times before tying a tight knot with the string and snipping off the excess; using a short piece of yarn also works.
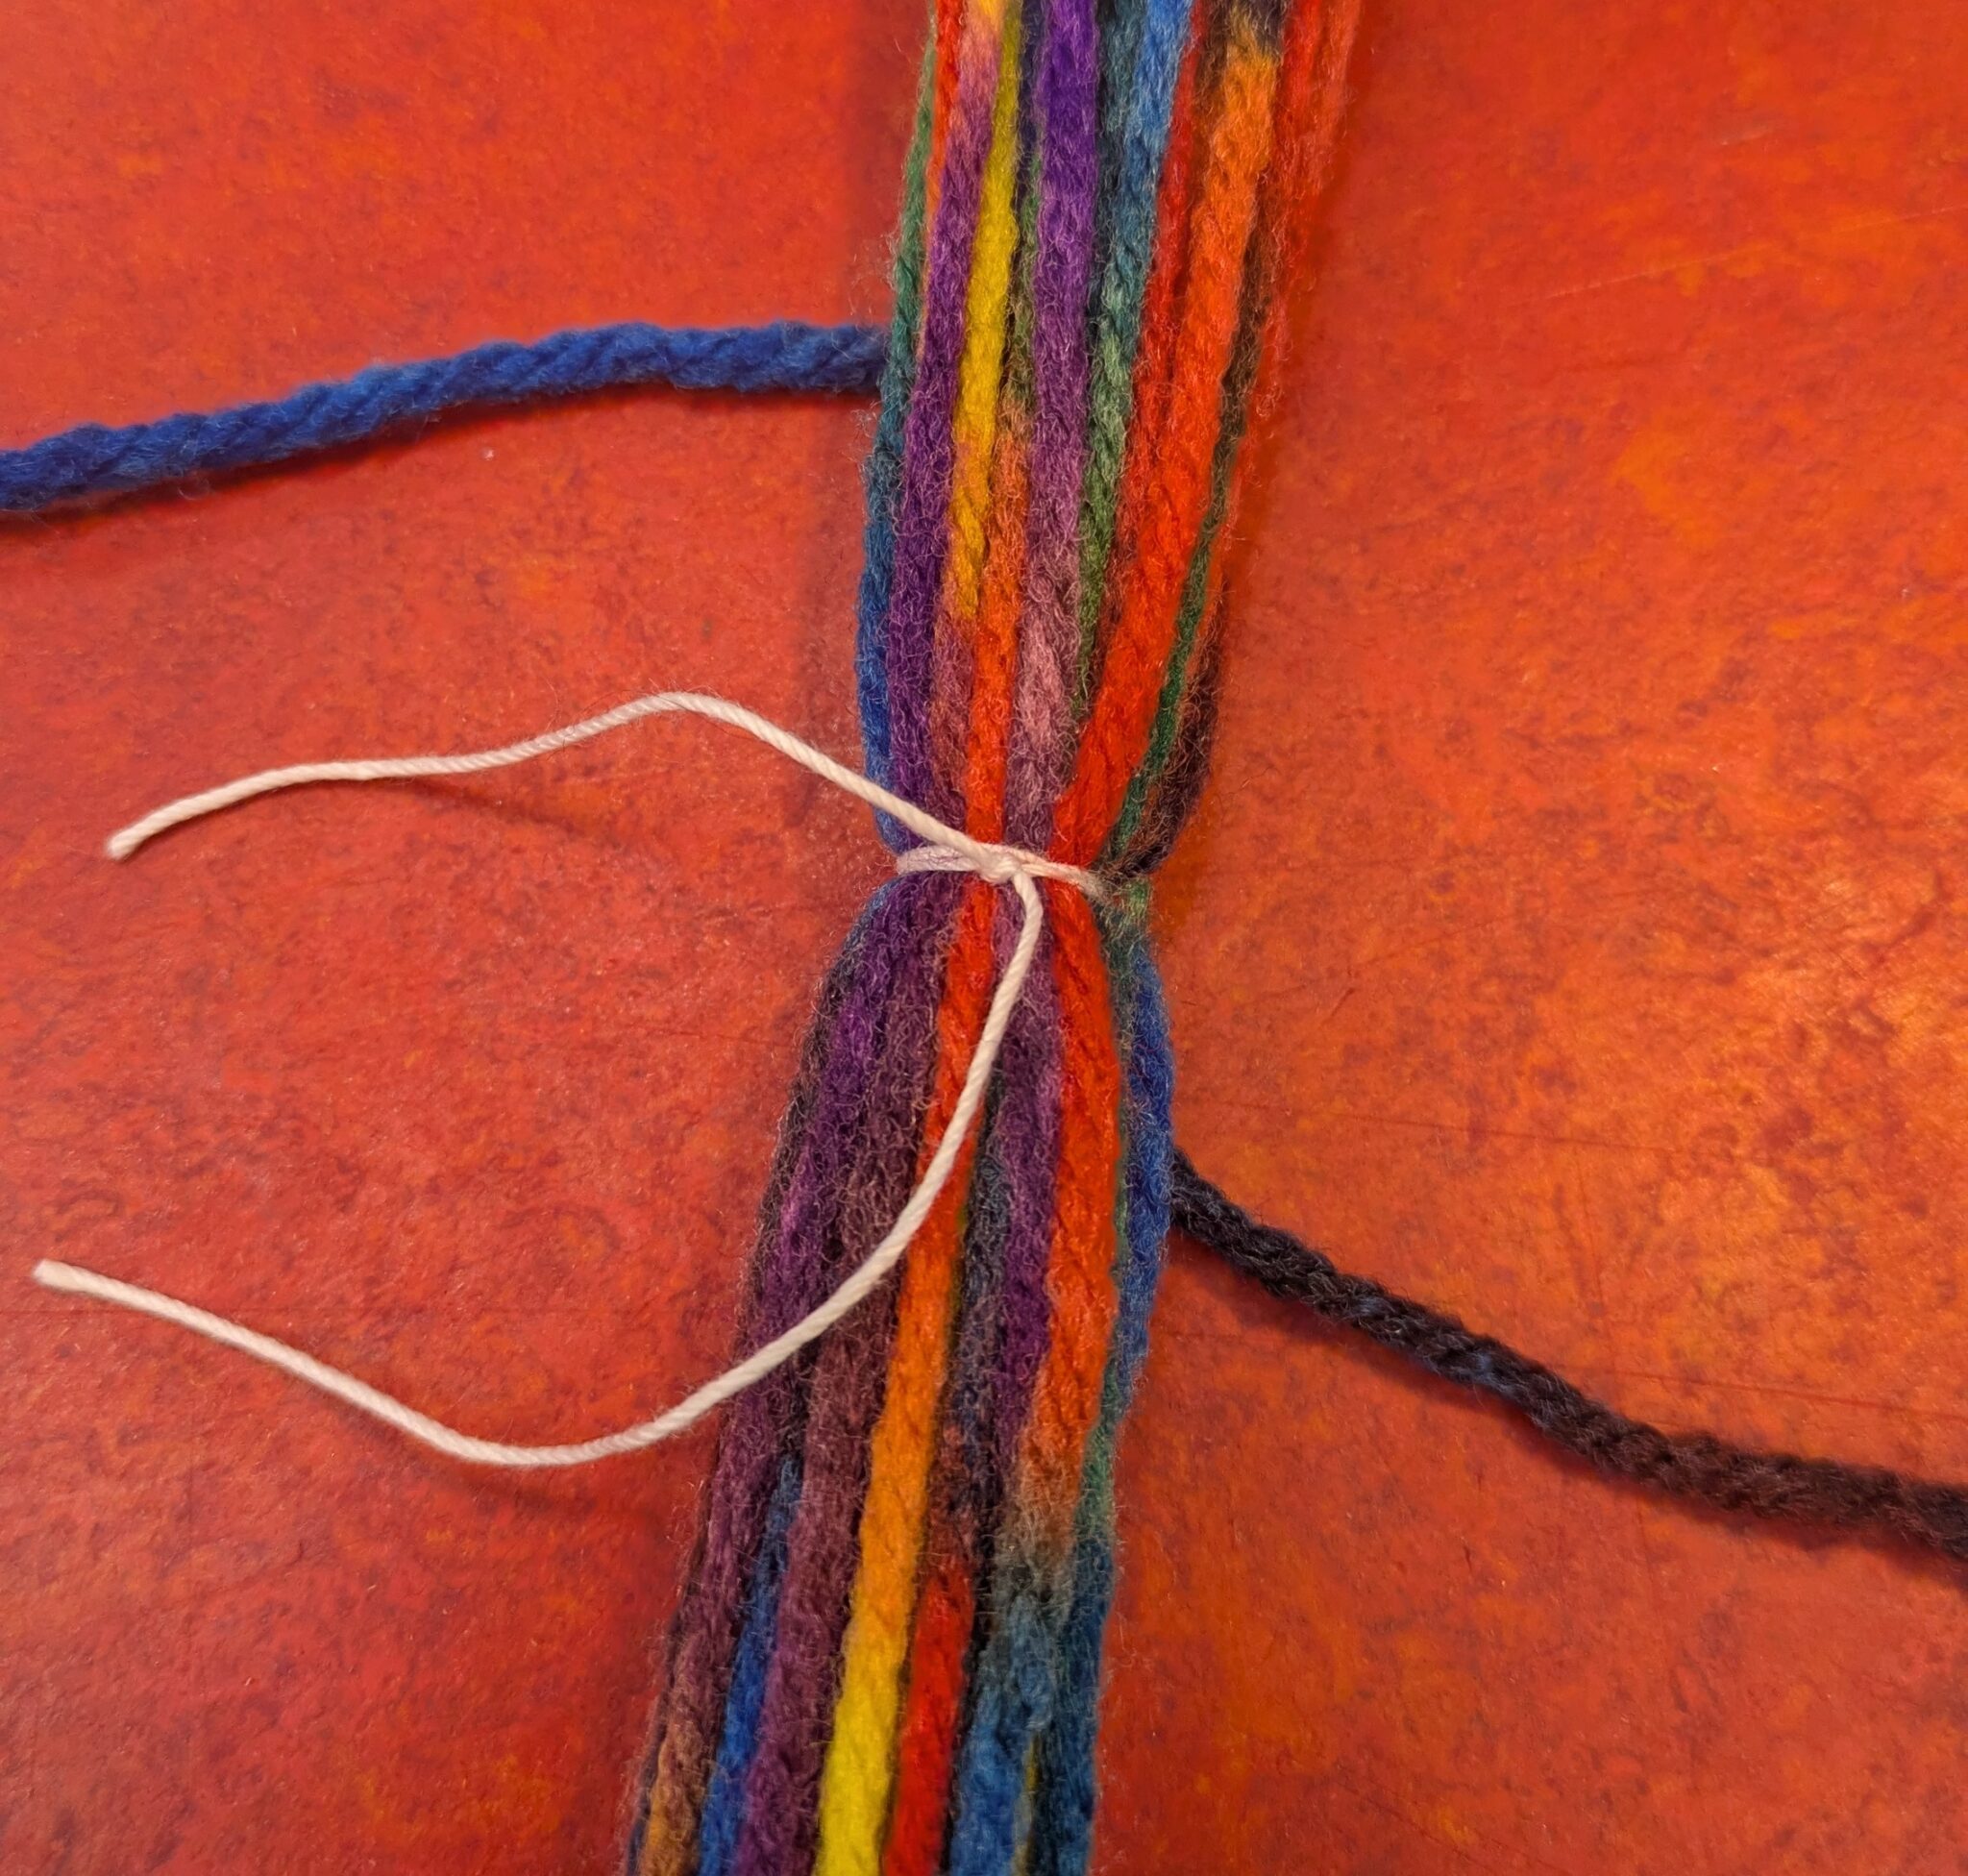
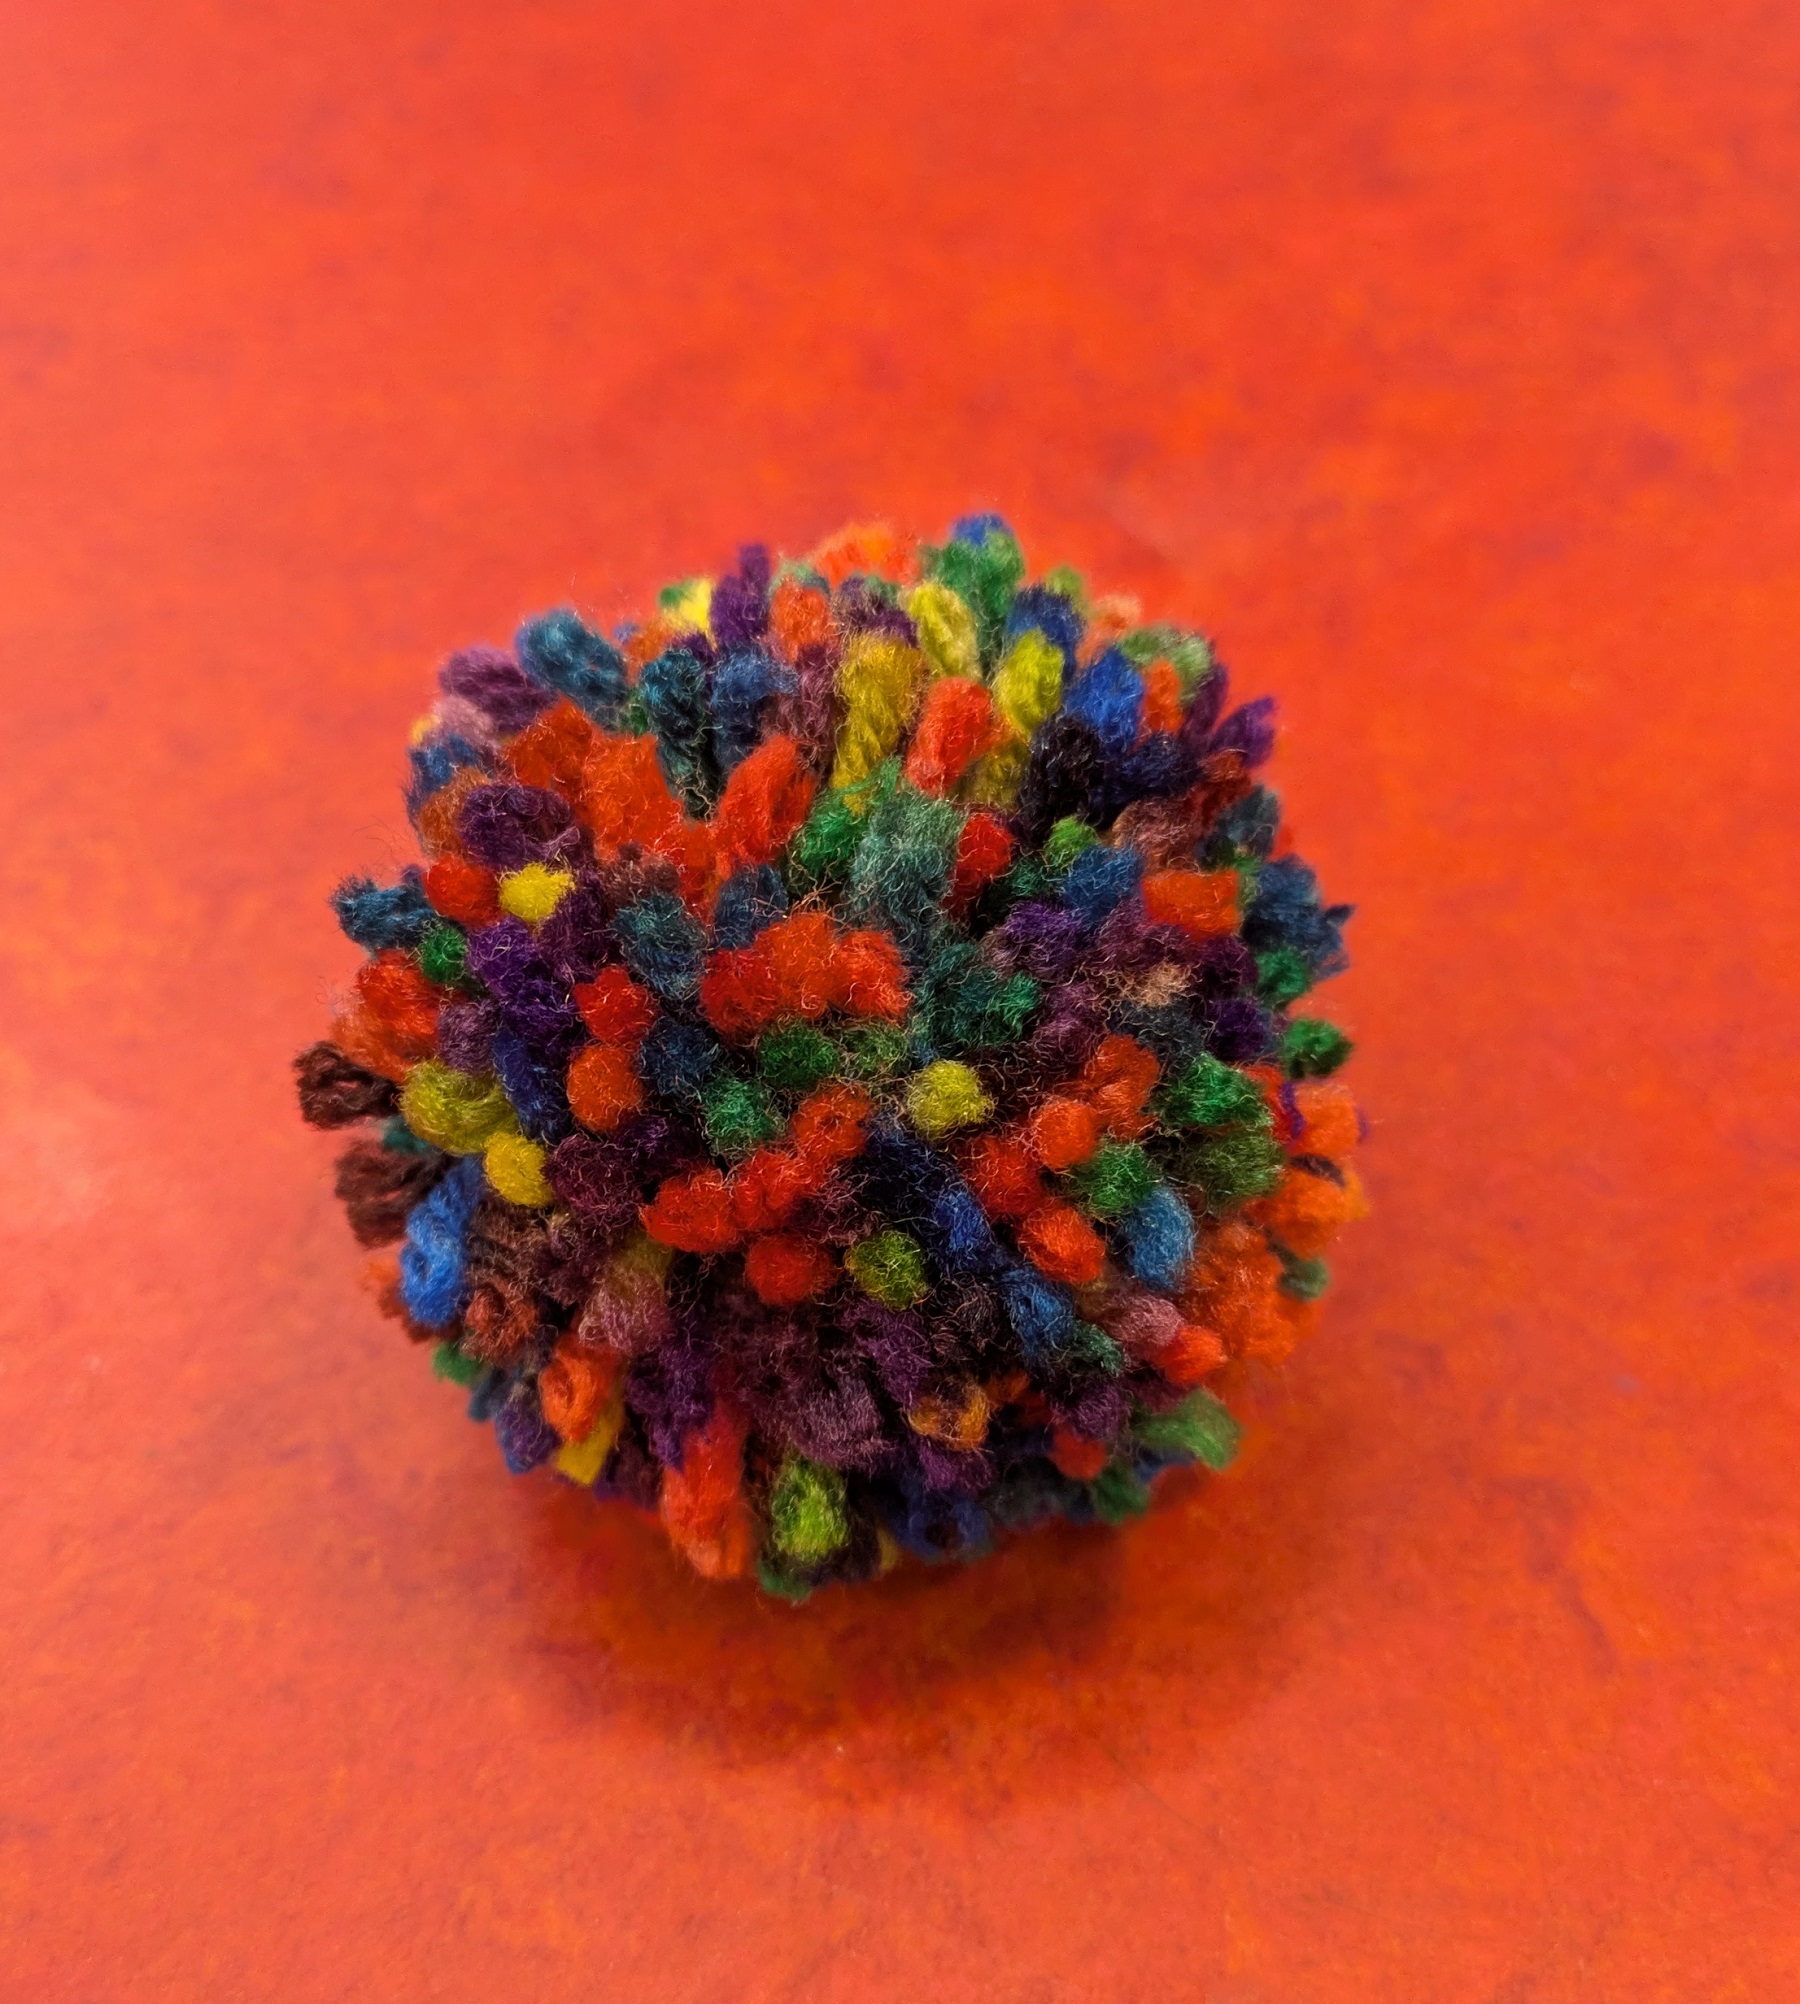
Now cut the top and bottom off the hoop, then fluff and trim the pom-pom until it reaches your desired shape.

The blog post above was written before my coworker introduced me to the wonderful invention of a pom pom maker. Below will be my results from using that, and I will also show you how to make one of your own out of cardboard. I do recommend doing it this way because they will turn out a lot fluffier and rounder than from my previous method; the embroidery hoop ones are cute, but lean more towards the look of a starburst rather than pom-poms.
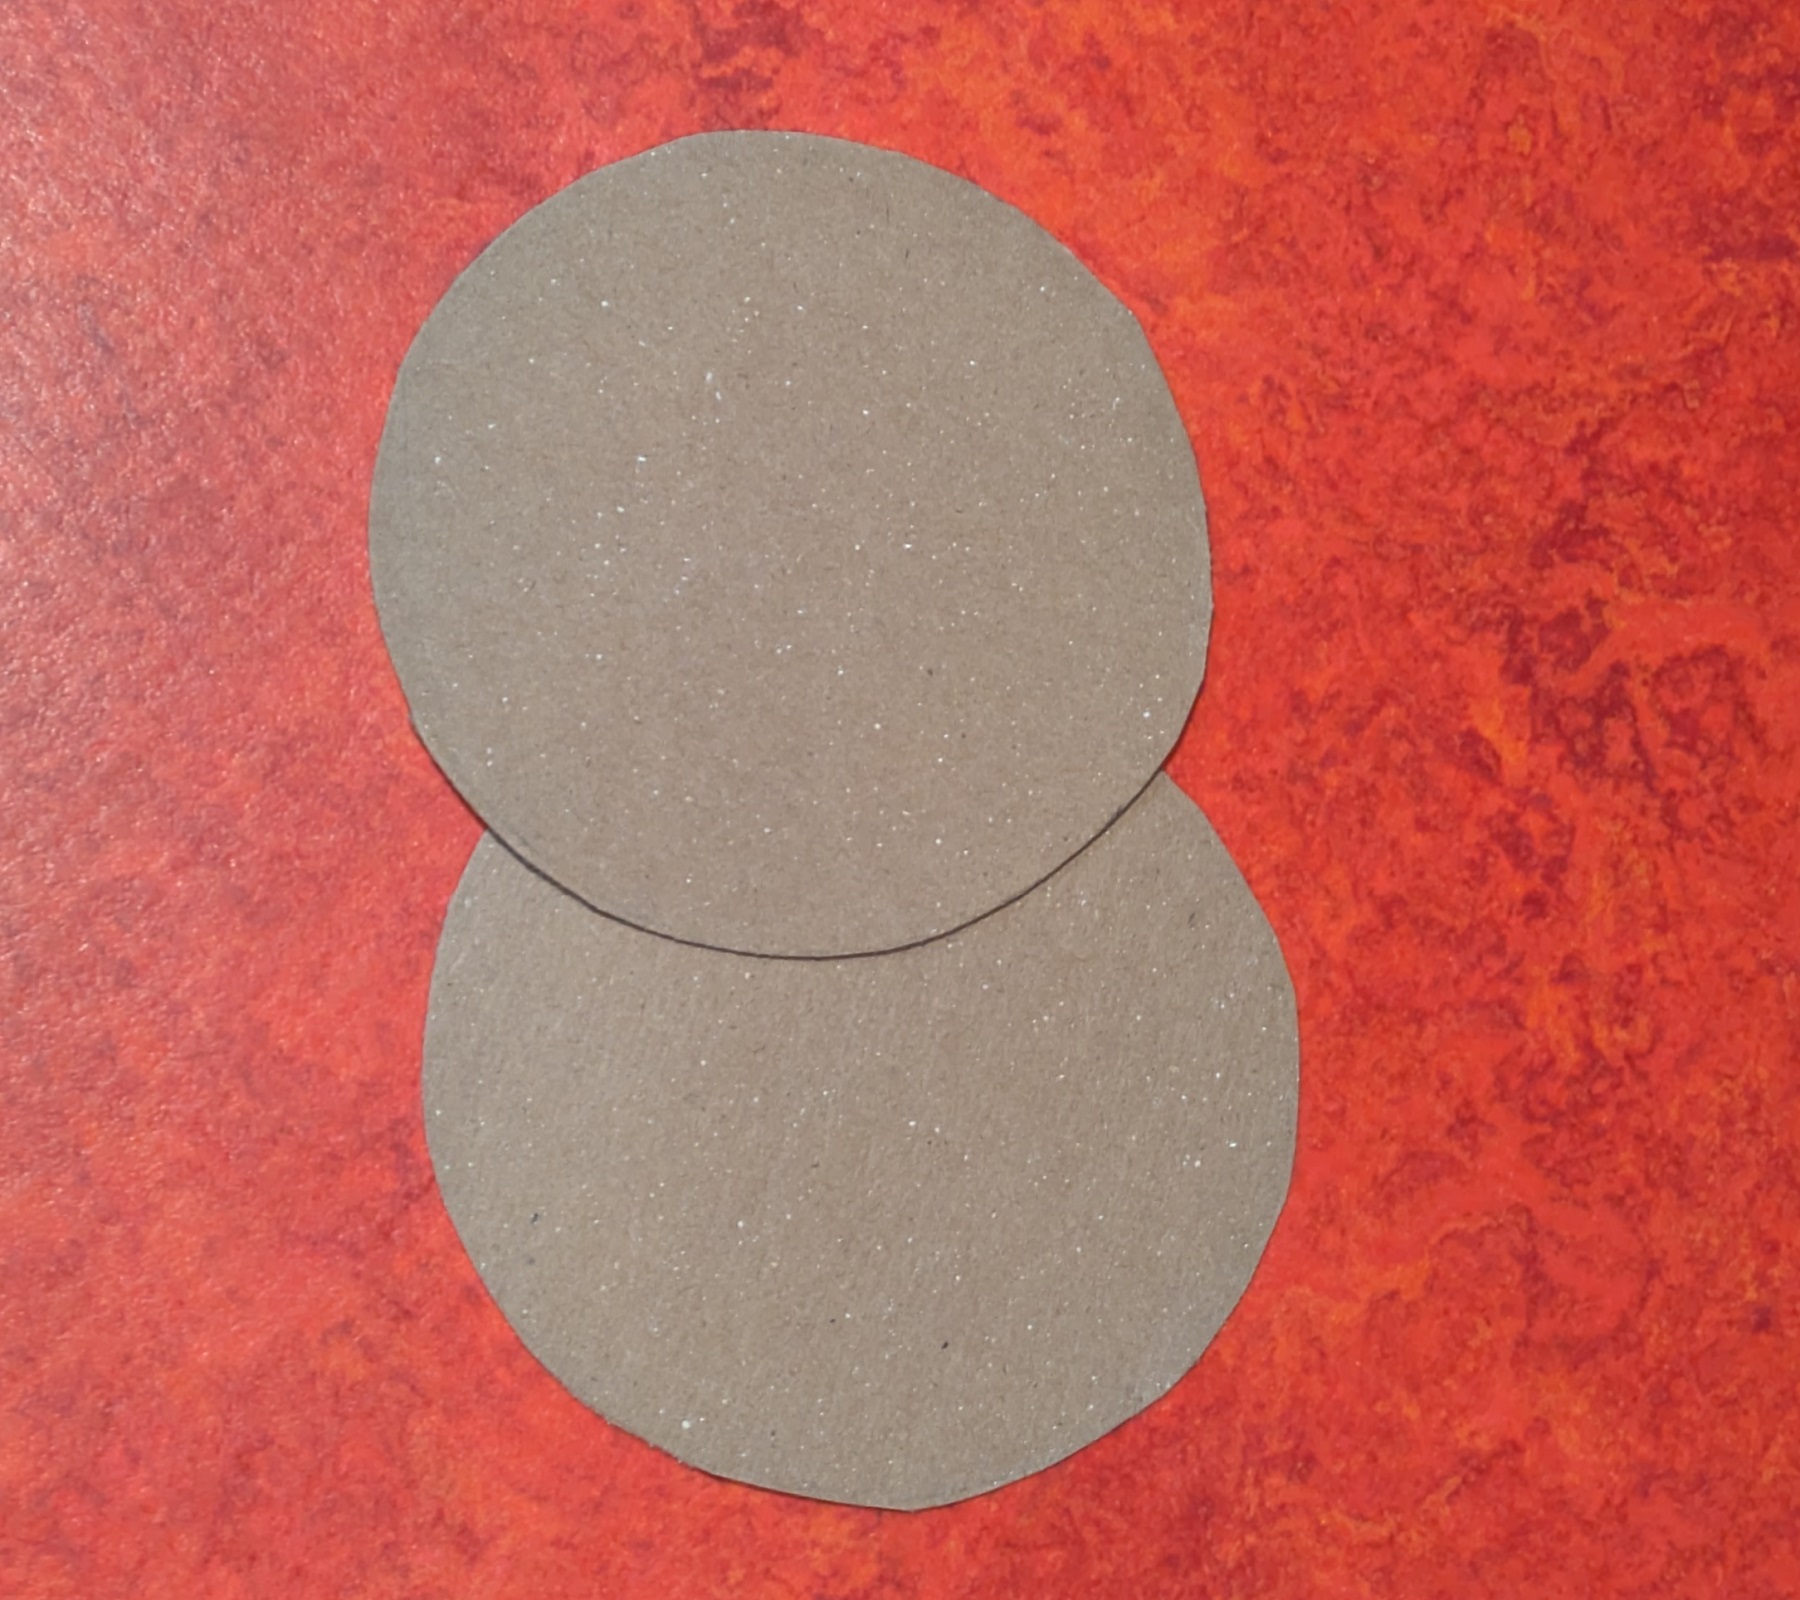
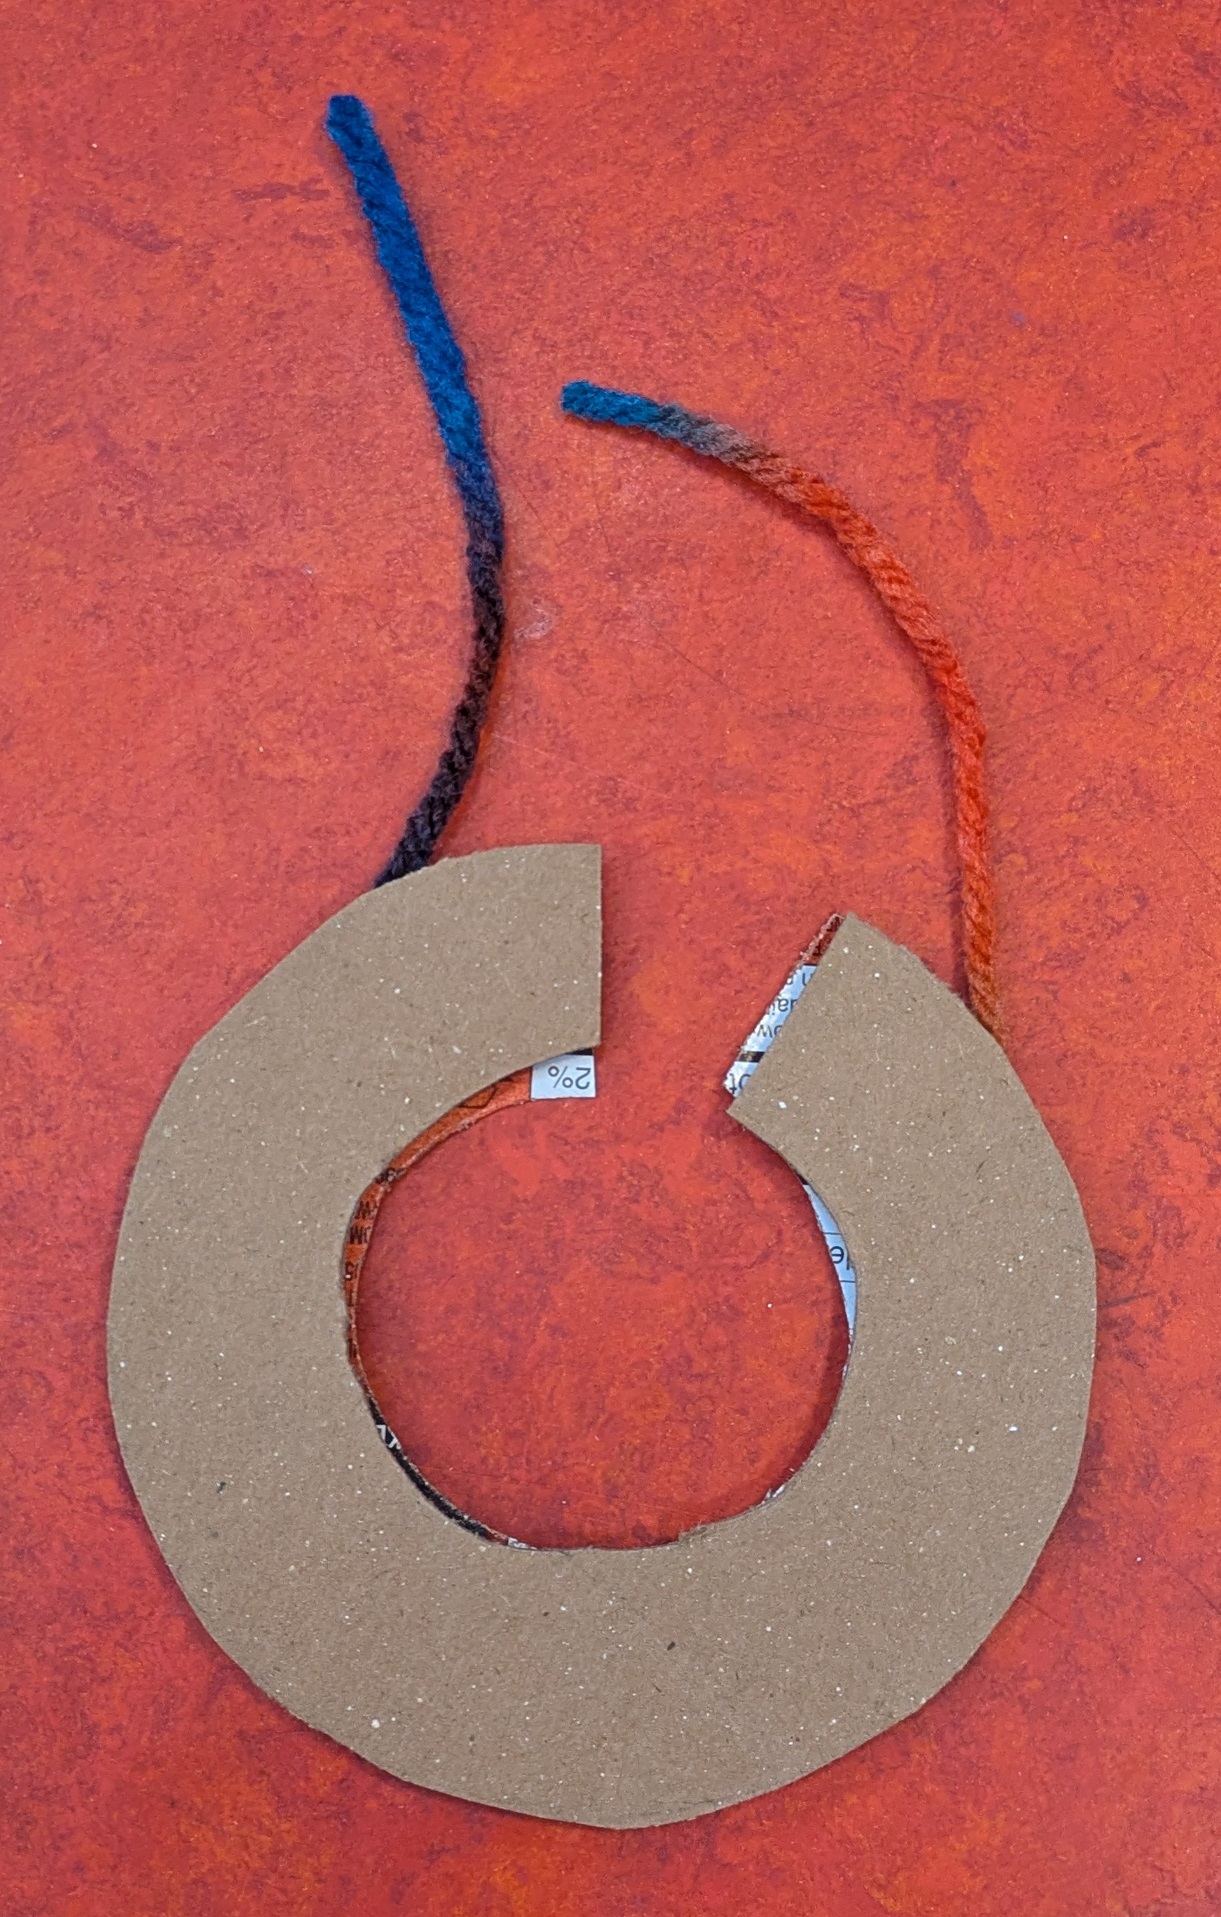
Once you source some cardboard, you’ll need to cut out two circles, mine are about 3.5 inches in diameter.
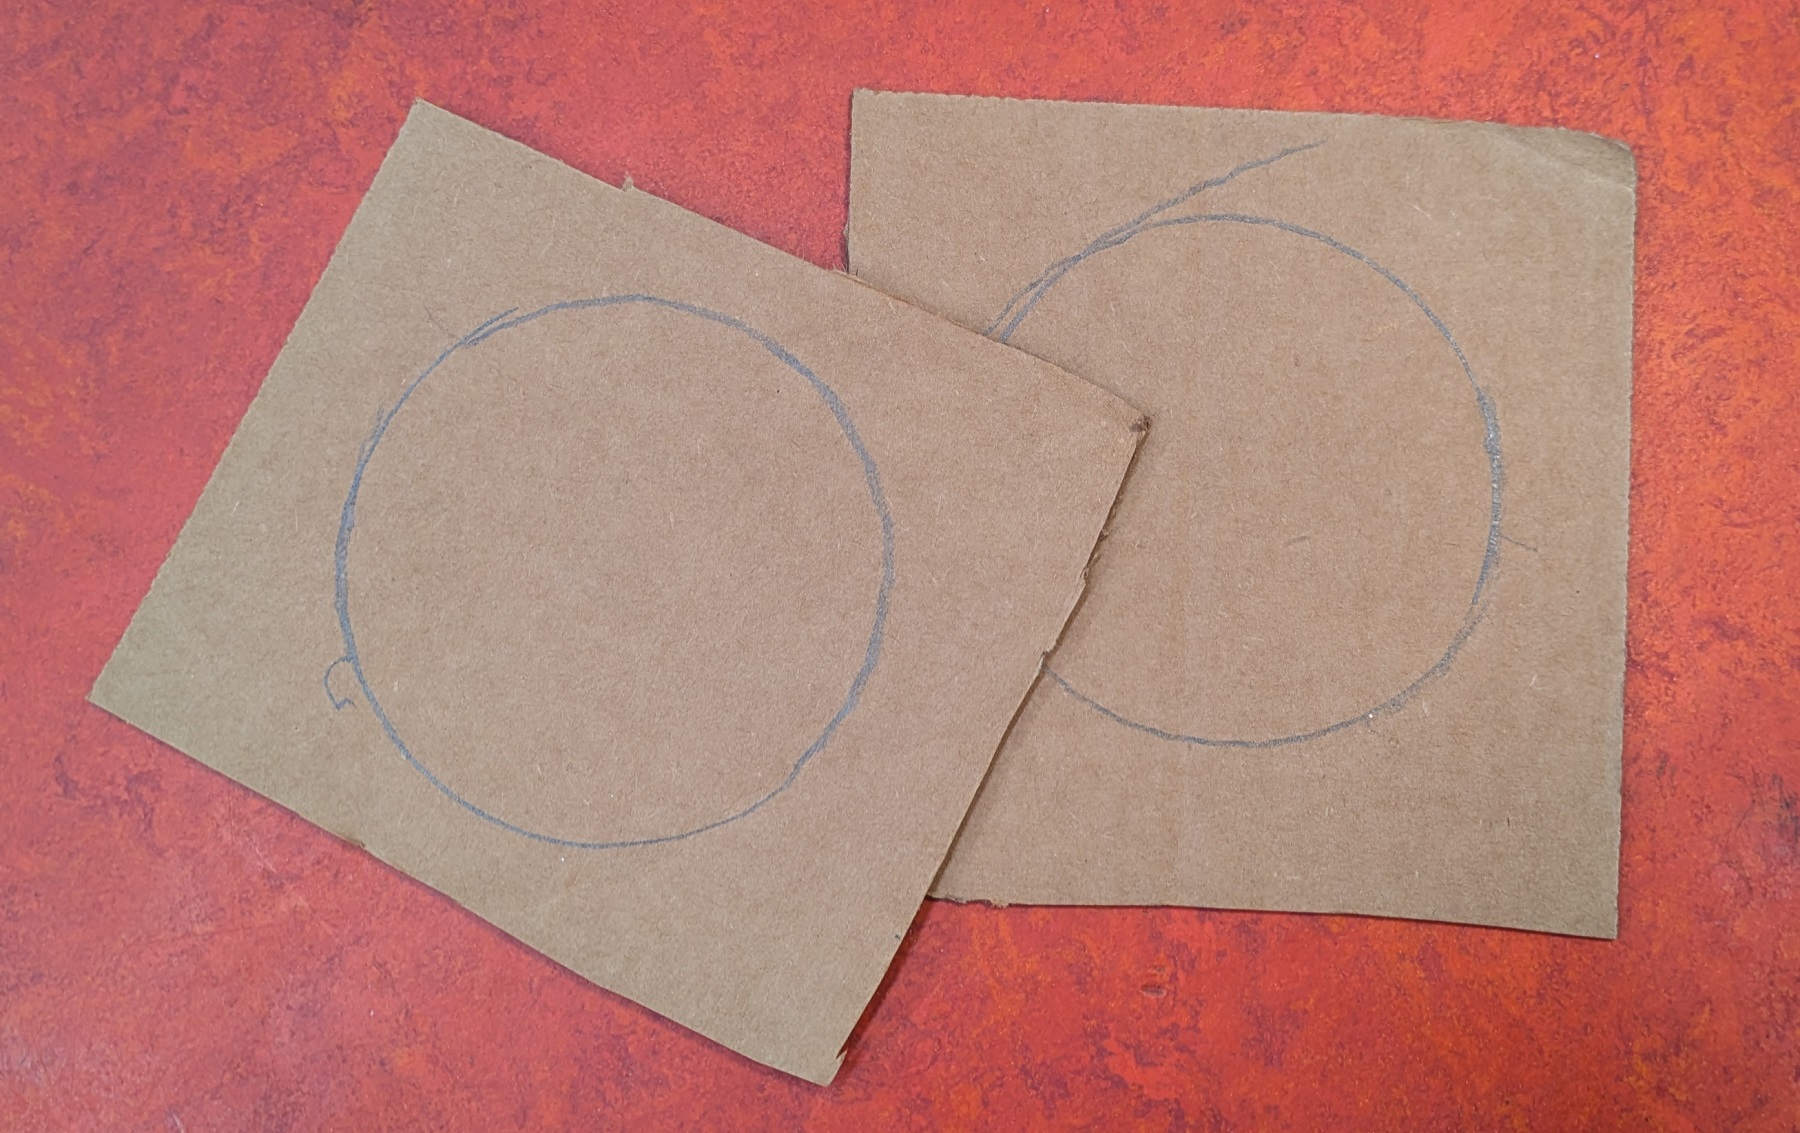
Next, trace the first cutout over the second circle so they will be the same size.
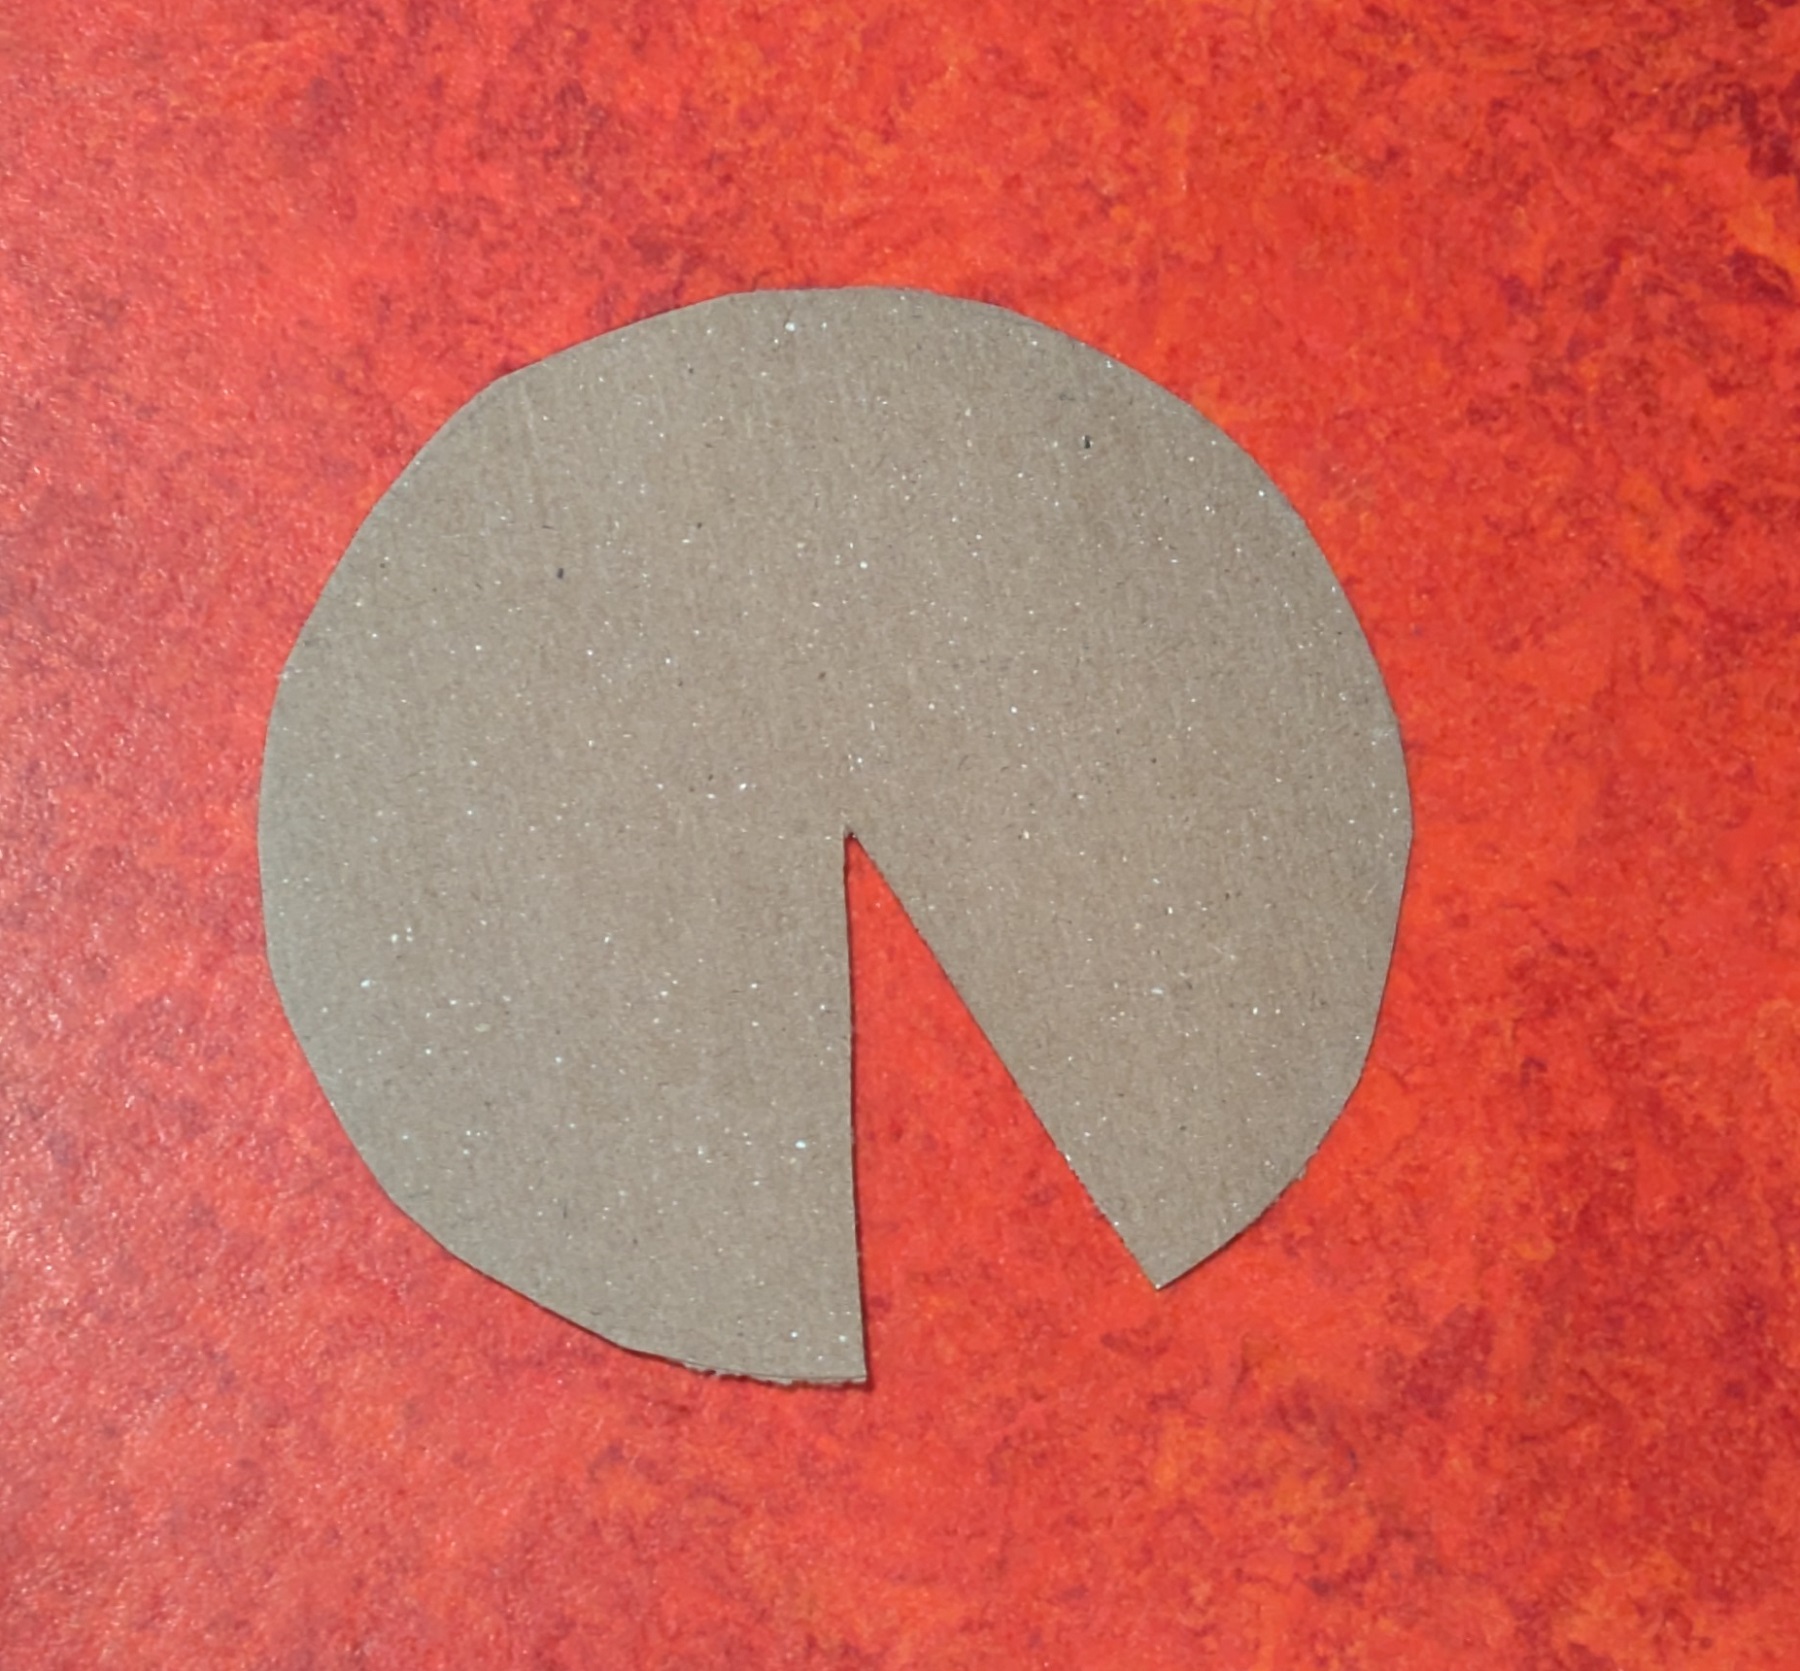
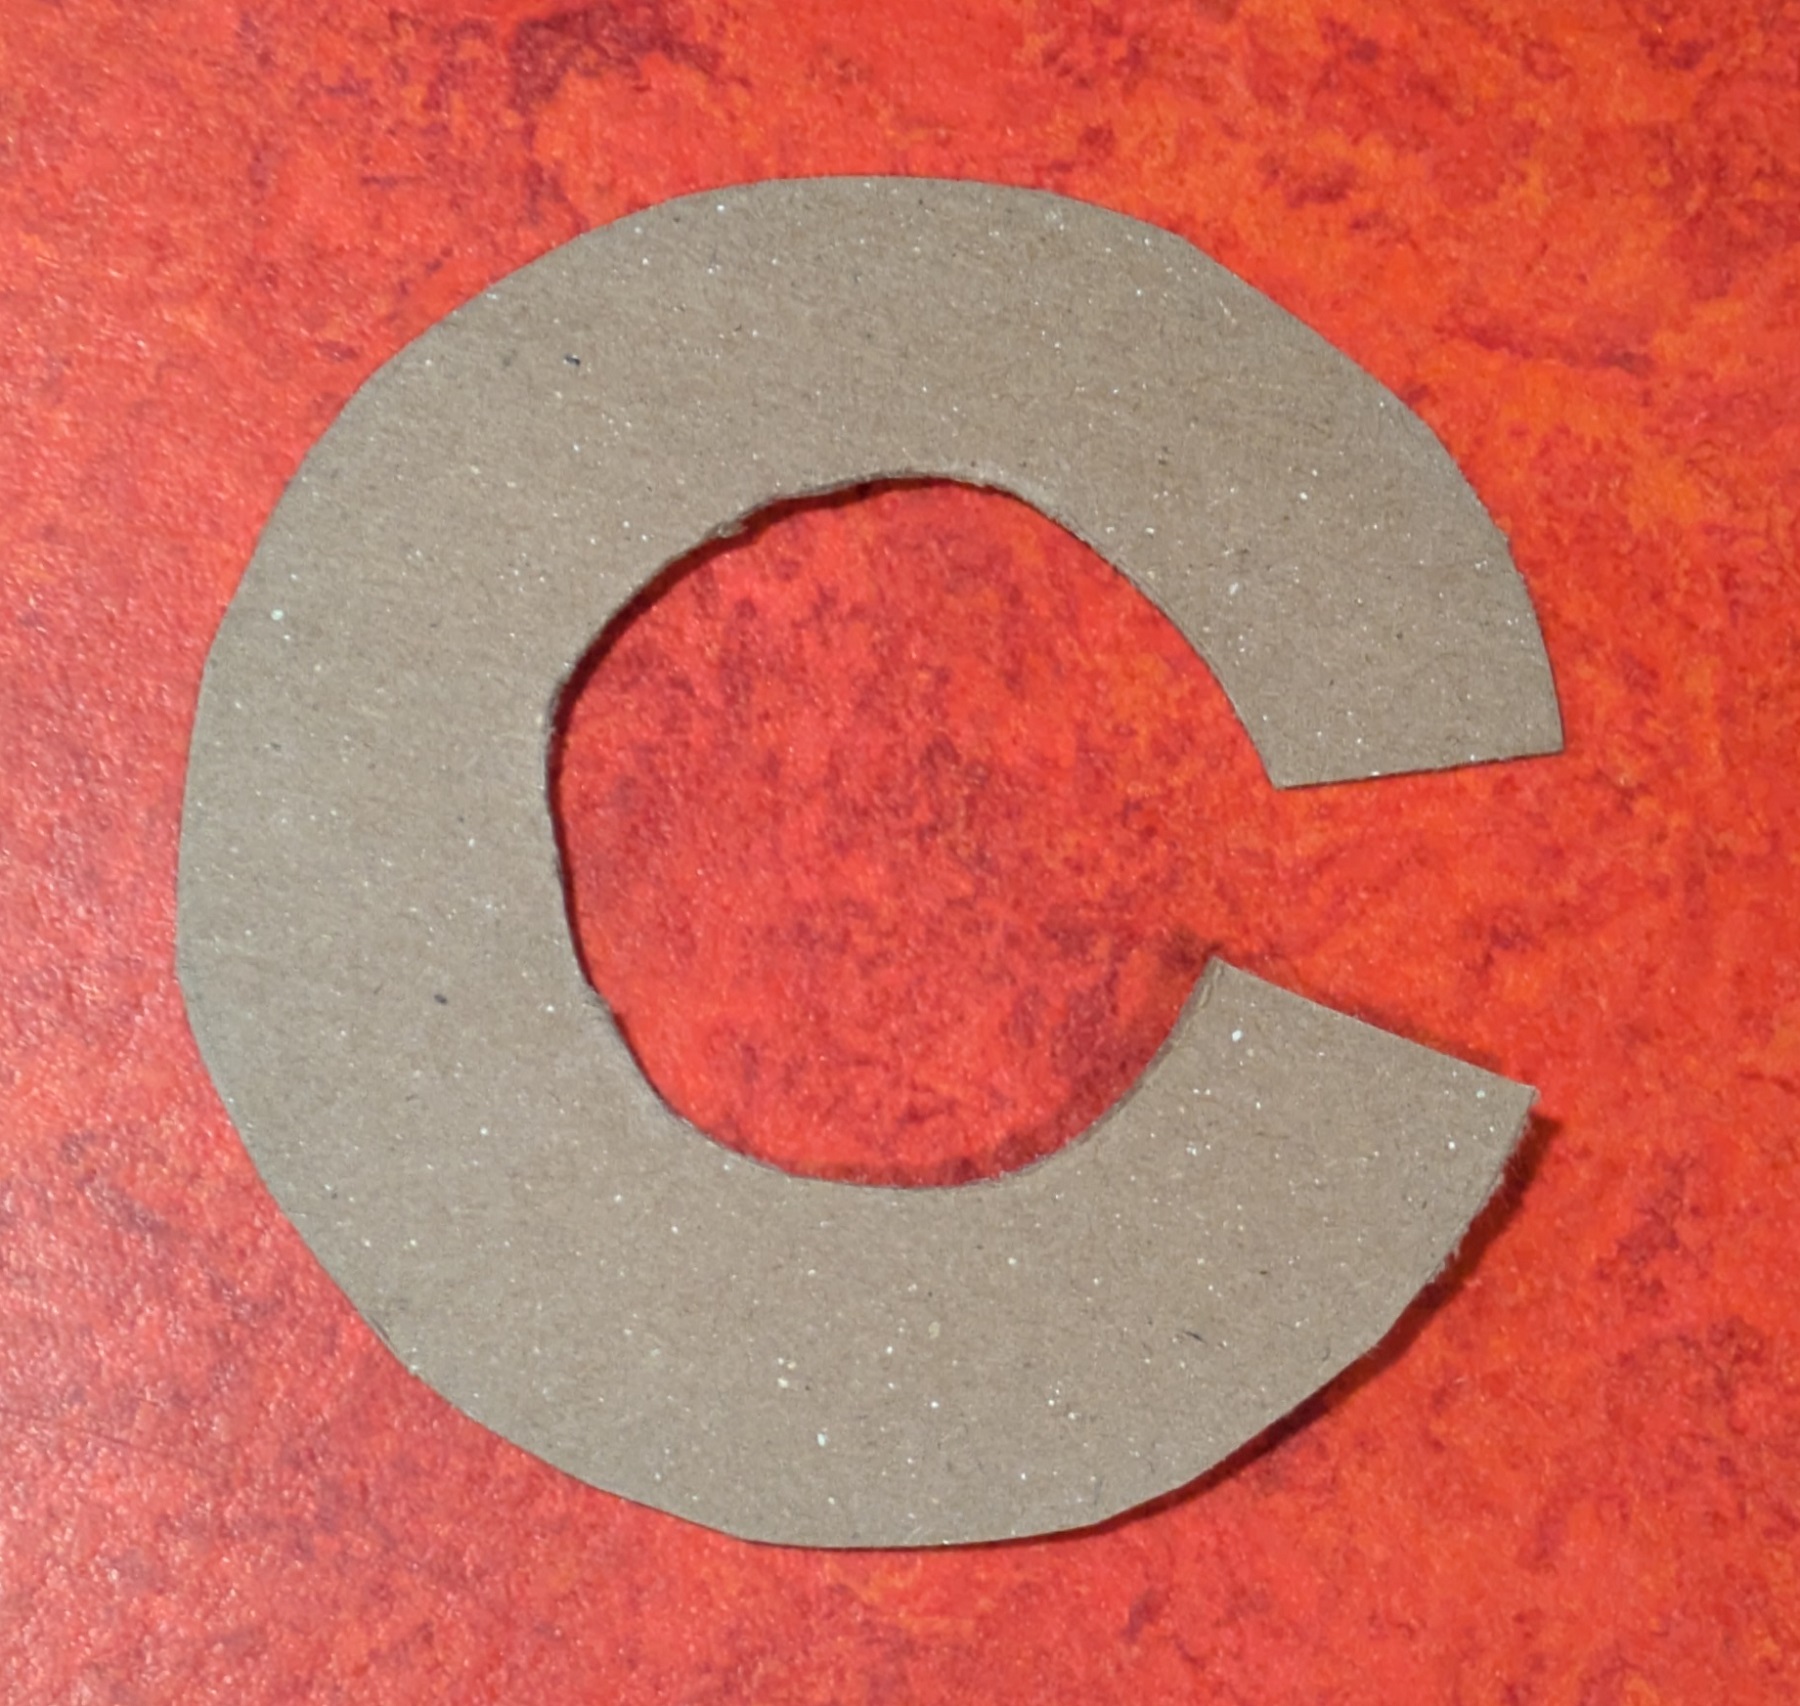
Cut out a notch and then the center of the circle, making something similar to the letter C.
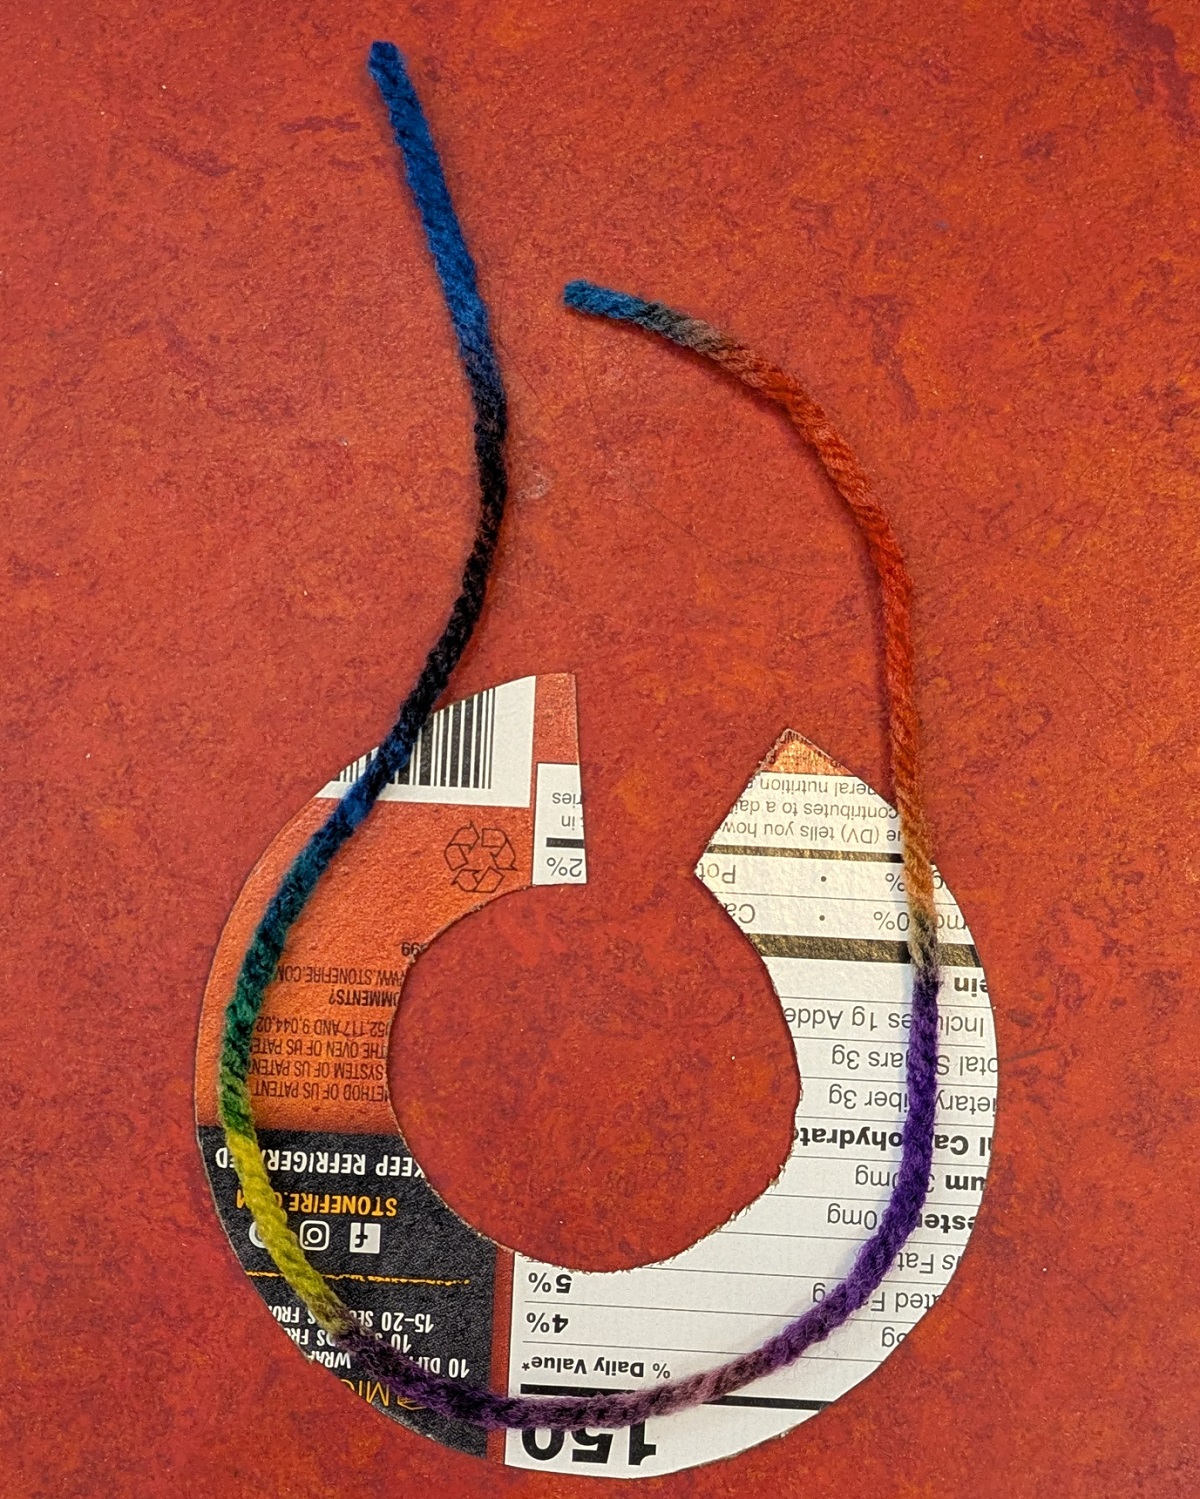
Between the two pieces, lay a bit of string down. This is the trickiest part since we have to keep it laying there unsecured for a bit (but the next step will secure it).
As stated in previous steps, the more you wrap the yarn around your pom-pom maker, the more fluffy your final product will be. Since I like a my pom-poms quite rotund, I wrap the yarn around many times. There is no real rule about this, just keep winding until it feels right to you.
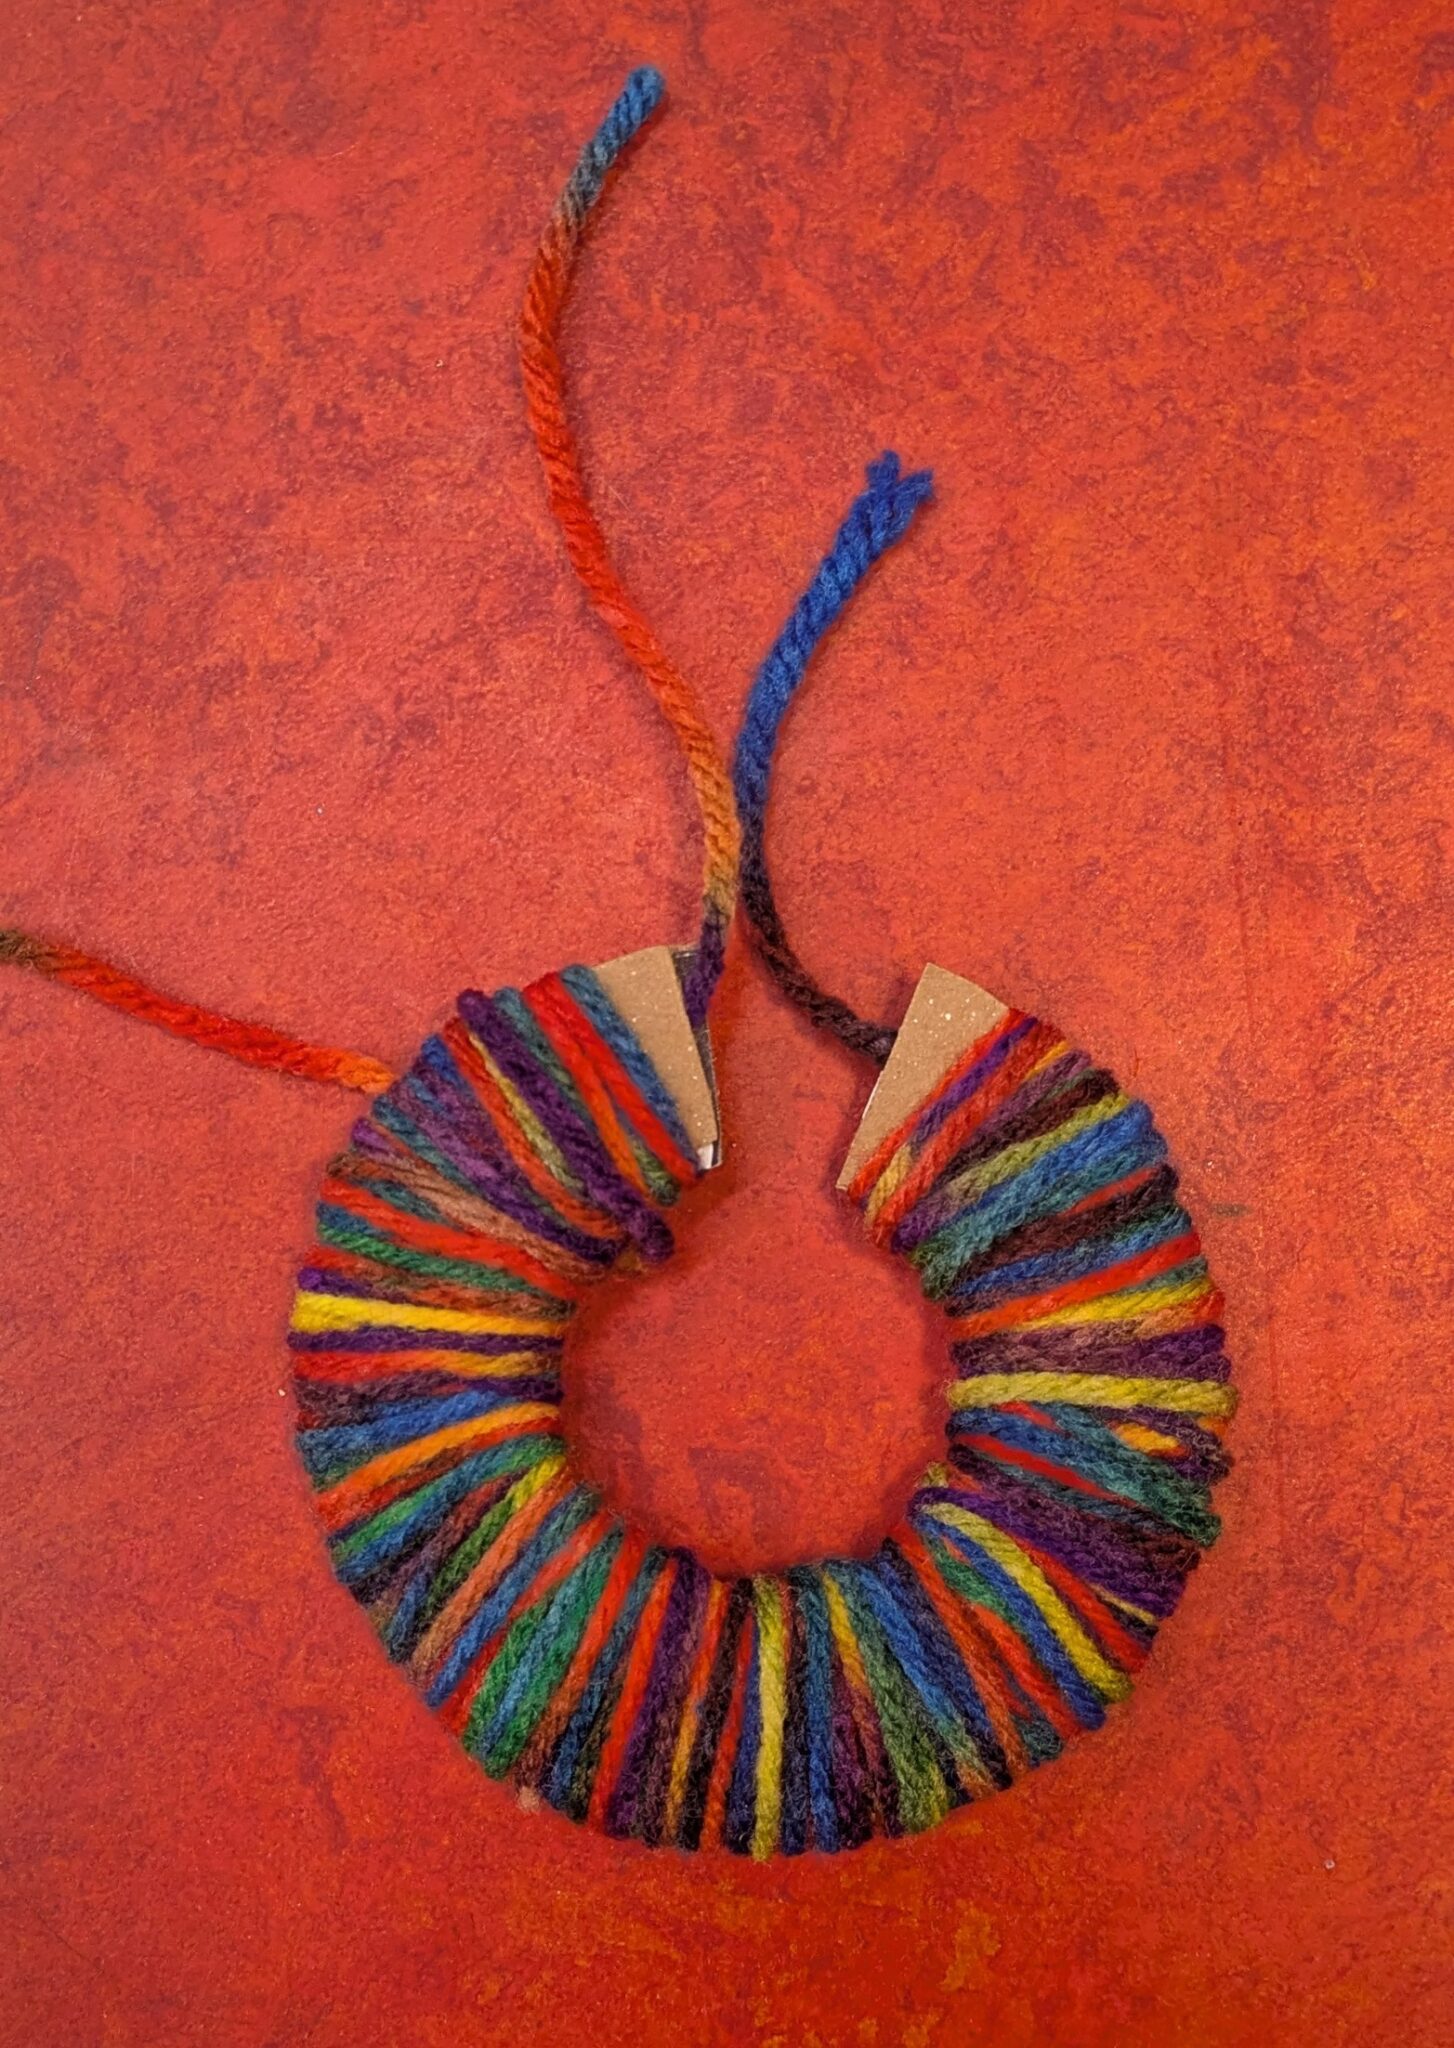
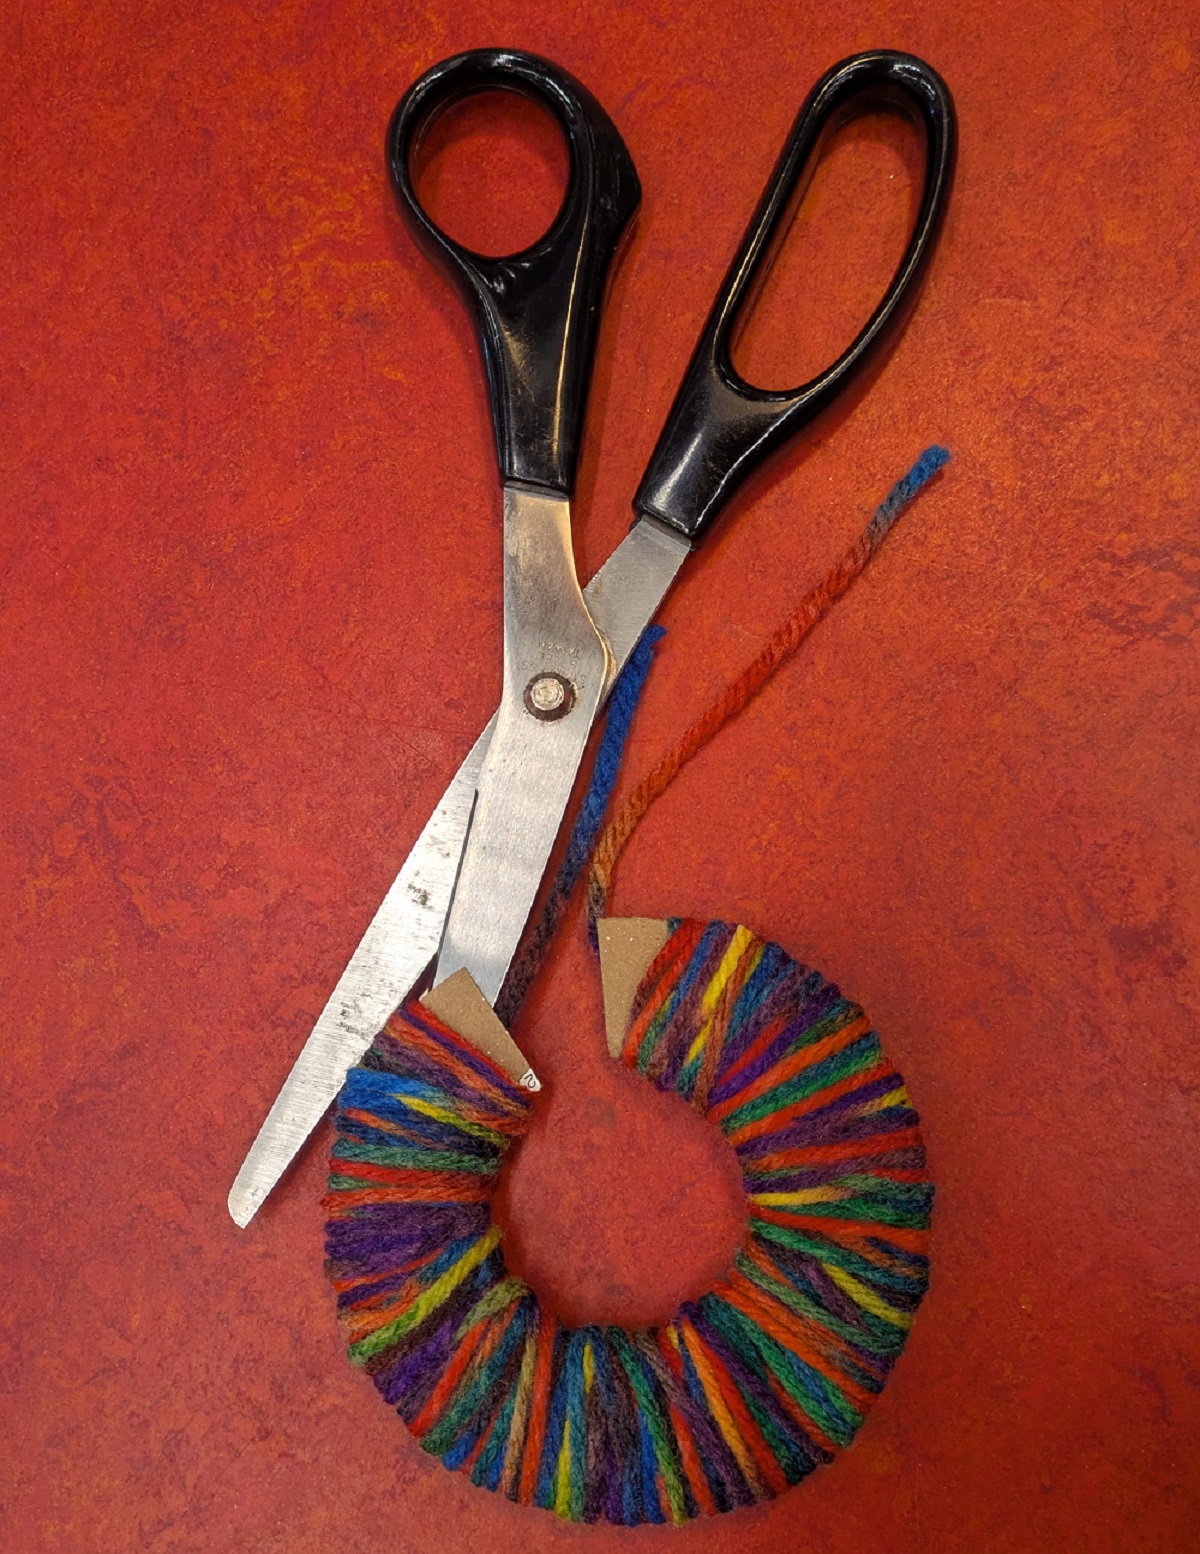
Take a pair of sharp scissors and cut around the edge of the circles.
Now take the string and pull it taut, then tie it tightly. I like to make ties on two sides. Then take it out of the cardboard and voila, now you have a pom-pom!
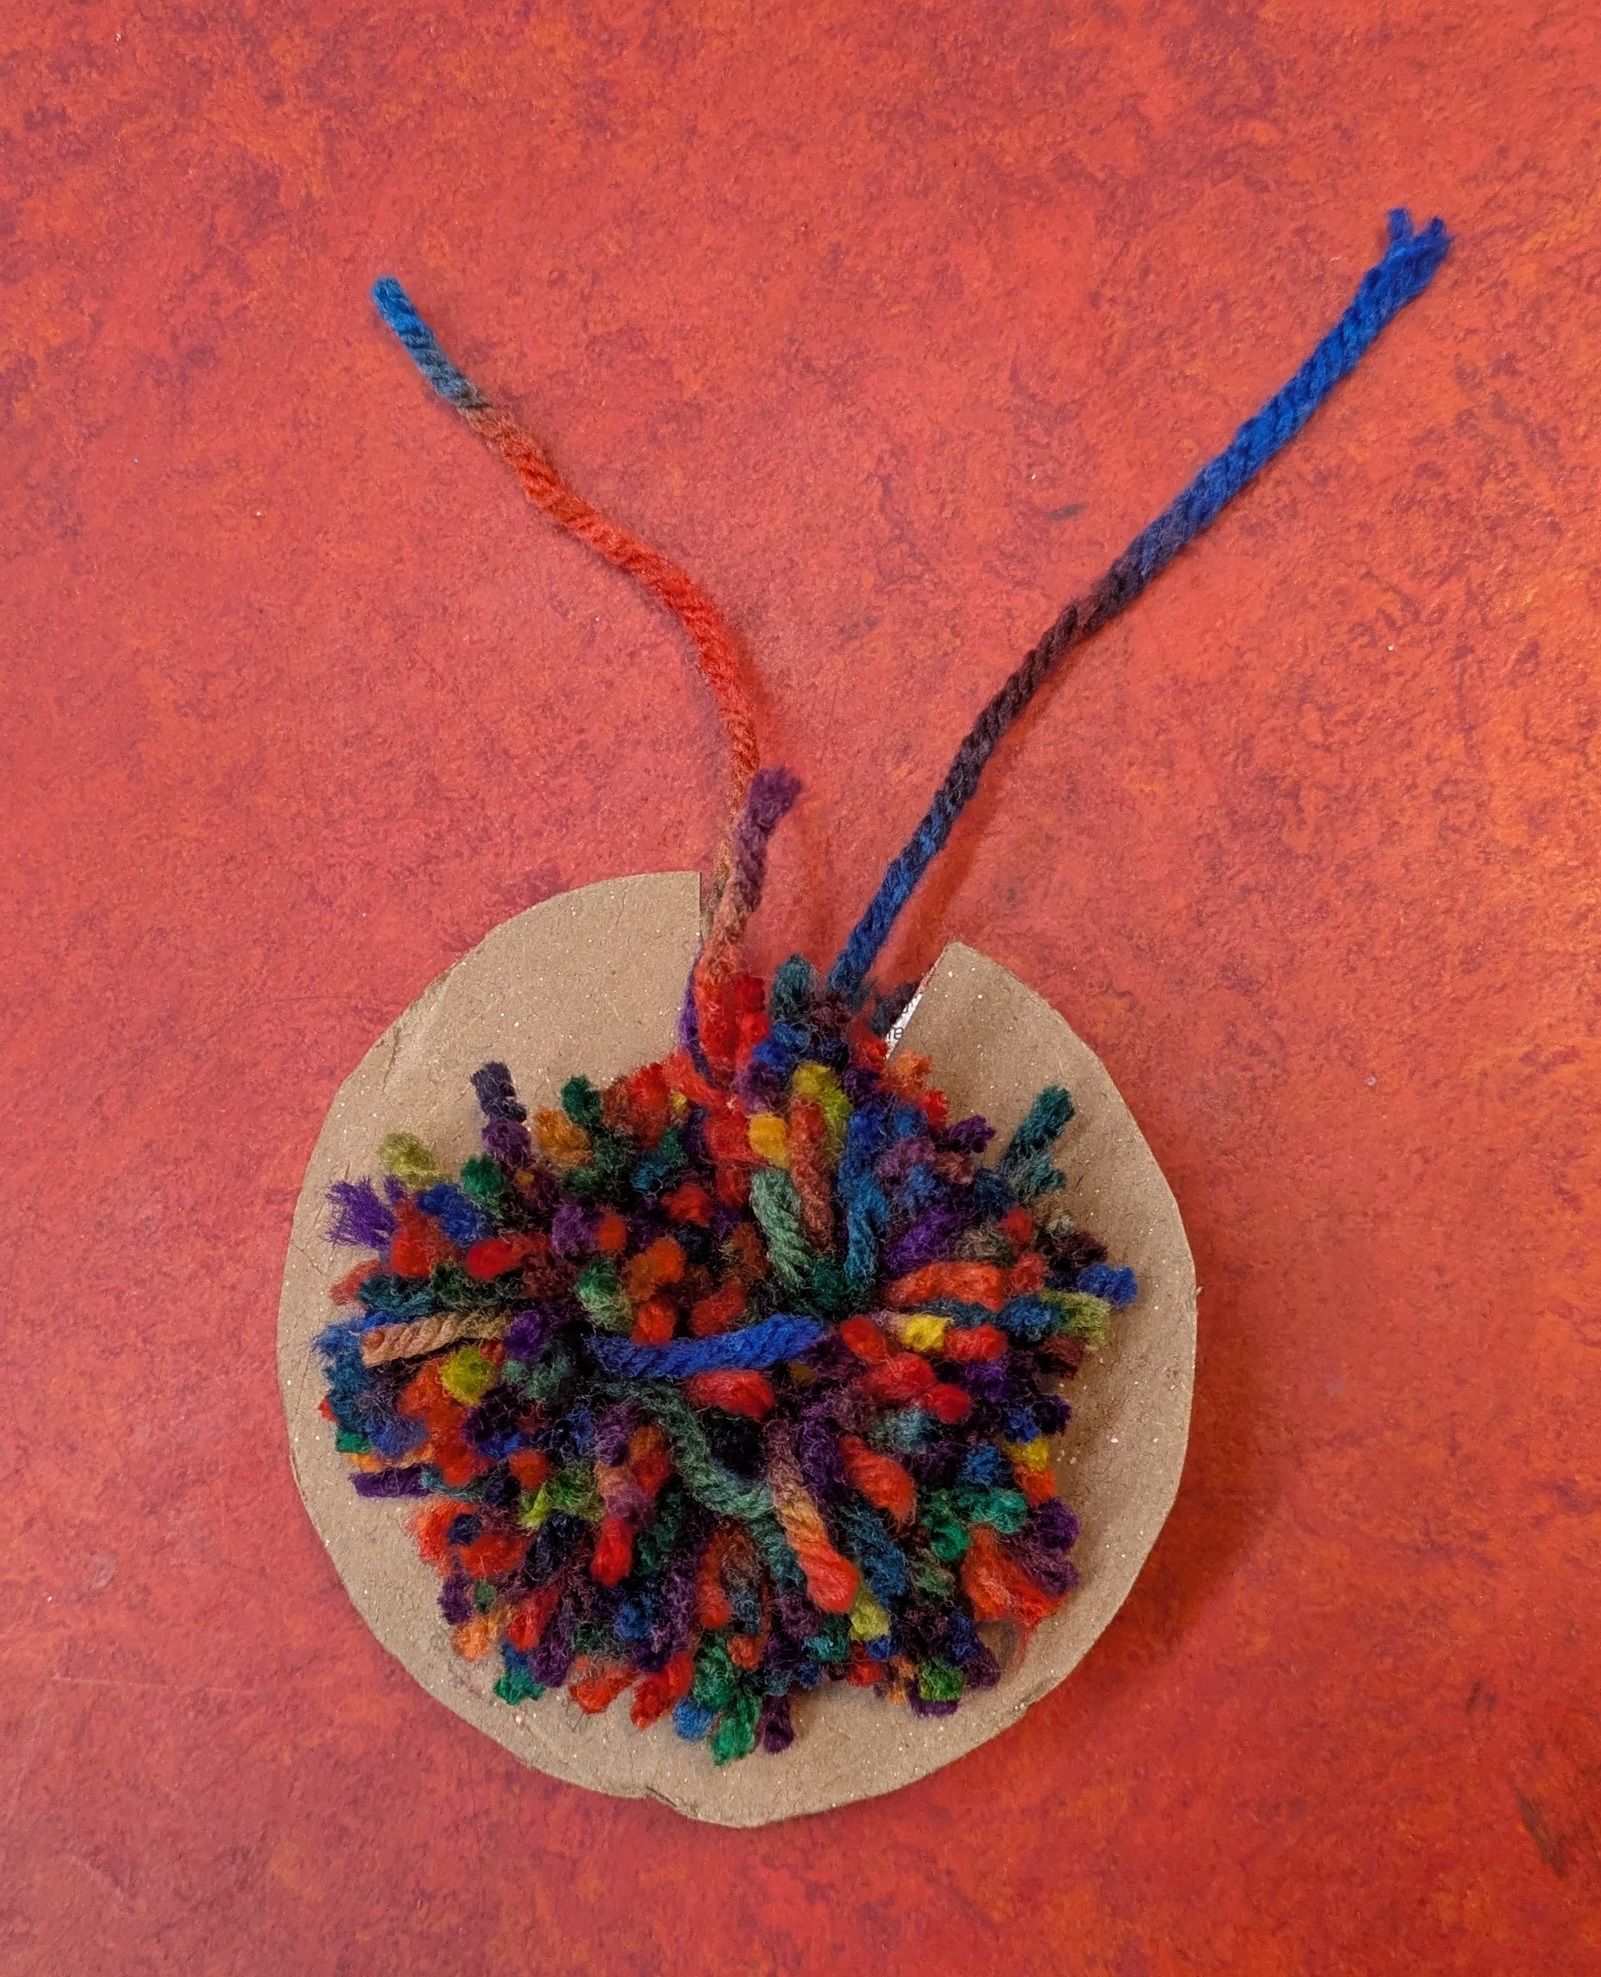
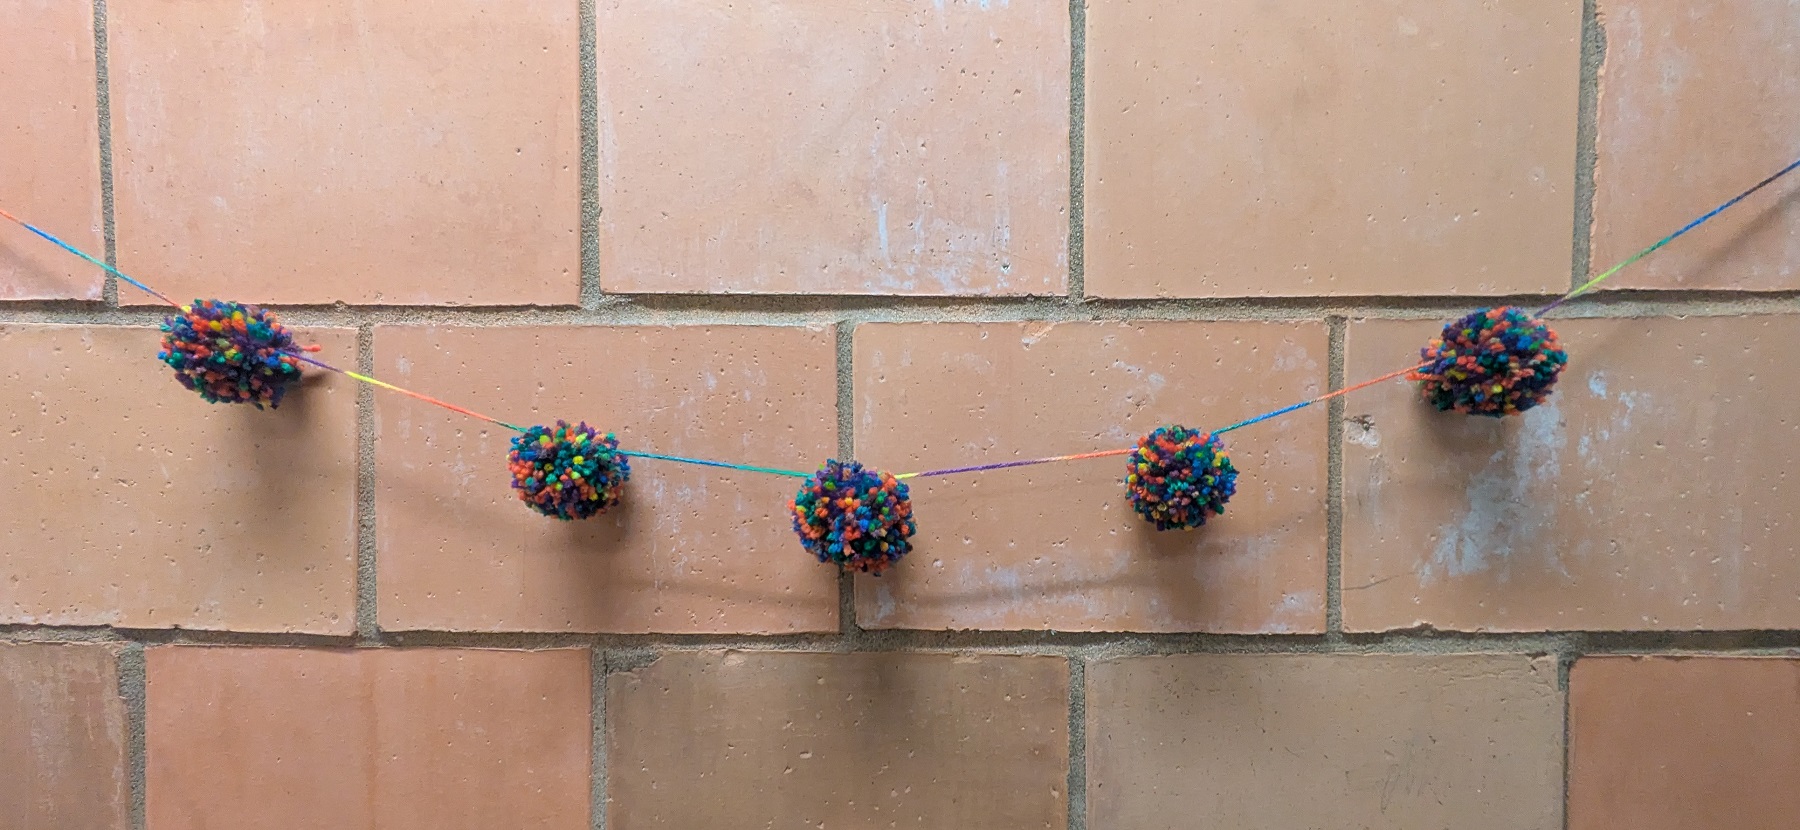
Trim until you get the exact shape you want and repeat until you have the right amount for your garland.
String the pom-poms together and hang your new garland up for display!
Some of the children I have worked with in my previous career in childcare became quite proficient at making pom poms and turned them into a type of currency, so be sure to teach your kiddos how to make this craft safely or tell them to ask for an adult’s help if they’re not ready to be trusted with full access to scissors yet.
Happy crafting!

