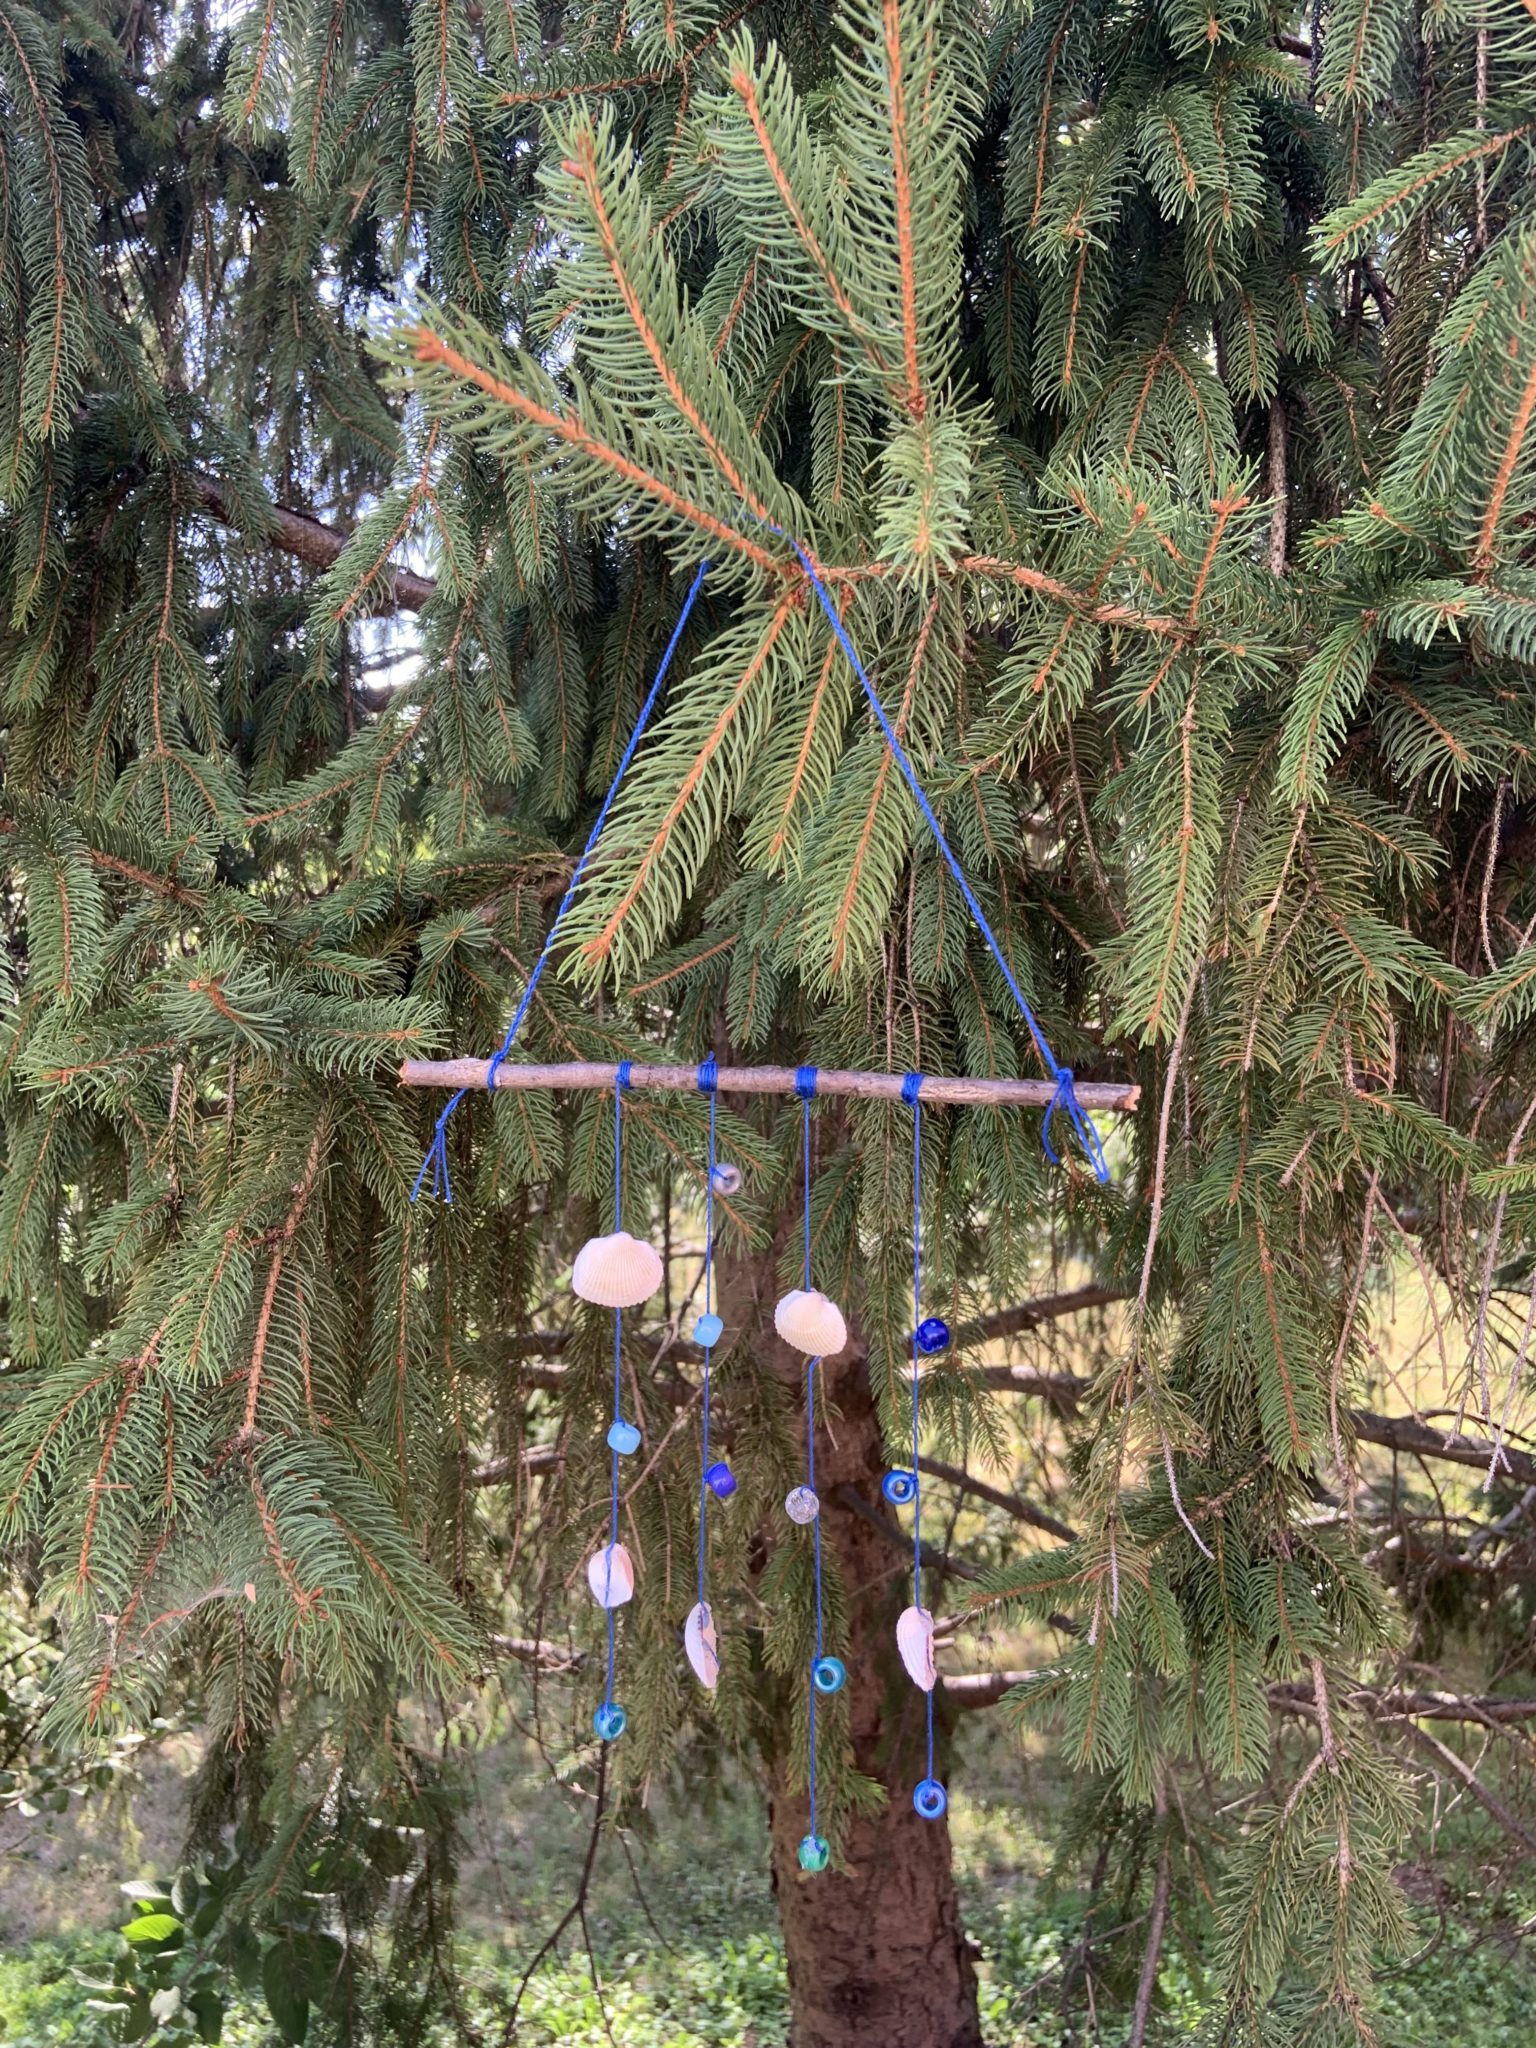
Don’t want summer to be over? Enjoy that beachy feeling all year long by creating a seashell wind chime! This artsy activity fosters creativity and encourages kids to get out into nature to search for materials.
How does it work?
The wind blows past, causing the items you’ve used to build your wind chime to bump into each other. This causes the objects to vibrate, creating energy that’s released as a sound wave.
The sound it makes will be different if the wind chime is made of glass, aluminum, seashells, wood etc.
Fun fact! Wind chimes have been independently invented in many places. Bells were created thousands of years ago in Southeast Asia and resembled modern wind chimes by 1100 B.C.E.
For more information on wind chimes, check out our book list!
What you need:
- A clean, dry stick
- Seashells (ideally with holes or you’ll need to use hot glue to attach them to the string)
- Embroidery floss
- Beads (ideally glass)
What you do:
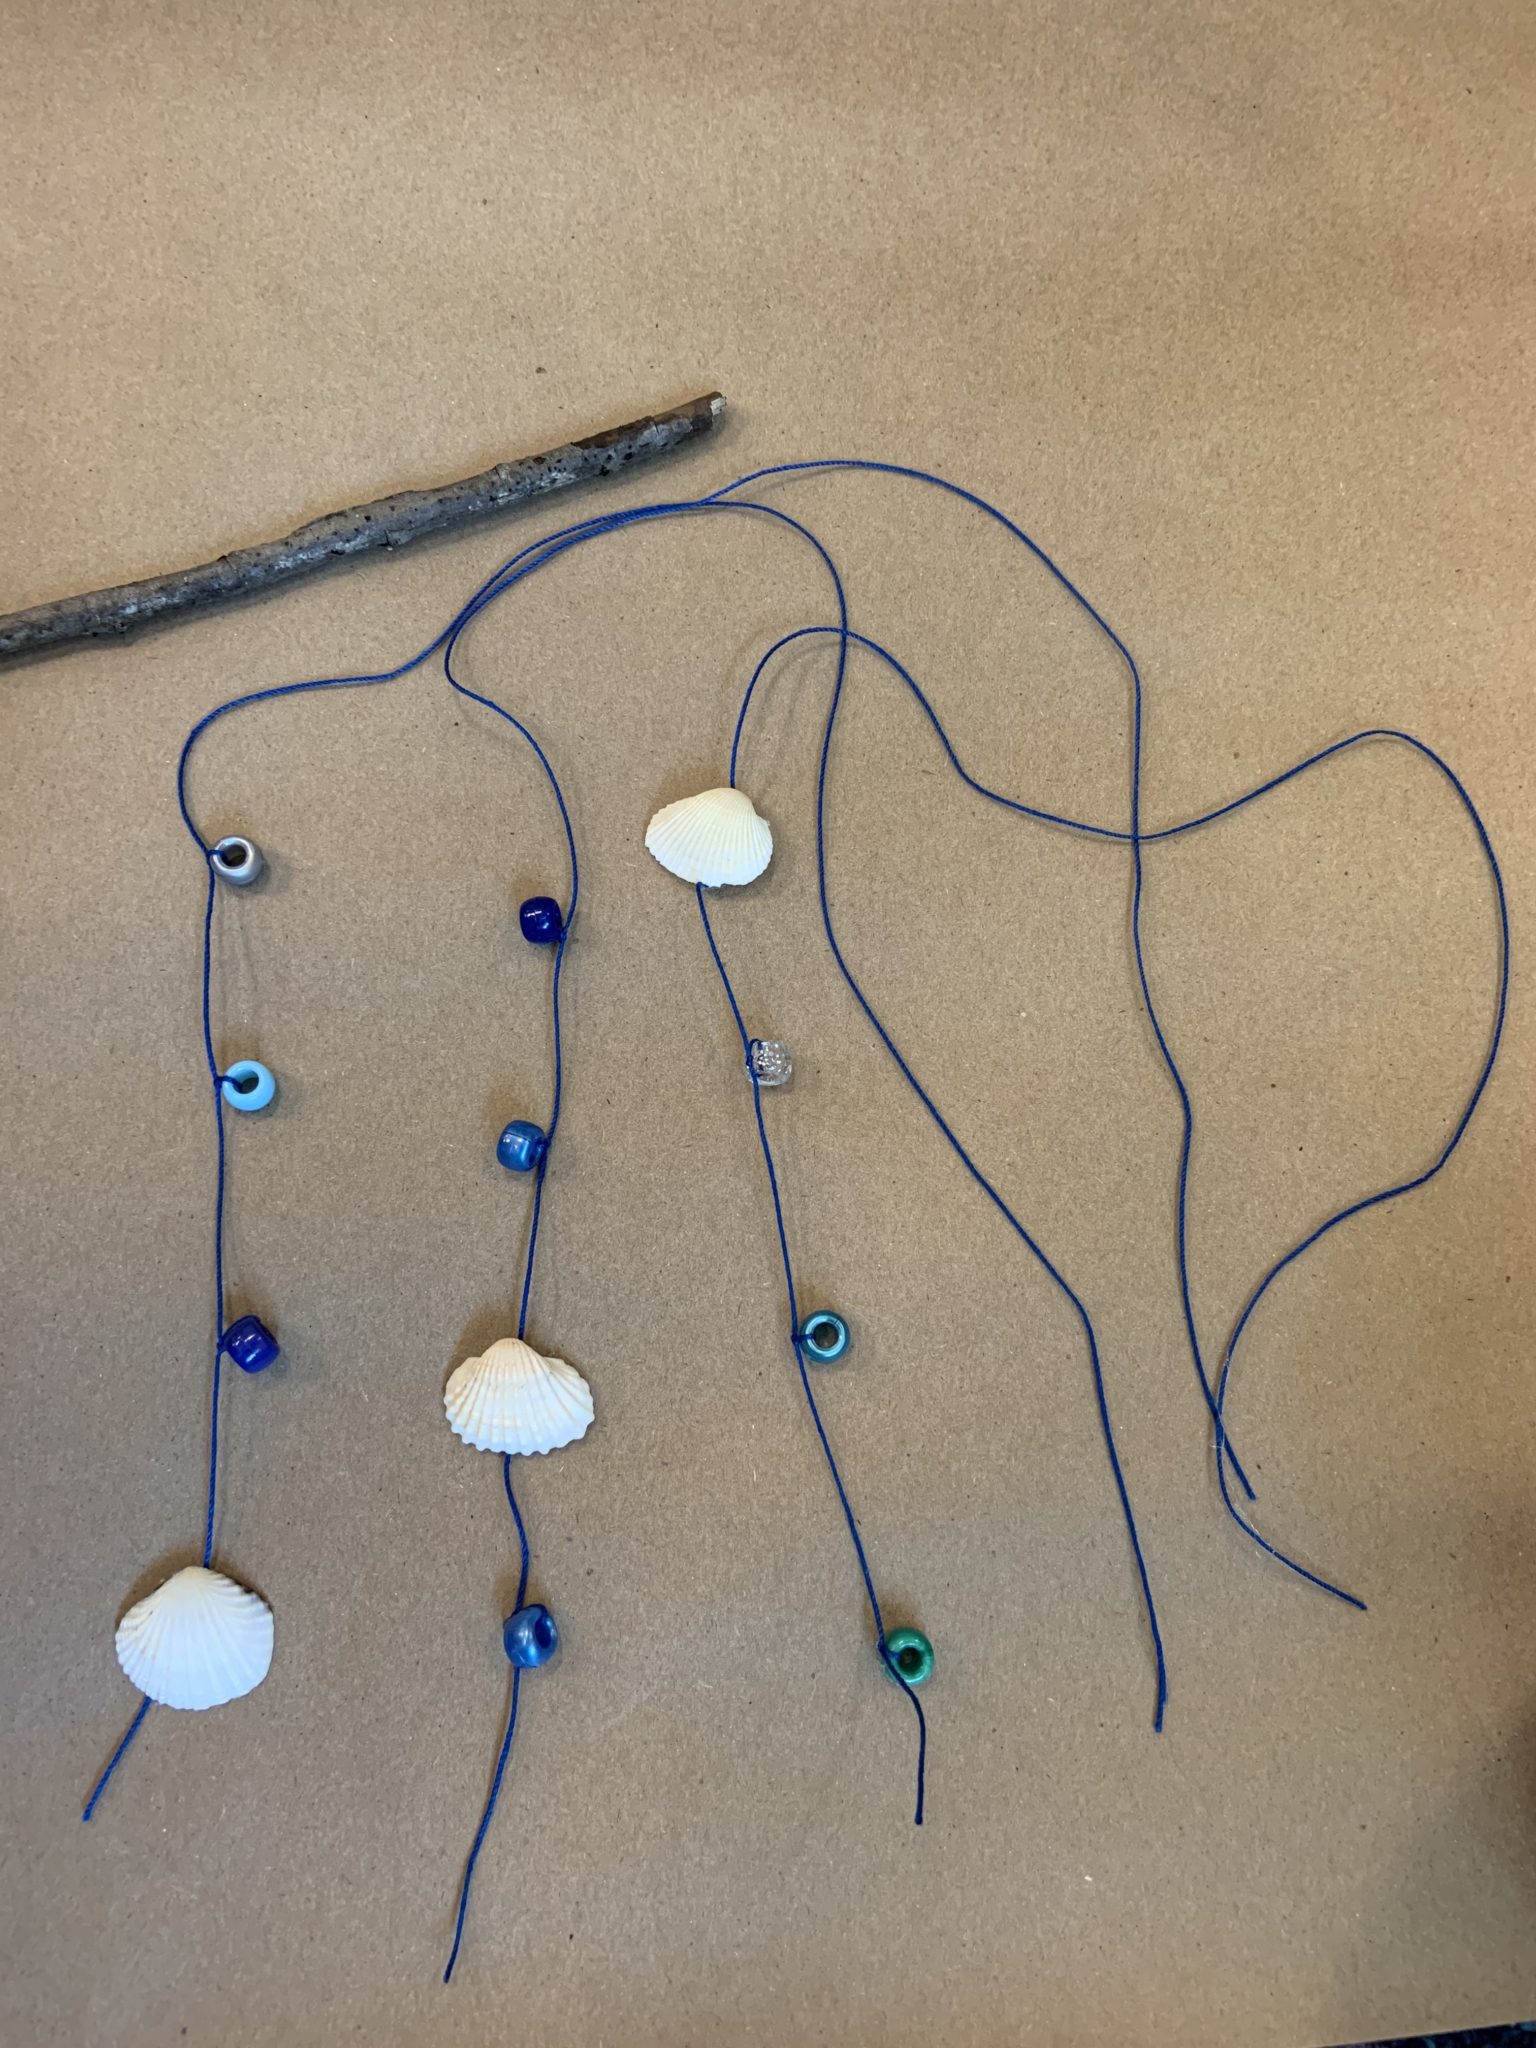
Step 1. Line up your shells and beads in rows on any flat surface. Be creative! For example, you could pick a long stick and make 6 short strands or you could pick a short stick and make 4 long strands. The possibilities are endless.
Step 2. Count how many rows of beads and shells you have. Cut the same number of pieces of embroidery floss, with a few inches extra for tying knots.
Step 3. On the far left piece of embroidery floss, tie a knot big enough to keep a bead from slipping around. Add the bead. Tie another knot beneath the bead. Another inch or so down, repeat the process.
Tip! You may have to tie more than one knot to make it big enough to stop a bead from sliding over it.
Step 4. Follow this process until all of your beads and shells have been attached.
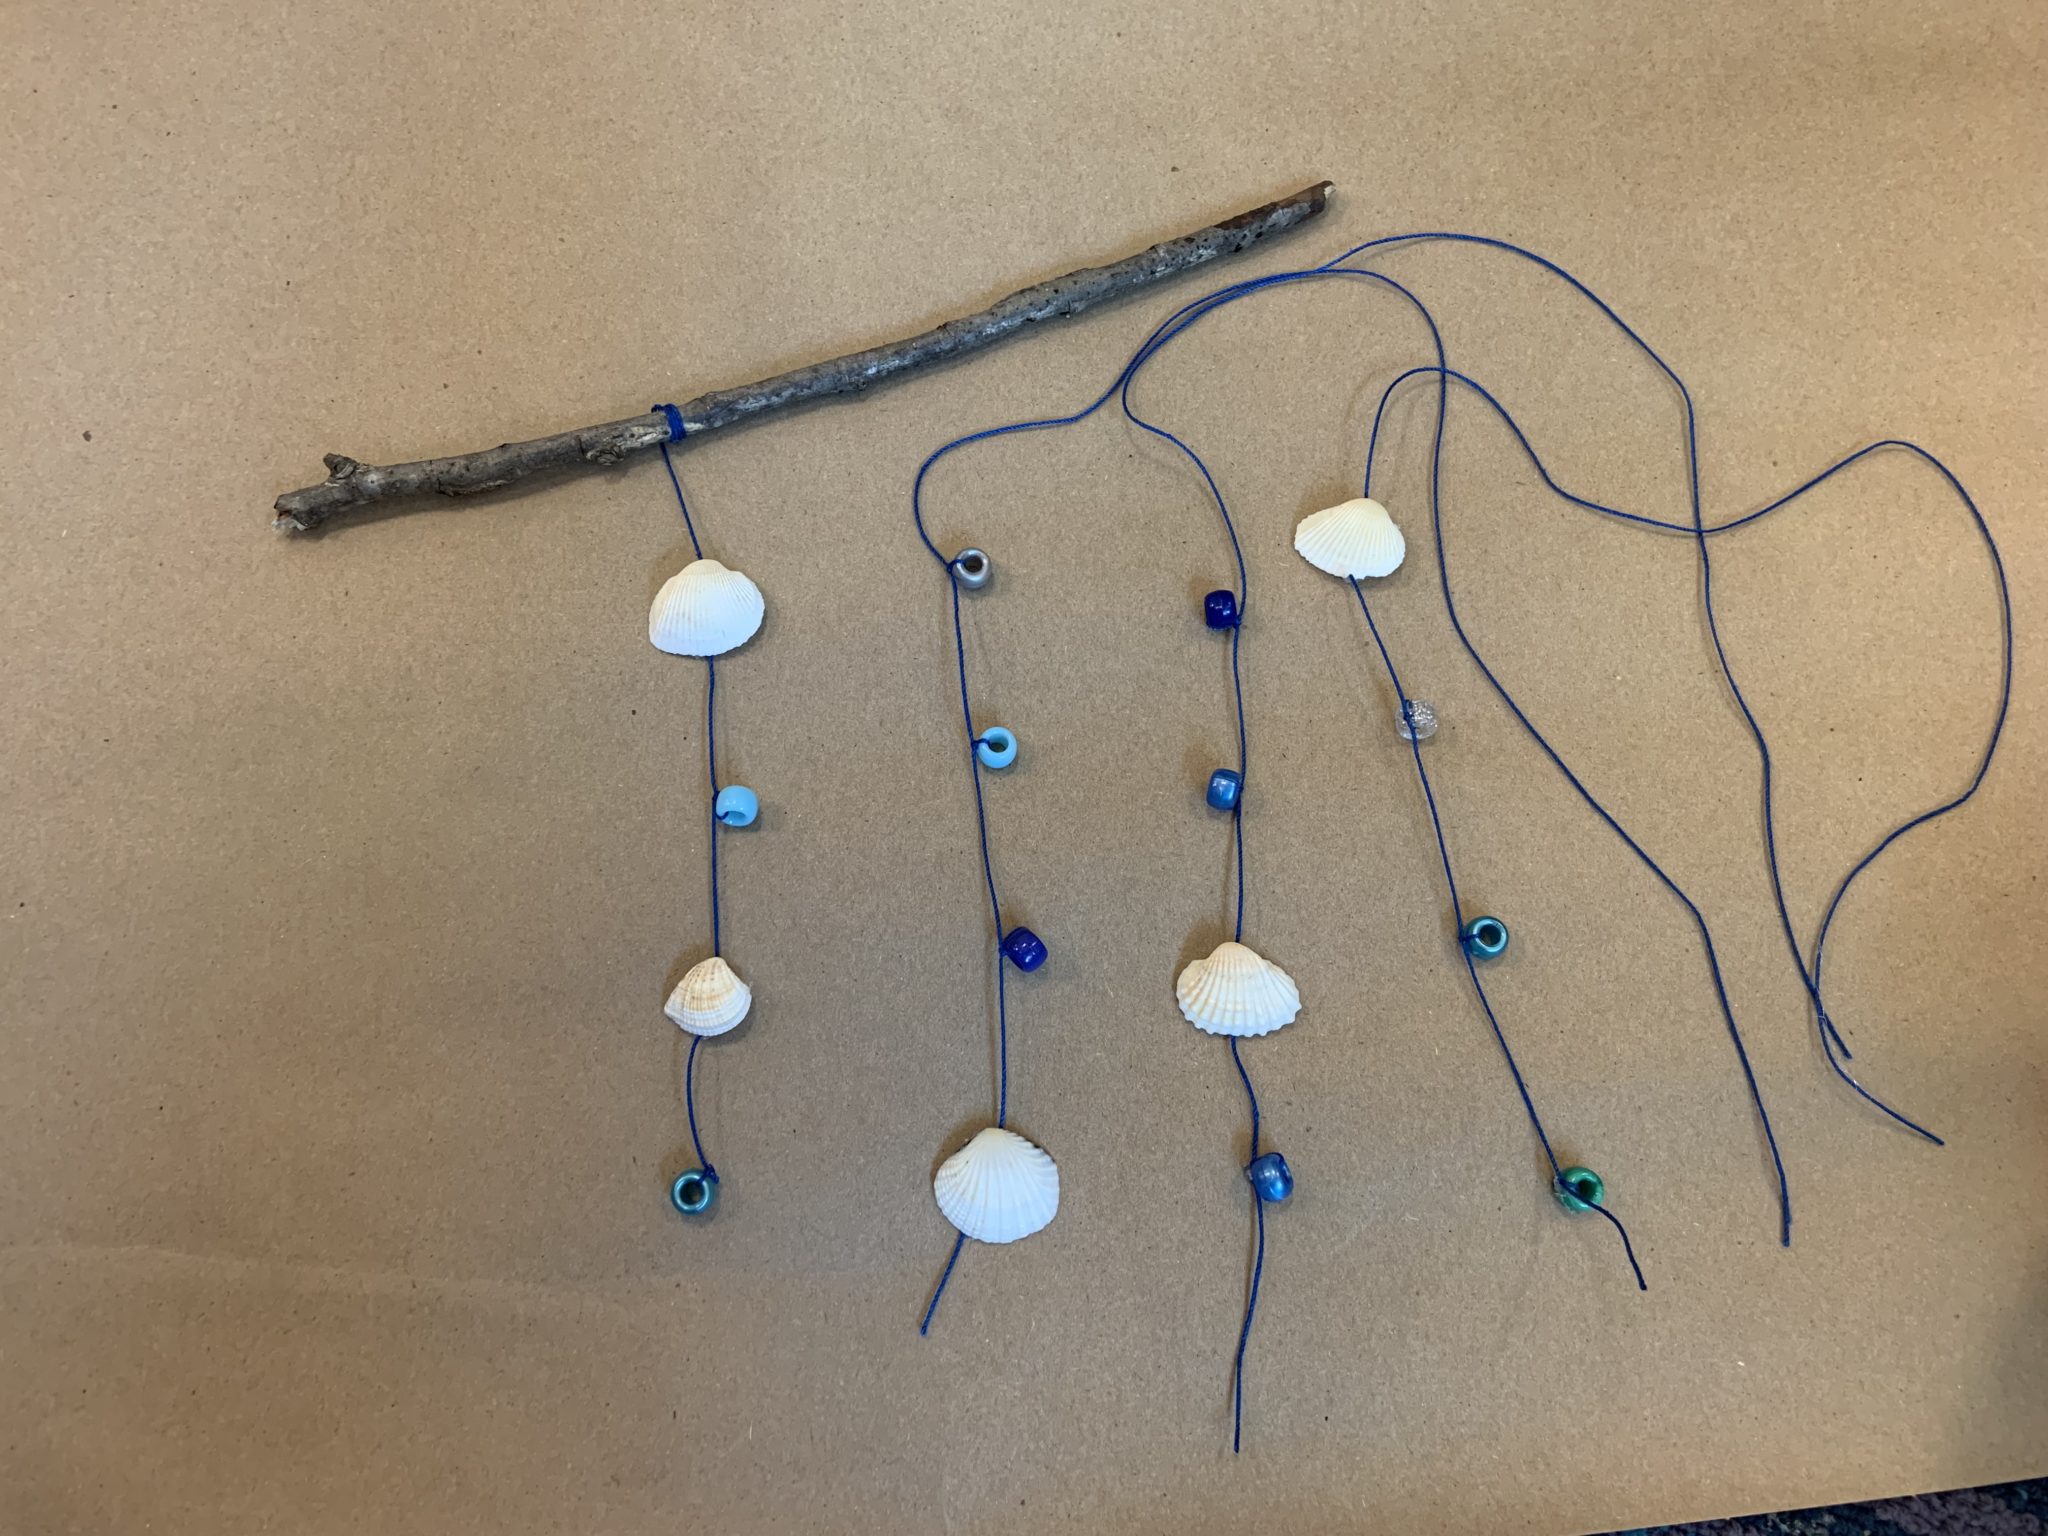
Step 5. Leaving at least 1 inch on either side of your stick open, tie one end of each piece of embroidery floss to your stick, spacing them out evenly.
Step 6. Cut another piece of embroidery floss, at least a foot long but longer if you want your wind chime to hang lower. I braided 3 strands together to make it sturdier.
Step 7. Tie one end of the embroidery floss on the left of your stick and the other end to the right.
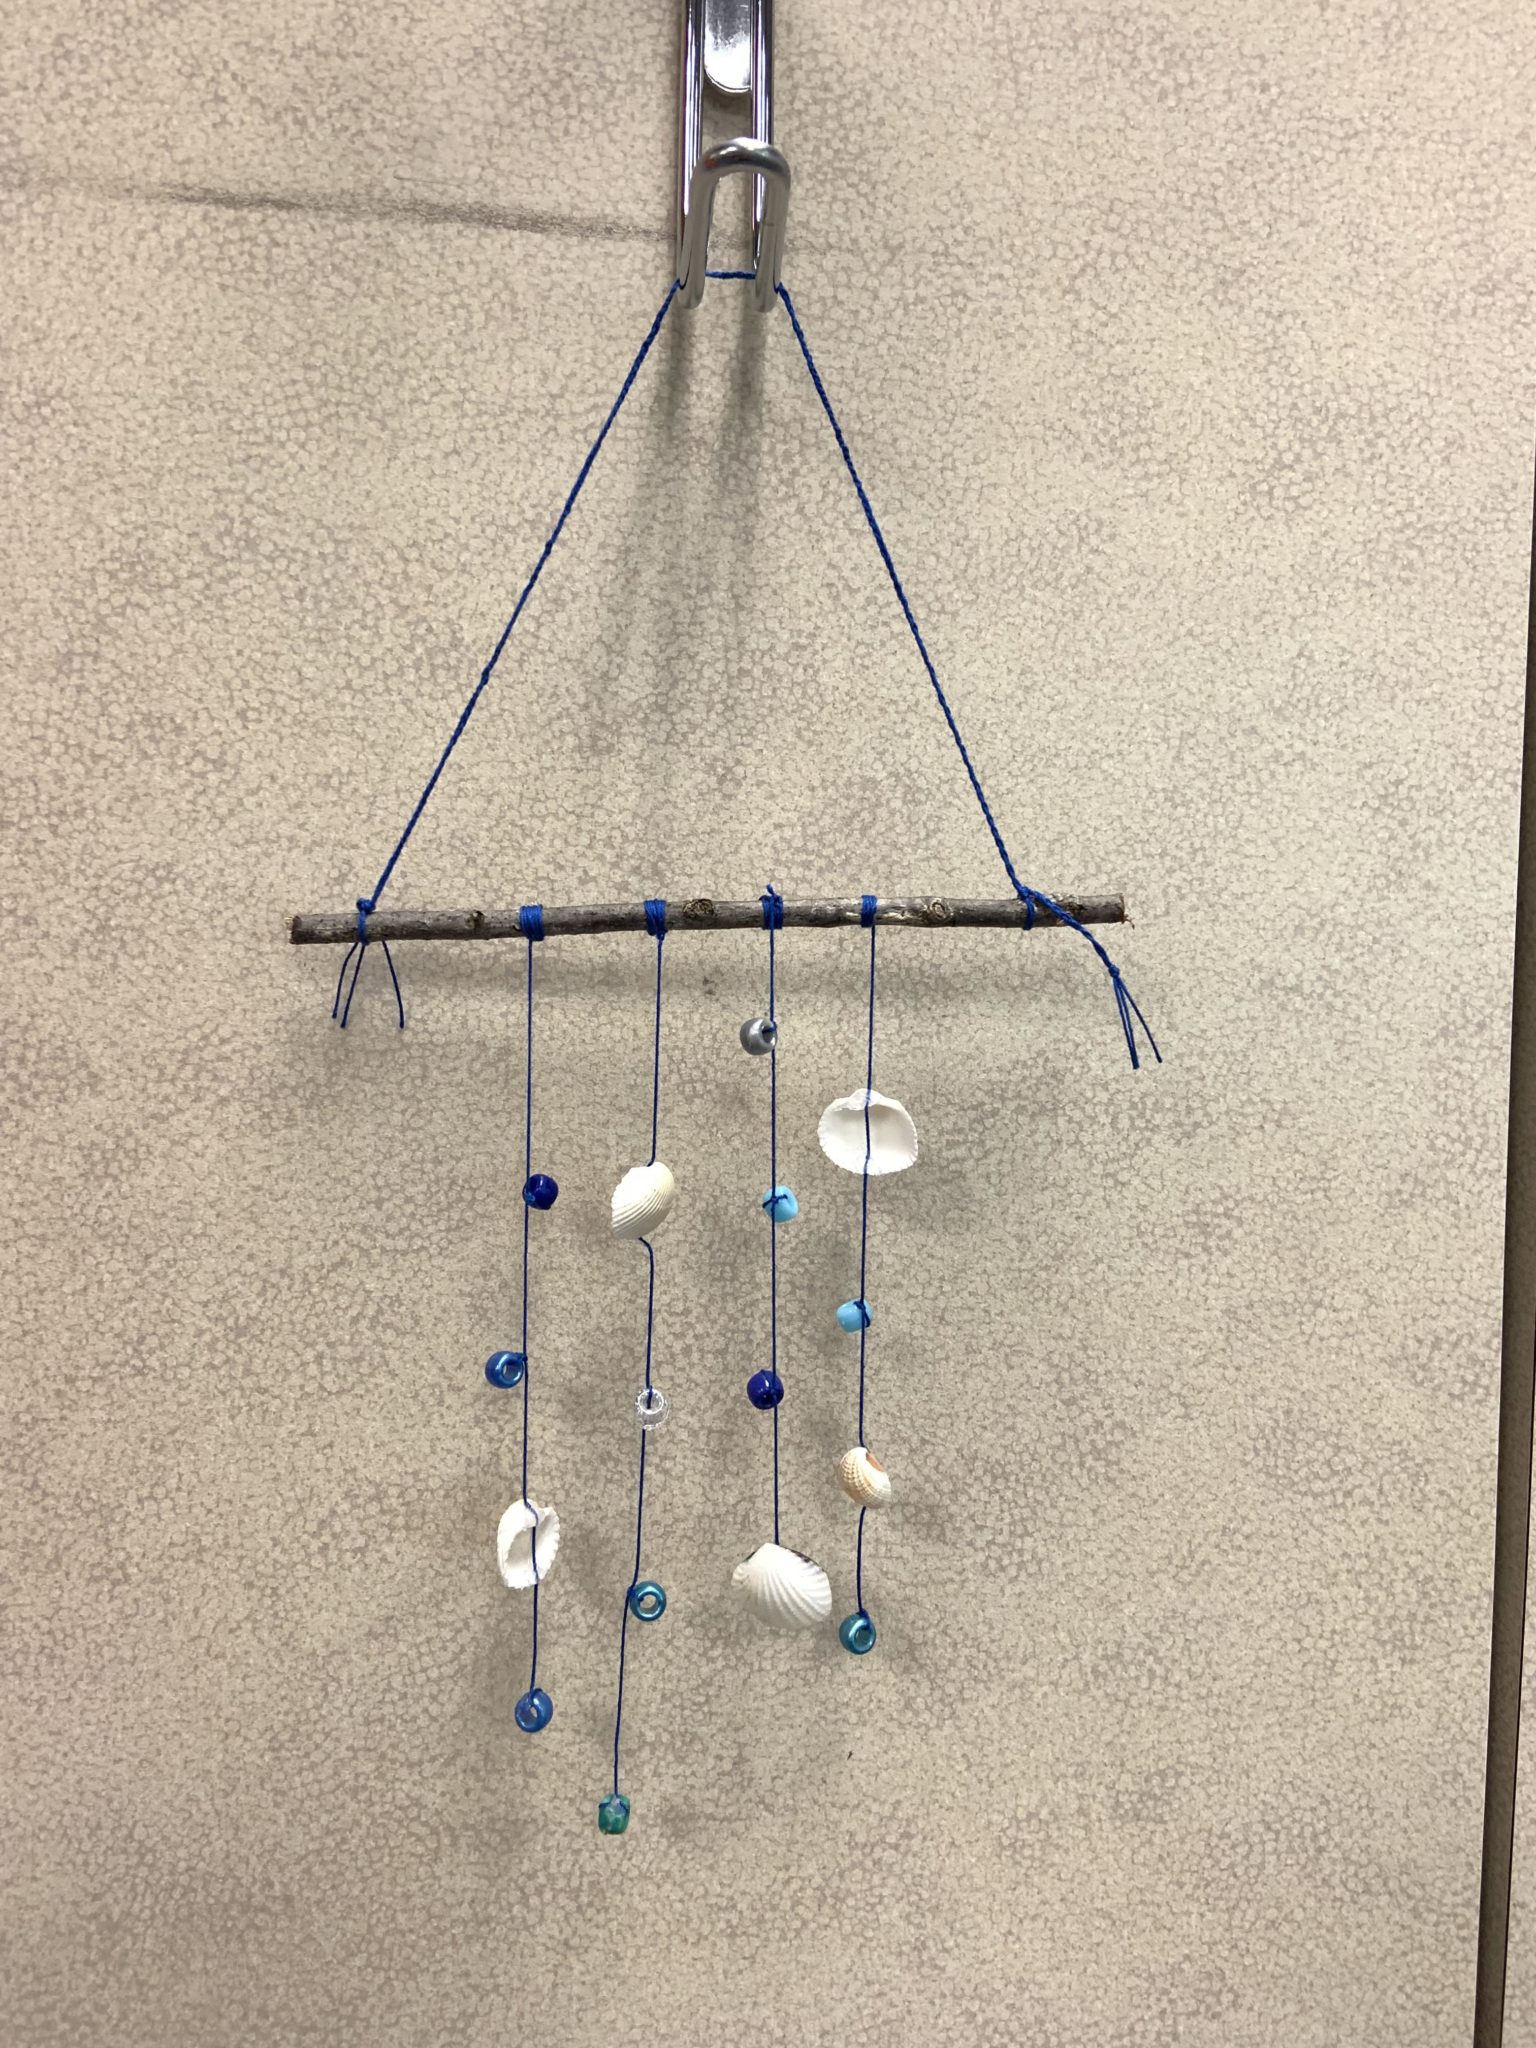
Step 8. Hang your wind chime outside on a patio or tree or inside to enjoy!
Keep the fun going:
After you finish your first wind chime, try making another in a different arrangement! What does it sound like when the embroidery floss strands are way shorter, making the chimes closer together? What does a beads-only strand sound like?

