Crochet, knitting, macramé, weaving… Fiber arts seem to be popping up everywhere these days! Weaving is a great place for beginners to start, as there are no complicated patterns or fancy stitches to trip you up. You don’t even need a ready-made loom to get started. With some recycled cardboard and a little math know-how, kids can DIY their own!
This creative project puts practical STEM skills to use, like using a ruler and doing some simple multiplication. For this reason, this weaving project is probably best enjoyed by kids ages 7 and up. Younger kids who may struggle to construct their own loom or put on the finishing touches may enjoy collaborating with a parent, caregiver or older sibling to design a woven wall hanging of their very own. Regardless of age or ability, everyone can come away from this craft with a basic understanding of the age-old art of weaving and a beautiful, homemade wall hanging!
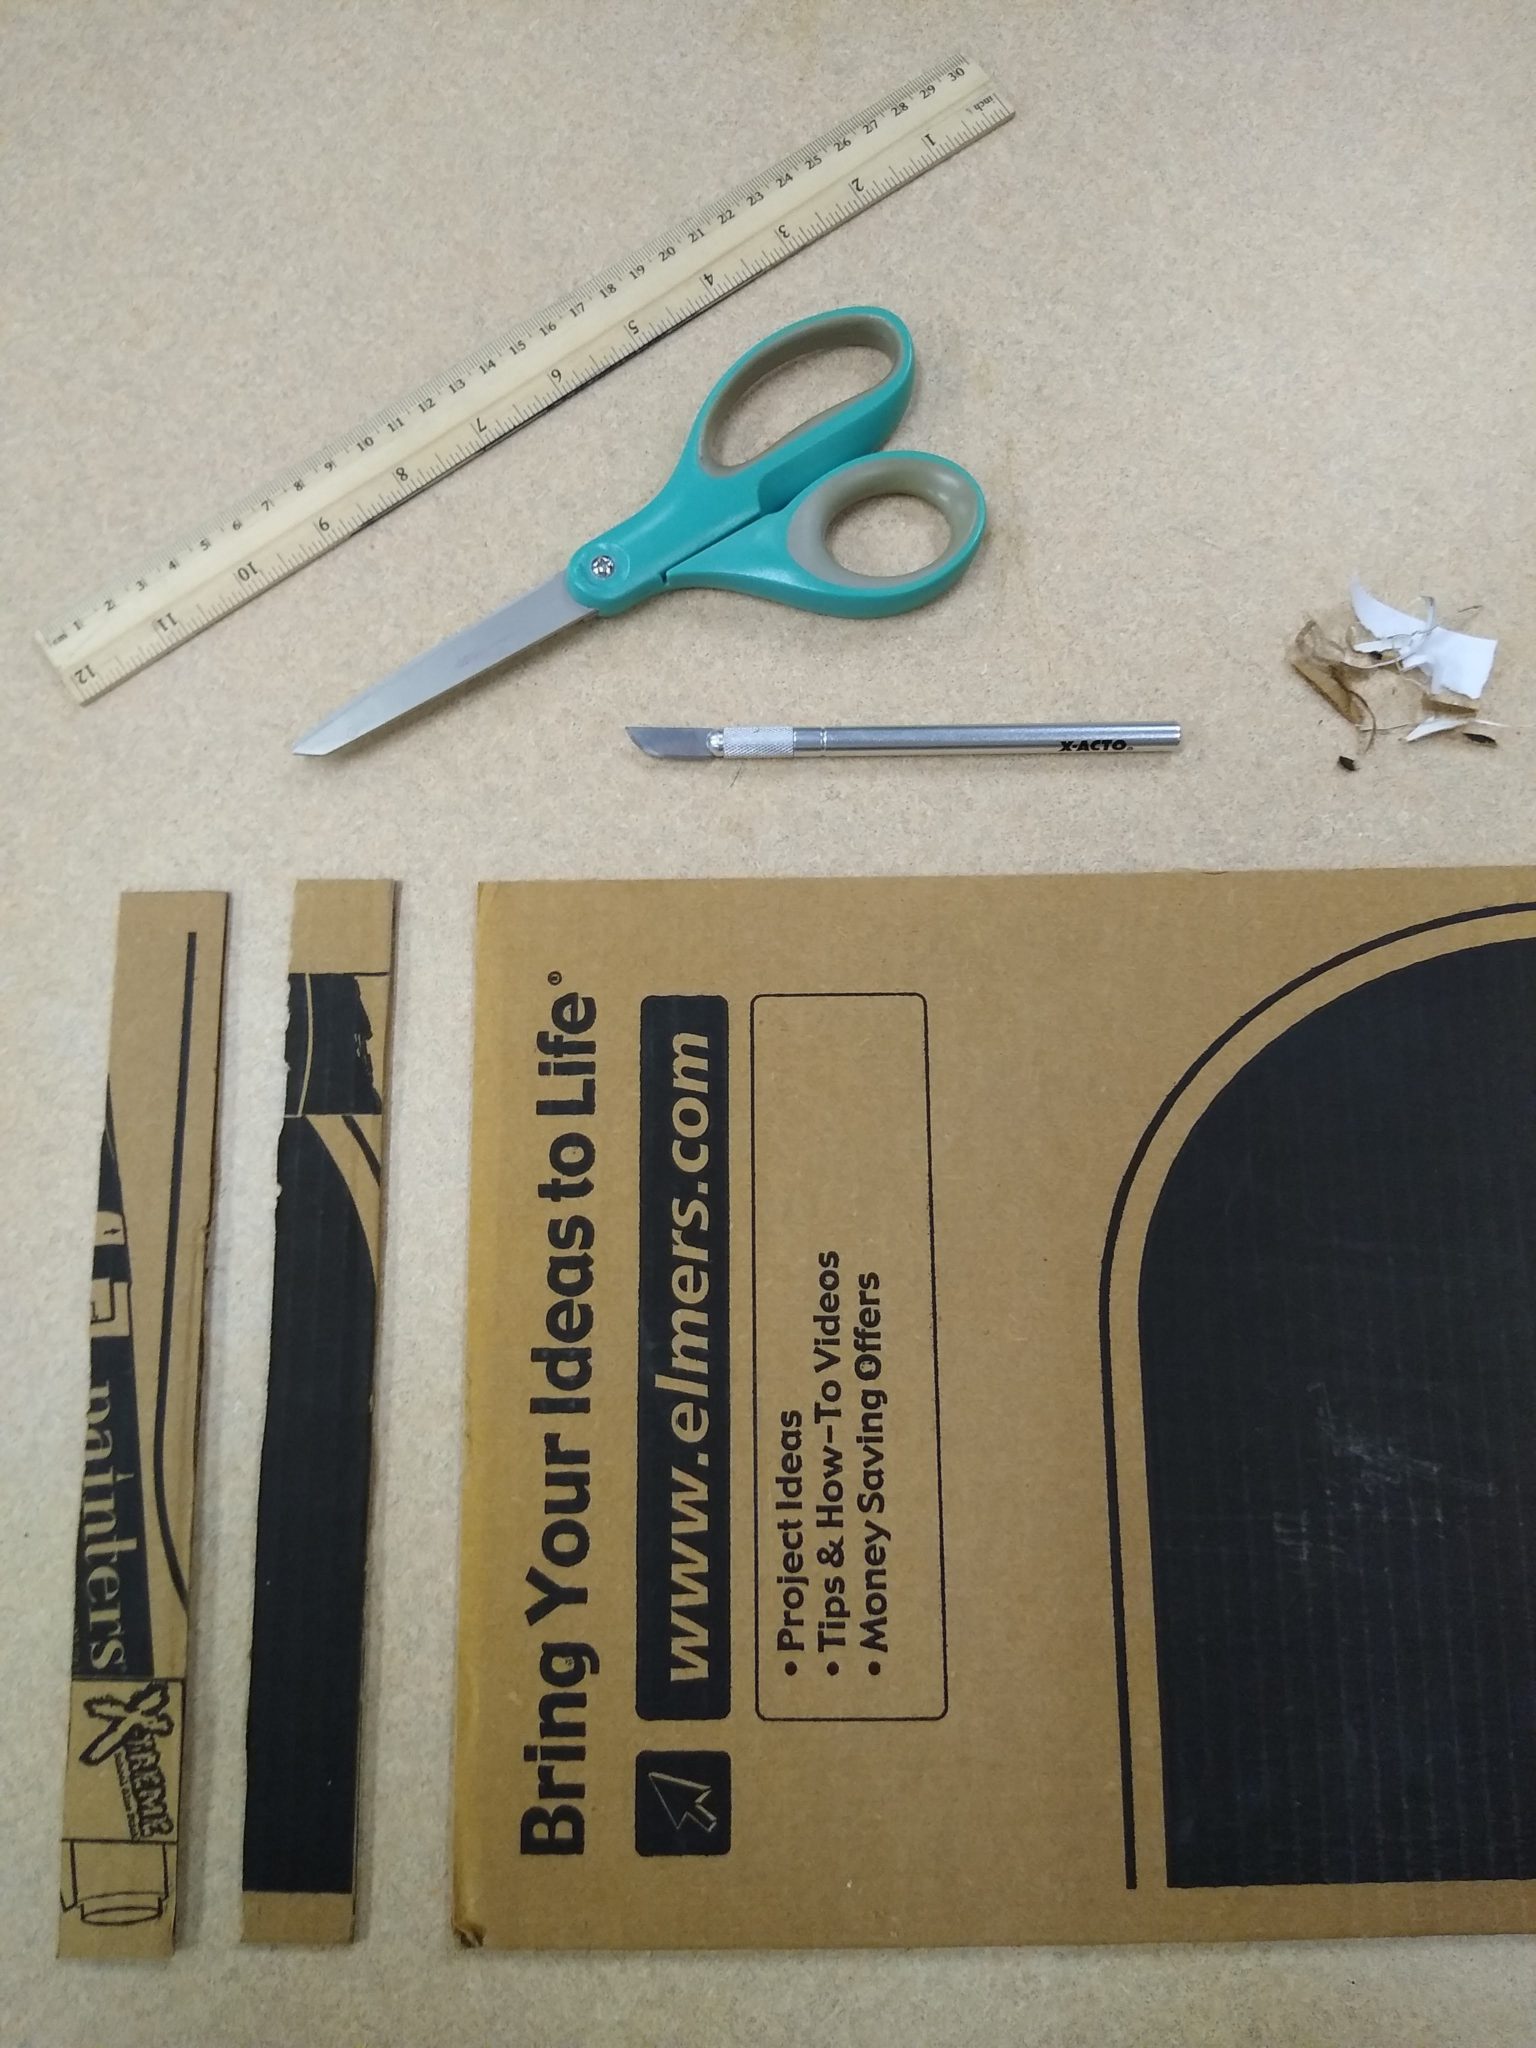
What You’ll Need:
- Large piece of cardboard
- Ruler
- Pen or pencil
- Scissors or X-Acto knife (Be sure to get an adult’s help if you’re using an X-Acto knife!)
- Craft glue
- Yarn of your choosing (This is a great opportunity to use those odds ‘n ends!)
- Masking or Scotch tape
- Plastic yarn needle
- Wooden dowel or dry stick about 12 inches long
- Hot glue gun with glue(optional)
Directions:
First, let’s make a simple loom out of spare cardboard.
I found that an old trifold presentation board worked well for me, but you can also use a large cardboard box. The loom is made up of three cardboard pieces total, as shown below. But don’t worry, I’ll break it down for you!
1) Measure and cut out a rectangle from your cardboard measuring 10 inches wide. The height can be as long as you want your finished product to be. This rectangle is the beginning of your loom!
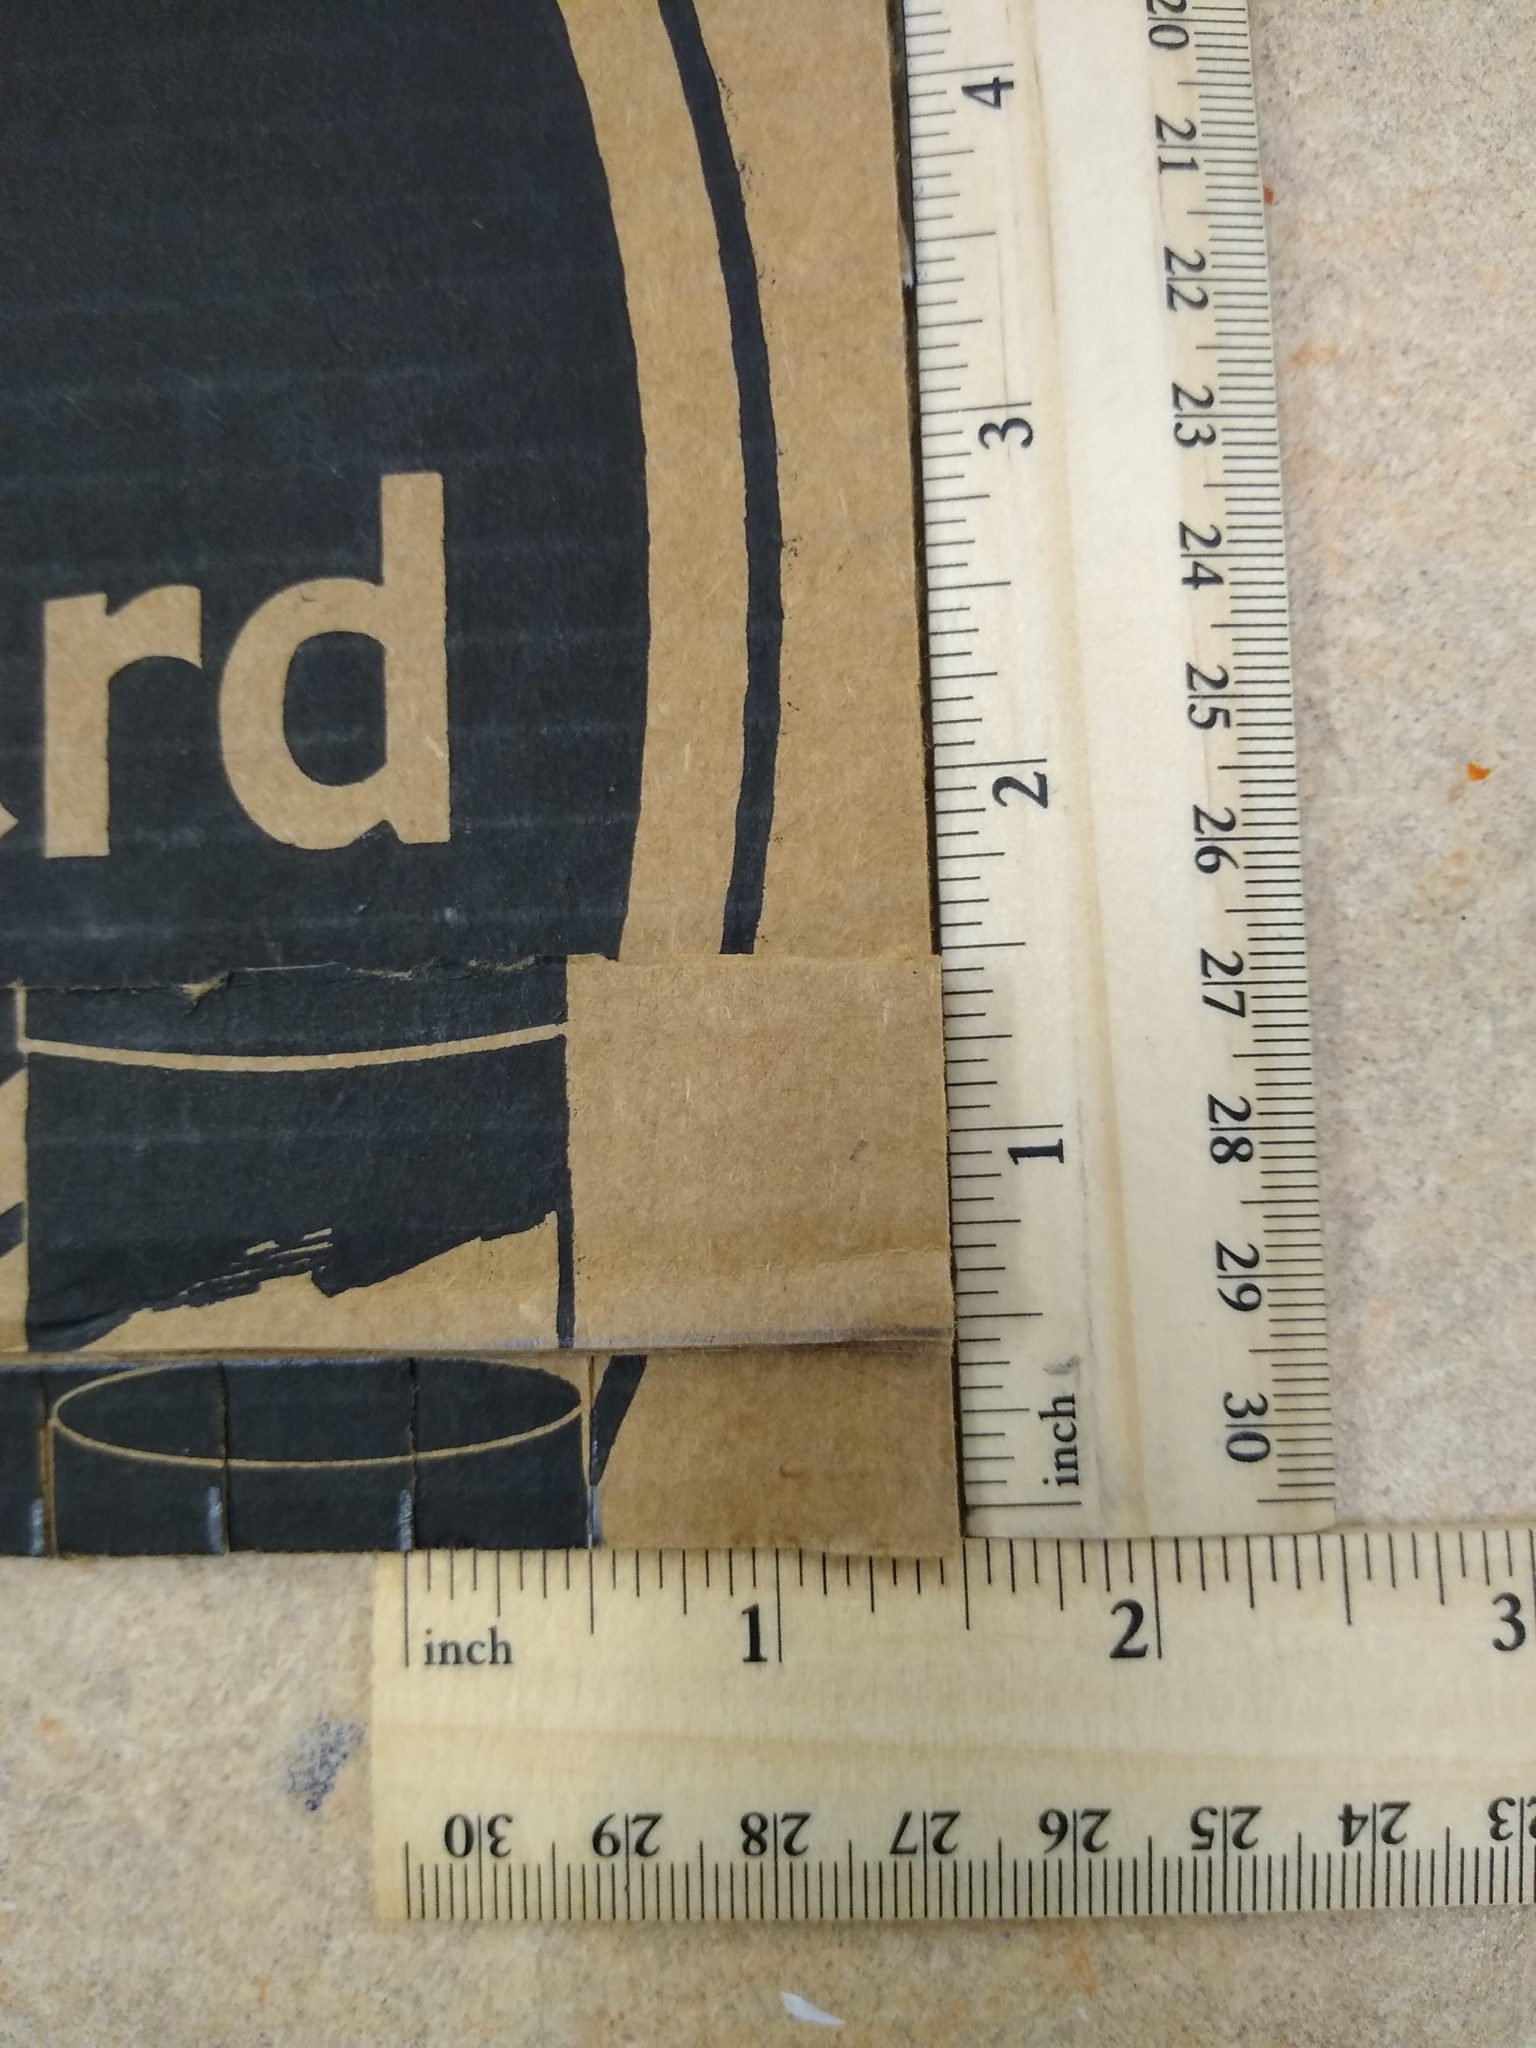
2) Using a ruler, measure 1/2 inch from the top of your cardboard rectangle and draw a straight line across. Repeat on the opposite end of your loom
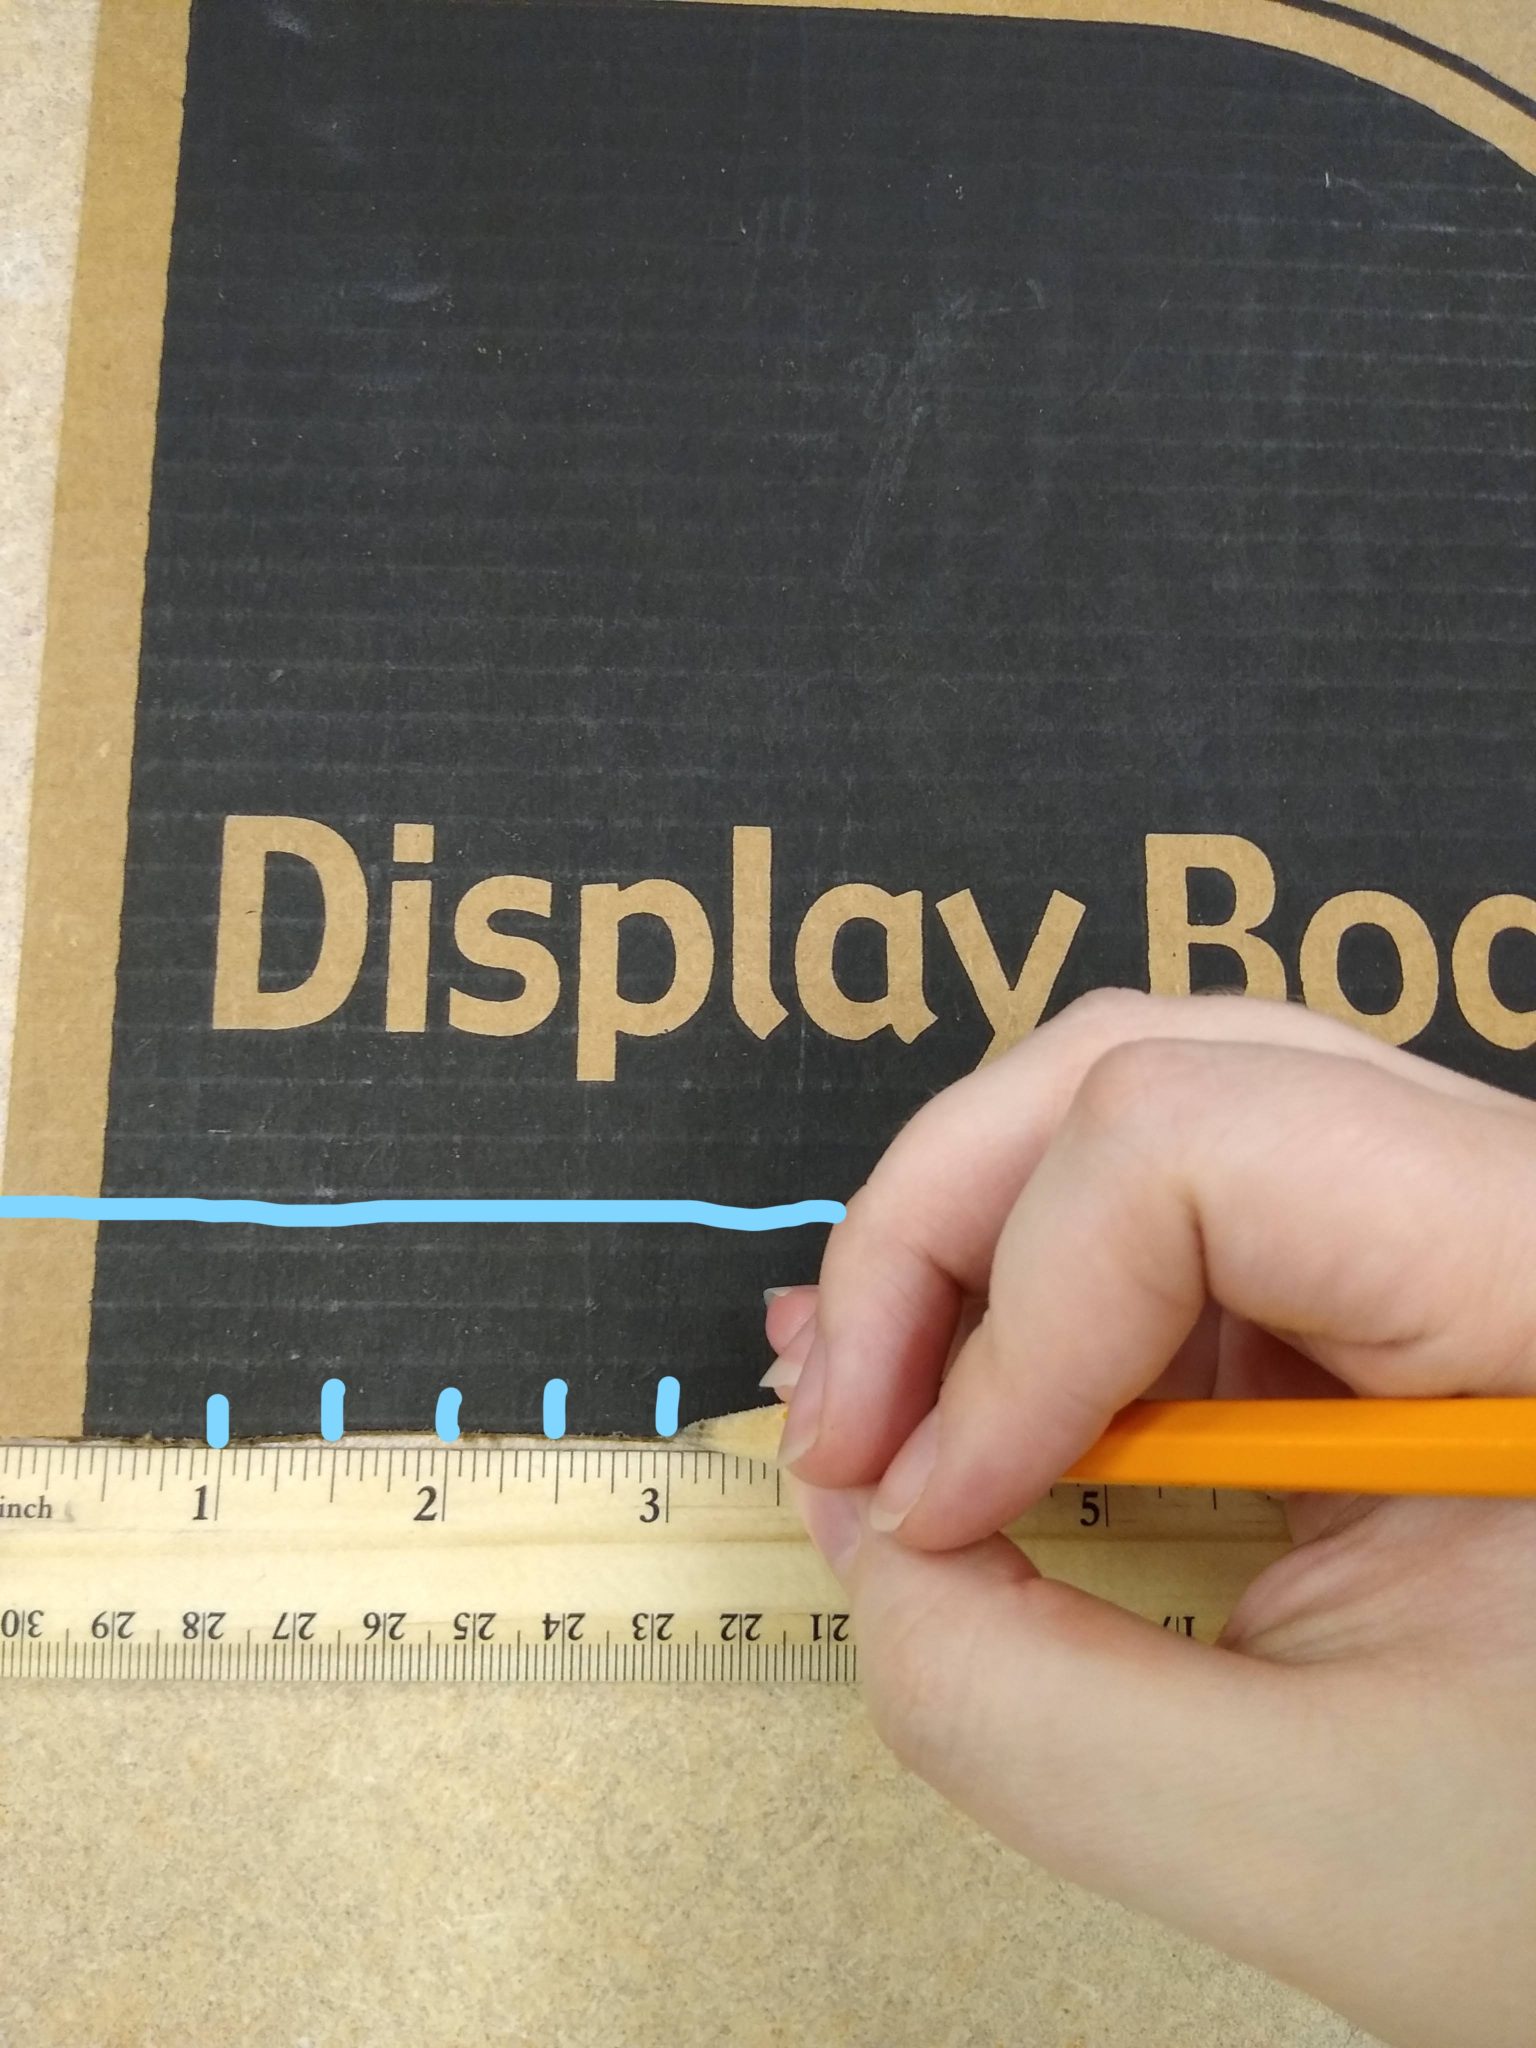
3) Line up your ruler along the bottom of the rectangle and draw a line 1 inch in. Following the ruler, draw notches every 1/2 inch until you have 16 notches total. Repeat on the opposite end of your loom. You should end up with 16 notches on each end of the loom.
4) Using scissors or an X-Acto knife, cut each notch up to the 1/2 inch line. Repeat with the notches on the opposite end of your loom.
5) Cut a cardboard strip, 1 inch long and 10 inches wide. Line up this piece with the 1/2 inch line, right above the notches you just cut, and glue it down. Cut a second cardboard piece of the same dimensions and glue it down on the opposite end of your loom, right above the notches. These cardboard strips will help keep your weaving in place.
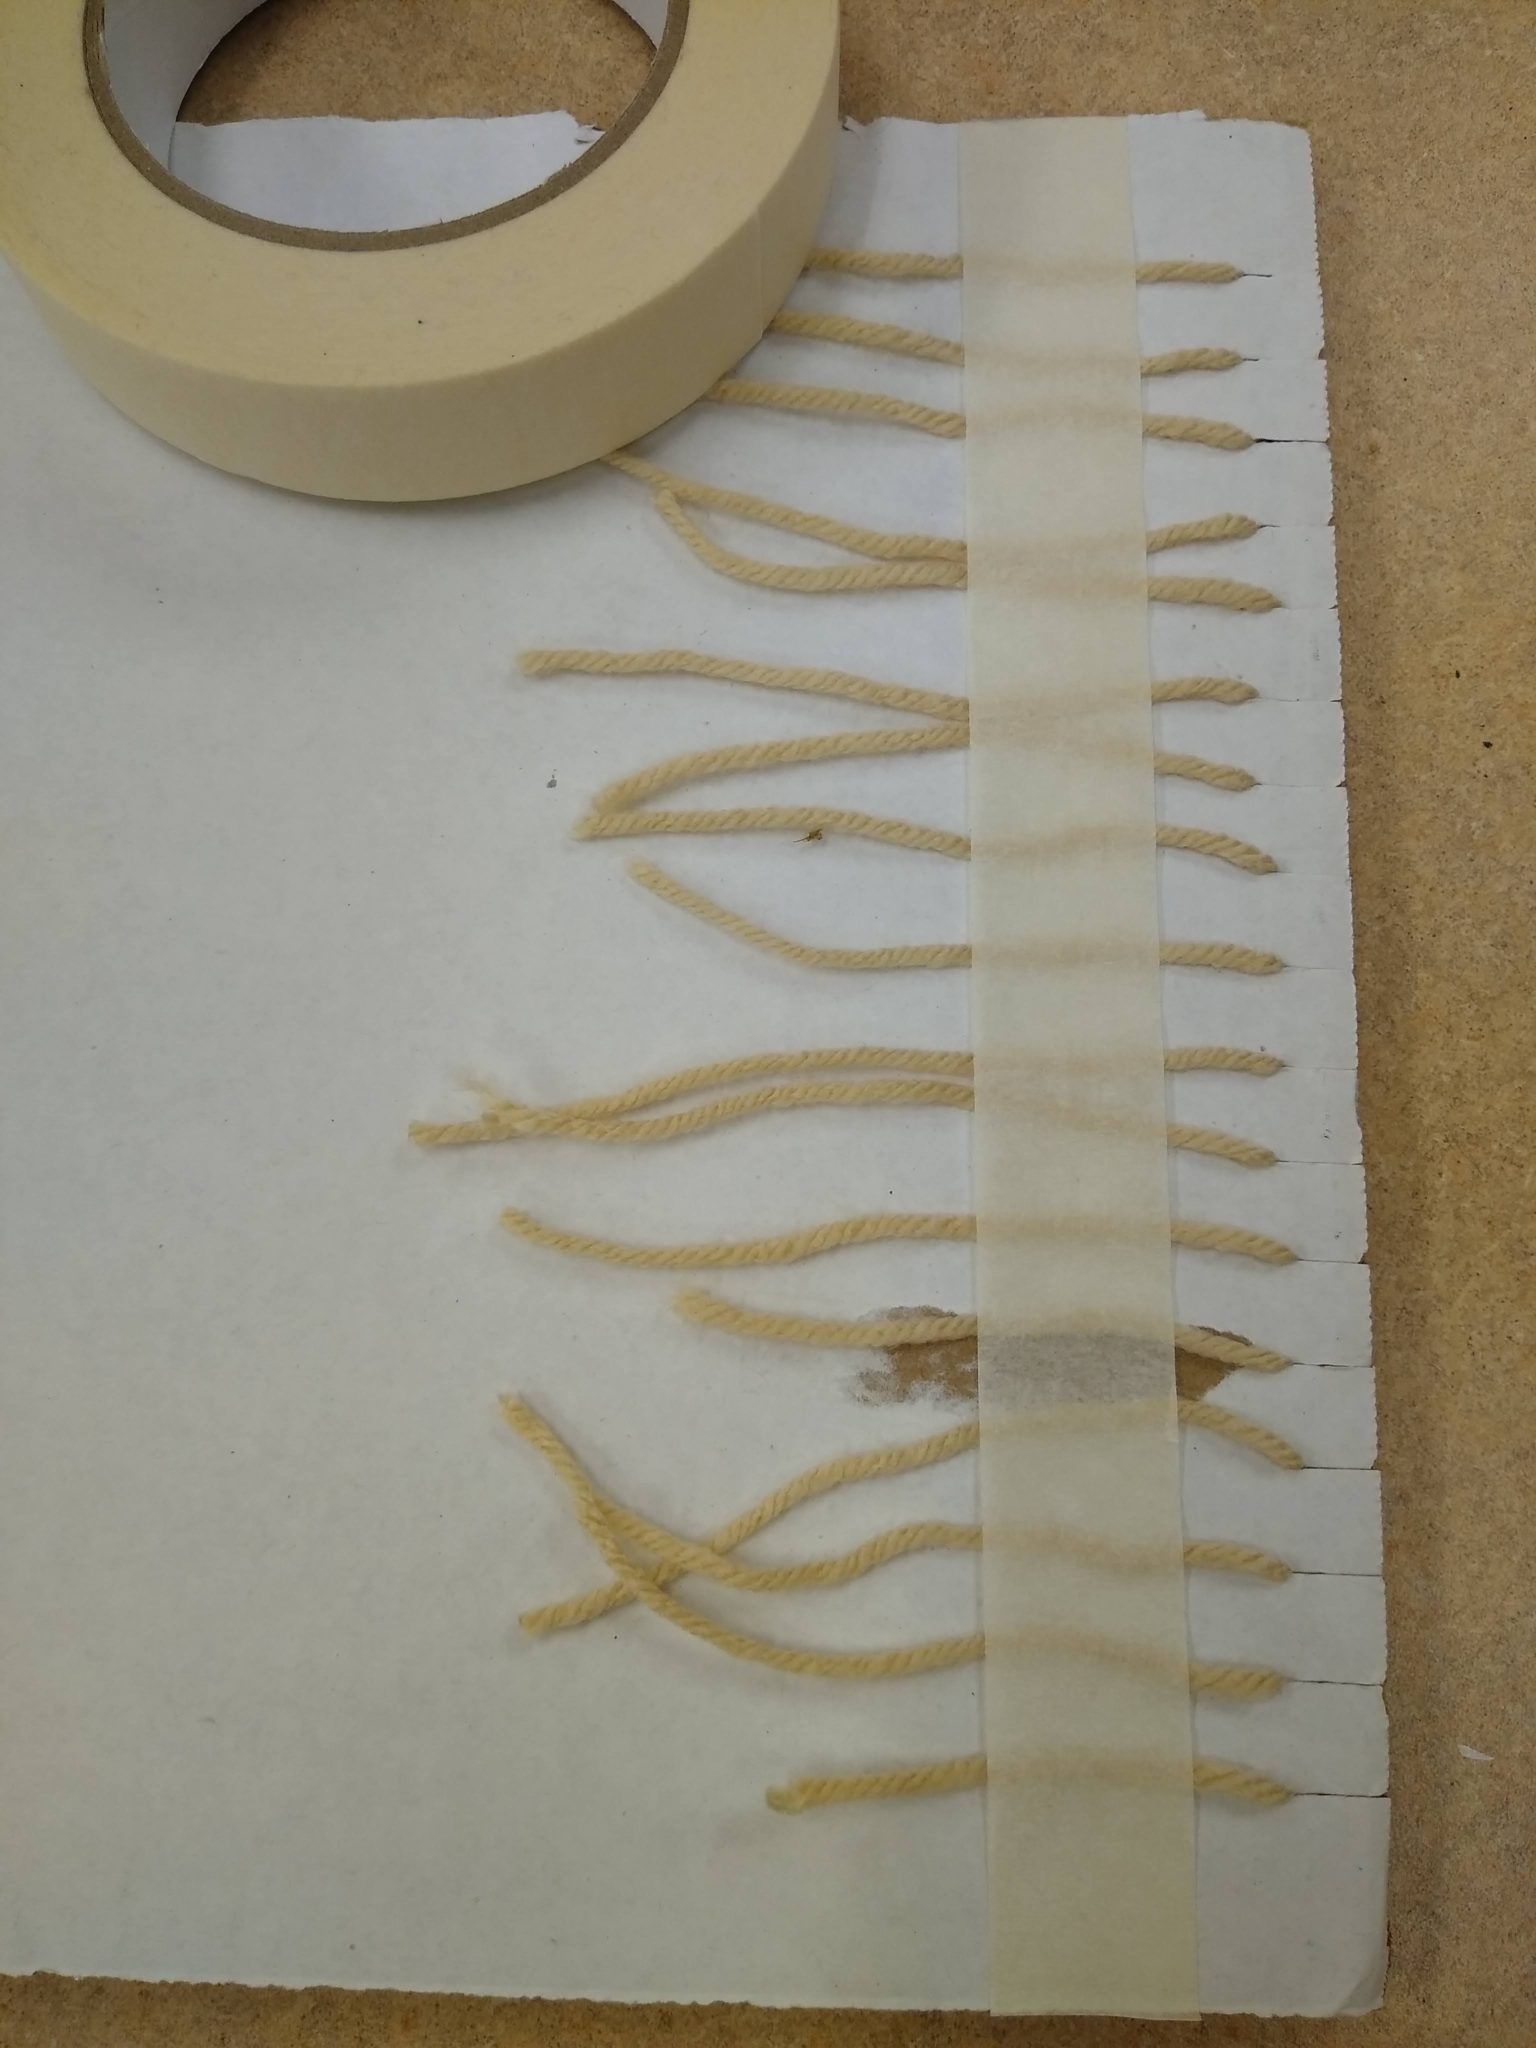
6) Now it’s time to create the warp on your loom. These are the yarns that run down the length of the loom. Cut 16 pieces of yarn measuring about 4 inches longer than the length of your loom. You can use any color of yarn you wish, but I opted for a neutral white to create my warp.
7) Slide one piece of yarn into each of the top notches and pull down to secure in the corresponding bottom notches. The yarn should be fairly tight but not stretched!

8) Turn over your loom and carefully tape down the ends of each of your warp yarns to the back. One long, 10-inch piece of tape stretching across the entire width of the loom should be enough. Repeat on the opposite end of your loom.
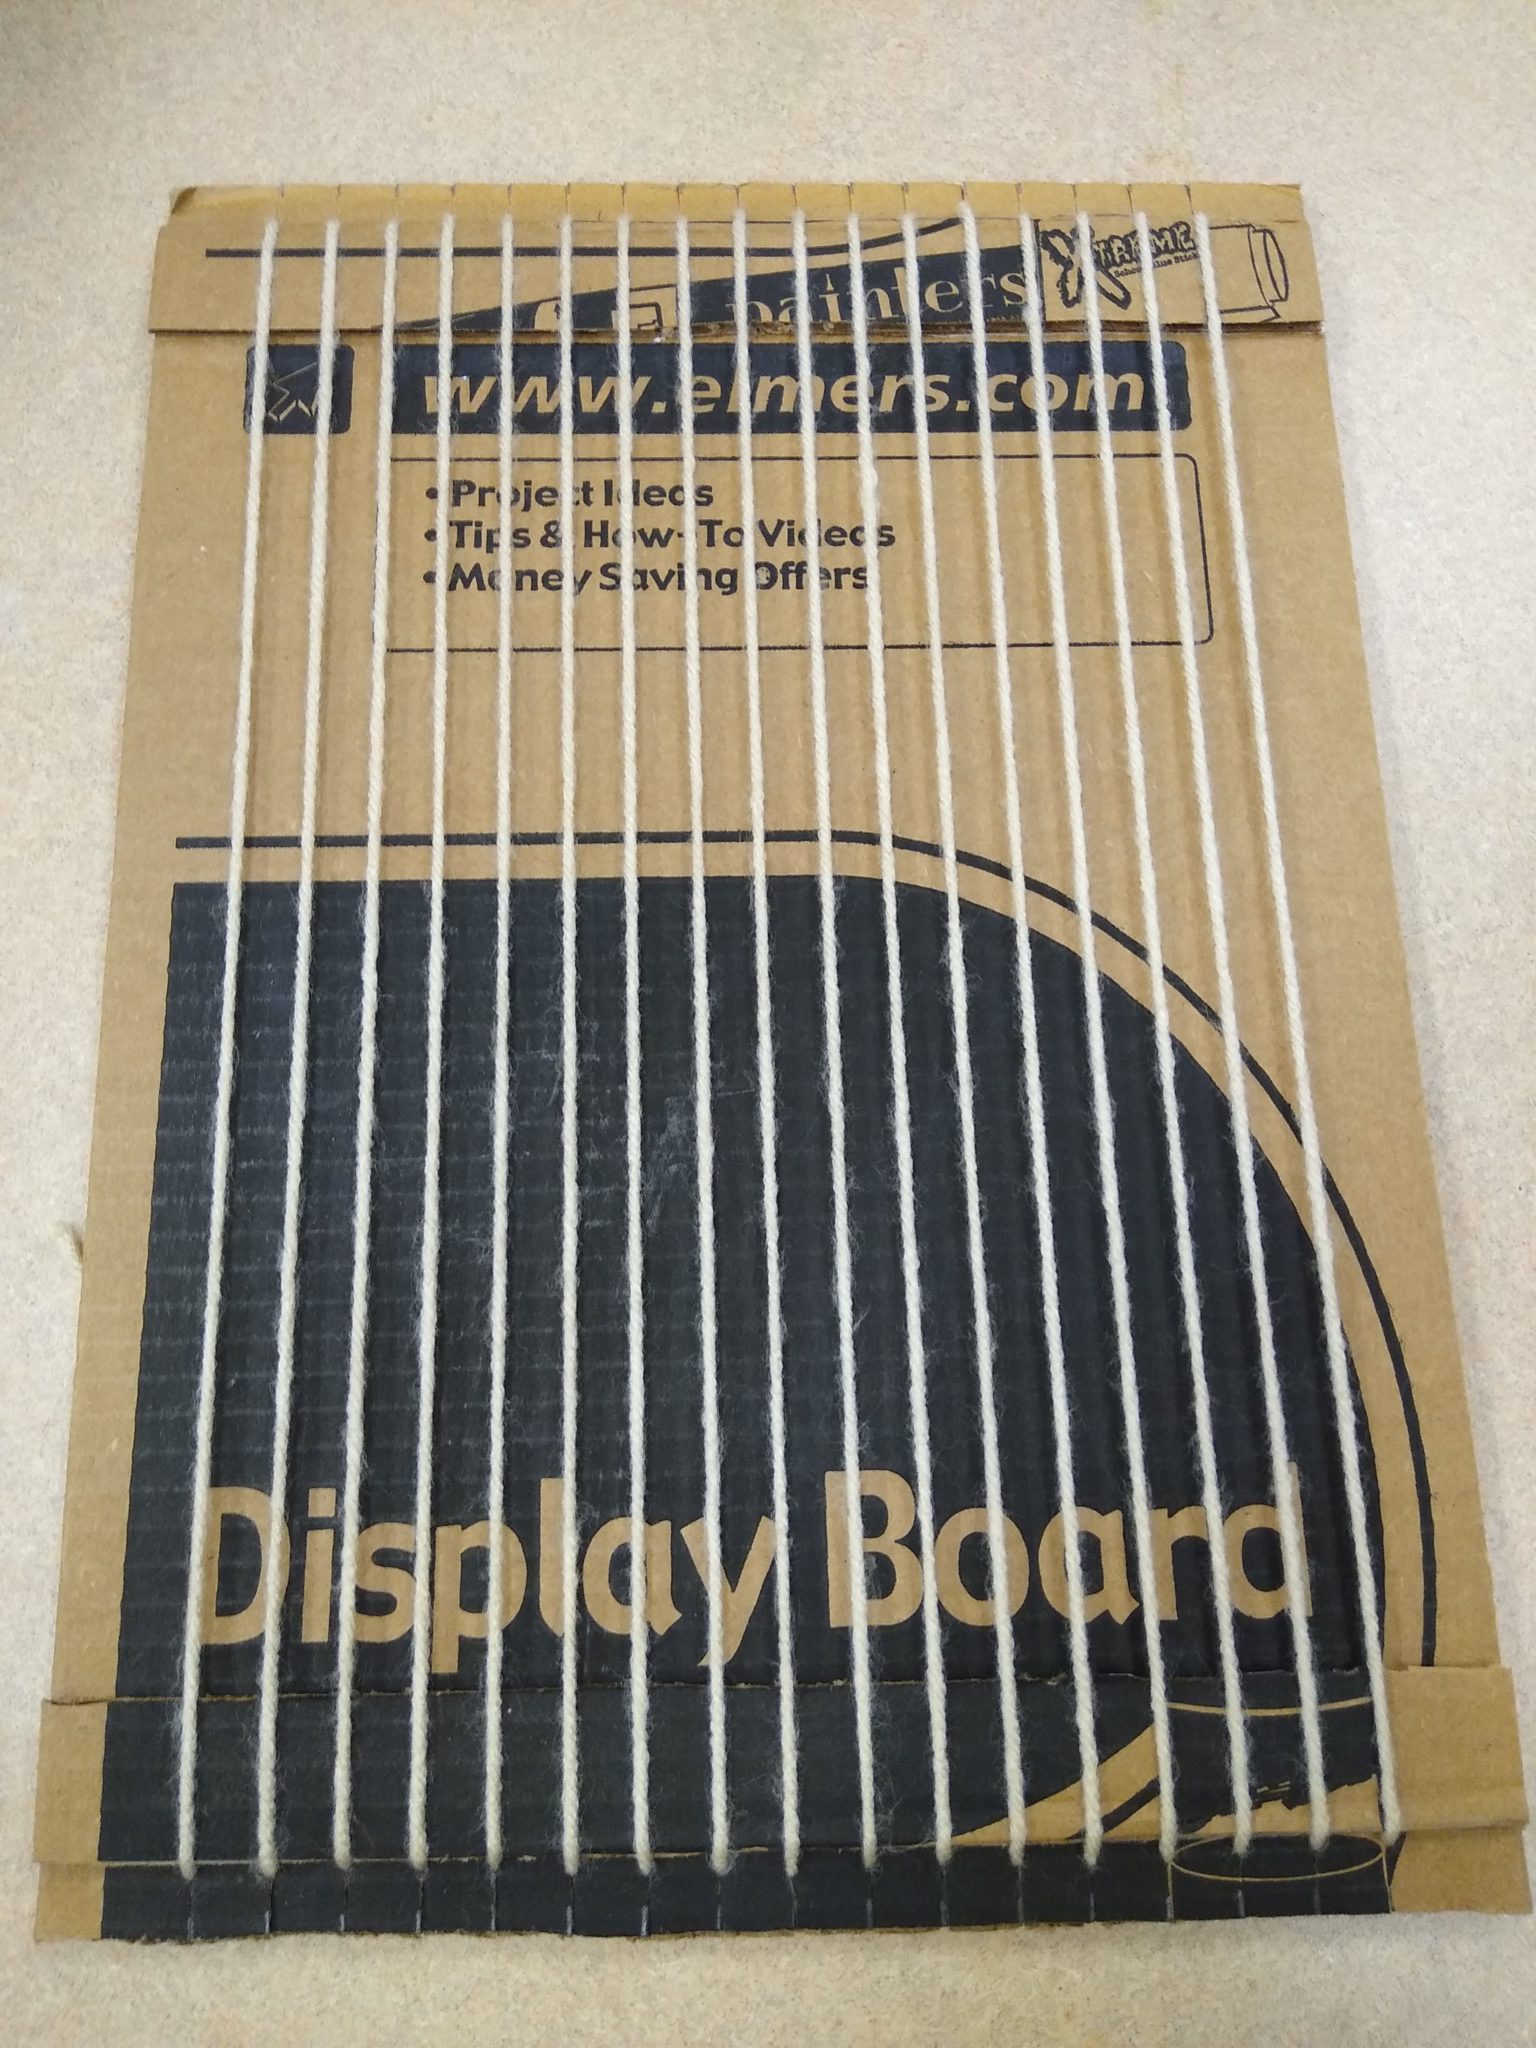
At this point, this is what your loom should look like:
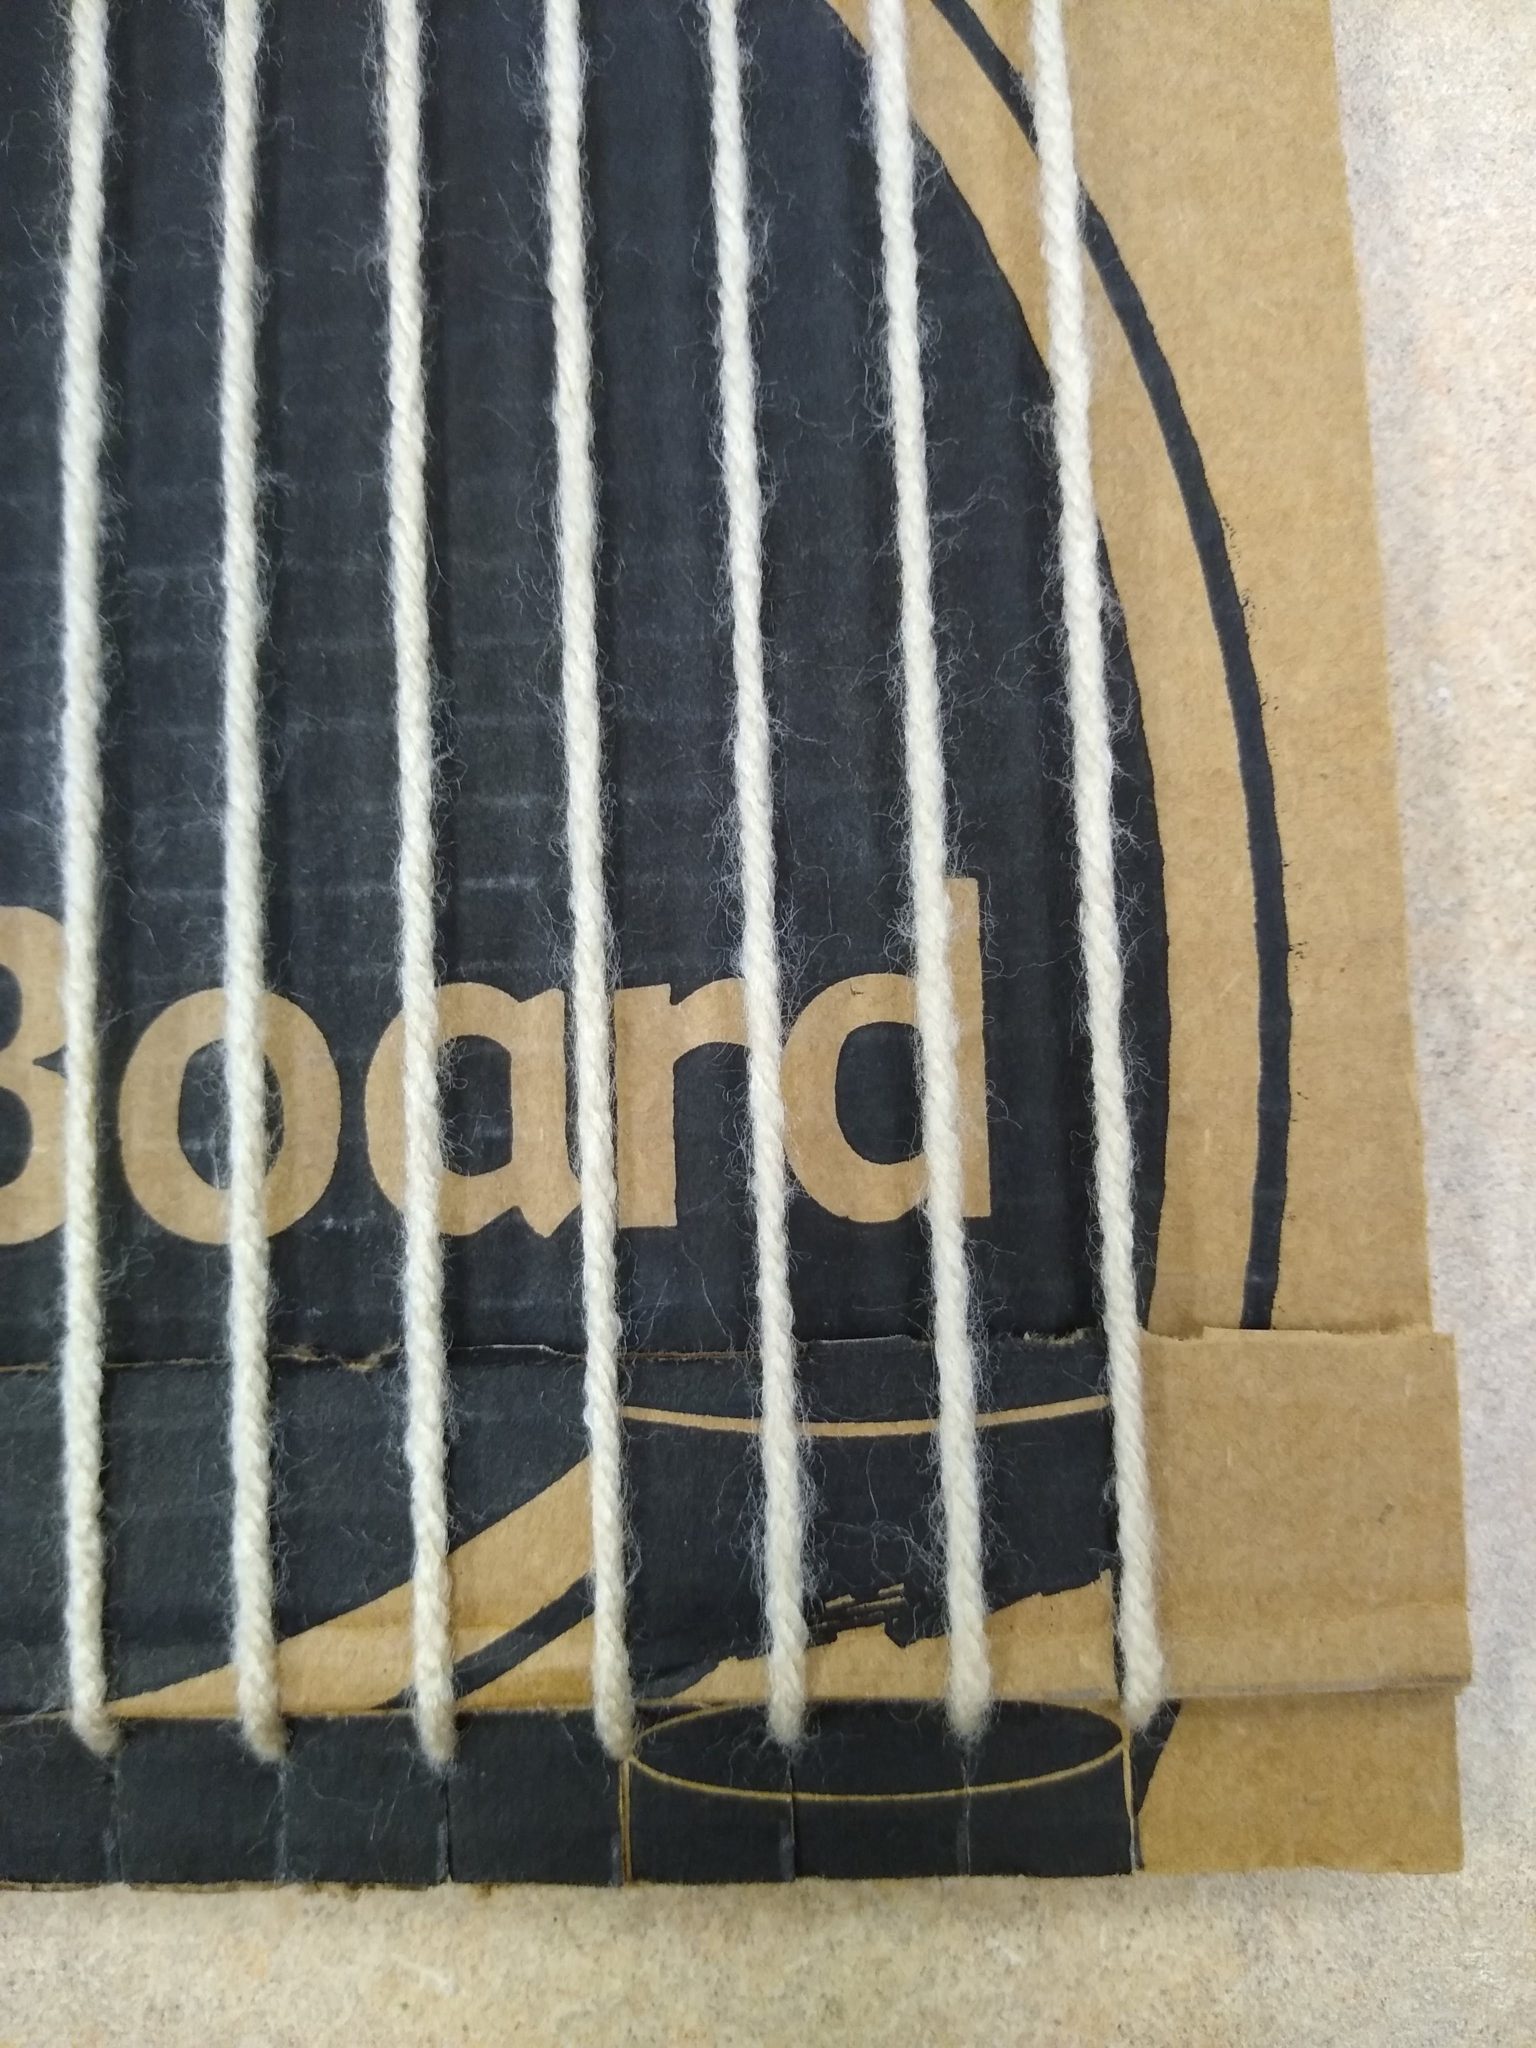
…and here is a close-up view:
Time to get weaving!
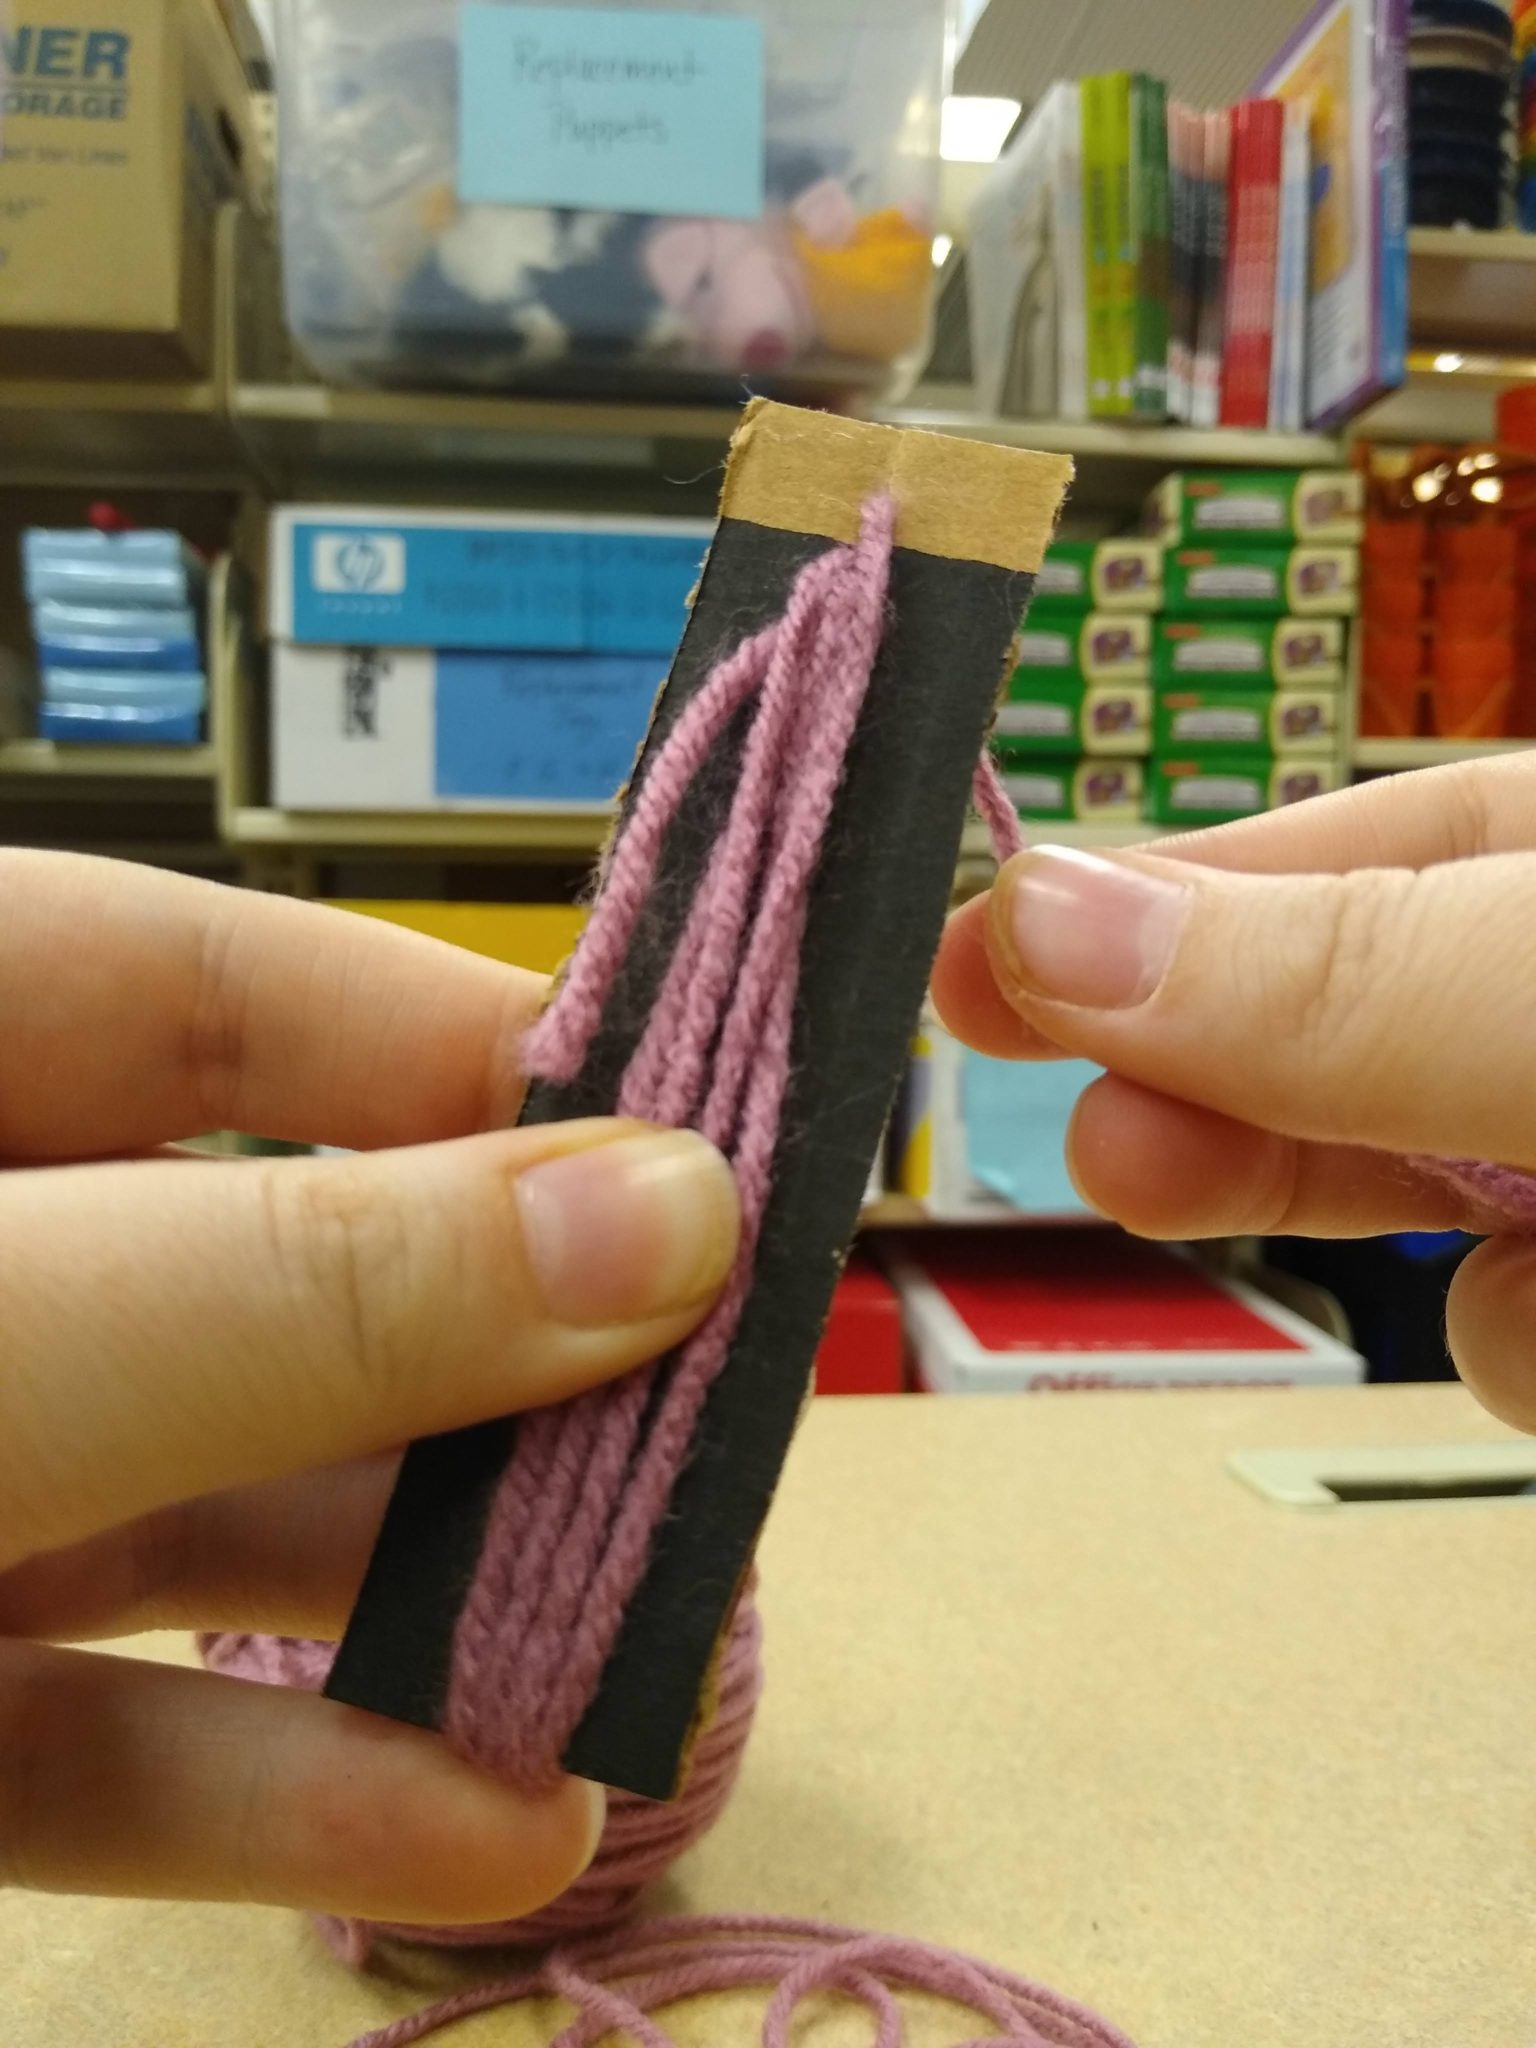
Let’s start by making a shuttle. This device will hold the yarn as we weave to create the weft.
1) Cut a piece of cardboard 11/2 inches wide and about 5 inches long. Cut a 1/2 inch notch on each end.
2) Cut a piece of yarn in your desired color. Keep in mind that each row of your weaving will be about eight inches wide. A long piece of yarn will create a thick band of that color, while a shorter piece will create a thinner band. You may need to do a little quick multiplication here to determine how long your piece of yarn should be!
It’s up to you whether you want your bands of color to be the same thickness or if you want to have a good mix of thick and thin bands. I decided to go for a mix. So each time I loaded up my shuttle with a new color, I chose to cut more or less yarn depending on how thick or thin I wanted the band of color to be.
3) Once you’ve cut your yarn, it’s time to load up the shuttle. Slide one end of the yarn through the top notch and begin wrapping your yarn around the length of the shuttle, sliding your yarn into the notches as you go around.
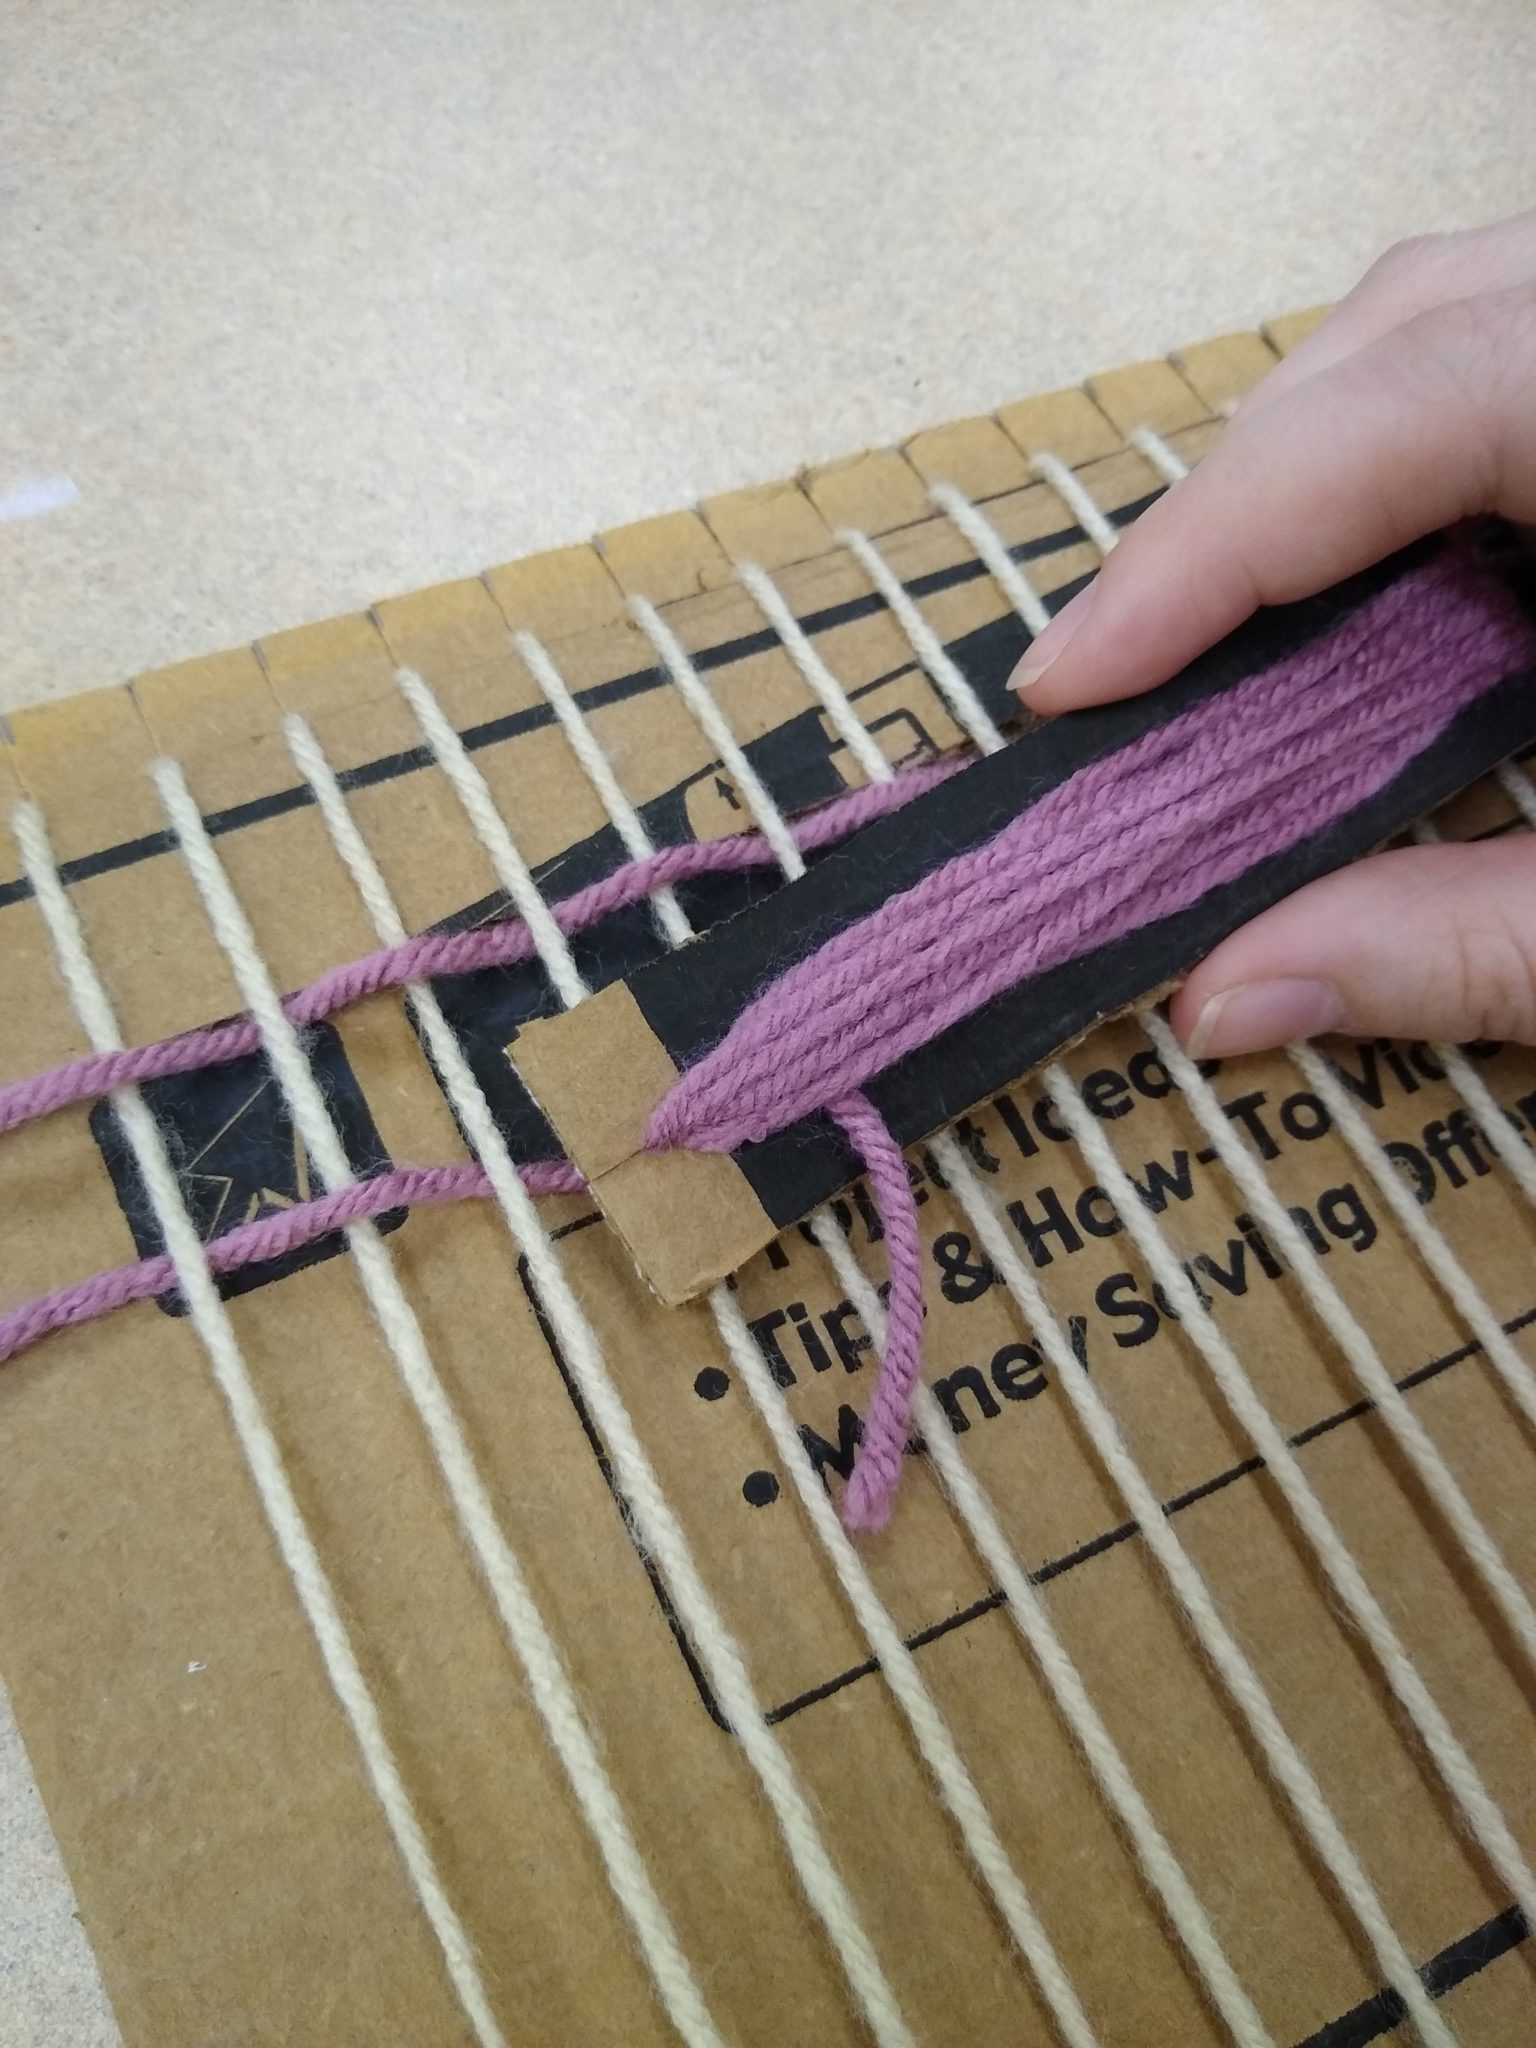
4) Once you’ve loaded up your shuttle with your first color of yarn, secure the end of the yarn by tying it to the first warp yarn with a quick knot. Leave a tail a few inches long. (Once you’ve woven a few rows, things should stay nice and secure, and you shouldn’t have to worry about any unraveling!)
5) Begin weaving by using your shuttle to weave over and under the warp yarns. Keep things fairly loose, and try not to pull your yarn too tight! It’s okay if your weaving starts the scrunch up in the middle a little bit, but try your best to keep things loose and even.
6) When you reach the end of each row, use your fingers to push up the yarn. Then reverse your over-under pattern and keep weaving. It’s easy to tell if you’re not getting the pattern right — your last row will come undone! As you weave, you’ll need to unravel some yarn from the shuttle every so often.
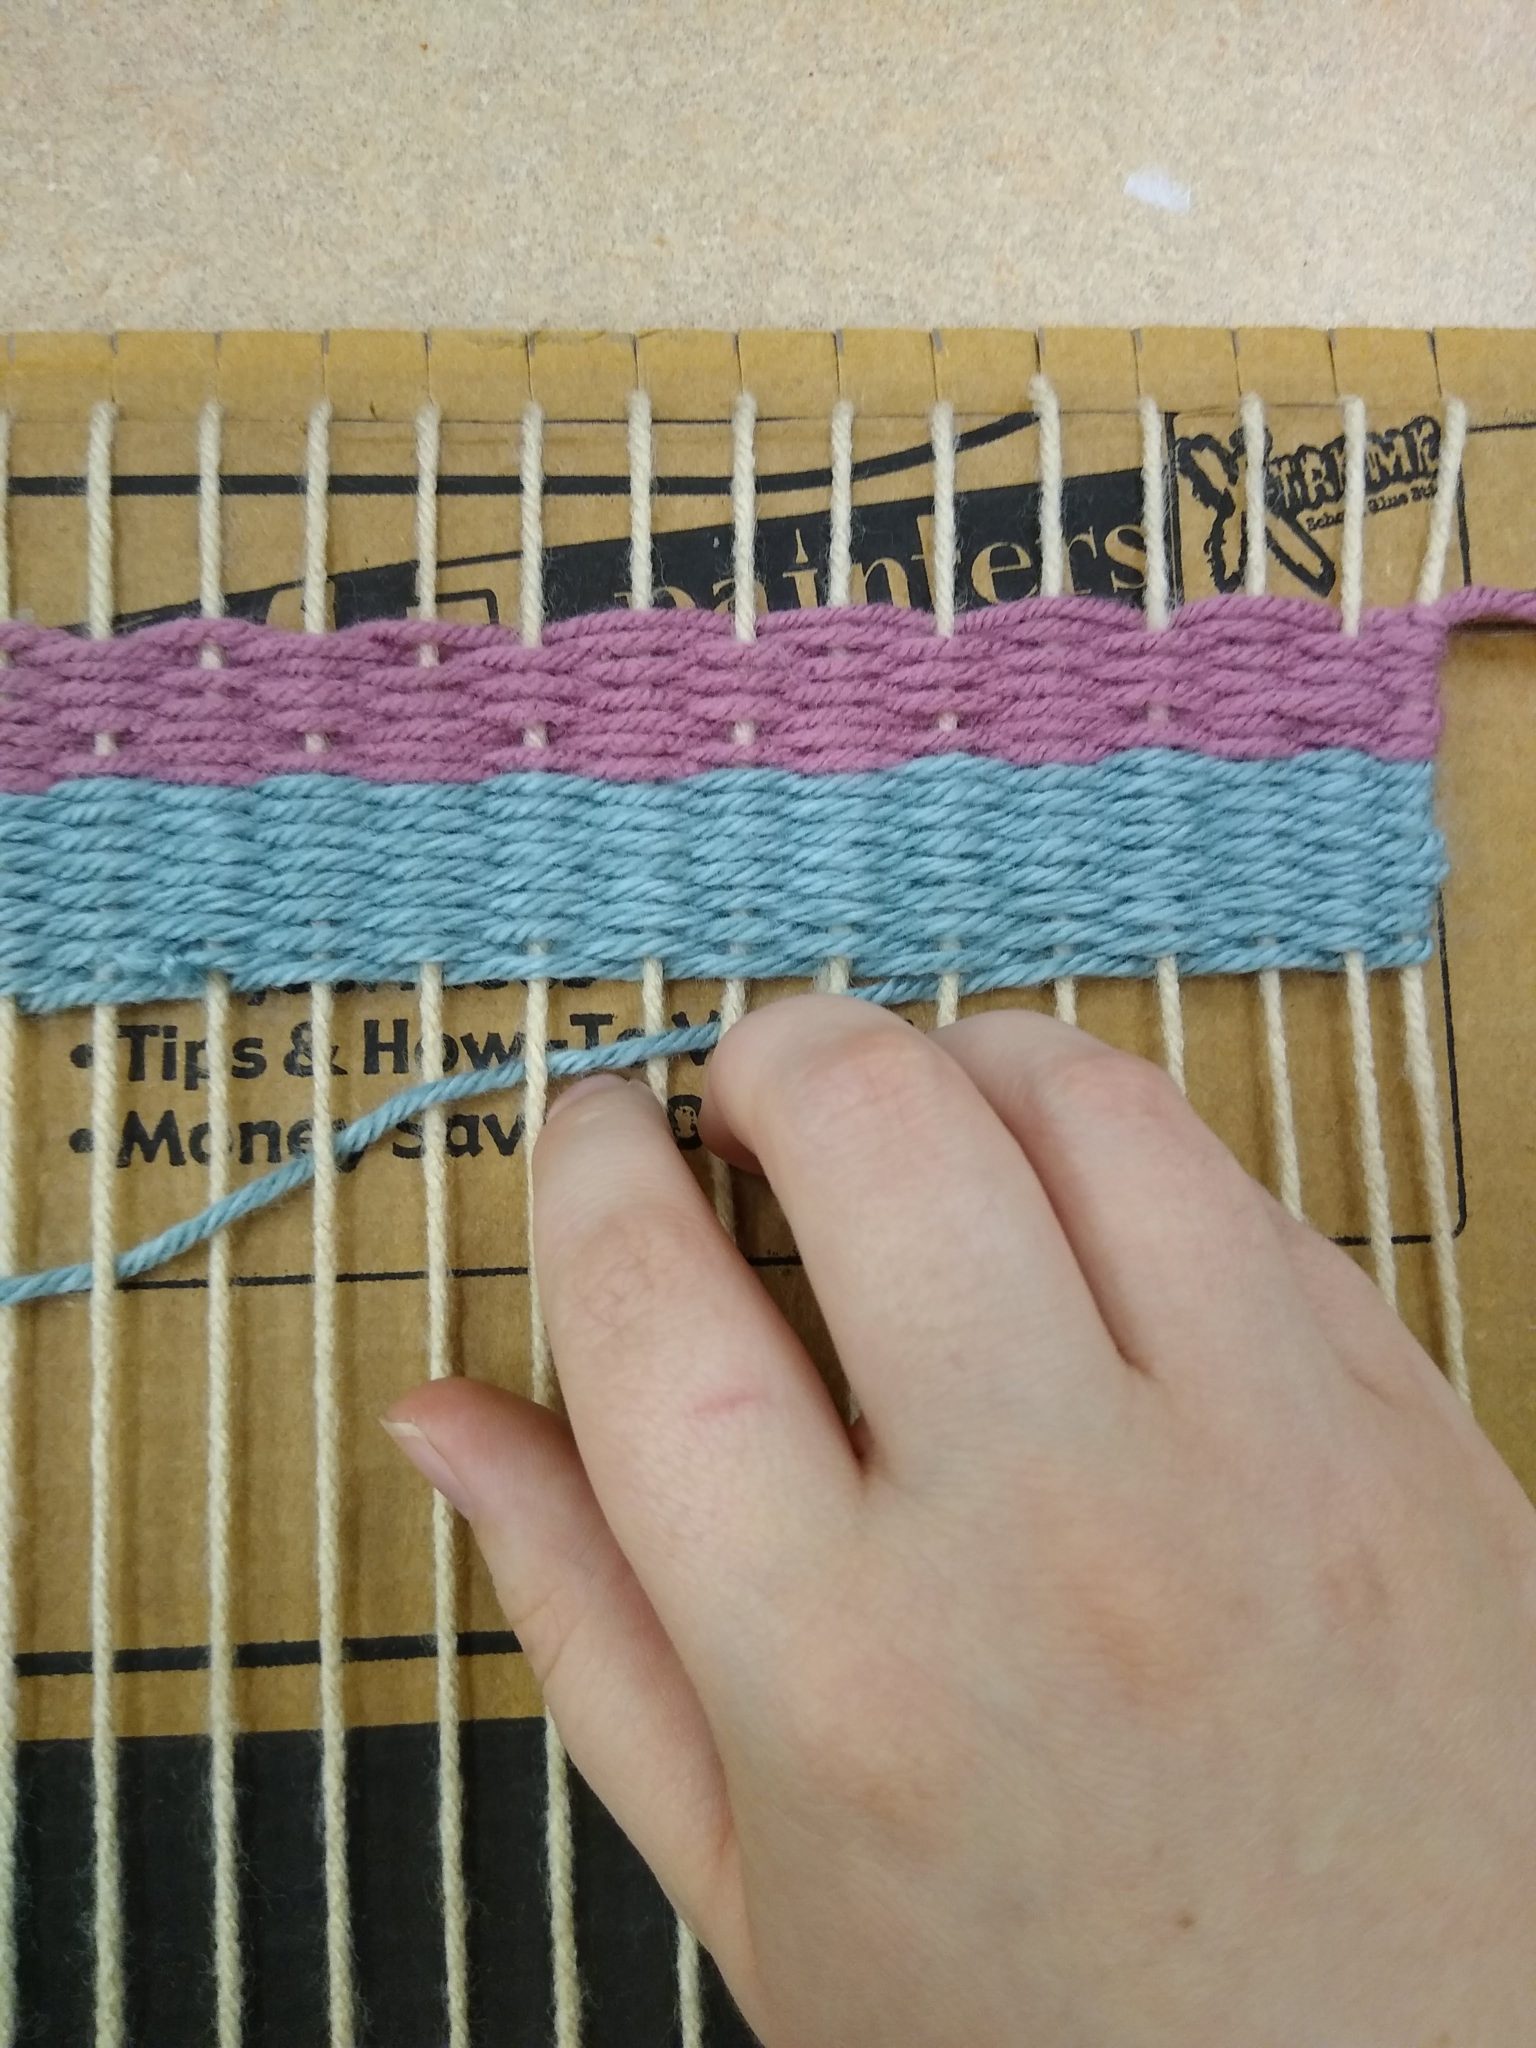
7) Once your shuttle is running low on yarn, and you’re done with your first color, you can tie another quick knot to the warp yarn at the end of the row. Again, leave a tail a few inches long.
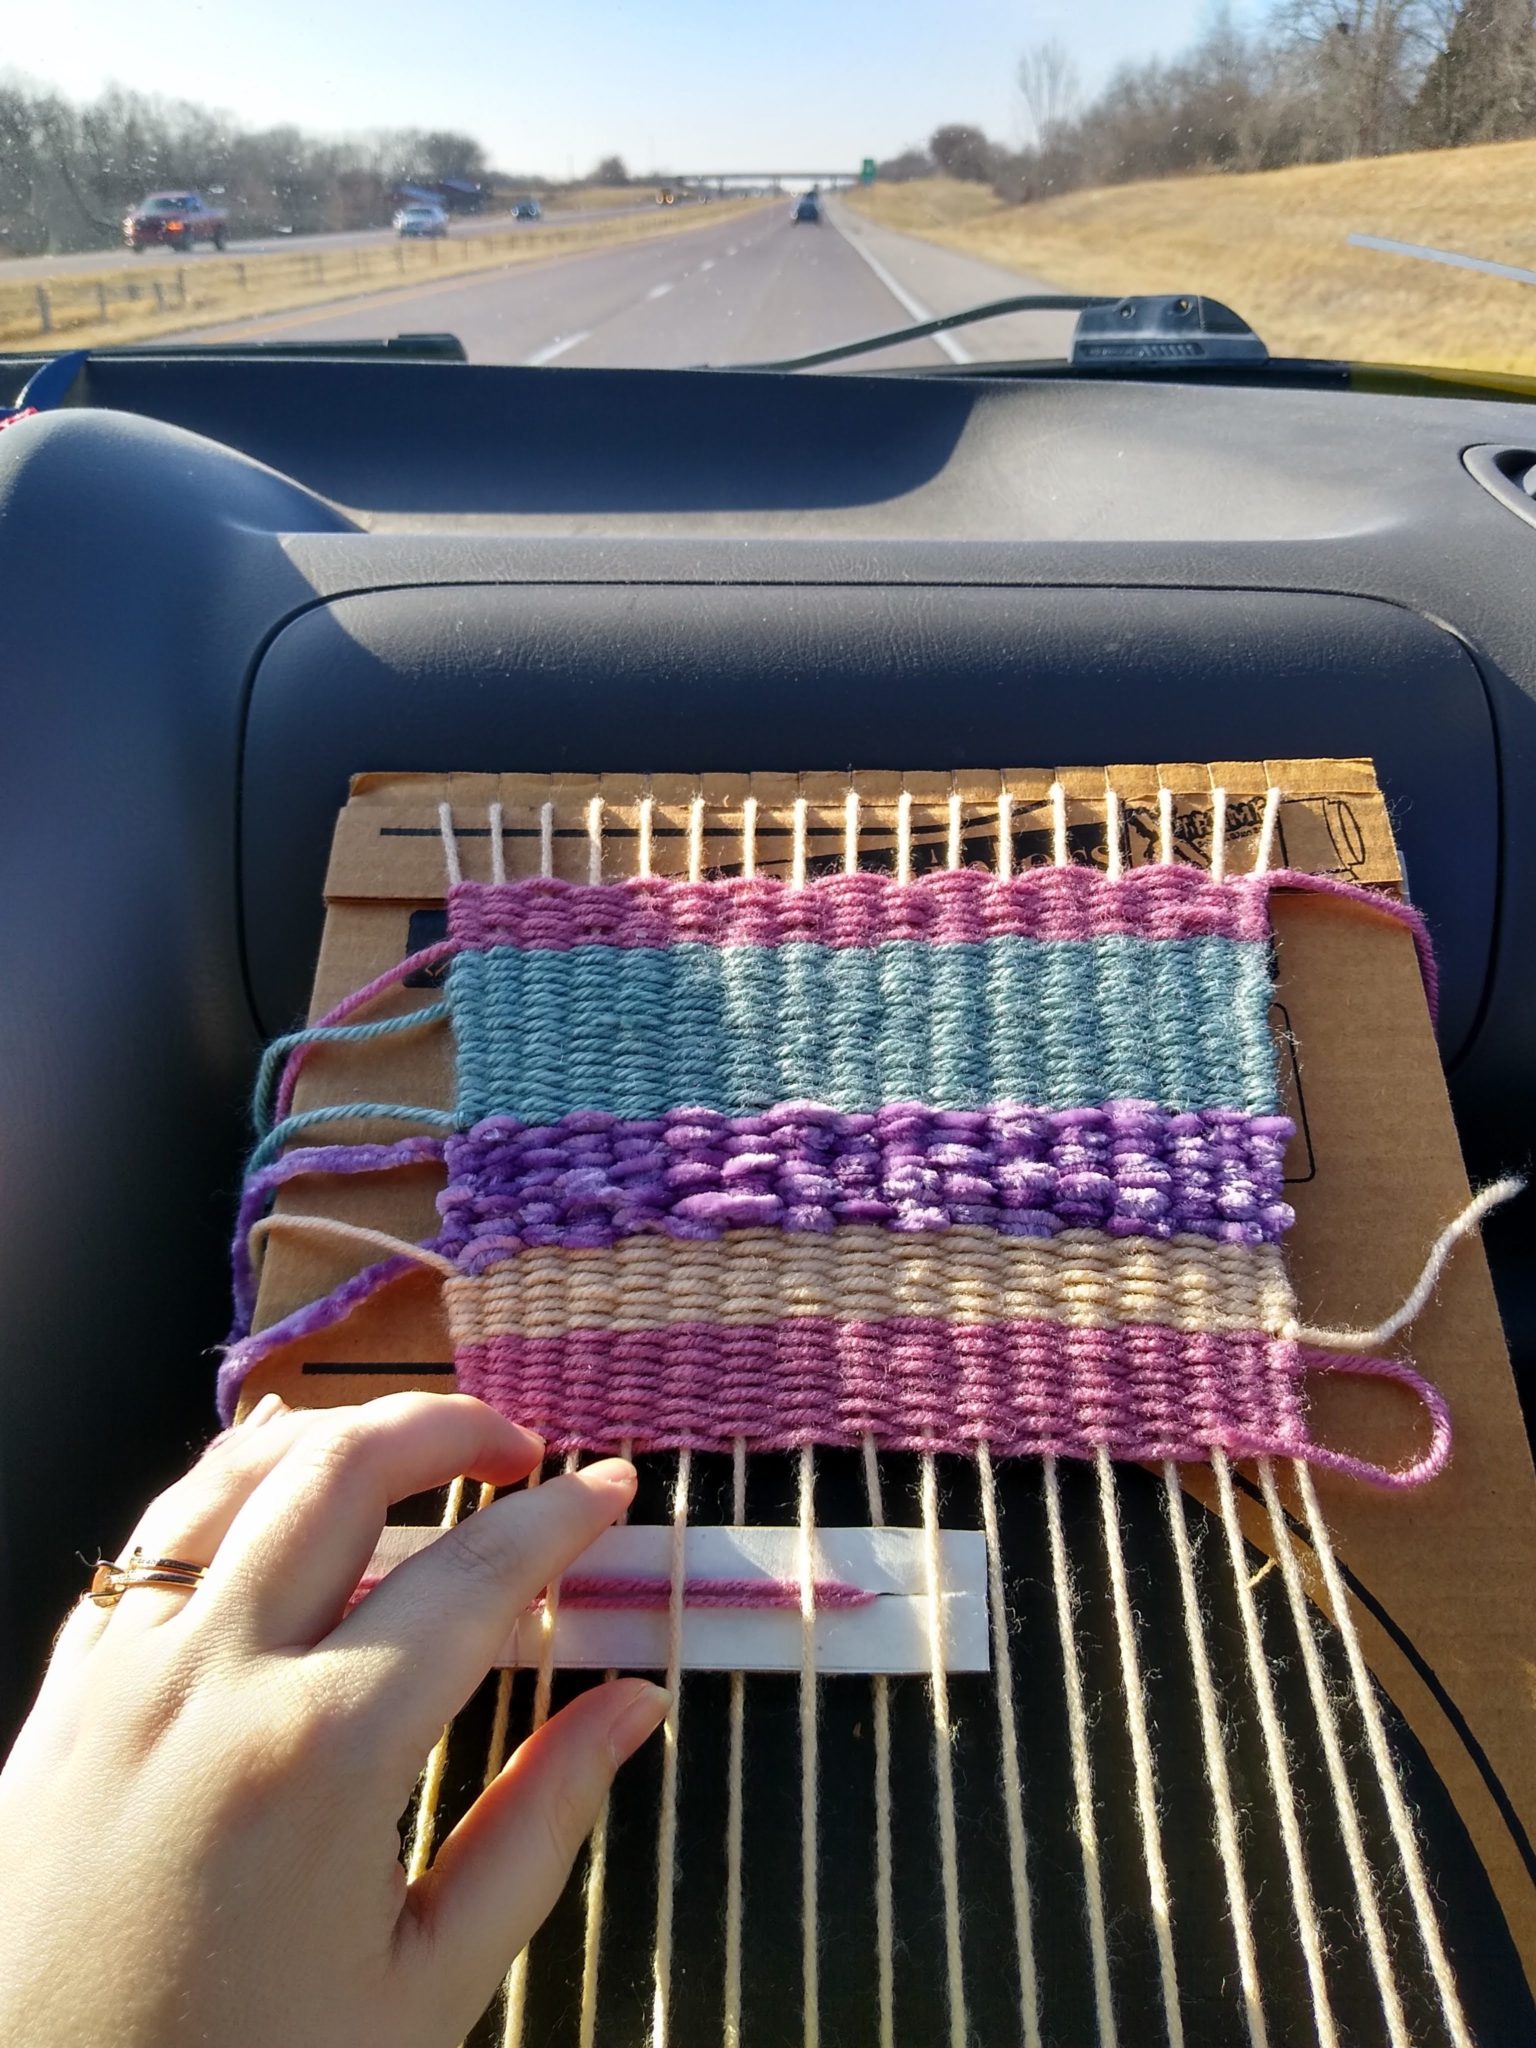
8) Cut your next color of yarn, load up your shuttle again and repeat your over-under pattern. Repeat for each new band of color. Congratulations, you’re weaving now!
We’re almost done! Time for the finishing touches.
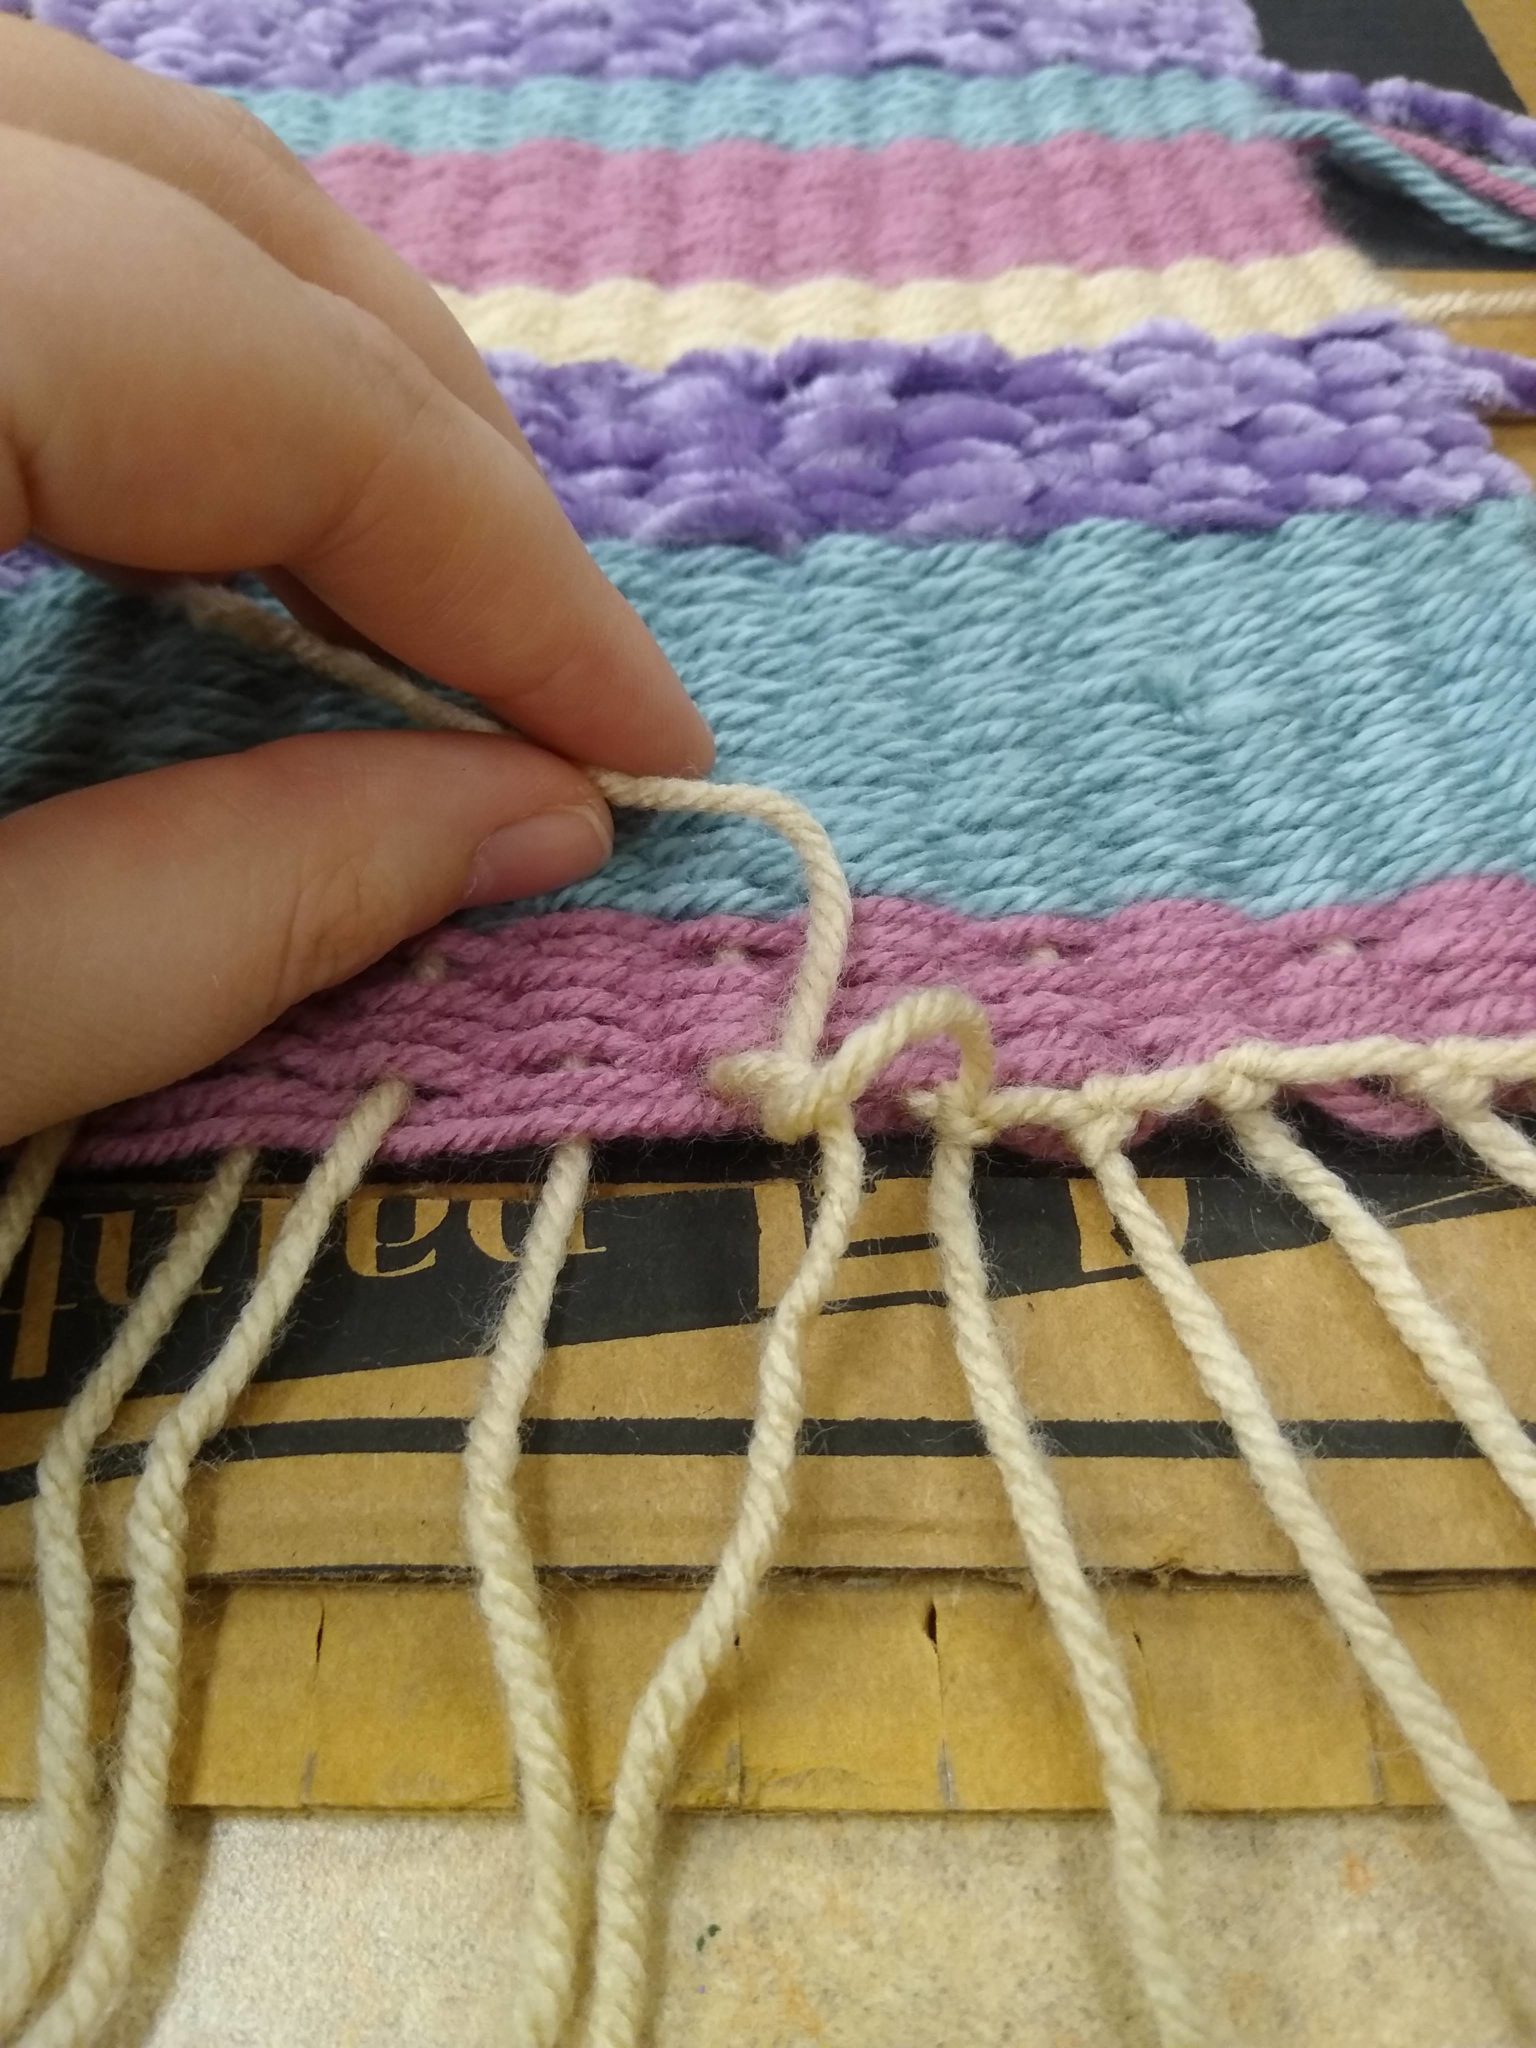
1) Once you’ve woven down to the bottom of your loom and tied off your last row, turn over your loom and carefully remove the tape from the back. Gently remove your weaving from the loom by pulling the warp threads out of their notches.
2) Secure your weaving by tying the warp yarns together with a double knot. Tie yarn #1 to #2, #3 to #4, and so on. Once again, keep things loose and even to to prevent your weaving from scrunching up. Repeat on the opposite end of your weaving.
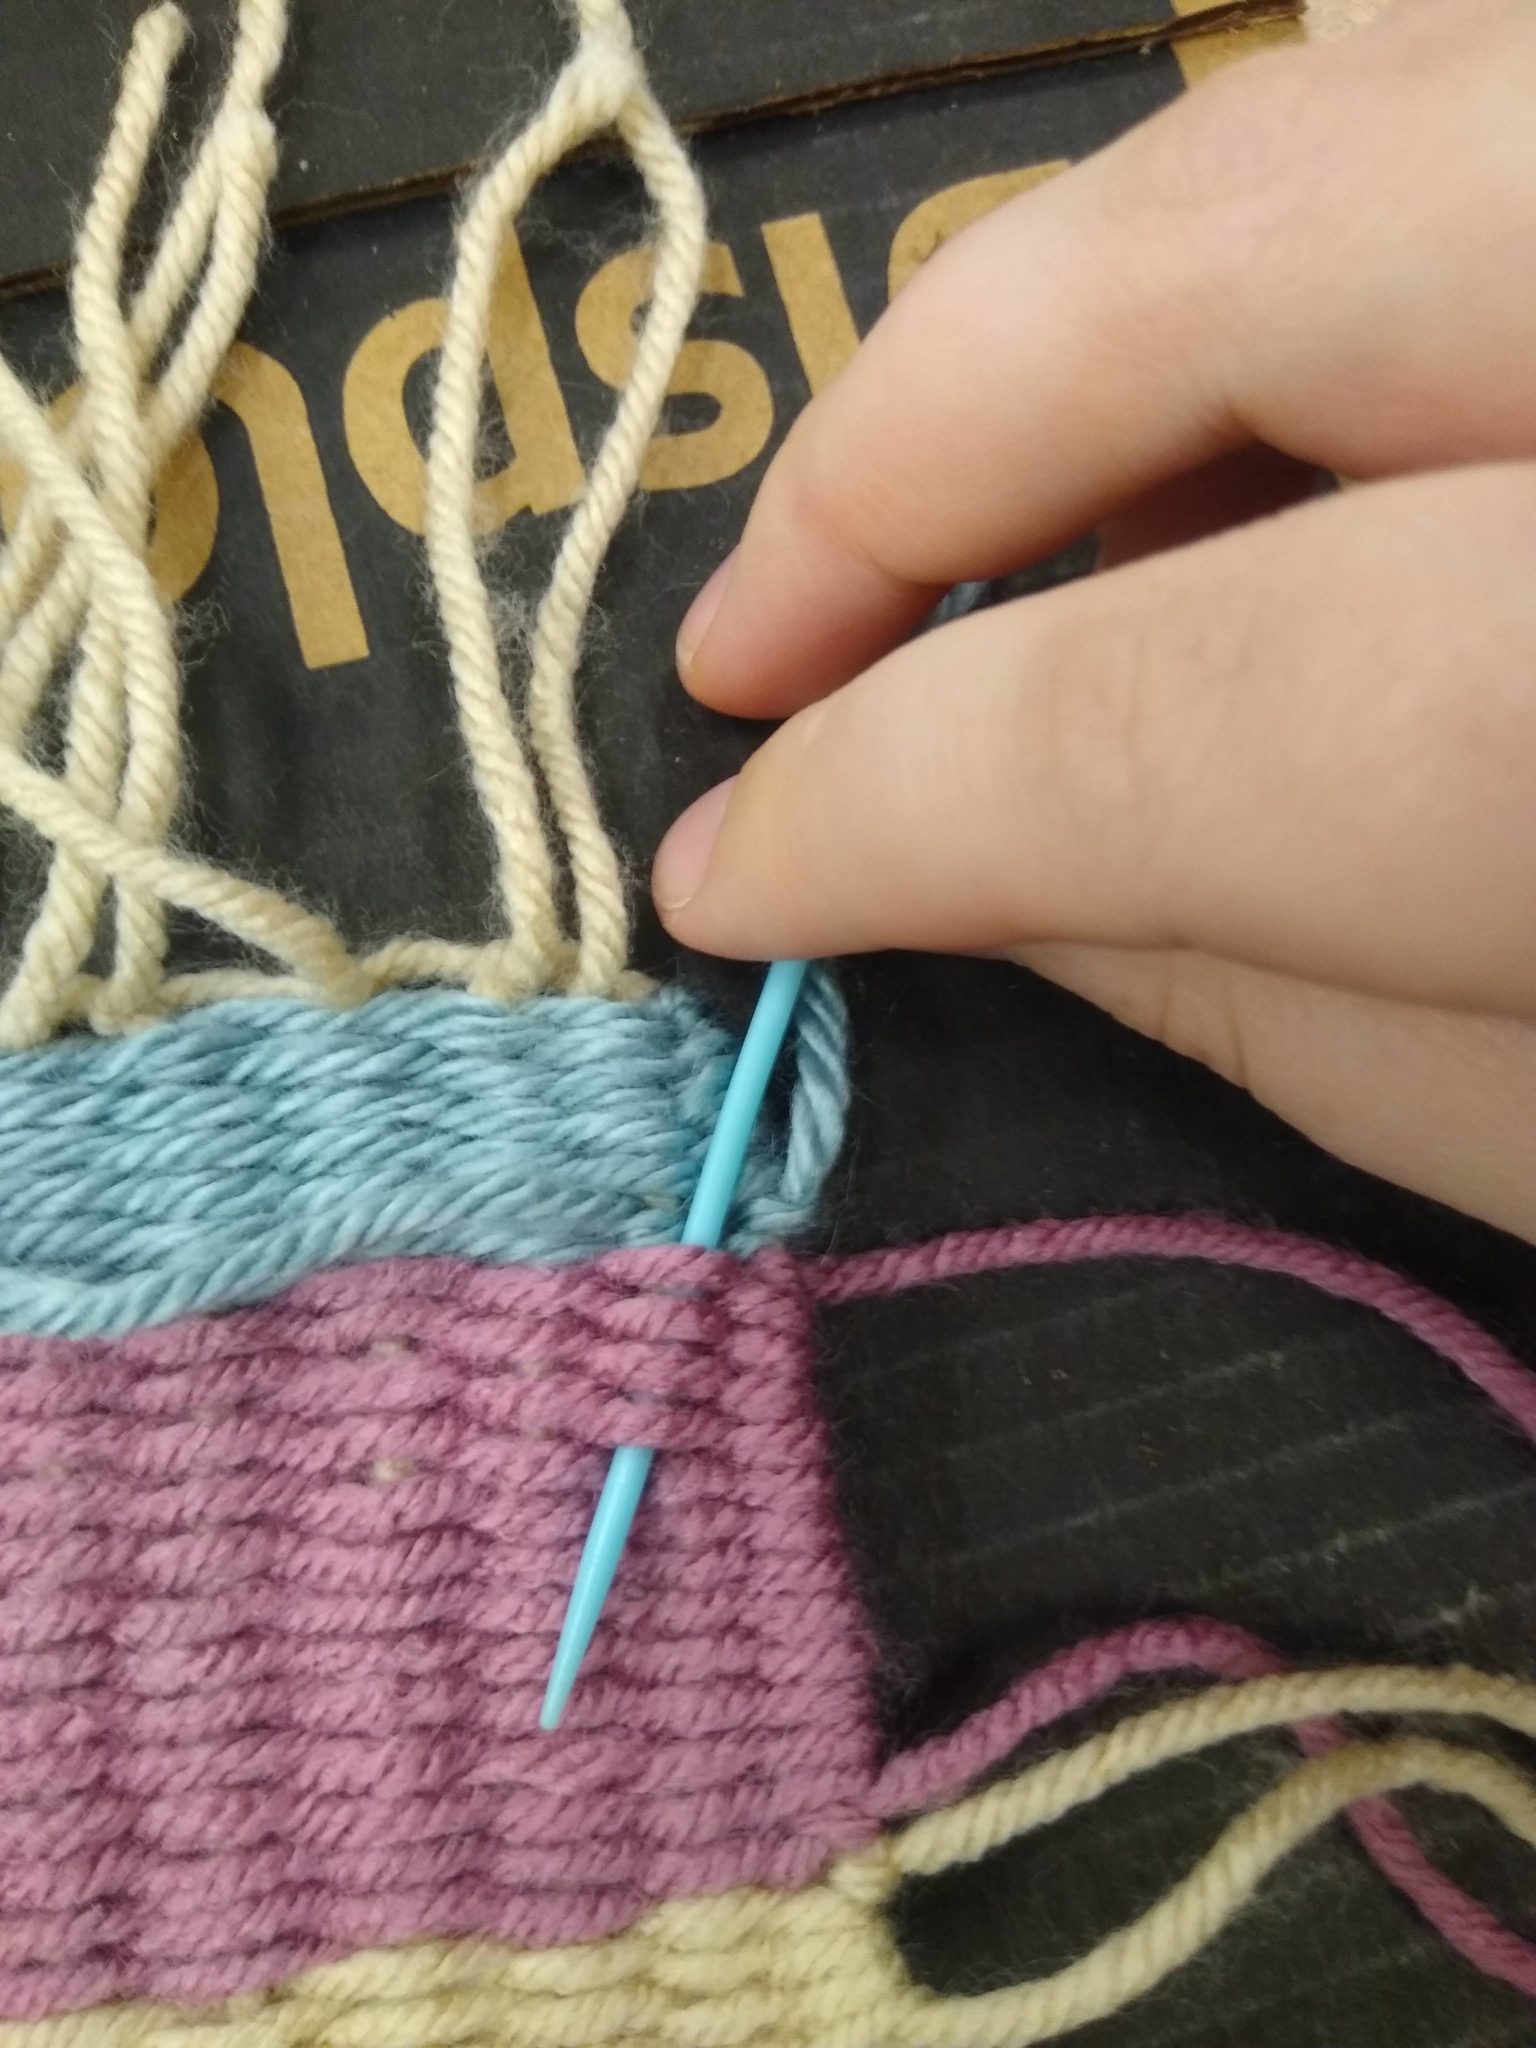
3) At this point, it’s time to deal with those pesky weft tails. We knotted them in place, so you can probably get away with just snipping off the tails with scissors. But for a neater look, you can weave in the tails. A simple way to do this is to thread the tail through a plastic needle, weave it through a few rows in the back of your weaving and trim any leftover yarn.
4) Grab your wooden dowel or stick. Decide which end of your weaving will be the top and divide the warp yarns evenly as shown. Place the dowel or stick in the middle and tie your warp yarns together with a double knot. Once again, tie yarn #1 to #2, #3 to #4 and so on. Trim the leftover yarn.
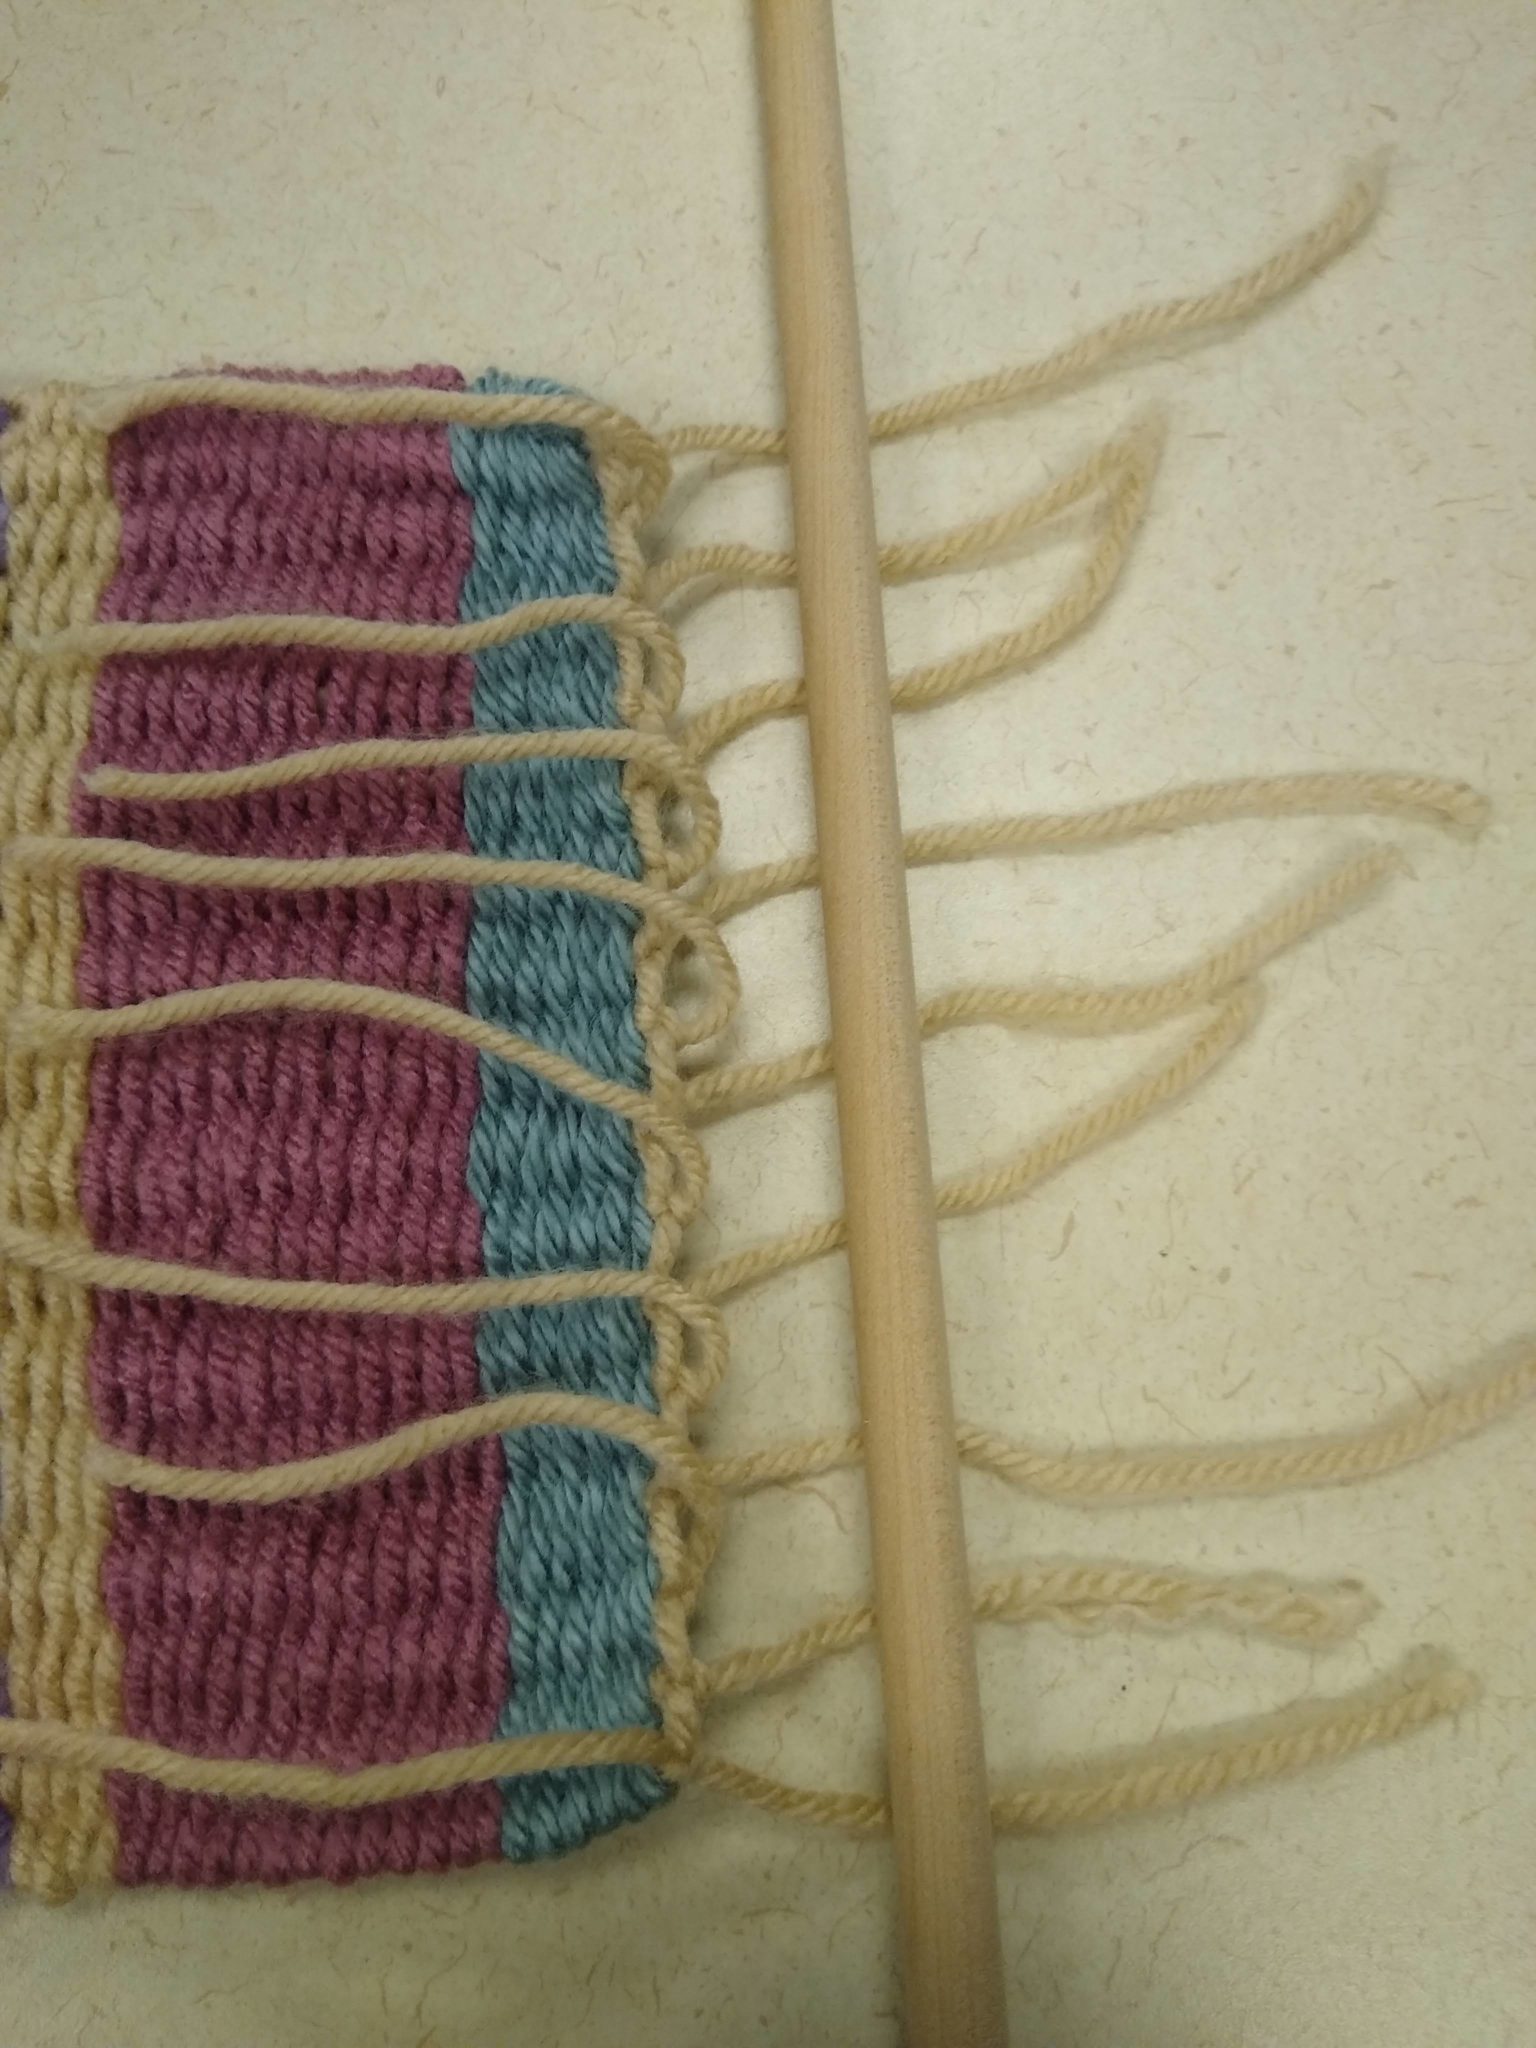
5) Create a fringe with the warp yarns at the bottom of your wall hanging by trimming these yarns so that they’re all the same length.
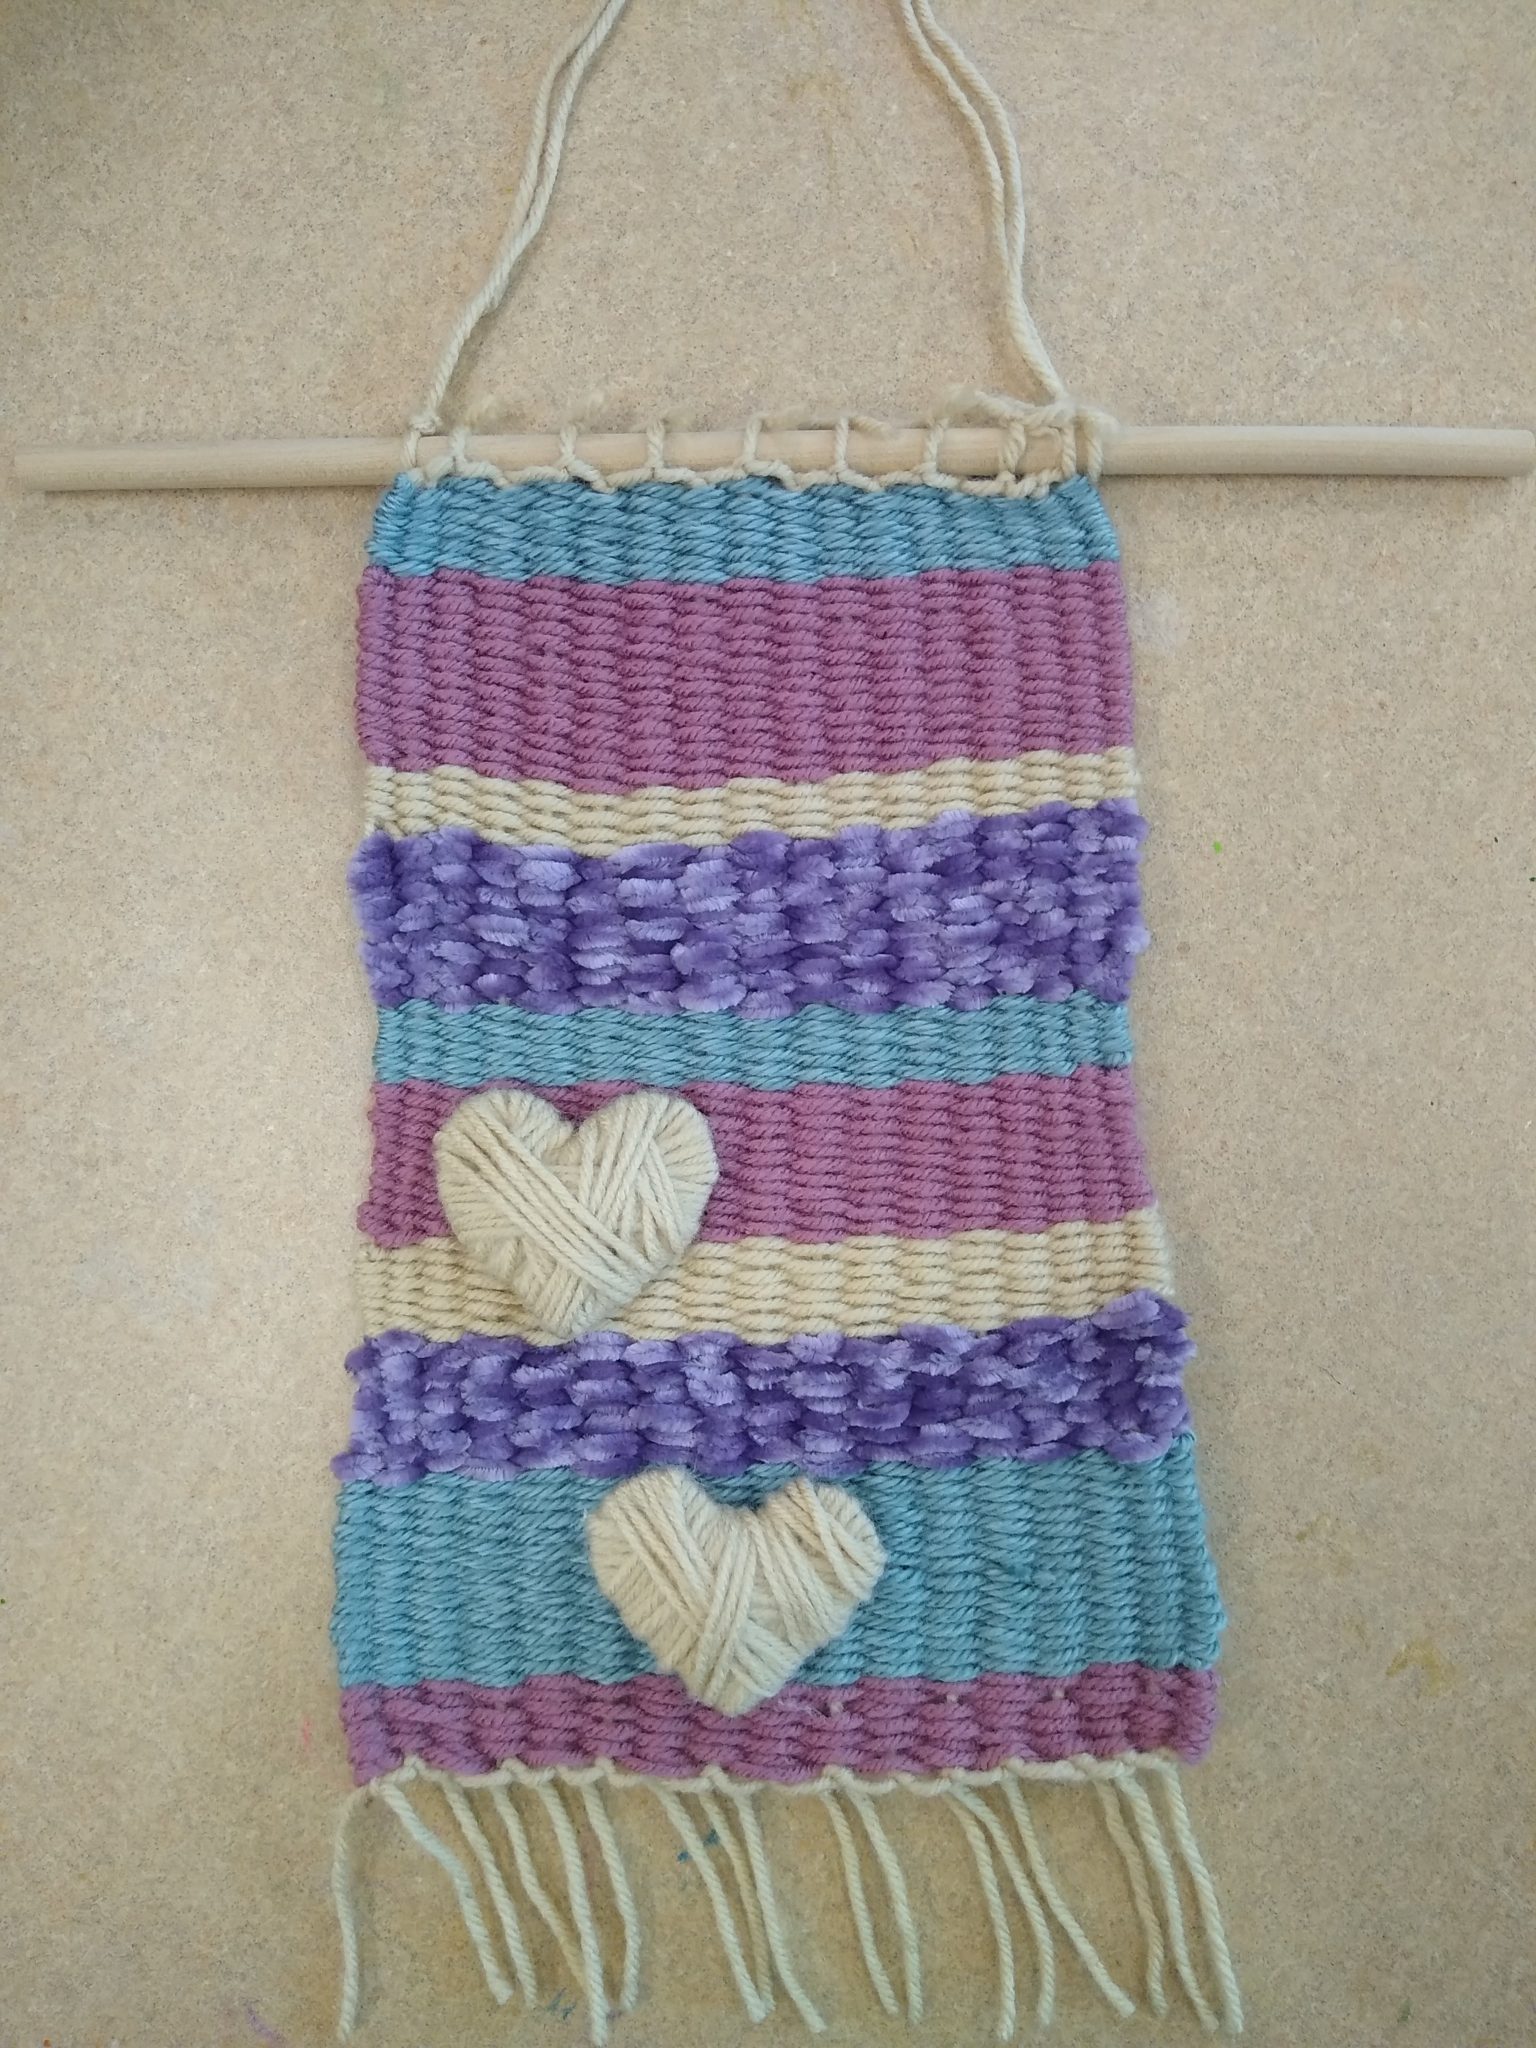
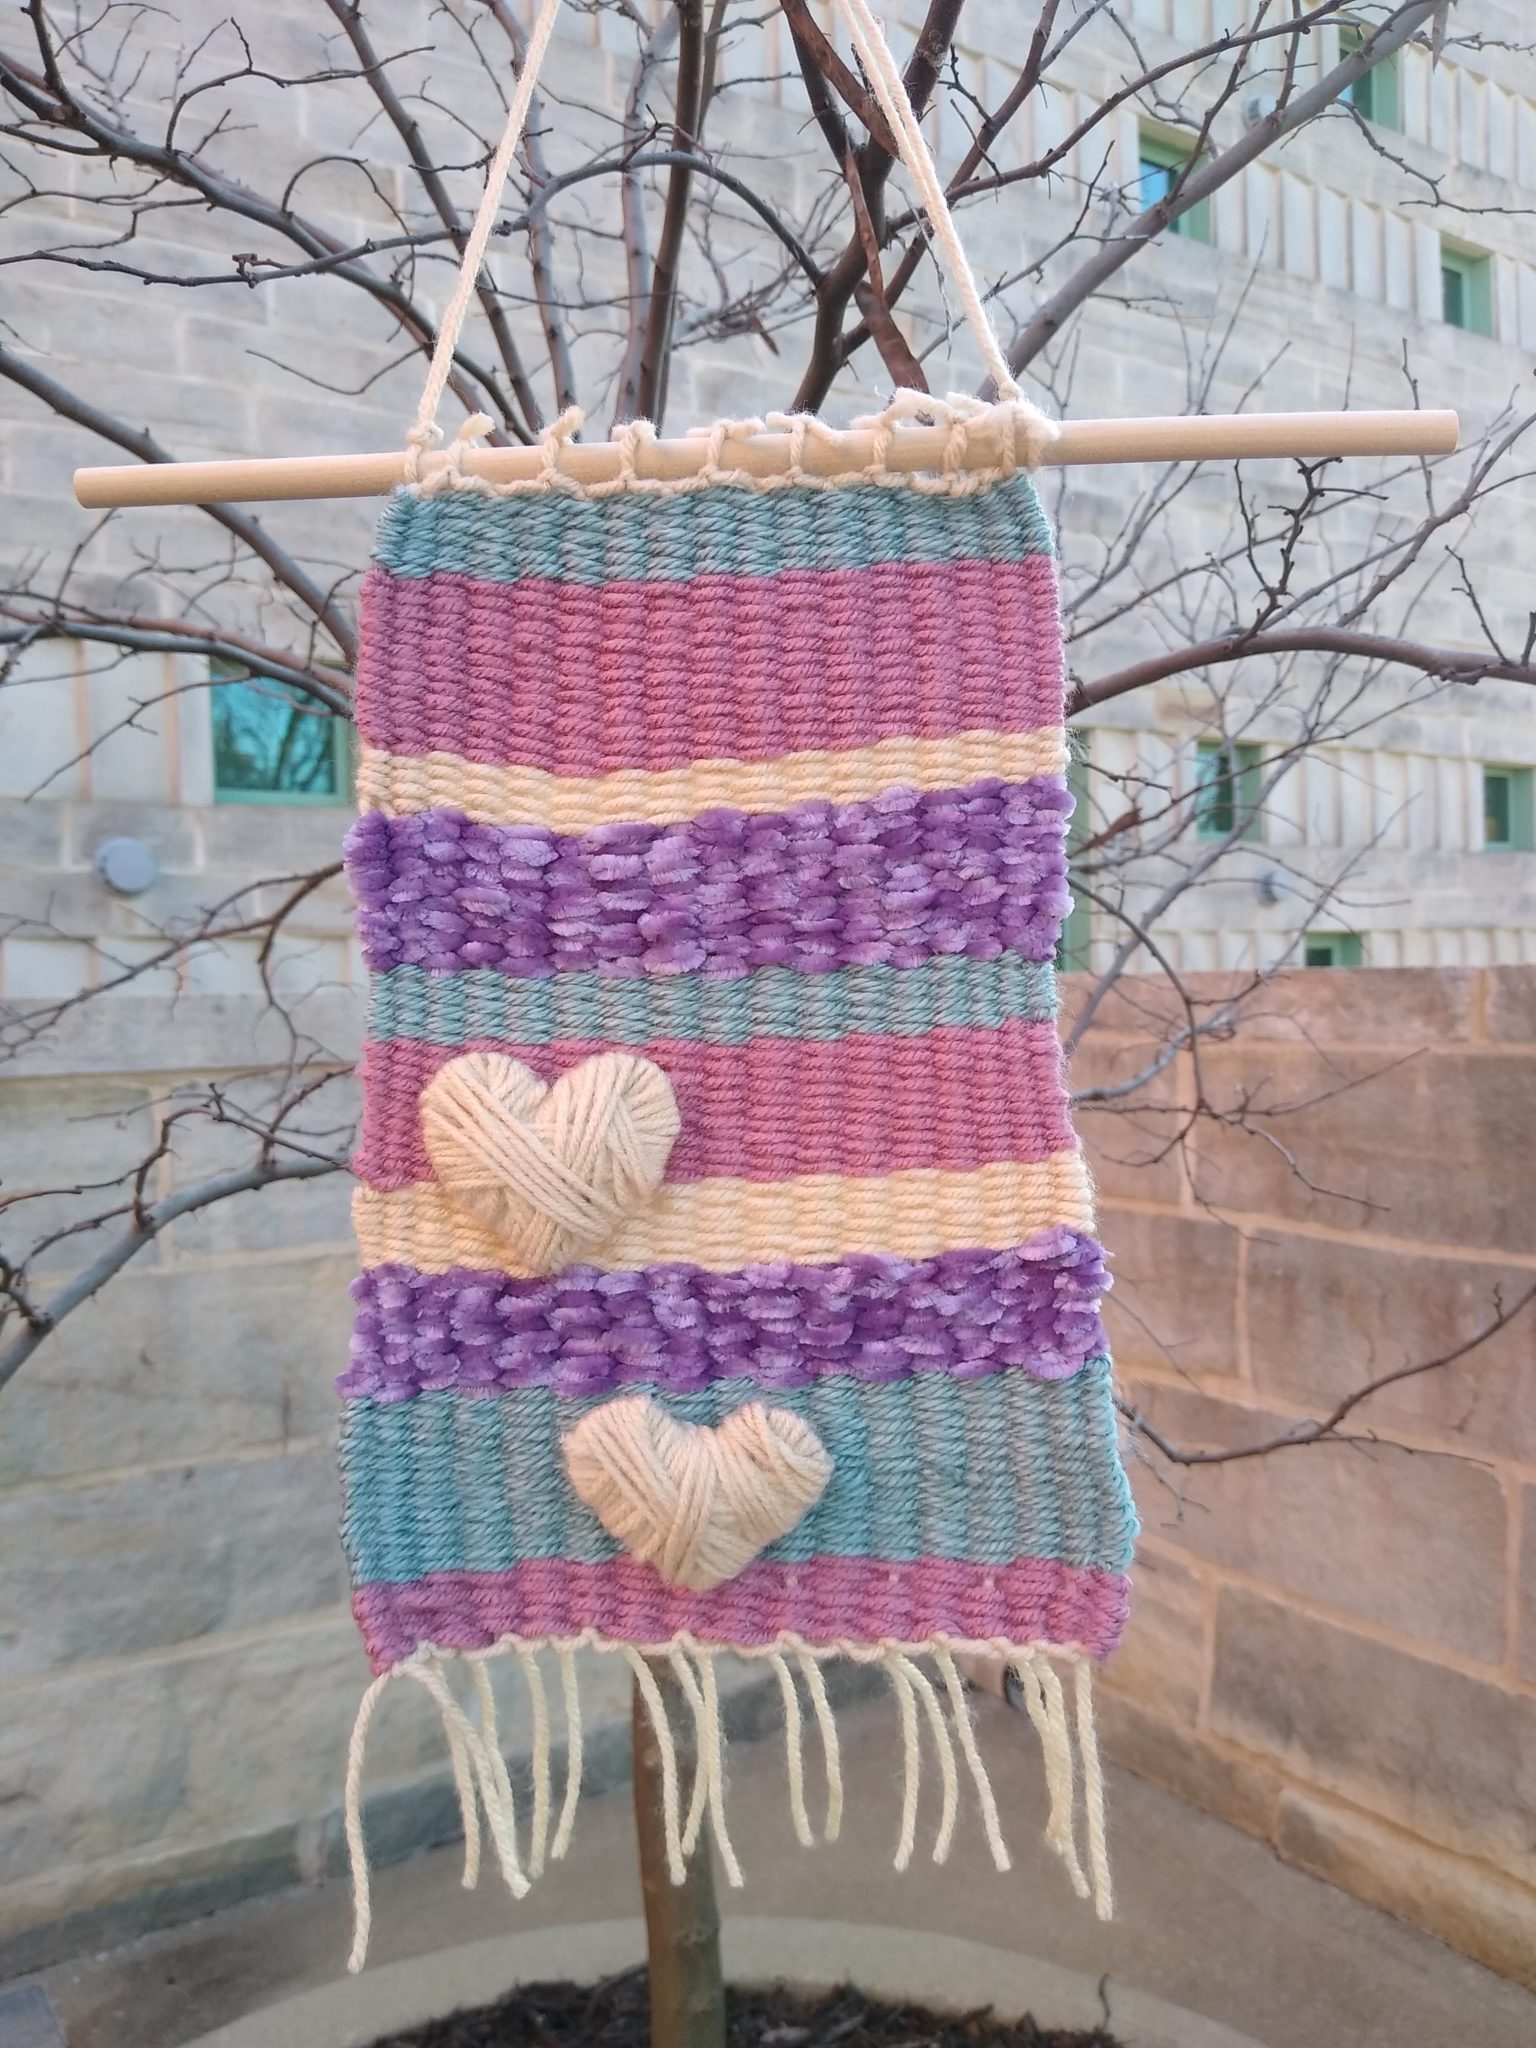
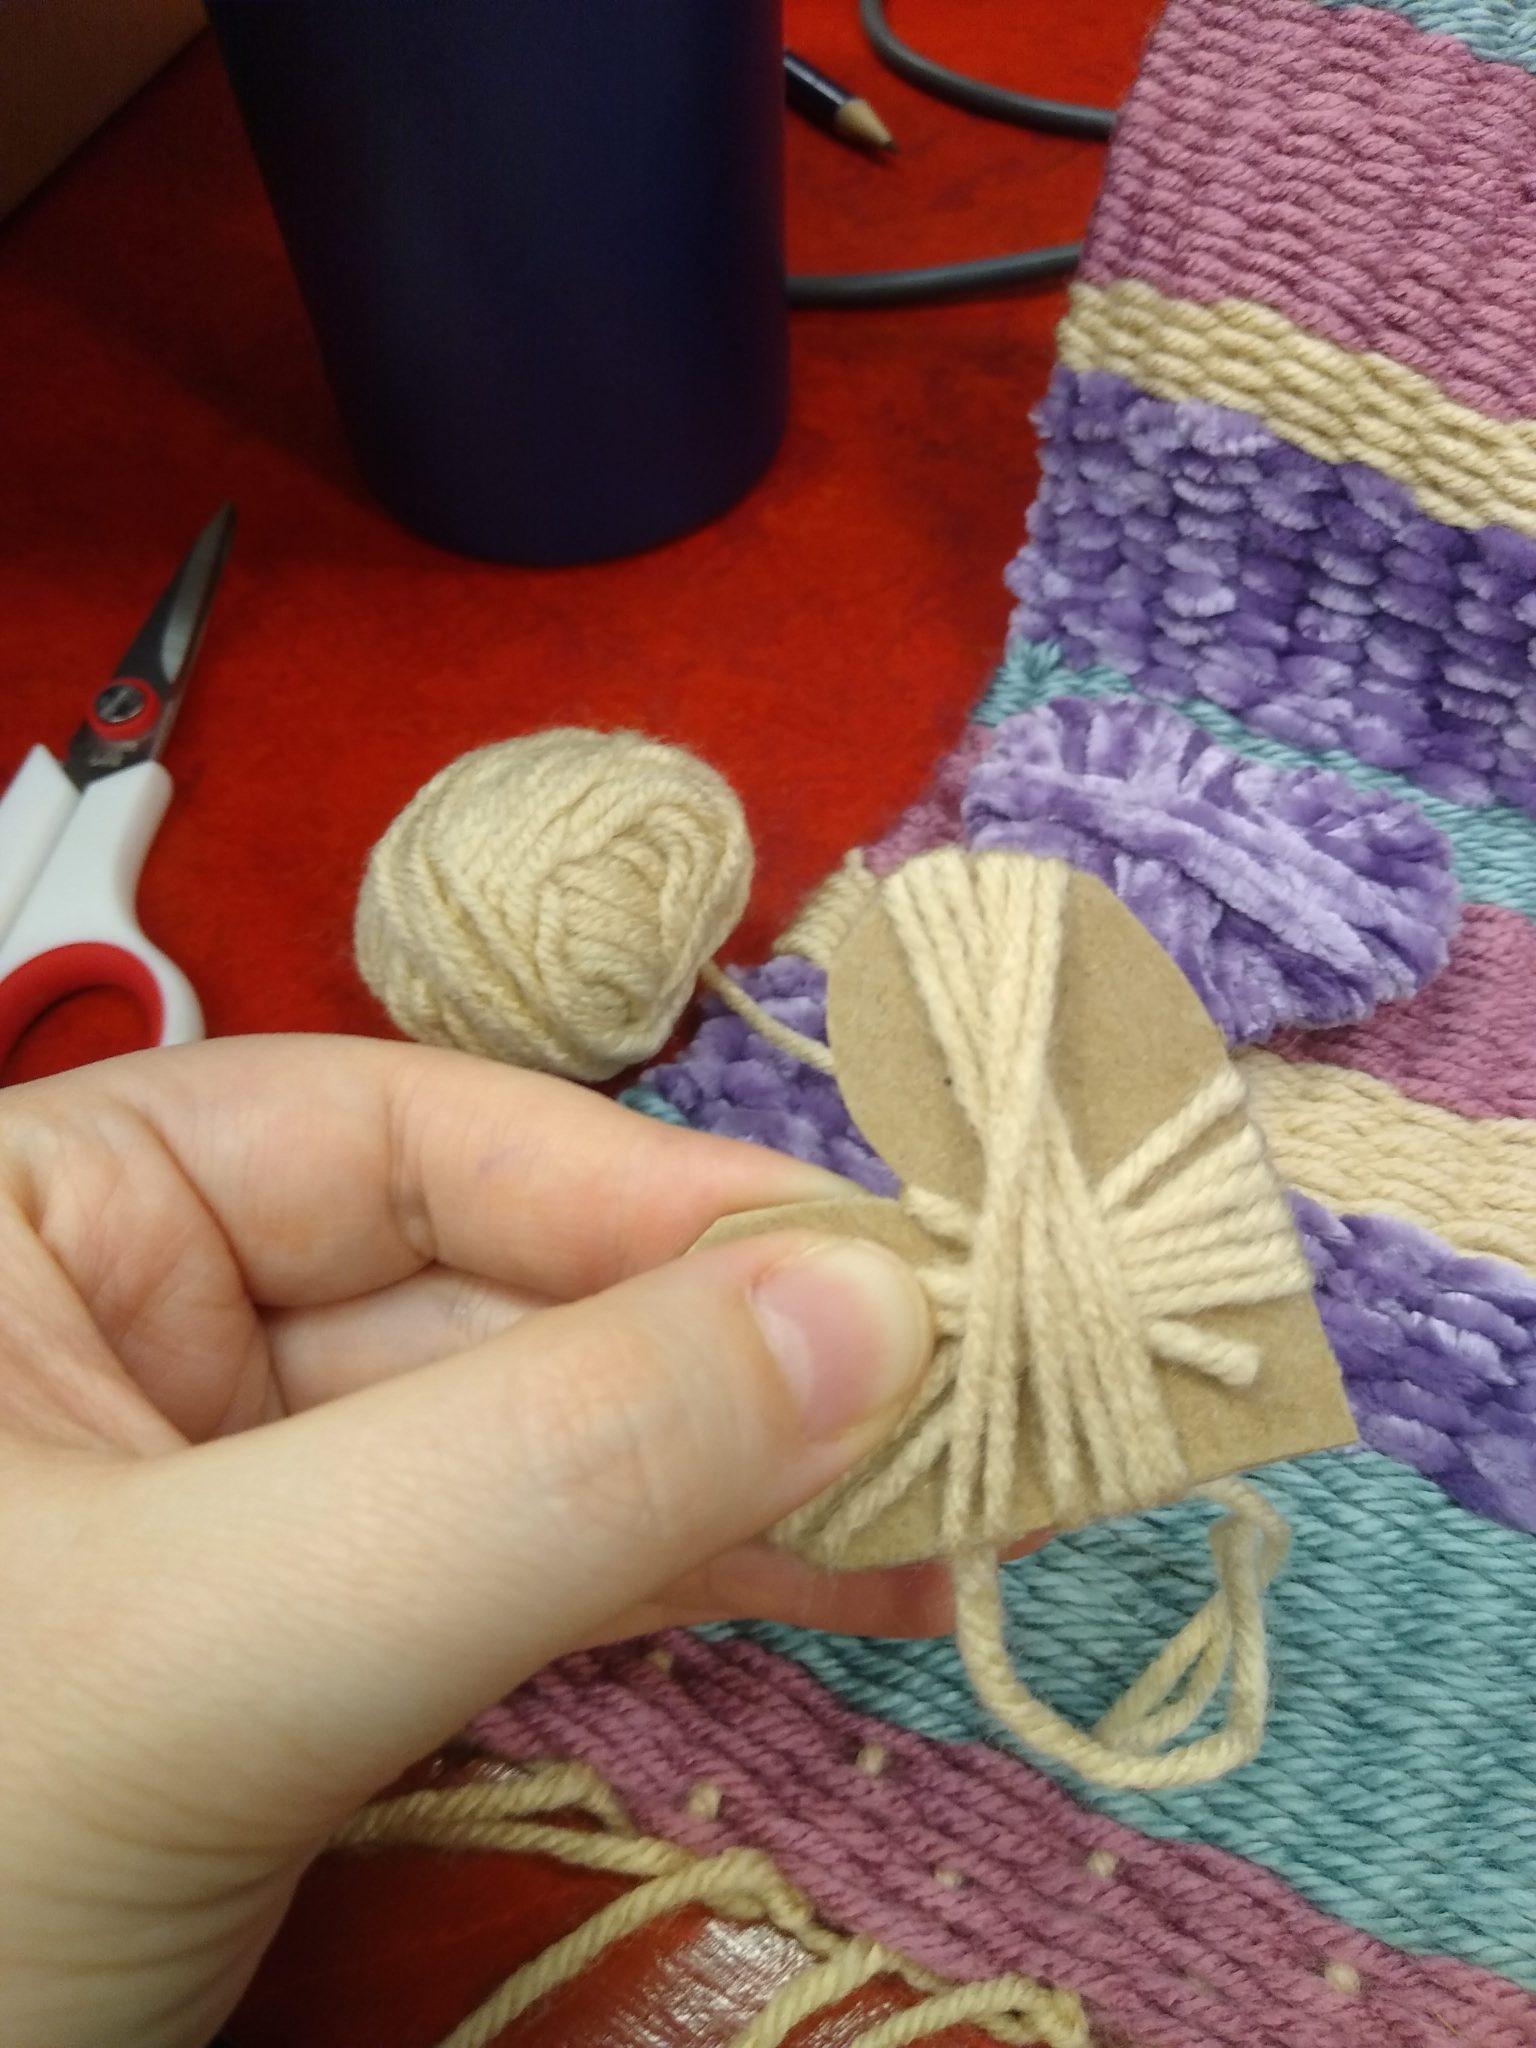
6) In the spirit of Valentine’s Day, I thought it would be fun to decorate my weaving with a couple of yarn-wrapped hearts. This was super easy! Just cut a heart out of leftover cardboard and wrap it up with yarn until the cardboard is completely covered. Tuck the end of the yarn down into the heart. Secure the heart to your wall hanging with some hot glue. You can also thread some leftover yarn through the heart, weave it into the back of your wall hanging and secure with a double knot.
7) To hang your weaving, cut a piece of yarn to your desired length and tie both ends to the dowel or stick with a double knot. Now your wall hanging is complete and ready to hang up, just in time for Valentine’s Day!