Today, September 22nd, is the 2025 Autumnal Equinox, the first day of fall in the Northwest Hemisphere. 🍂 While I hope 🤞🏼 it will still be feeling at least a little bit like fall when this blog goes live — as I write back in our “false fall” period, the high is a crisp 75°F! — I’ve got a wonderfally easy craft that you can use to cozy up the inside of your space as you wait for the outside to chill back down accordingly!
Before I delve into the nitty-gritty details of this bunting craft, I’d like to cite my source! I was inspired to make this festive and endlessly customizable hanging decoration from Sibia Torres Padilla‘s gourdgeous 🎃 DIY Instagram account, @sibster. Padilla is an expert in sustainable crafting for adults and kiddos alike and has recently published her first crafting book, “Charming Woodland Crafts: 50 Fun and Easy Projects Made From Natural and Recycled Materials,” which I’m delighted to say you can check out from DBRL’s collection! Padilla’s version of this craft uses waxed paper and pressed leaves and other fall botanicals to make a transparent autumnal bunting to bring out all the #fallfeels, but I’ve played around with waxed paper before (check out my DIY Luminaria / Candle Shades blog!) and thought I’d try my hand at making some simple paper cutouts to hang up.
Materials
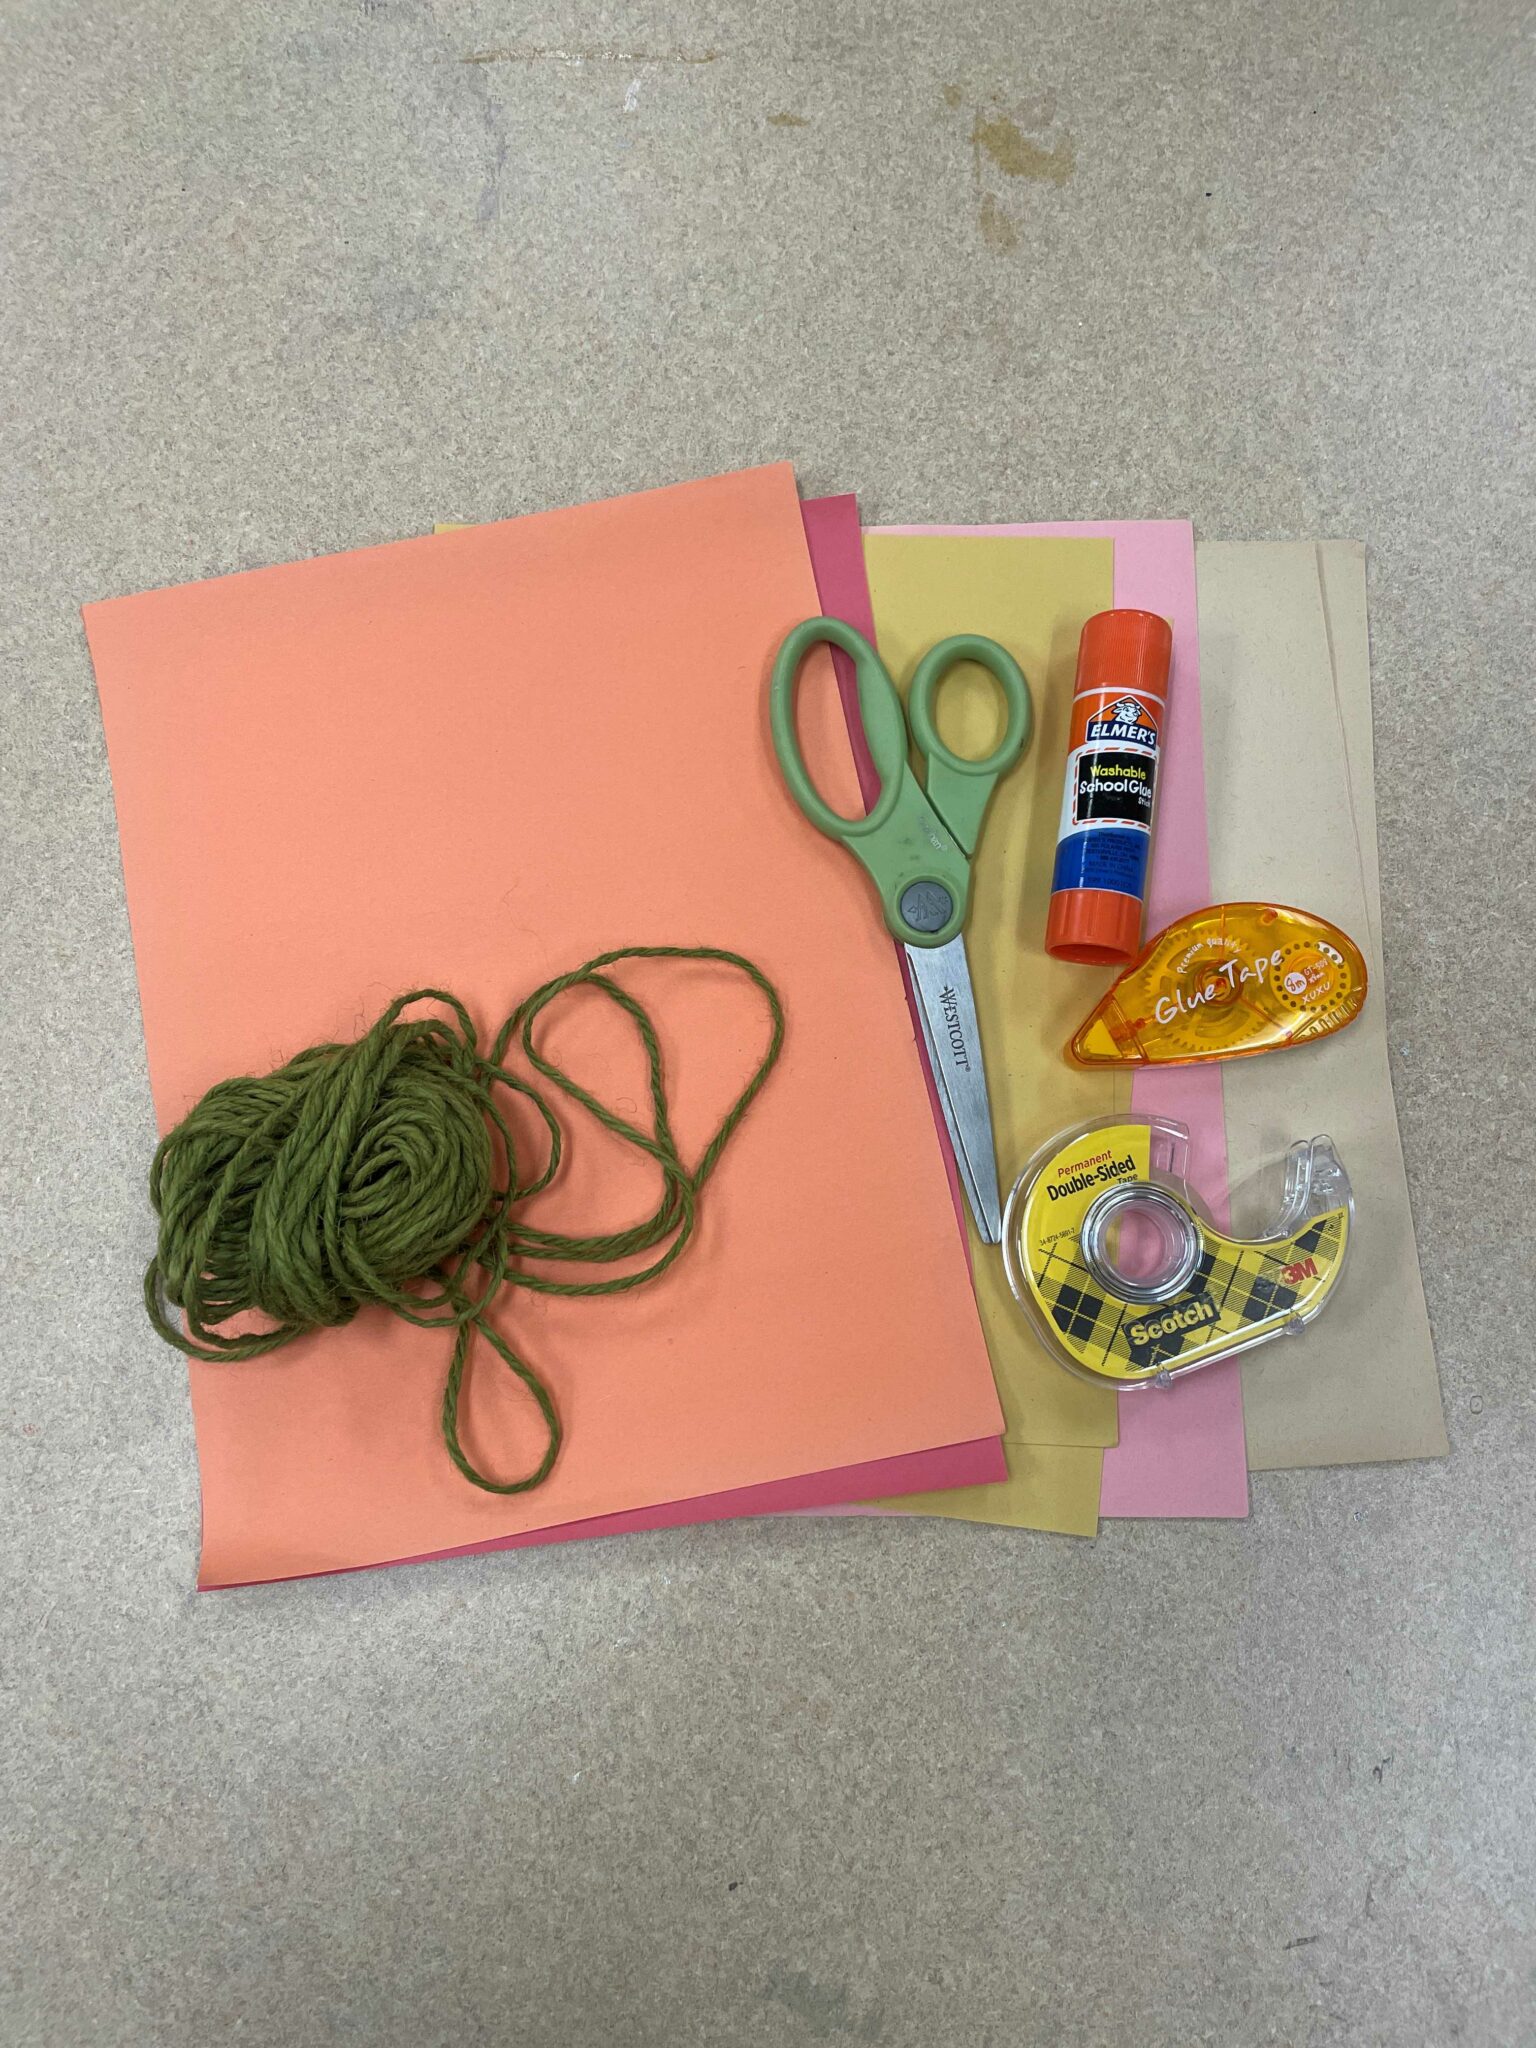
For this craft, you will need:
- sturdy string, yarn or twine — this will form the backbone of your bunting
- paper or cardstock in all the fall colors — think reds, oranges, yellows, browns, but also purples, dark greens, maybe even some foggy grays
- scissors
- some kind of adhesive, like glue, glue tape, scotch tape or double-sided tape
- pencil or pen for free drawing or tracing some fun fall shapes — like pumpkins, leaves, fungi, cute woodland creatures — the possibilities are truly endless! 🎃🍁🍄🦌🦊🐰🦝
Directions
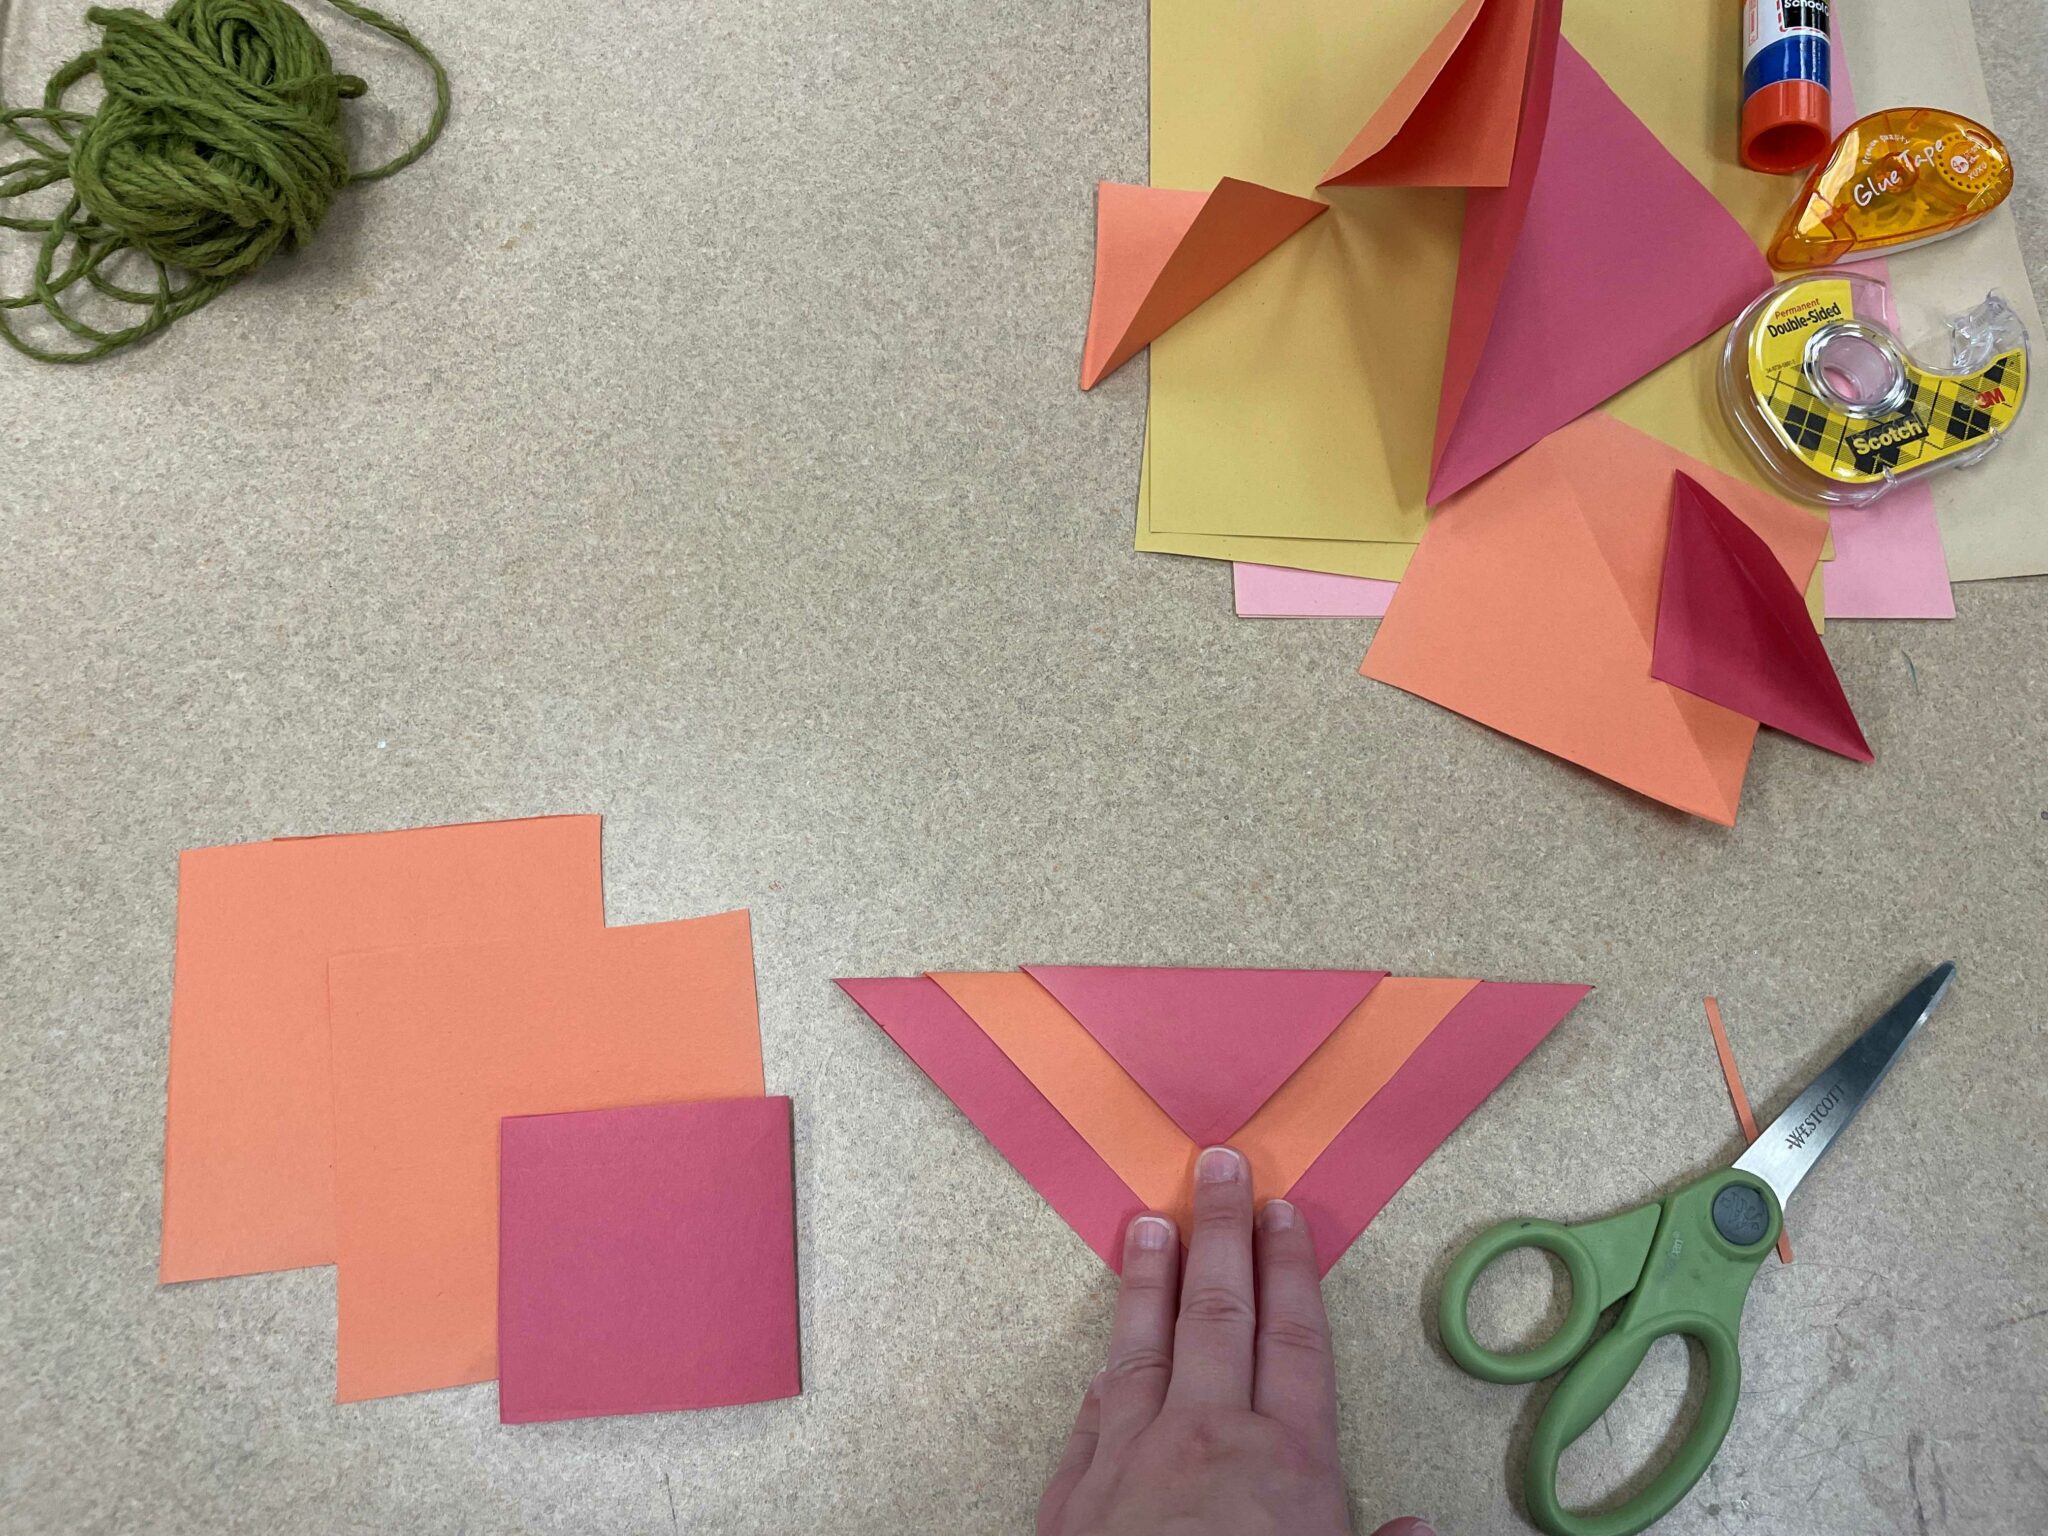
Begin by folding your colorfall pieces of paper into squares or rectangles in a variety of sizes. While you can eventually make any shape to hang on your bunting, you’ll want to draw these shapes onto squares or rectangles first. Why squares and rectangles? 🤔 A square can fold neatly onto itself to create a triangle or a rectangle, while a rectangle can fold neatly onto itself to create smaller rectangles and squares. You could also use circles that fold onto themselves to create a semicircle or arch shape. What is important is the fold itself: you will use this fold to help secure your paper shapes onto the twine for your bunting.
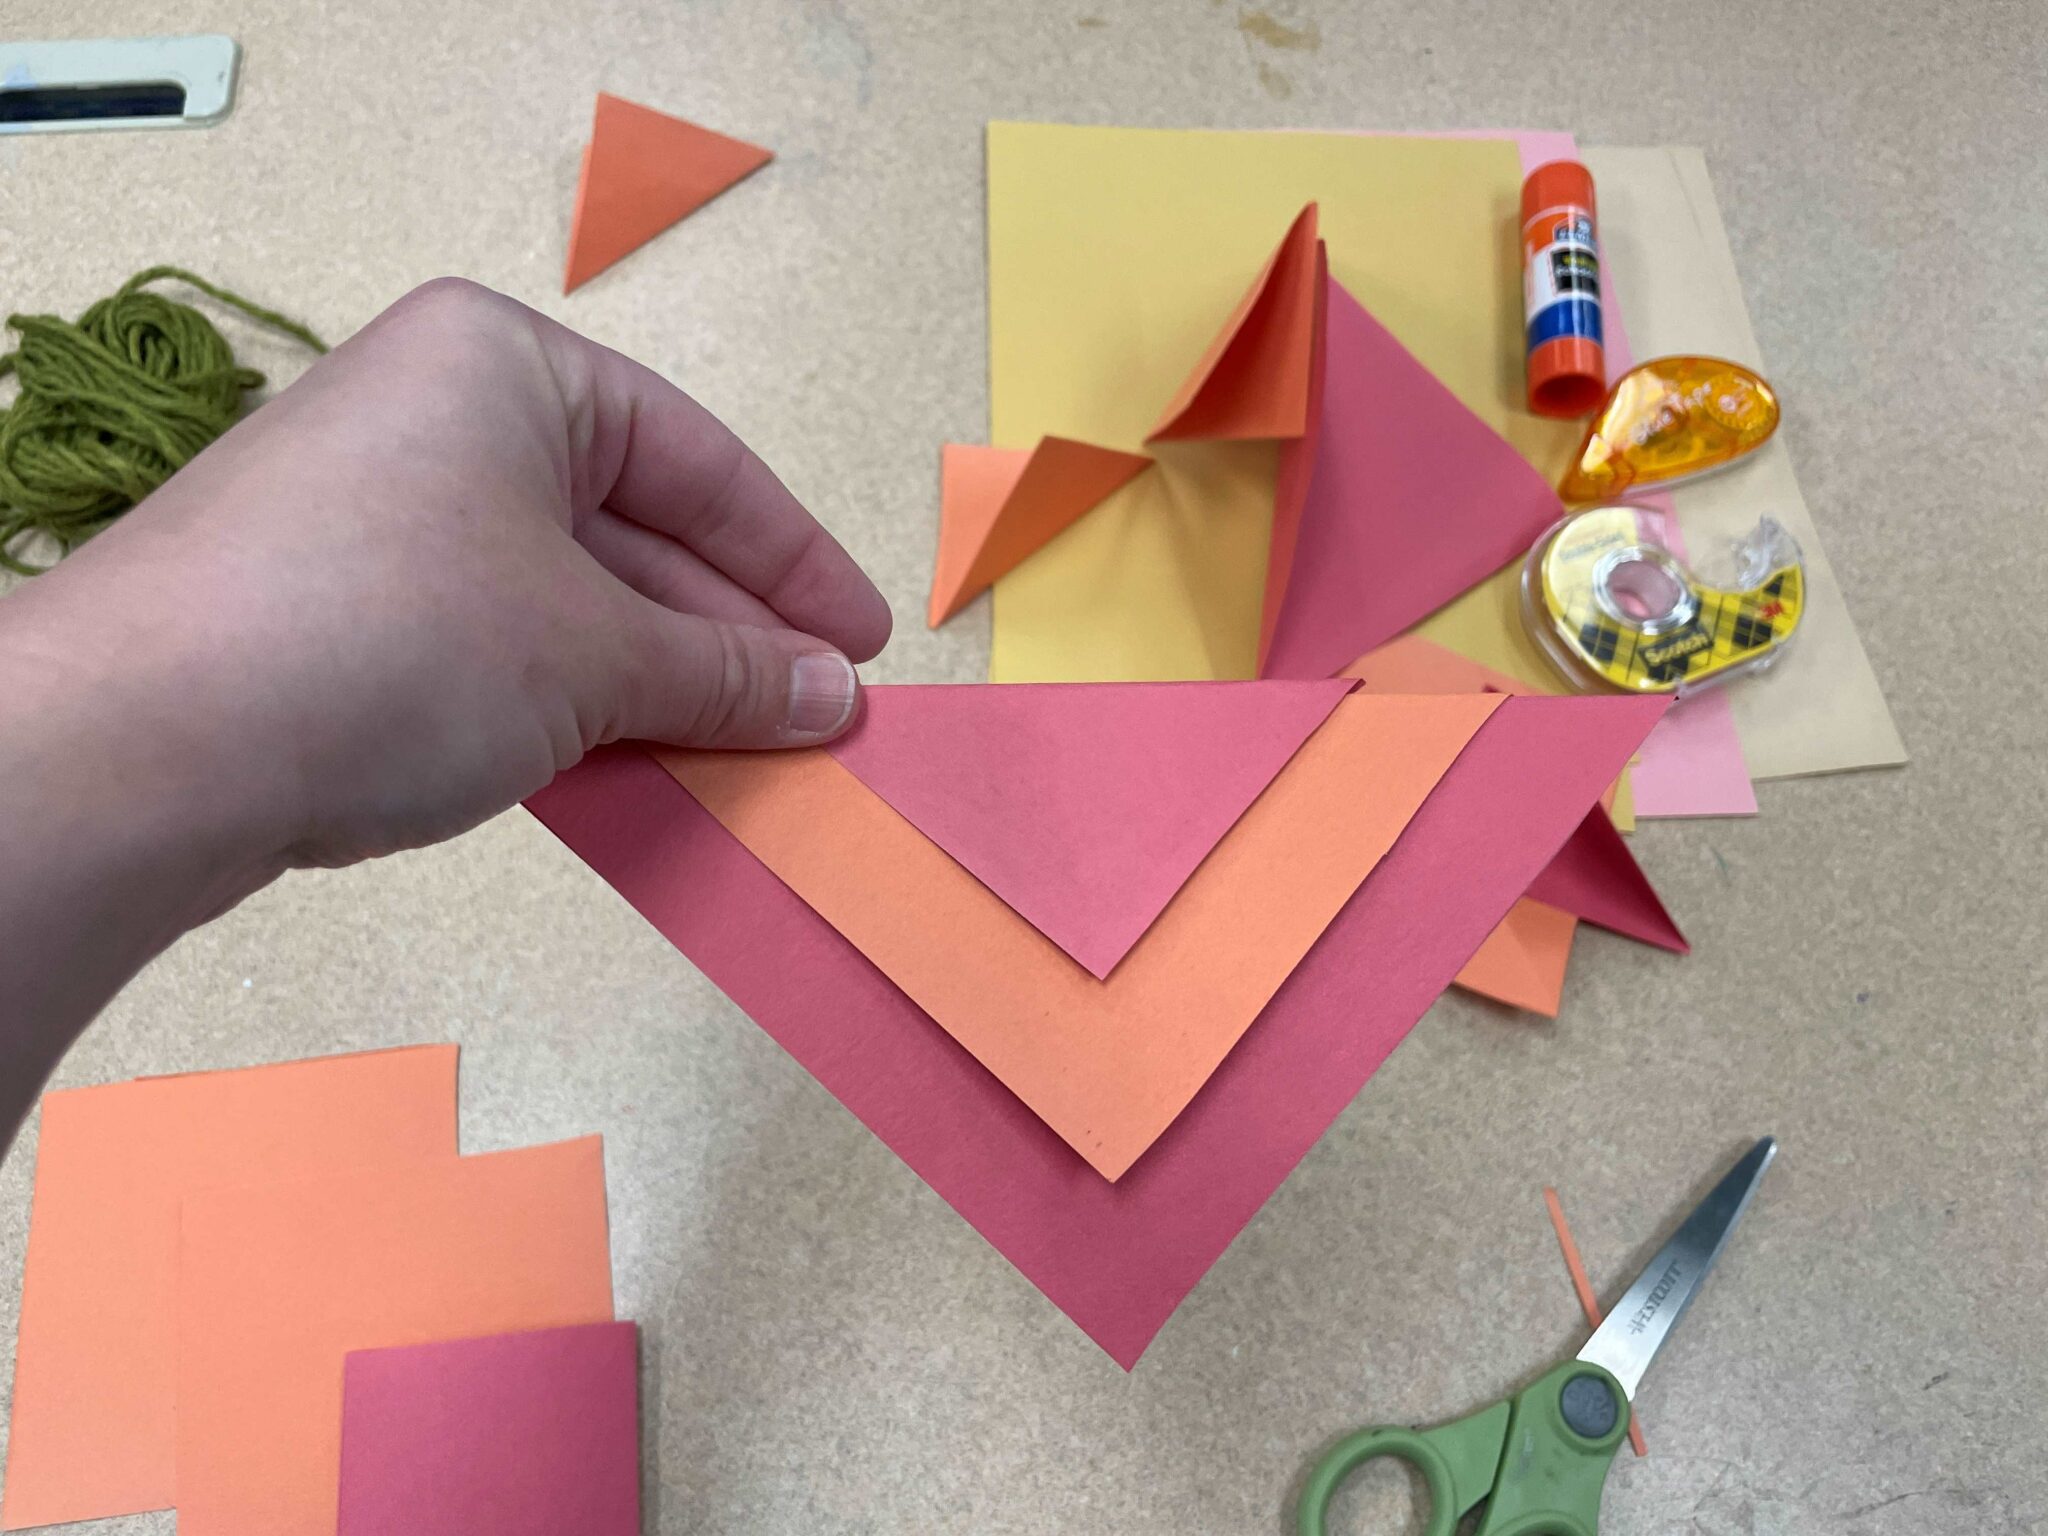
First, I used red and orange paper squares to create an alternating chevron pattern for part of my bunting. I layered the folded squares onto one another to create a triangle-shaped flag, as illustrated in the photos below:
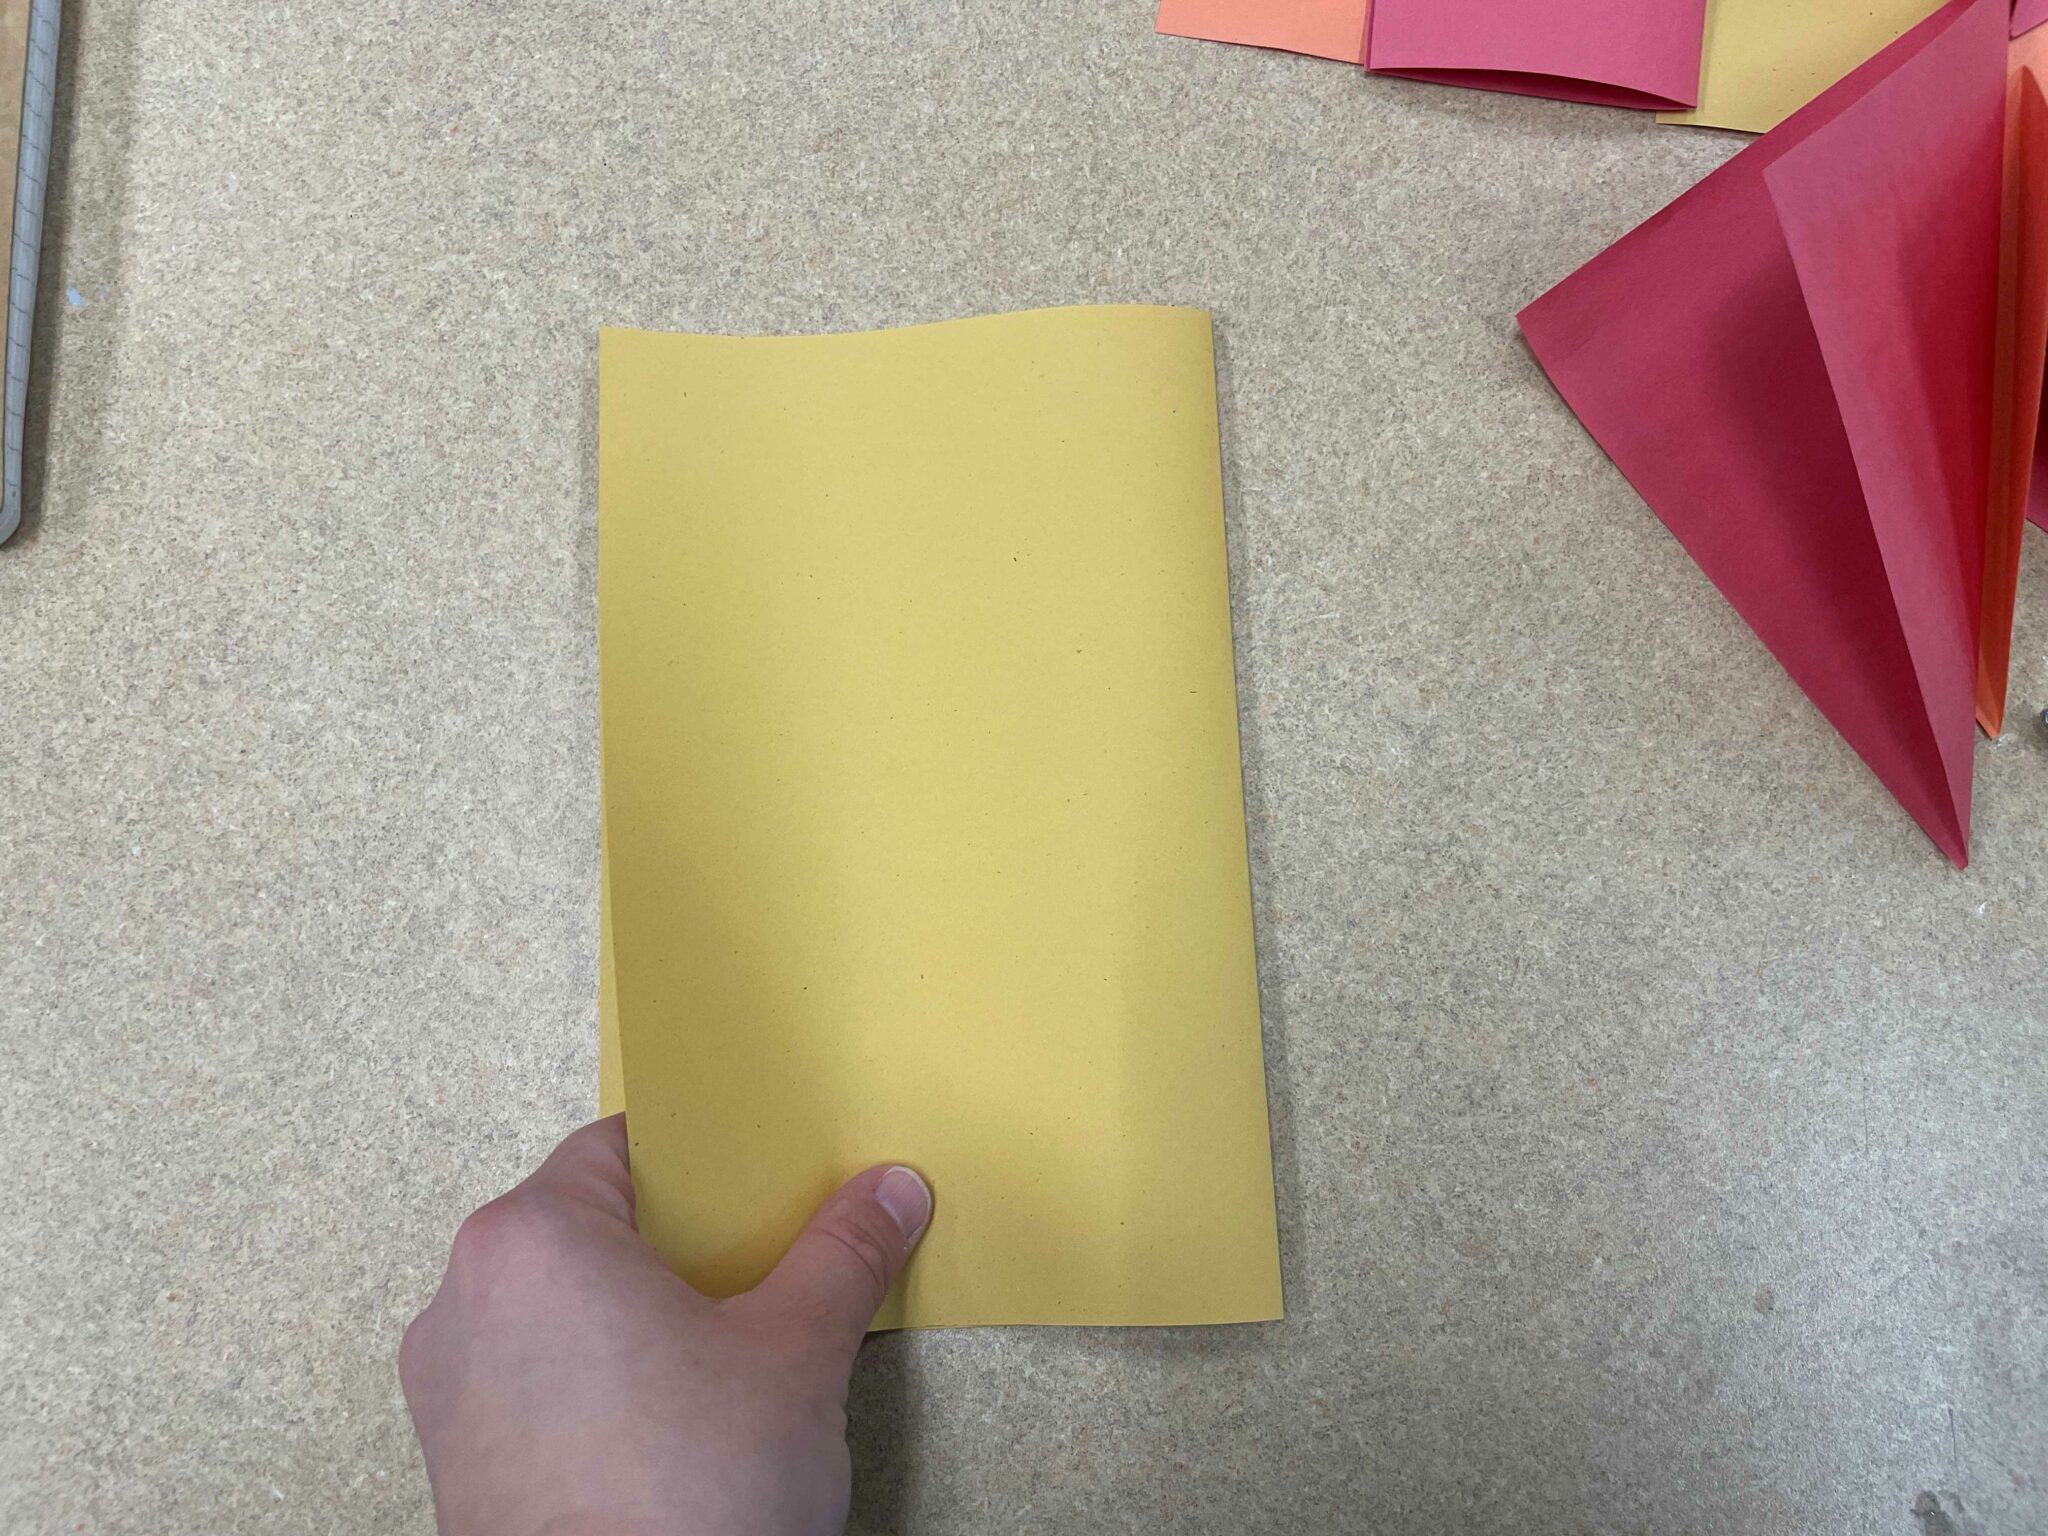
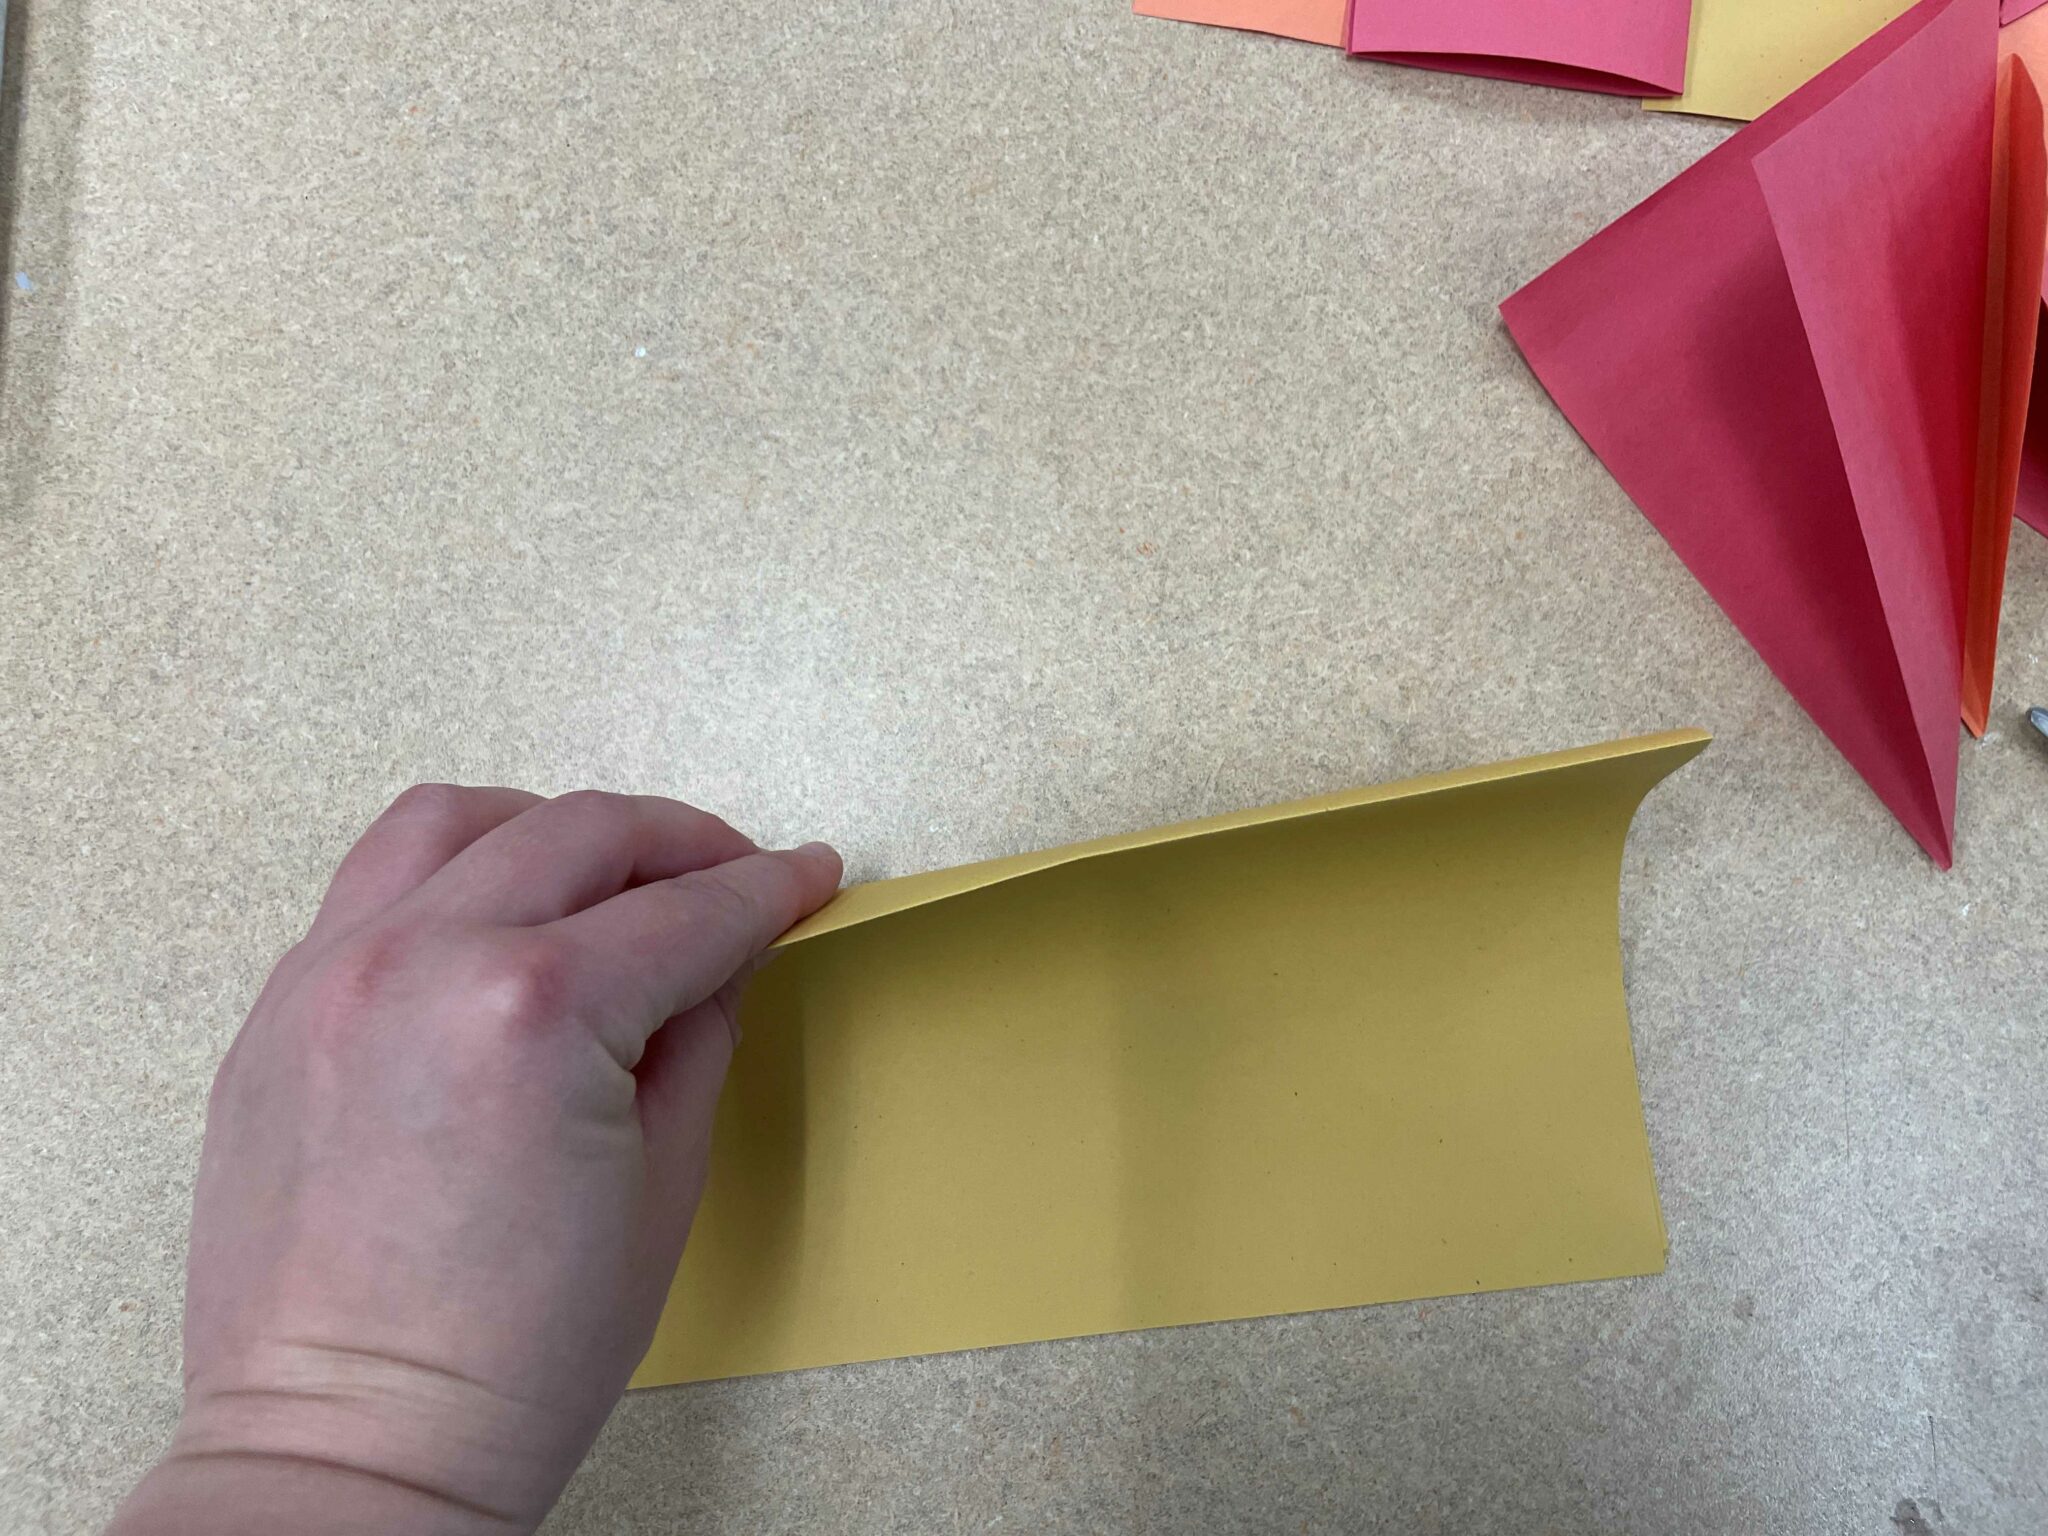
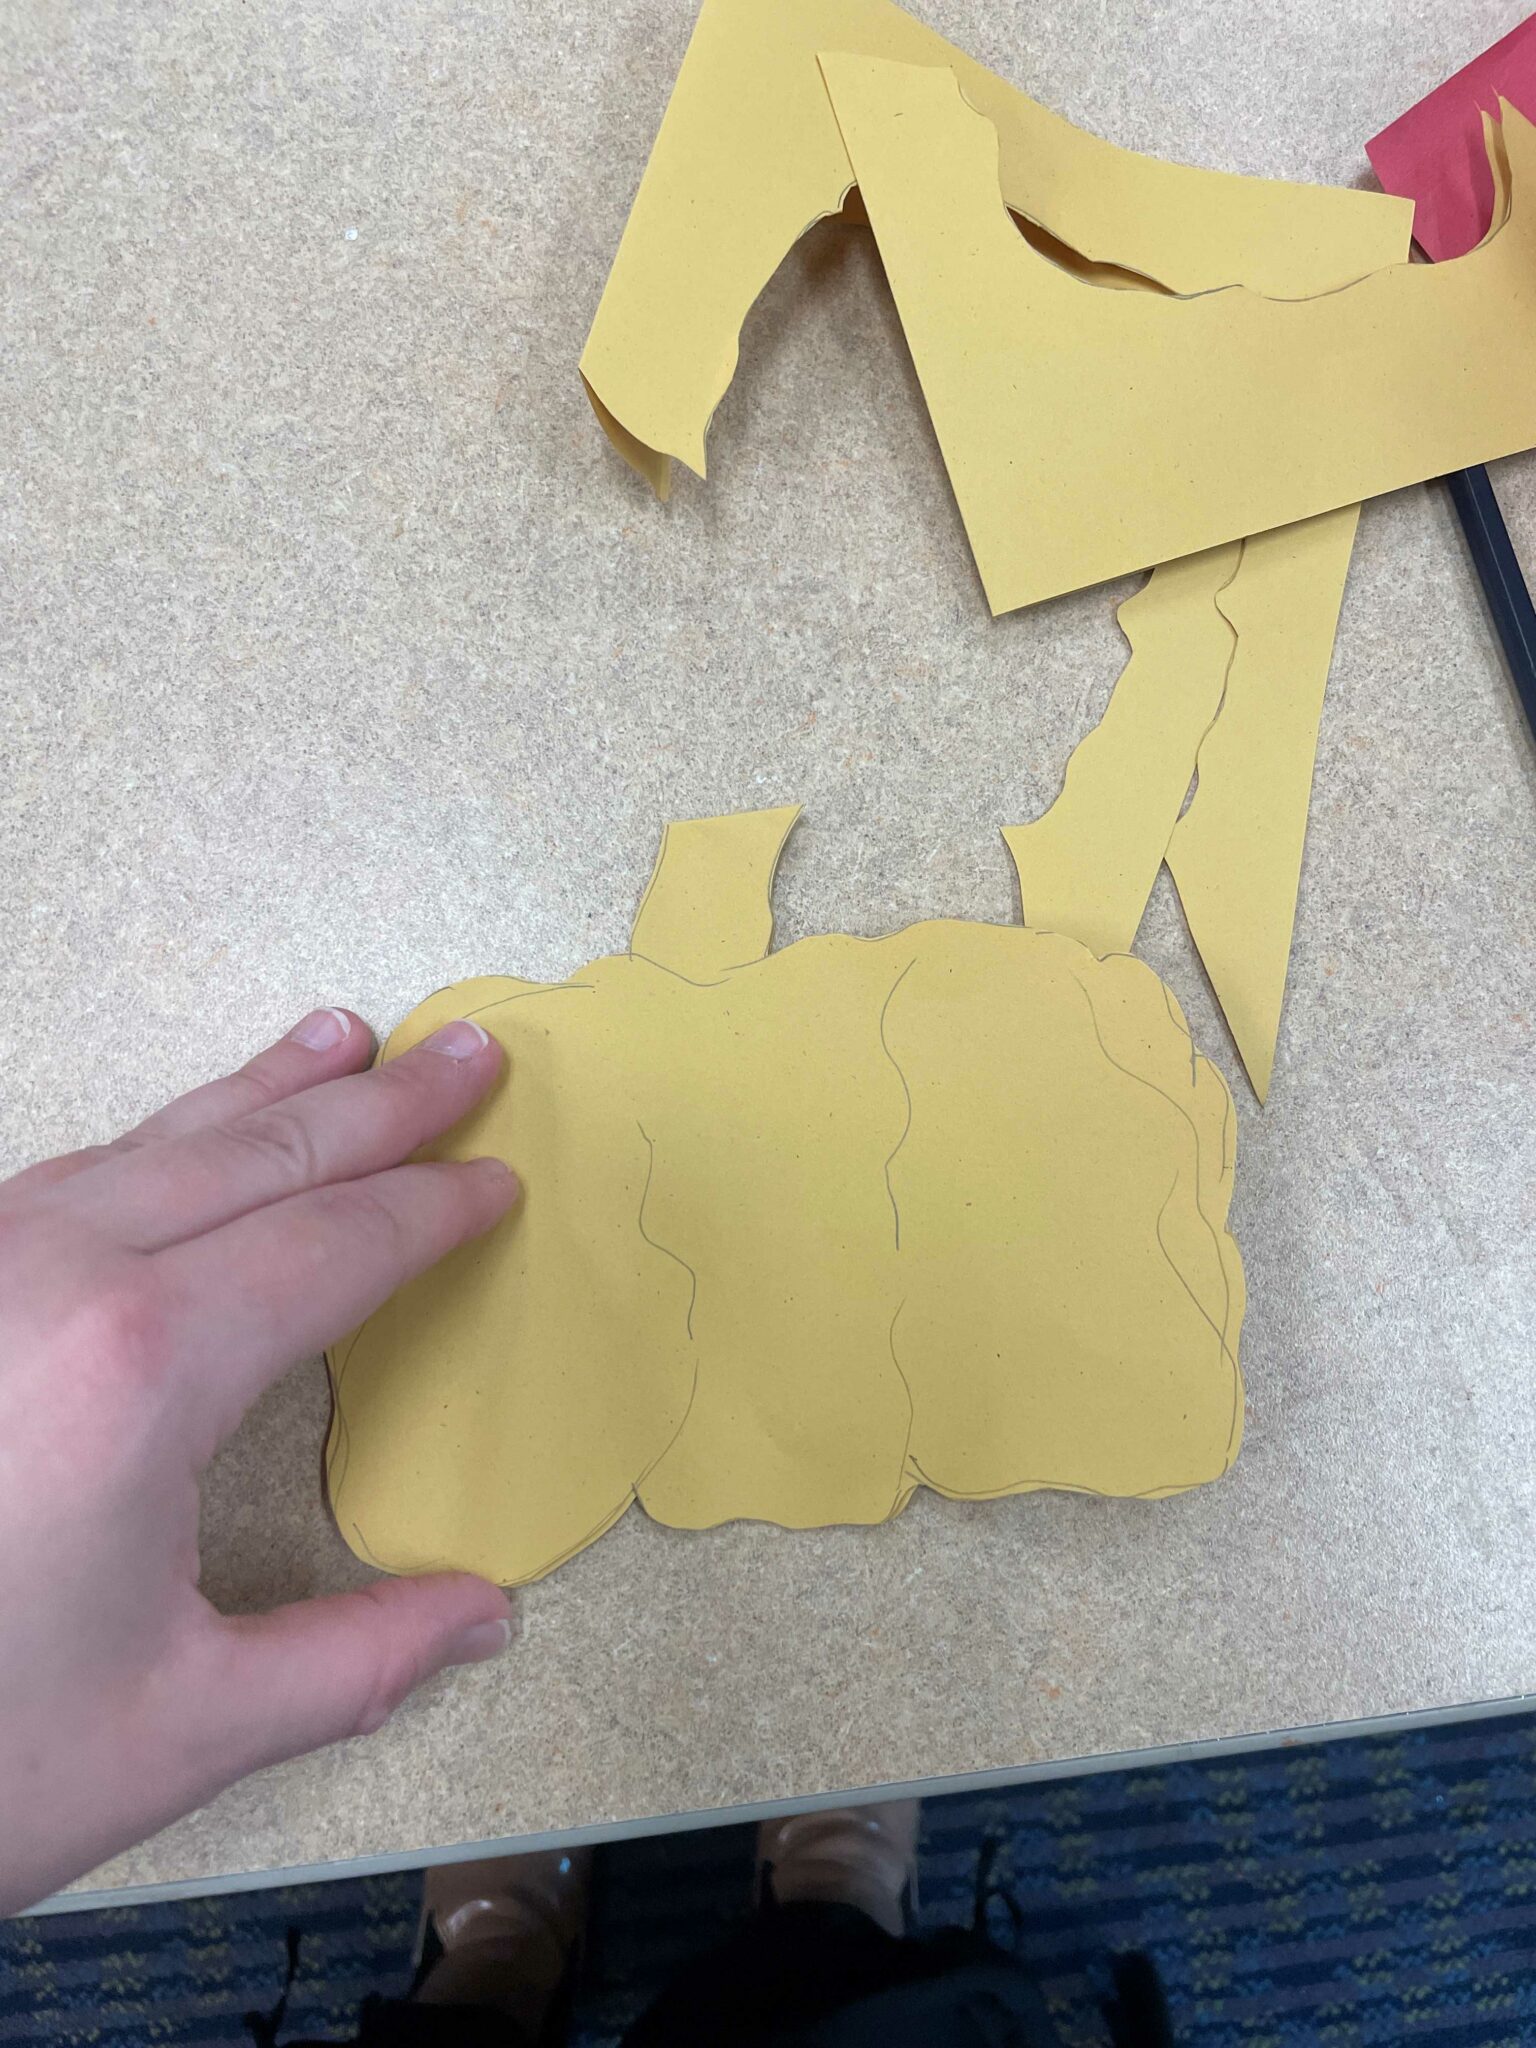
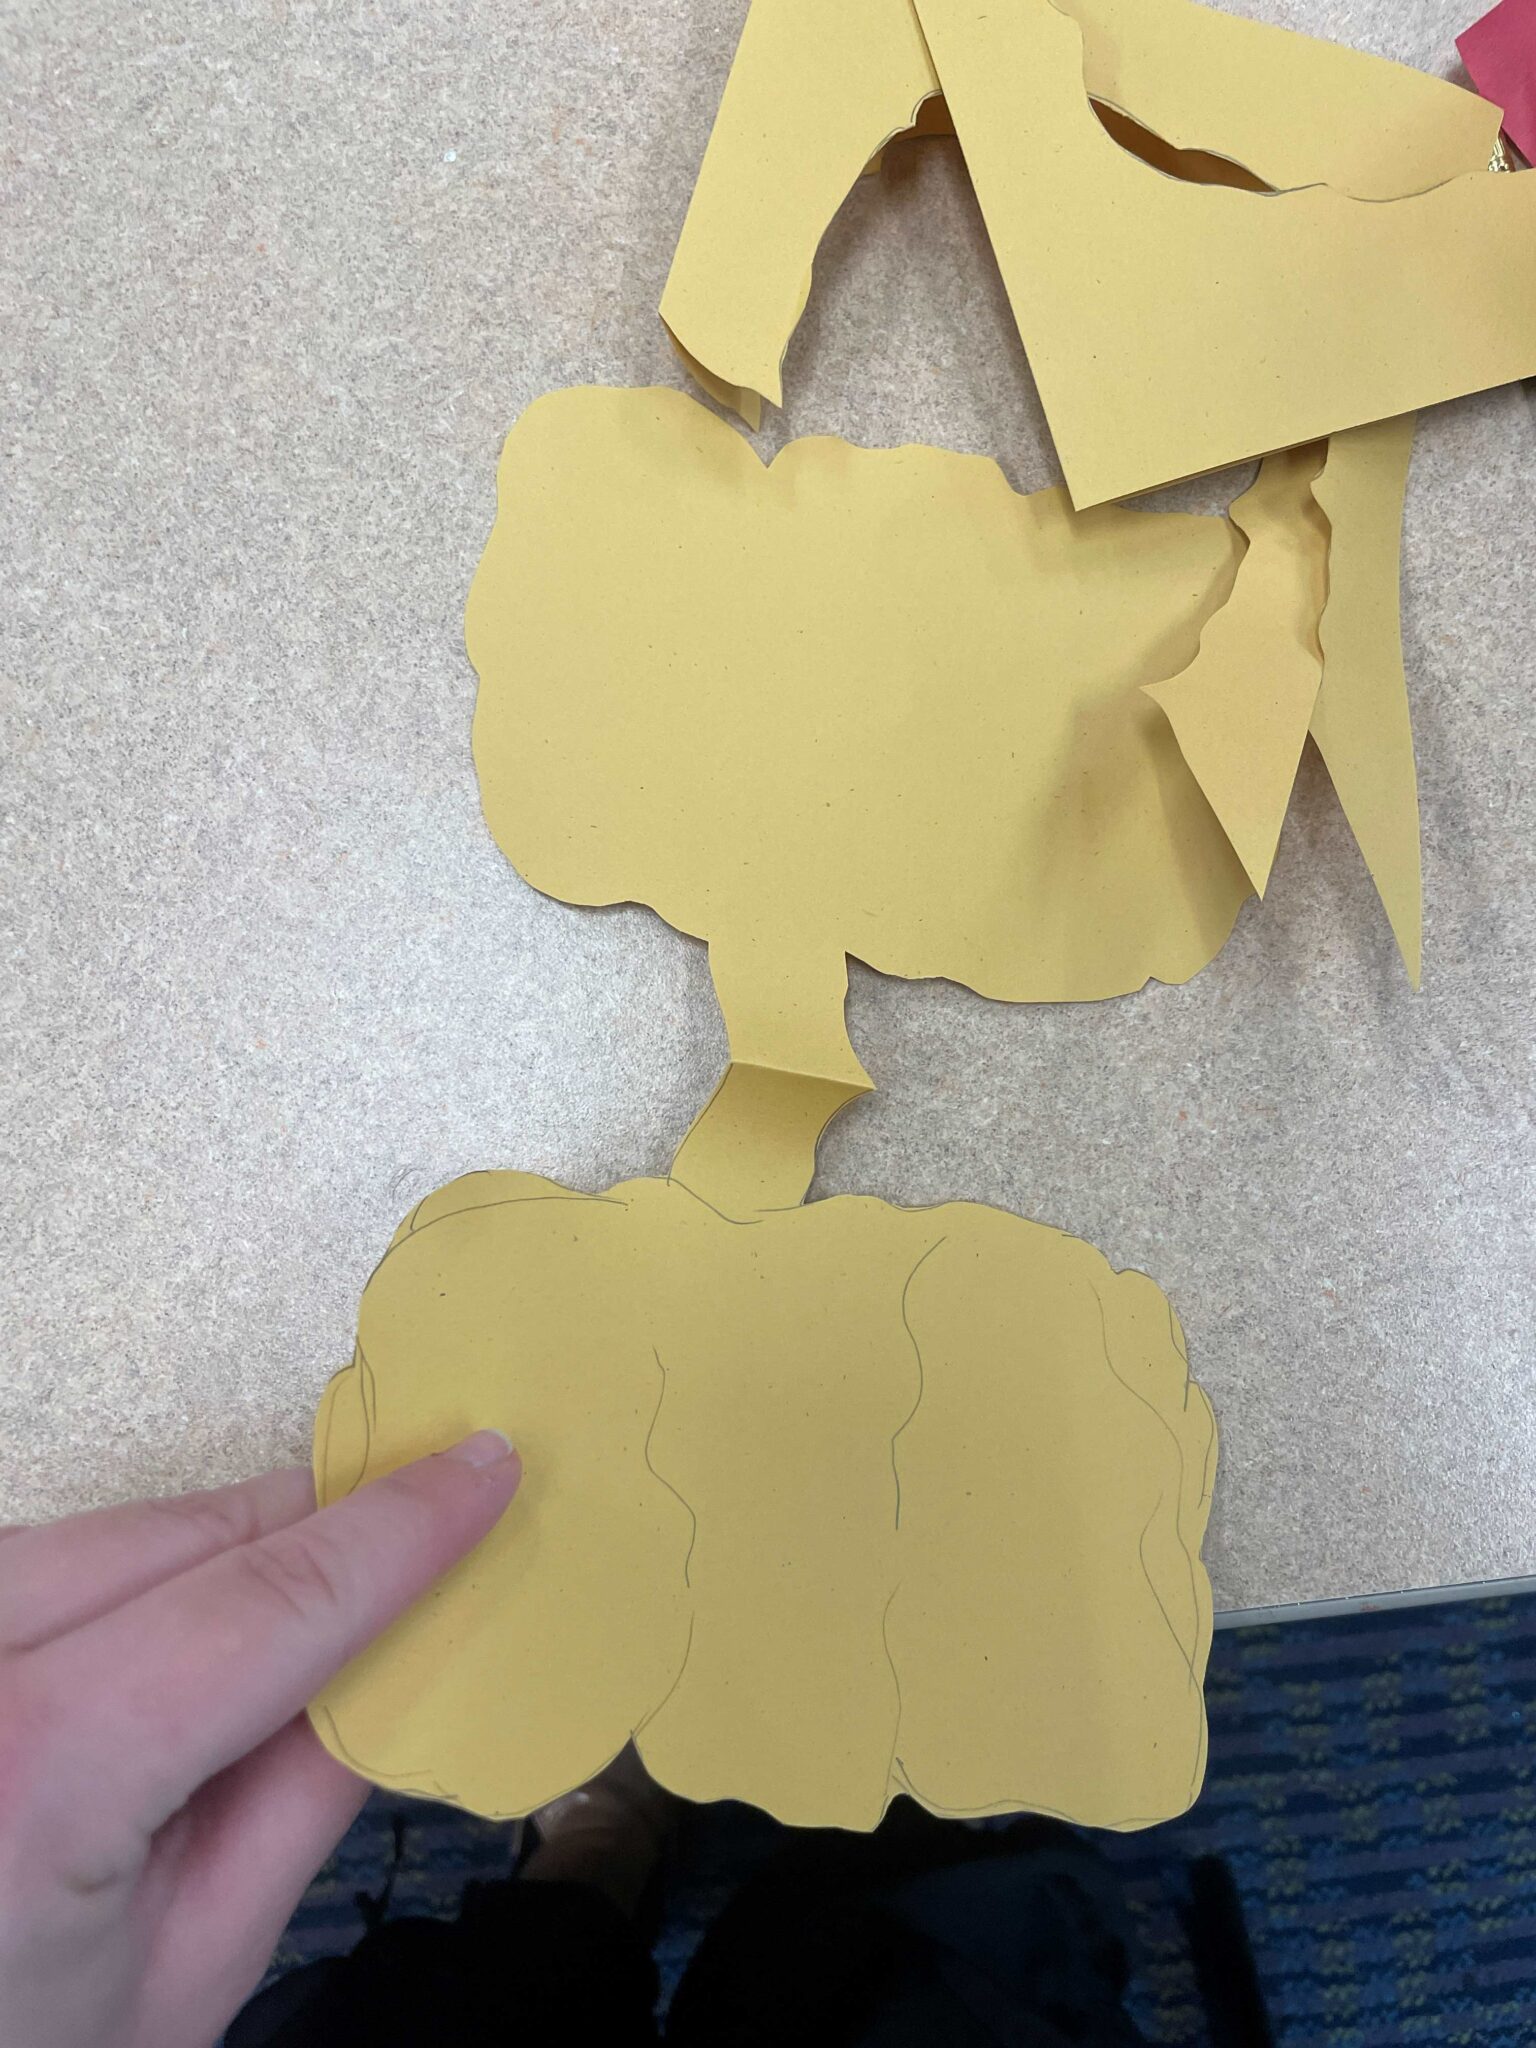
Then, I thought I might try to make a pumpkin shape for the bunting. I folded some yellow paper in half to create a rectangle onto which I could draw my pumpkin.

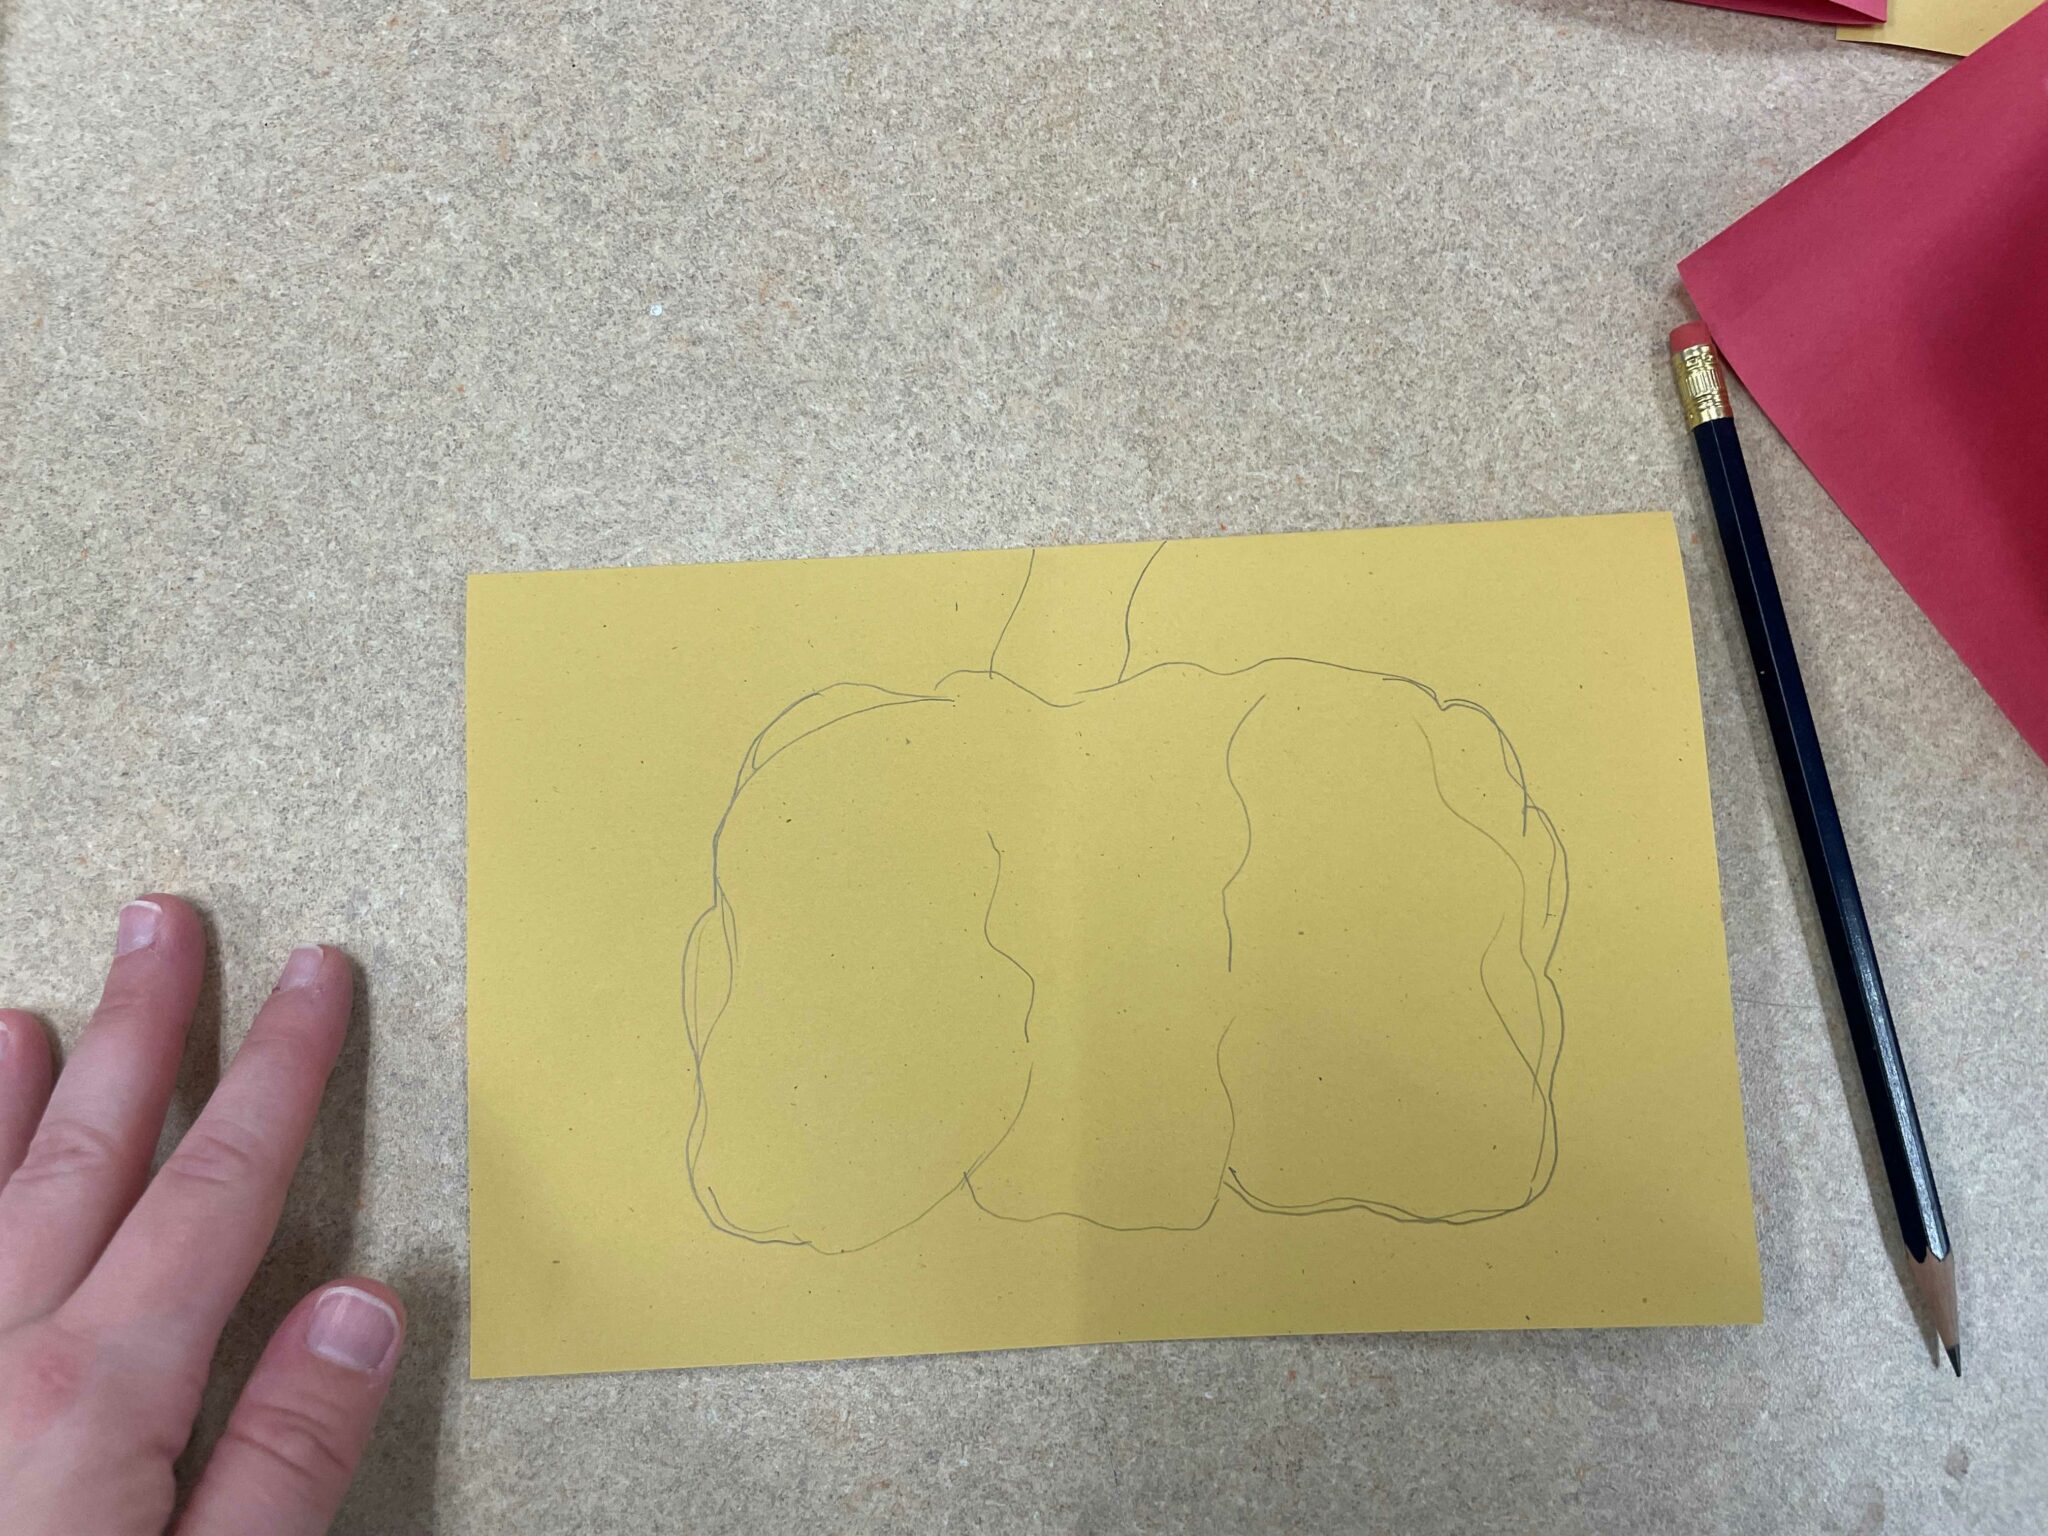
When drawing the pumpkin shape, I made sure to align the top of the pumpkin stalk with the folded part of the paper, so that when I cut out the pumpkin, I still had a fold with which I could secure the paper cutout to the twine.
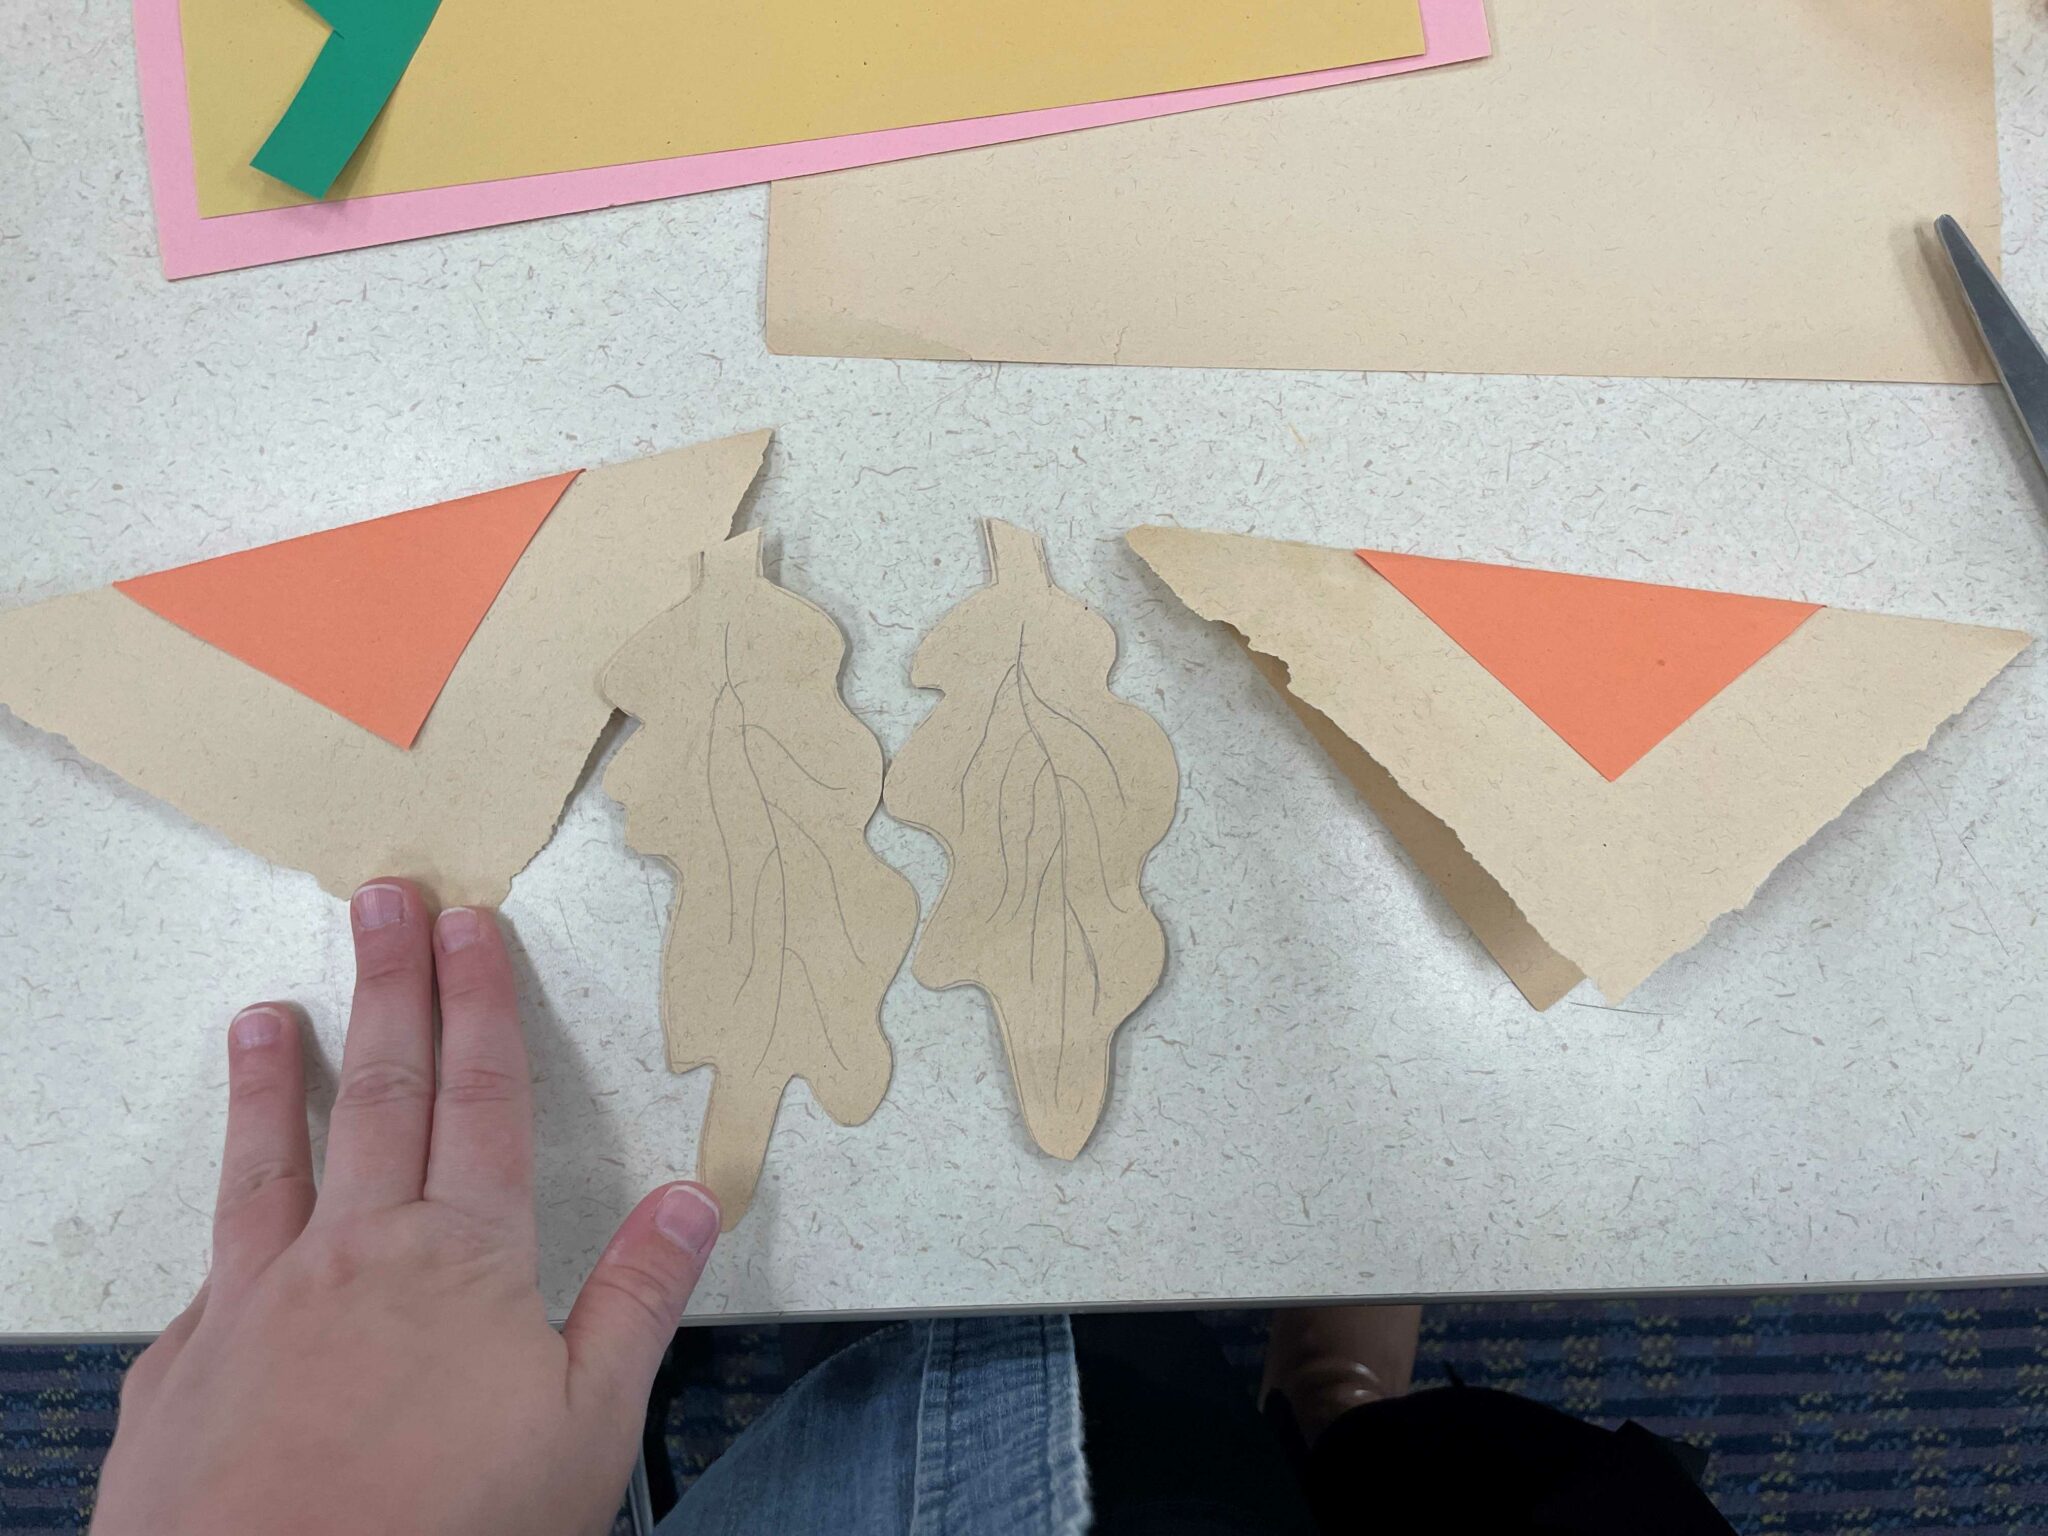
After making a pumpkin, I decided to make some more brown and orange triangle flags, as well as some oak leaves. I made sure to follow the same process as I did when drawing the pumpkin, aligning the ends of the leaves’ stems with a fold.
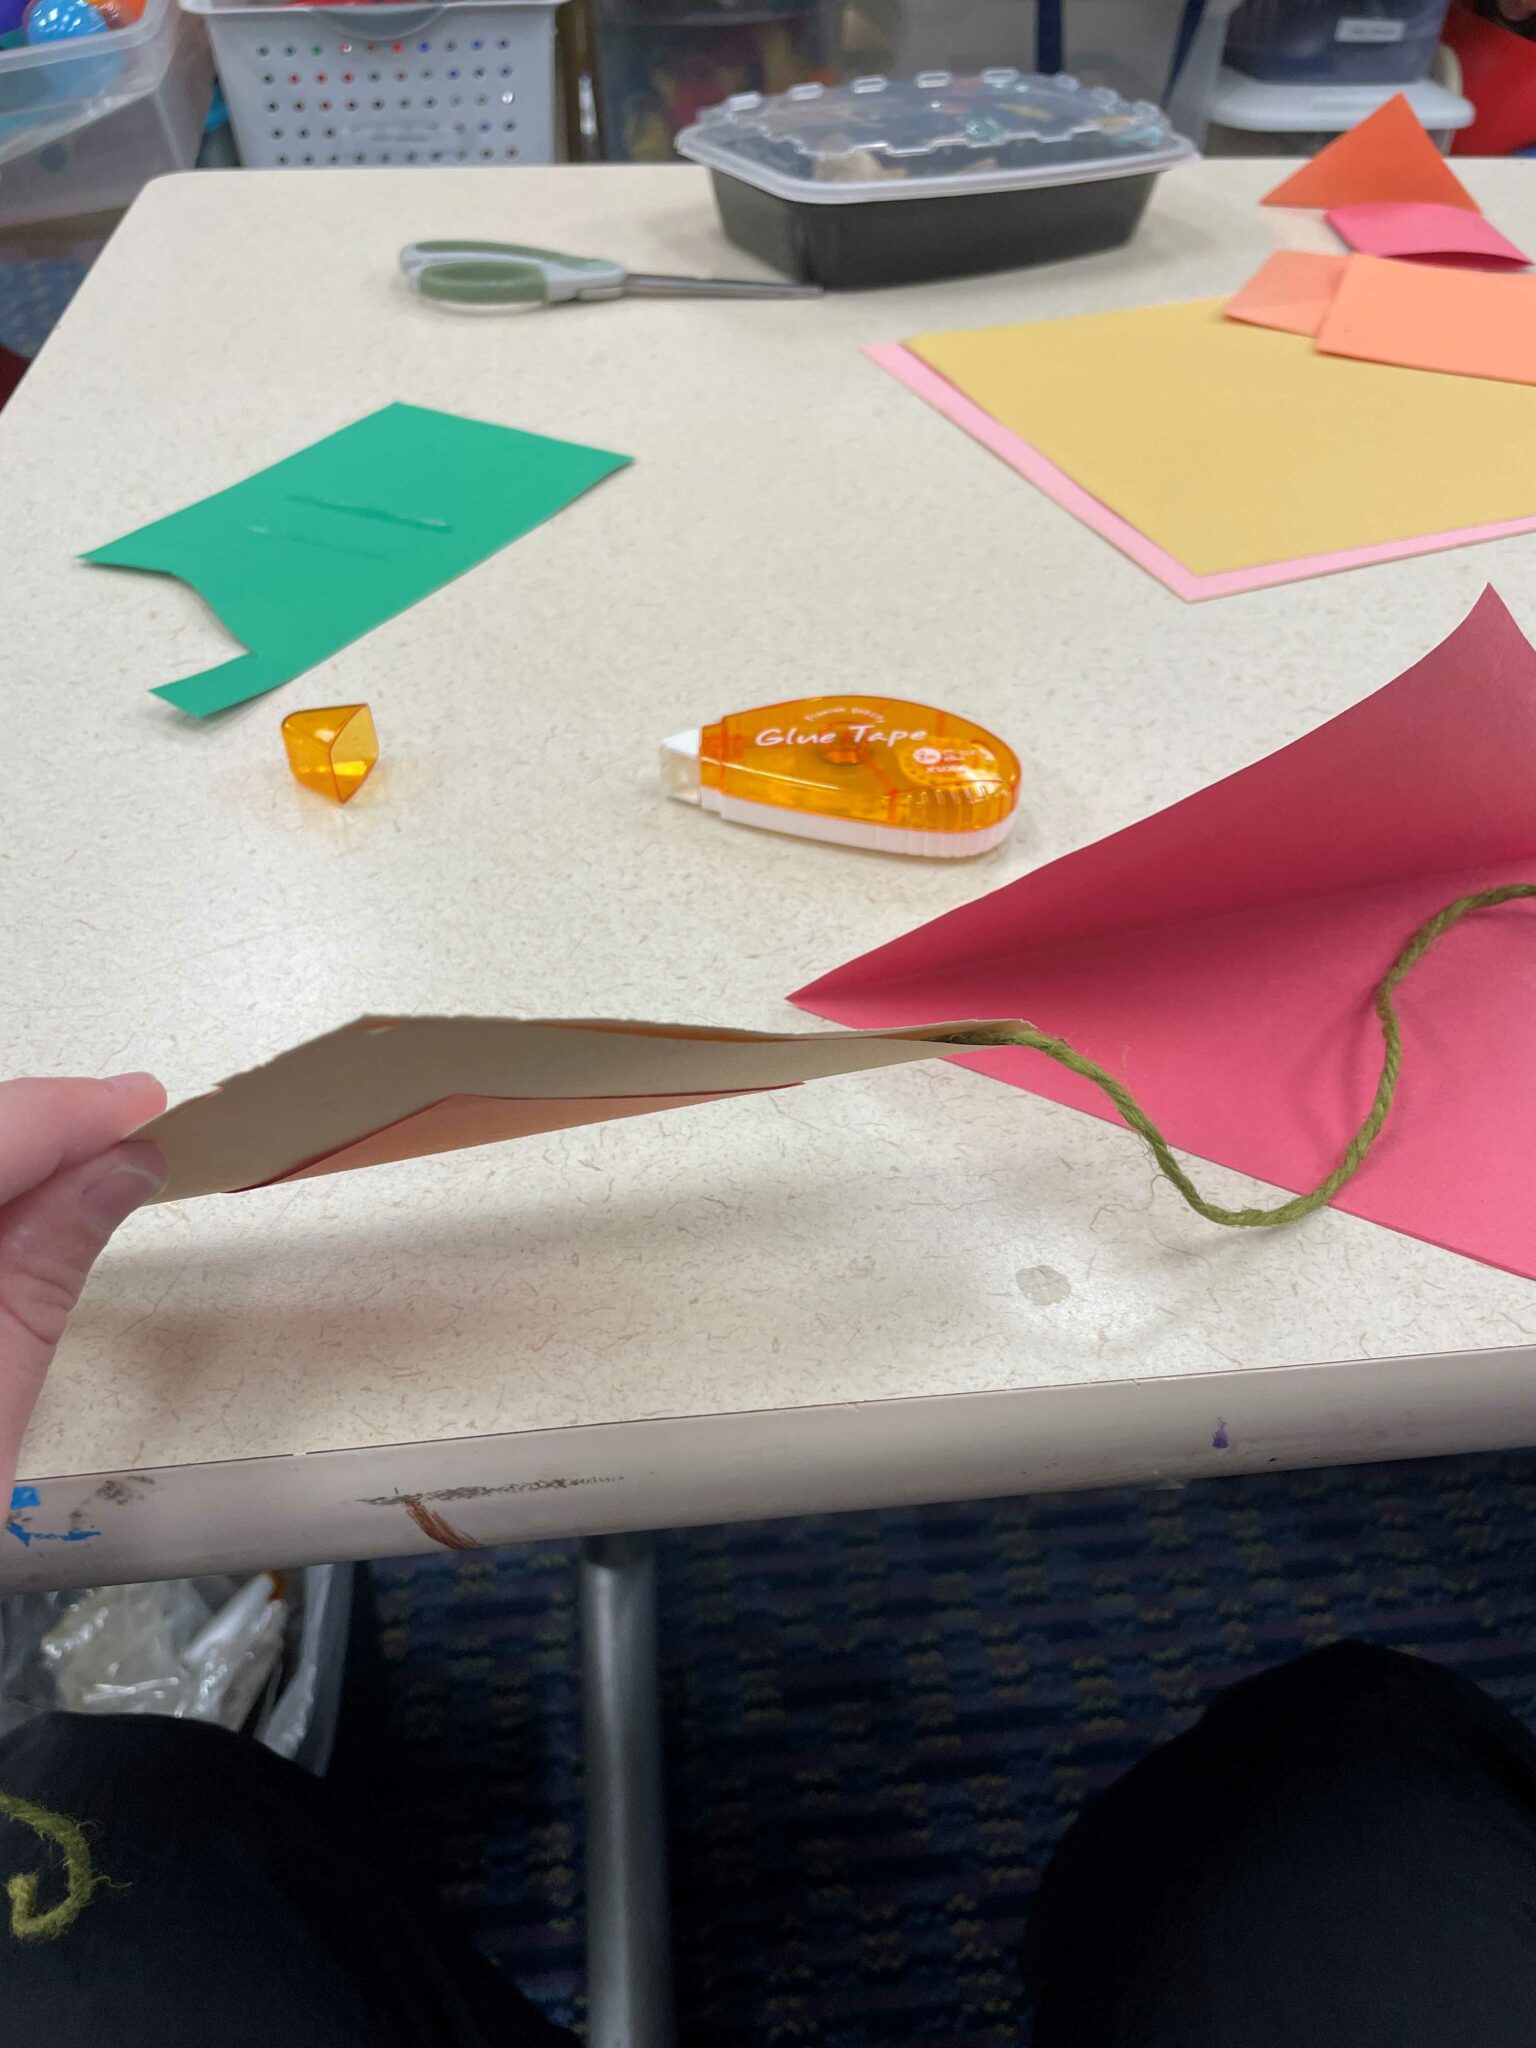
Finally, I had enough paper cutouts to begin assembling my bunting! I unraveled a couple of feet of twine and evenly spaced out my paper cutouts before fastening them in place.
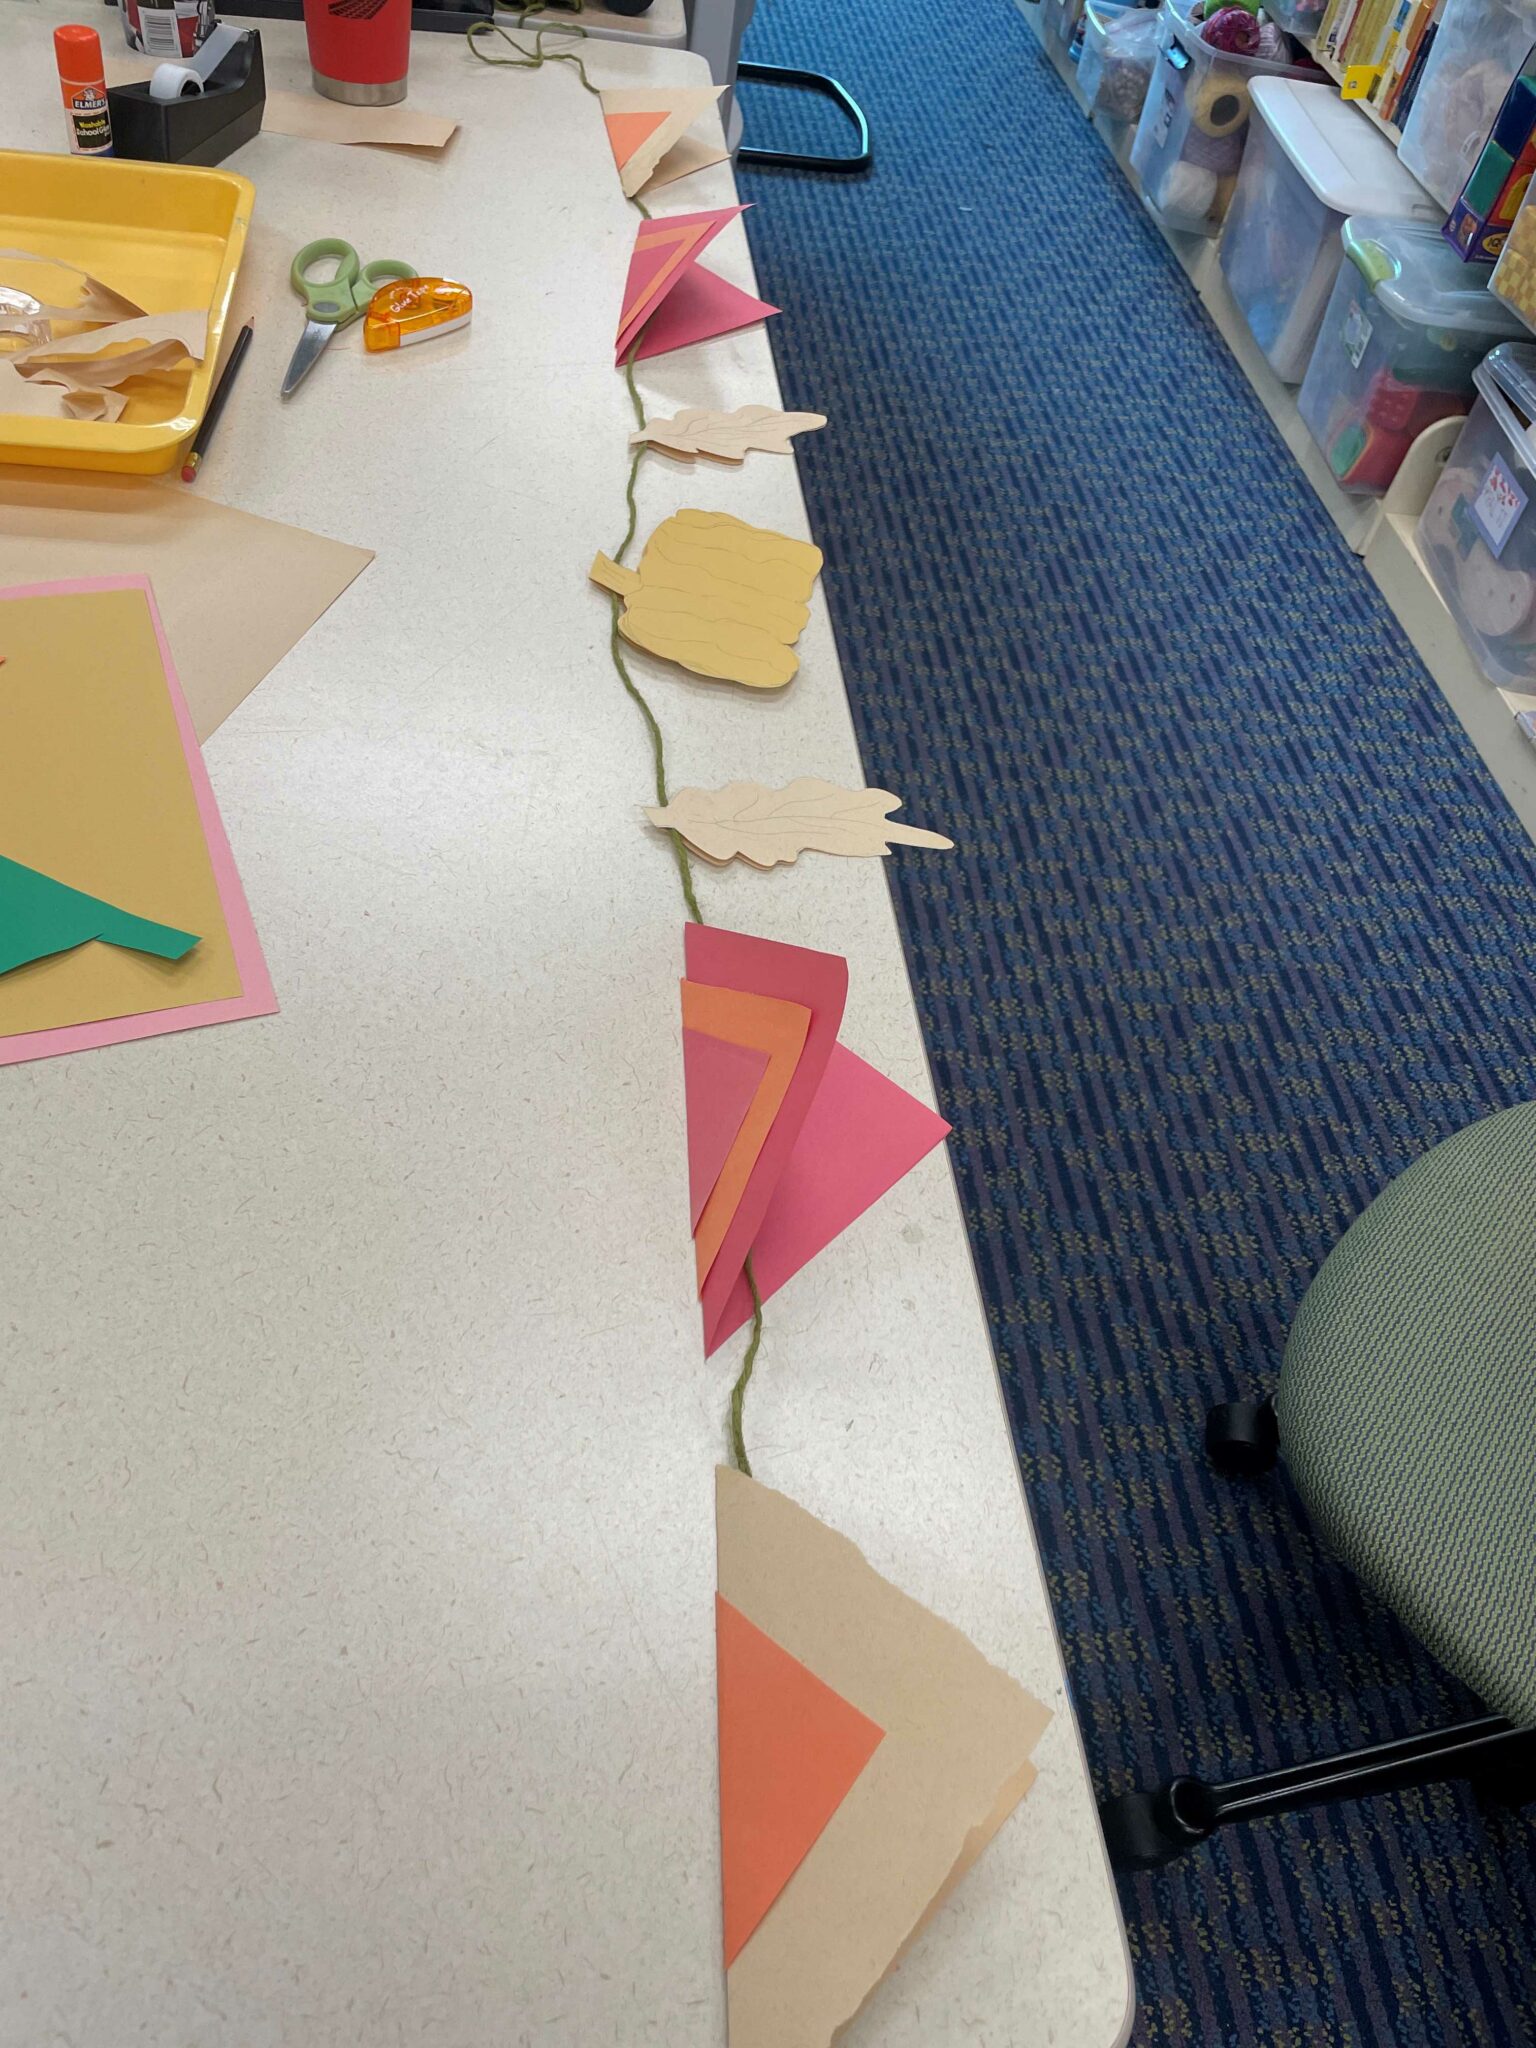
I found it was helpful to tape my twine to the fold on the inside of each of my shapes before gluing the two sides of the shape together to create a tight seal, as illustrated in the photo immediately below. This way my shapes wouldn’t jostle along the twine as I hung it up — but if you’d like to be able to slide your shapes back and forth along your bunting, skip this step.
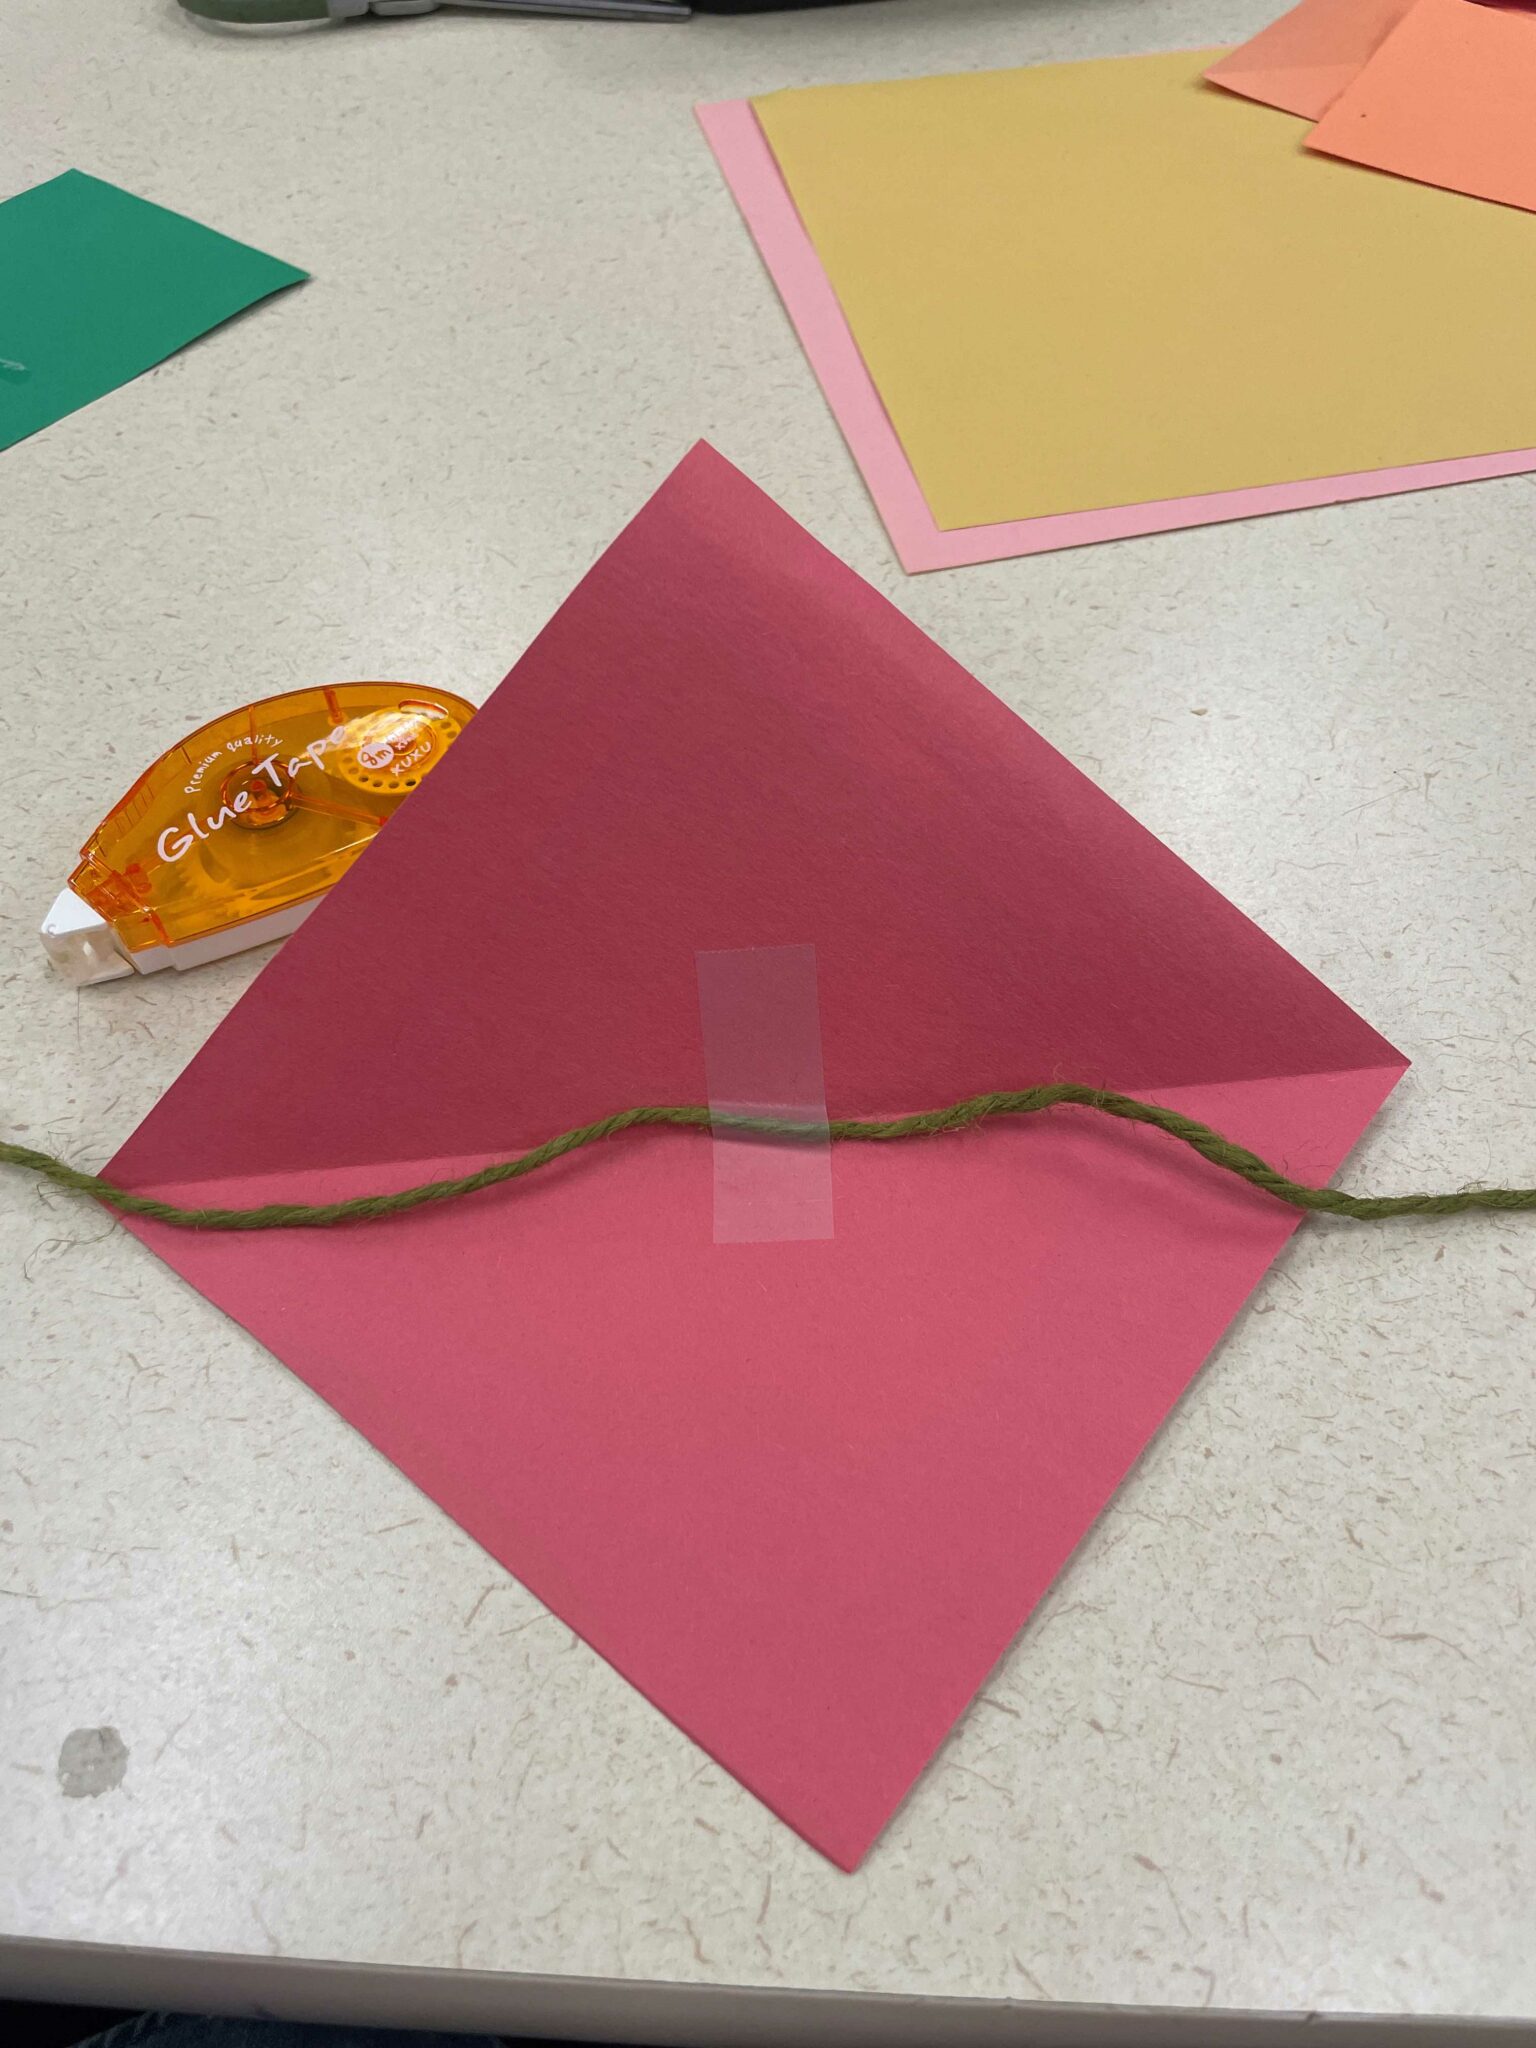
Once I had taped the twine to each cutout’s fold, I glued the two sides of the cutout together around the twine to create a secure seal.
If using an adhesive that needs time to dry, like glue or glue tape, it might be helpful to place a heavy object over each cutout as you fasten it to the twine for a couple of minutes, so that the adhesive has both the force and time to strengthen fully. 💪🏼 I found that double-sided tape worked the quickest and made my bunting very secure with minimal effort. ✅
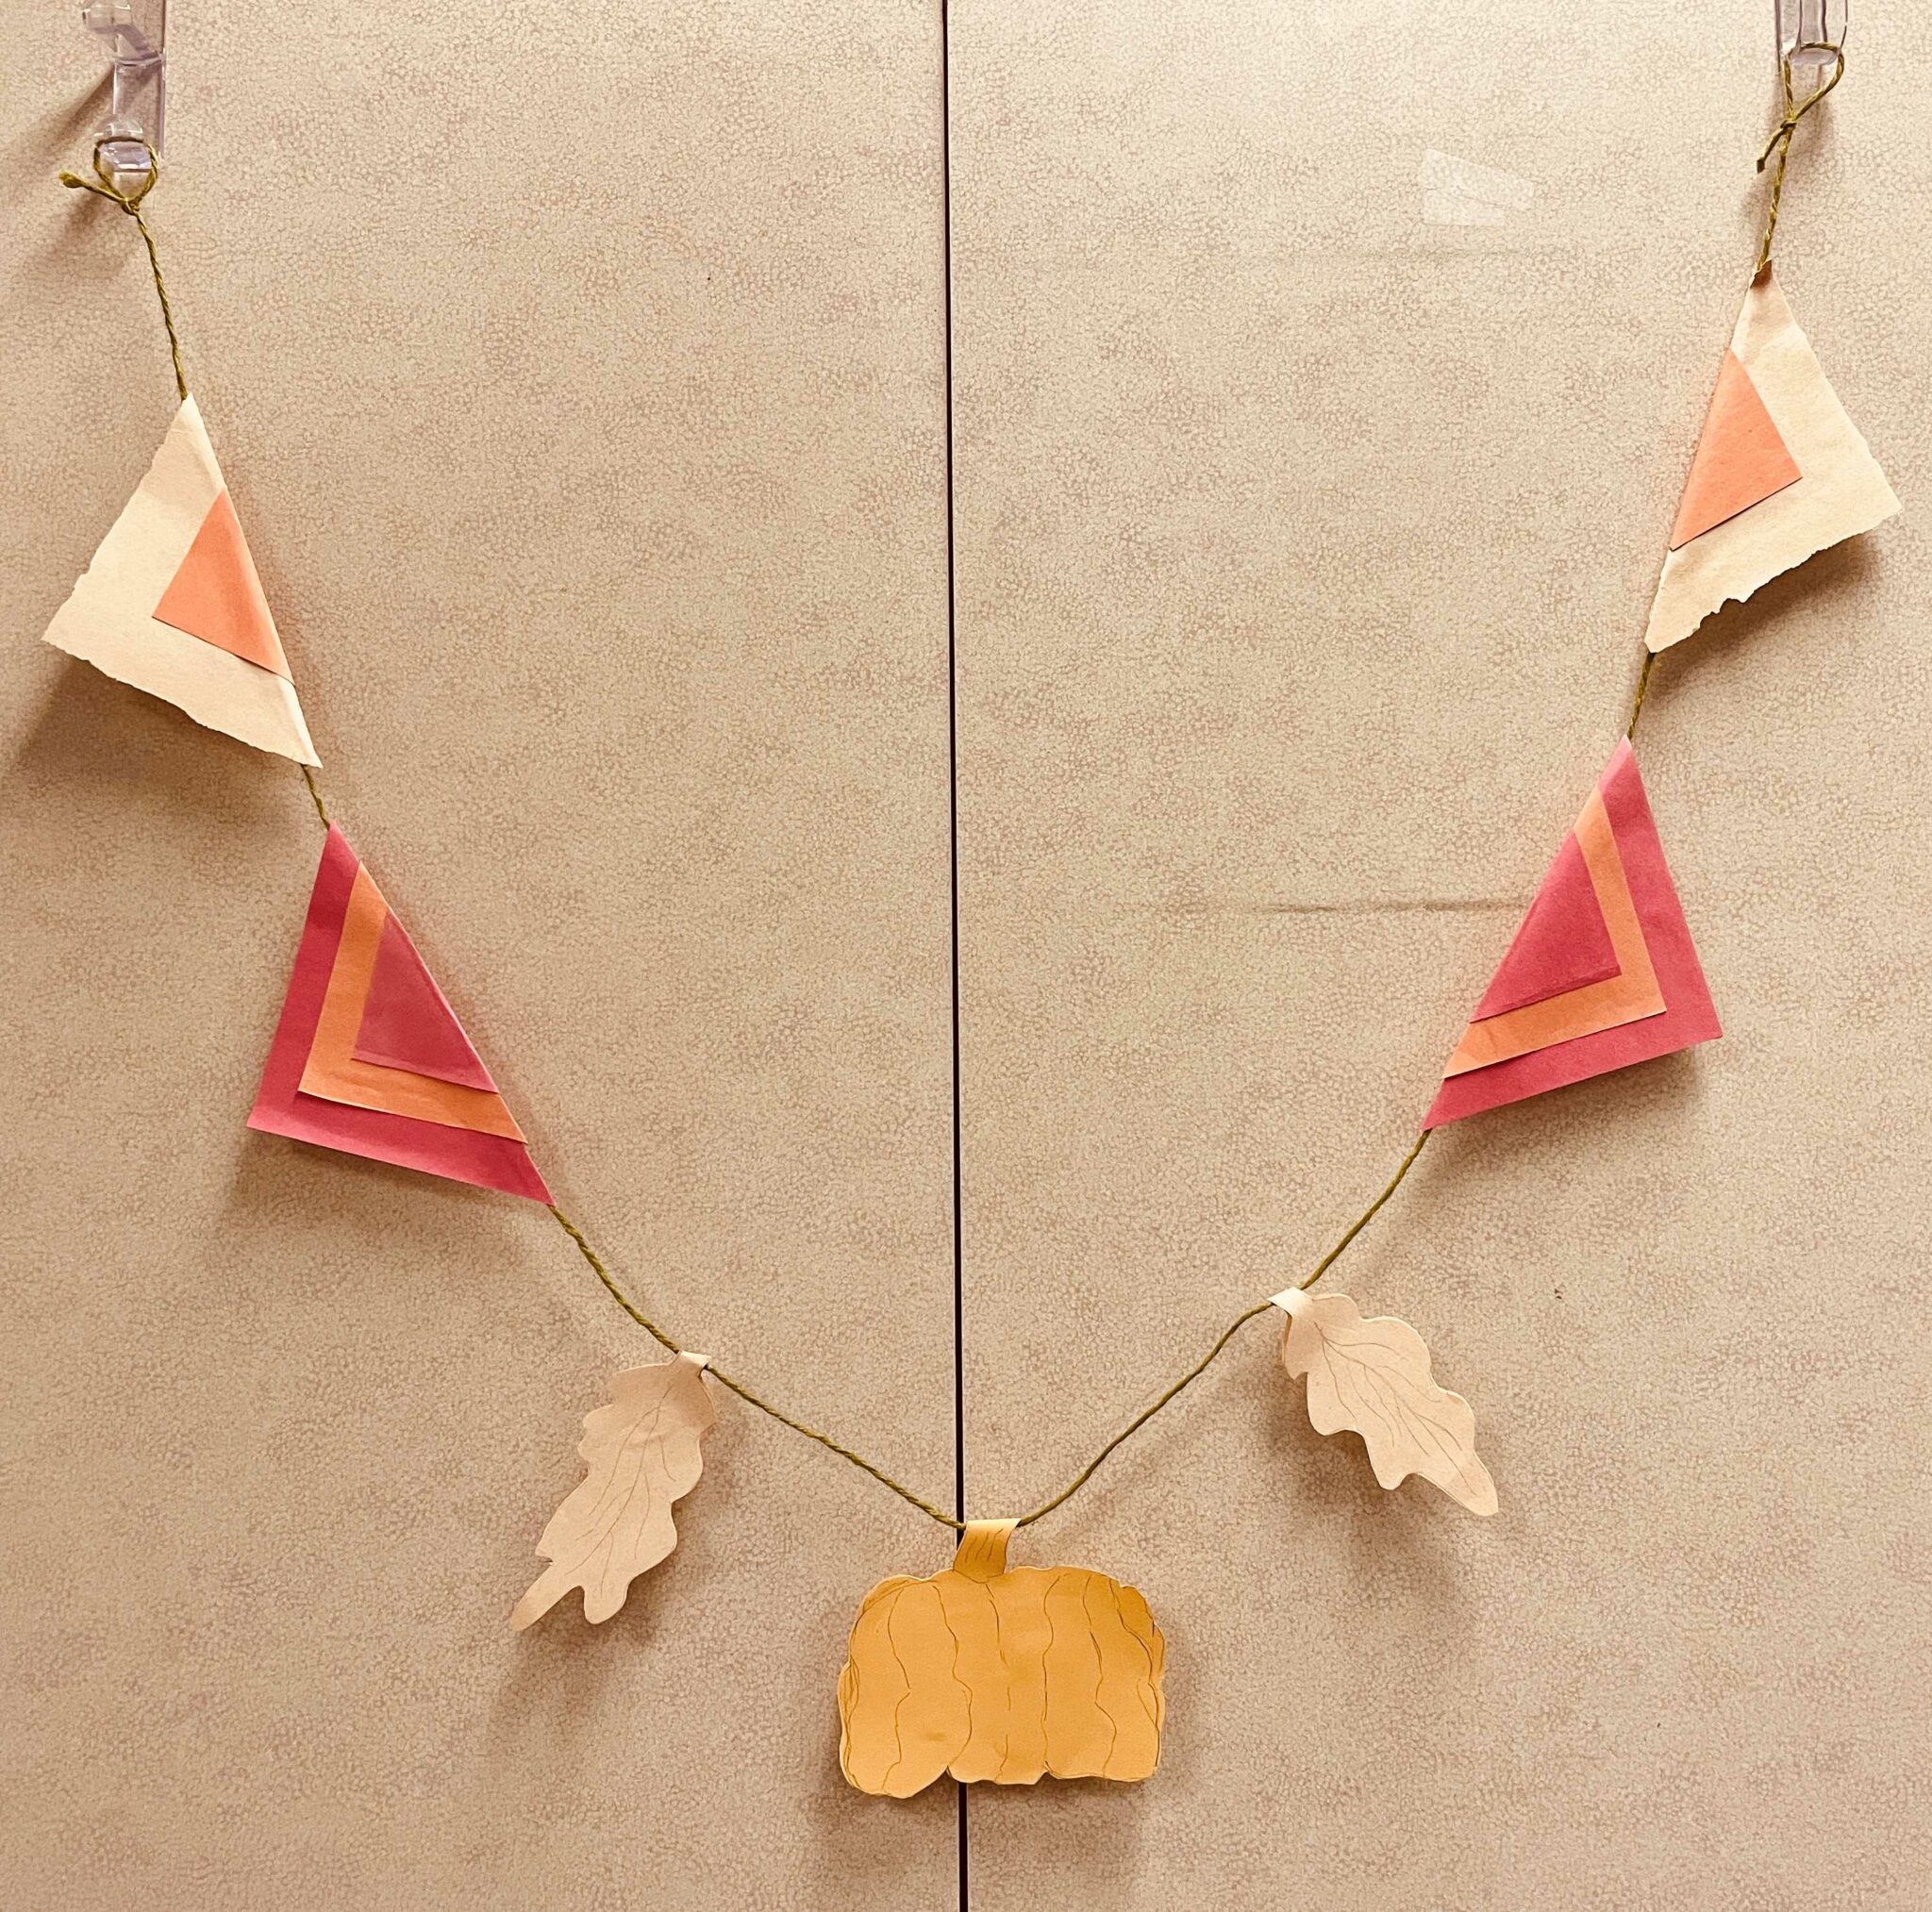
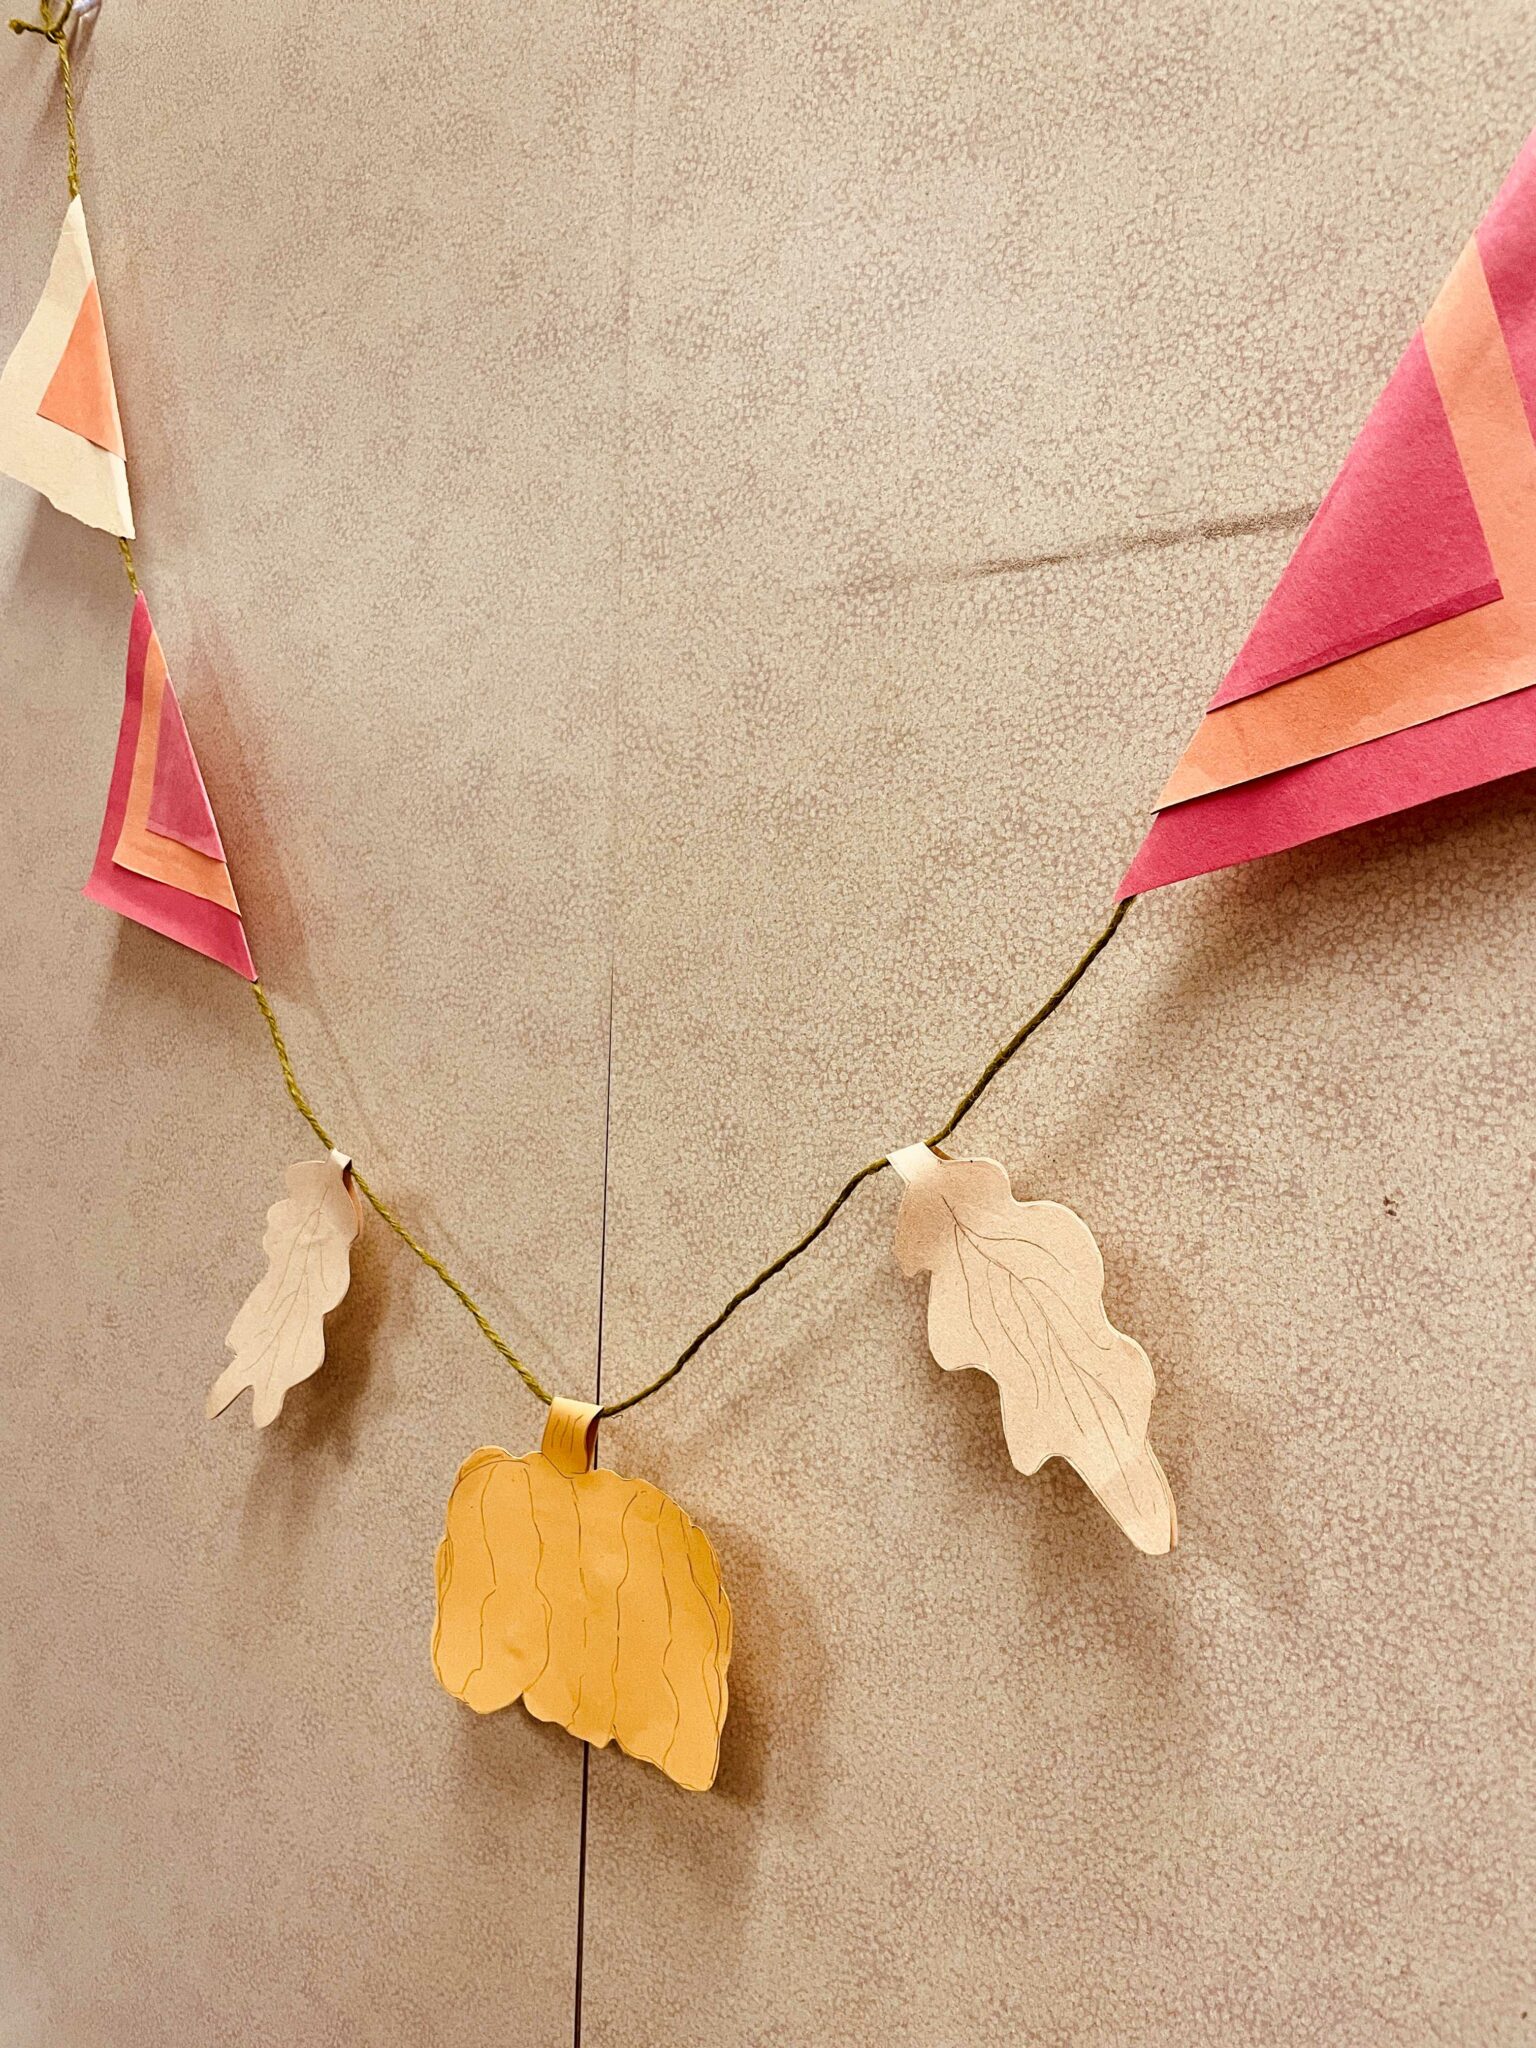
After all your cutouts are attached, you’re ready to showcase your creation! Hang up wherever you need a gourdgeous reminder that fall is here!!! ❤💛🧡🎃🧡💛❤