One of my favorite things about late fall and winter is watching the birds outside my window. Last year, I got to know a cardinal couple who were regular diners at my feeder. It felt good to offer them and others food even though birds are highly resourceful creatures. When I gazed at them from my window, a feeling of warmth spread through me that eased the winter chill. Robert Lynd says, “In order to see birds it is necessary to become a part of the silence.” Whether you interpret that as being quiet and still in your body or your mind, watching birds stirs our hearts and activates our imaginations — opening us up to mystery, wonder and hope. Plus, it’s just plain fun! My namesake is the robin, but I’m still learning the names of more than 400 birds that visit Missouri (150 of which regularly nest in our state). I love going old school with a printed field guide, but the Cornell Lab of Ornithology has a free app for smartphone and tablet users called Merlin Bird ID that is quite magical and very kid-friendly (one feature I love is the sound identification that takes an audio sample you record and isolates each call or song of any and all birds in the near vicinity).
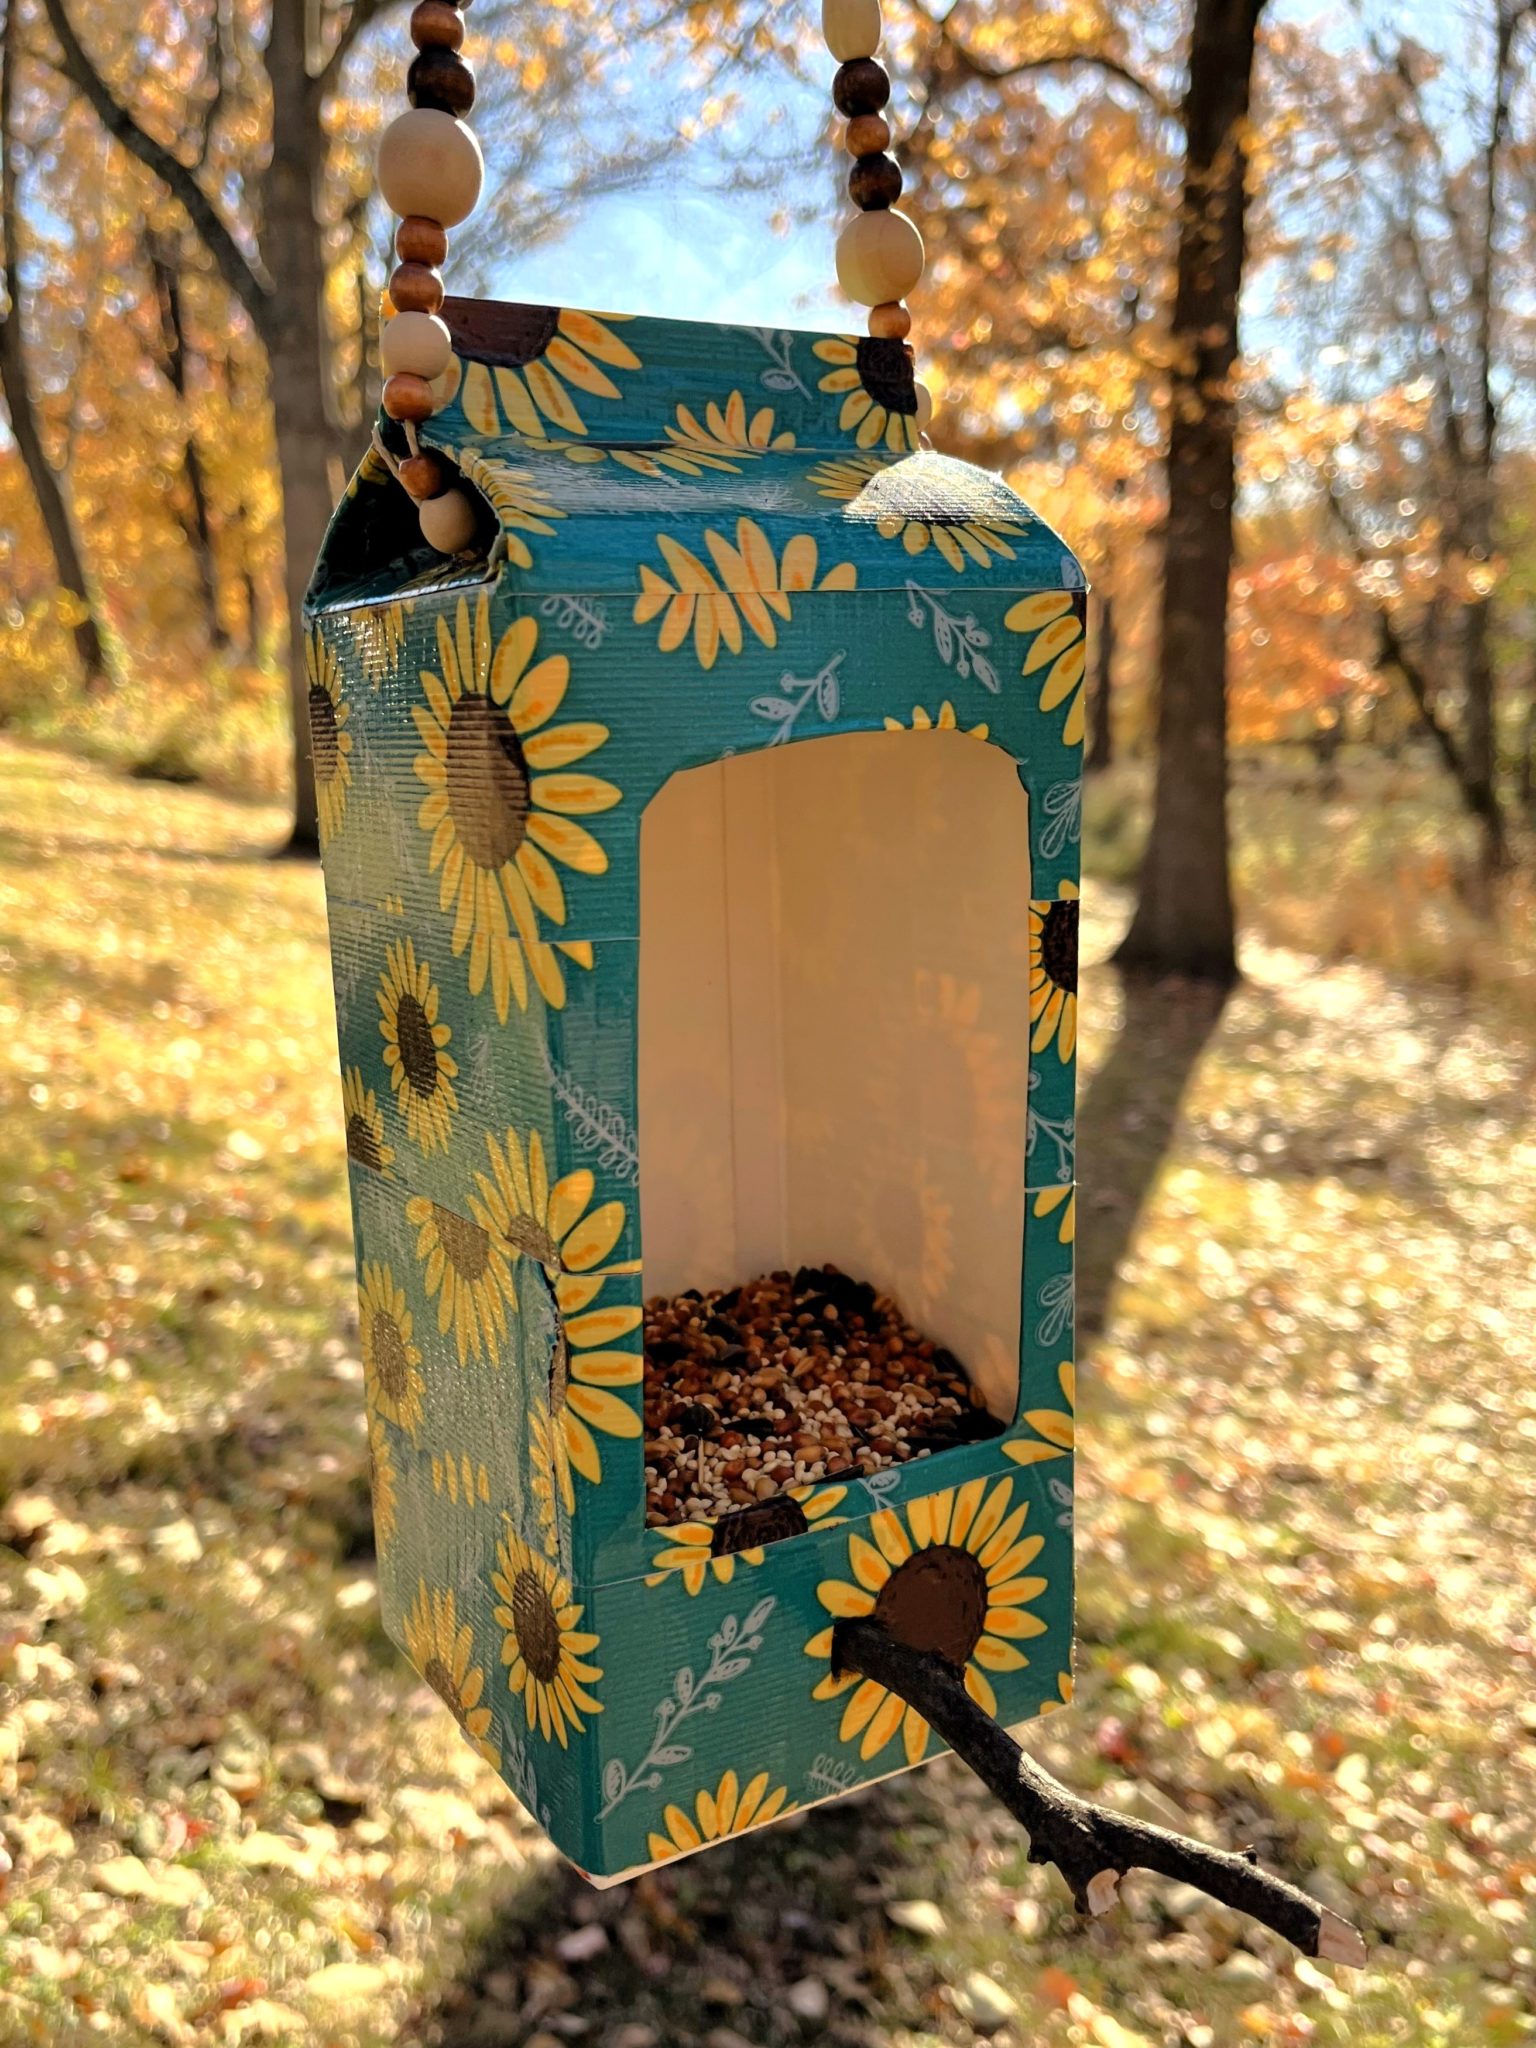
Below are the steps to make a fun and simple bird feeder. After you set your creation outside and give it some time, see if you can identify the top 20 birds that visit Missouri backyards in the colder months. The library also has a wonderful Virtual Activity Bundle to help keep young minds active while indoors (recommended for ages 3-6), and here is a staff-created book list with some favorite picture books about our feathered friends.
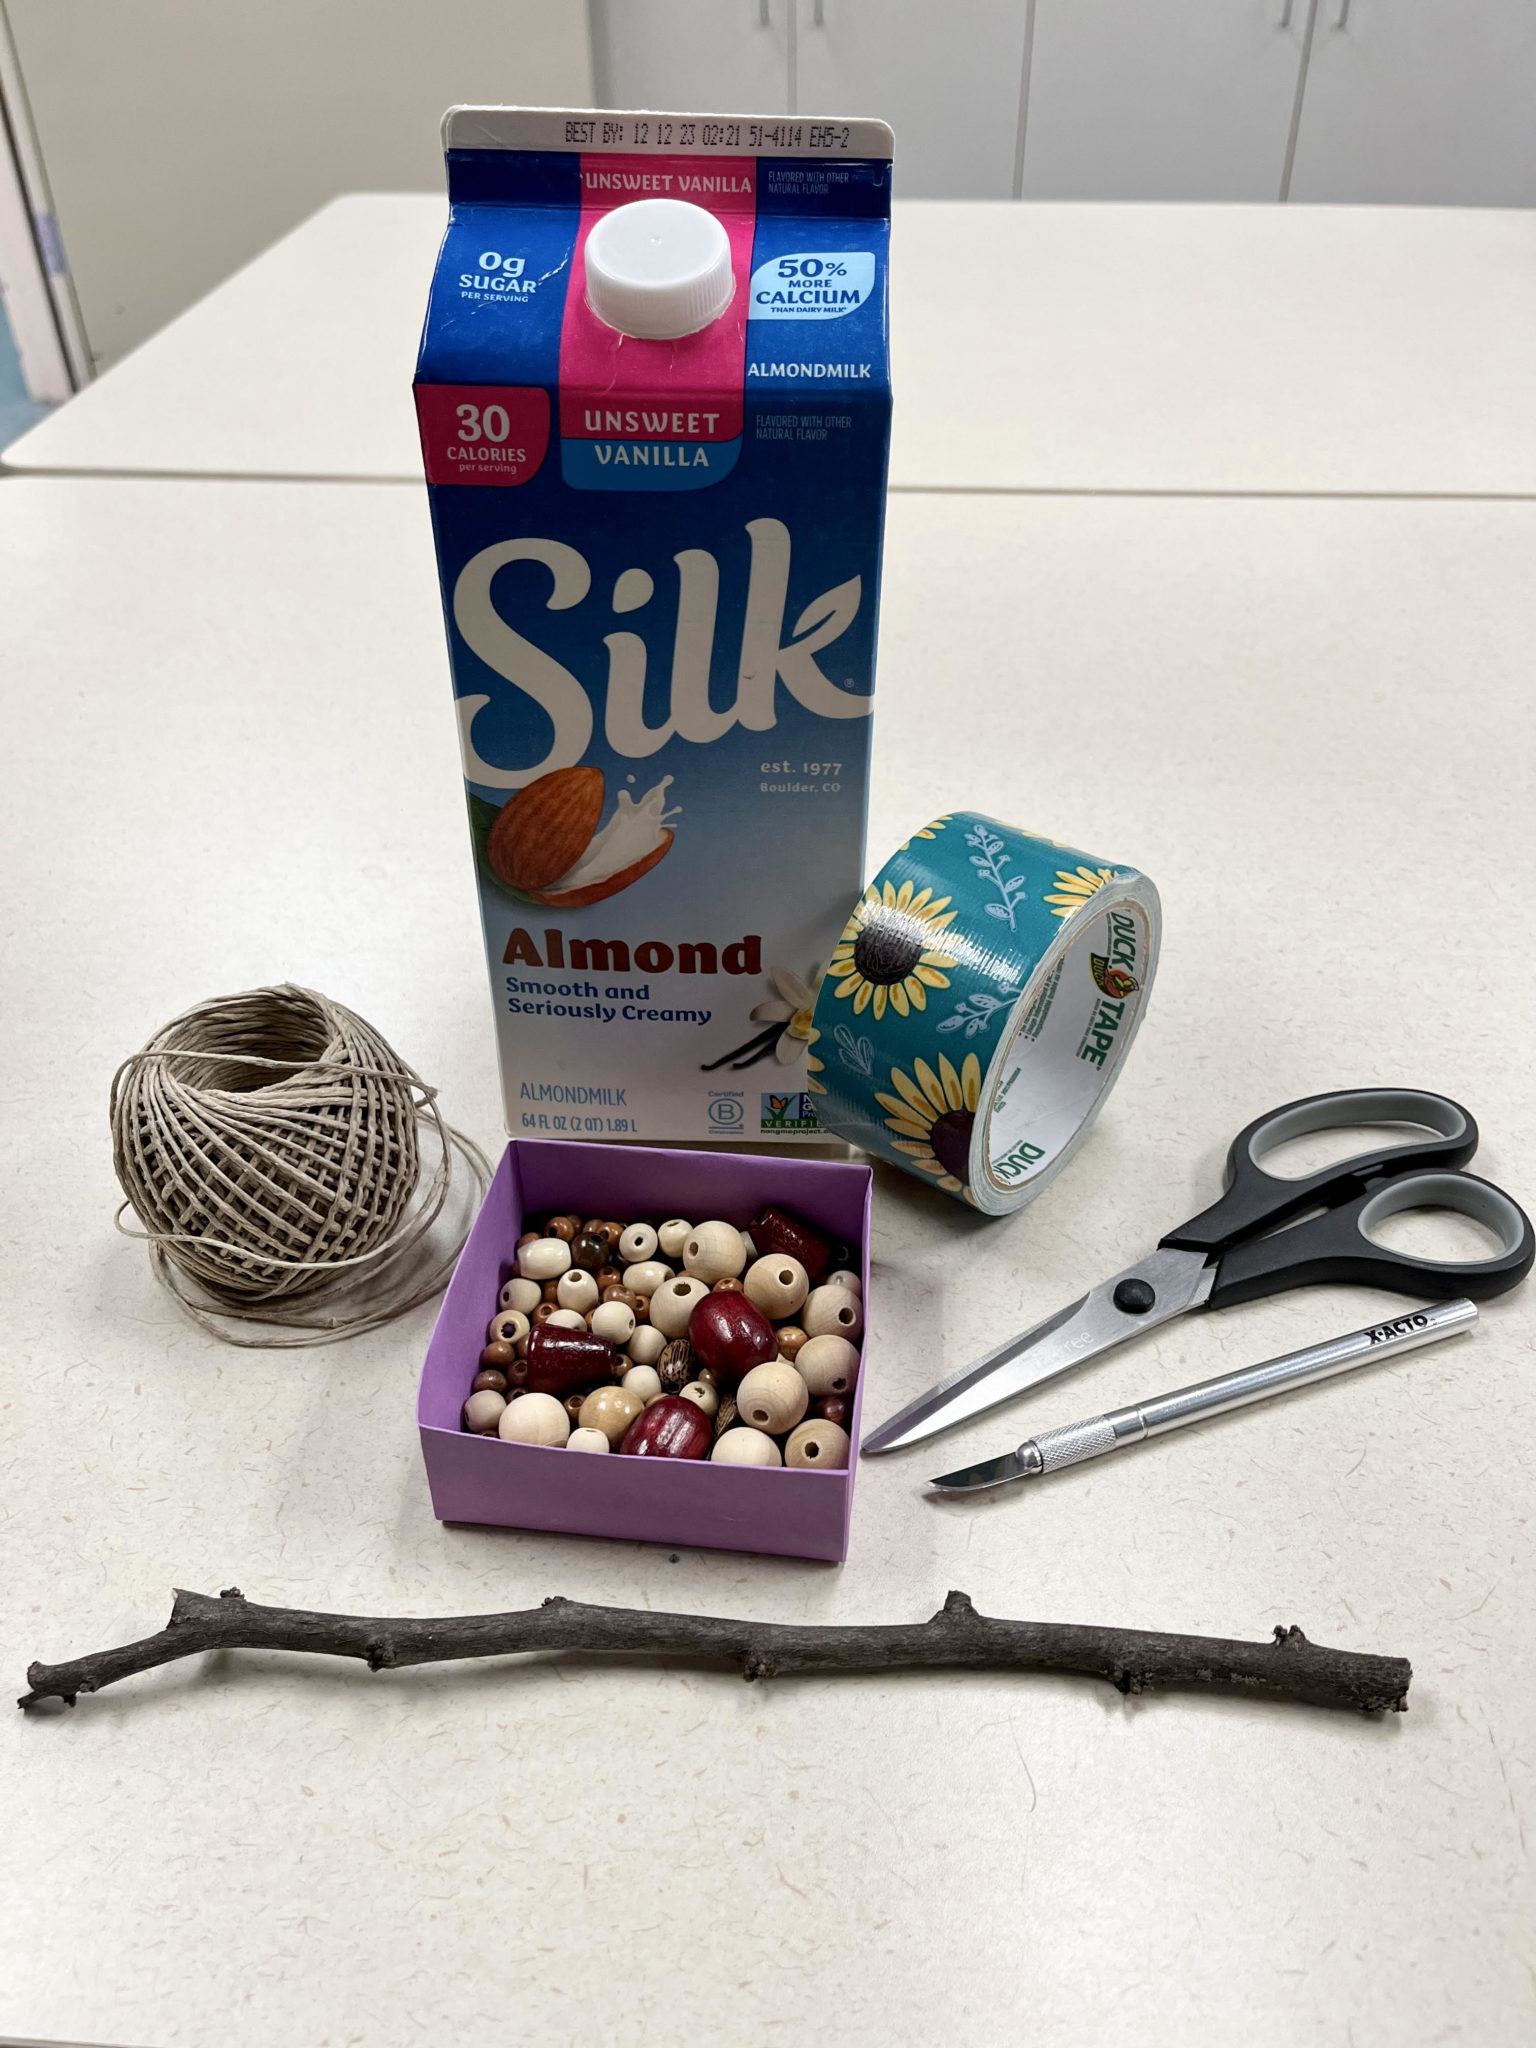
Materials needed:
- Empty, clean milk or juice carton
- Craft knife or sharp scissors
- Fun duct tape
- Stick
- String or yarn
- Beads (optional)
- Bird seed
Recommended Age: 7 and up
Steps:
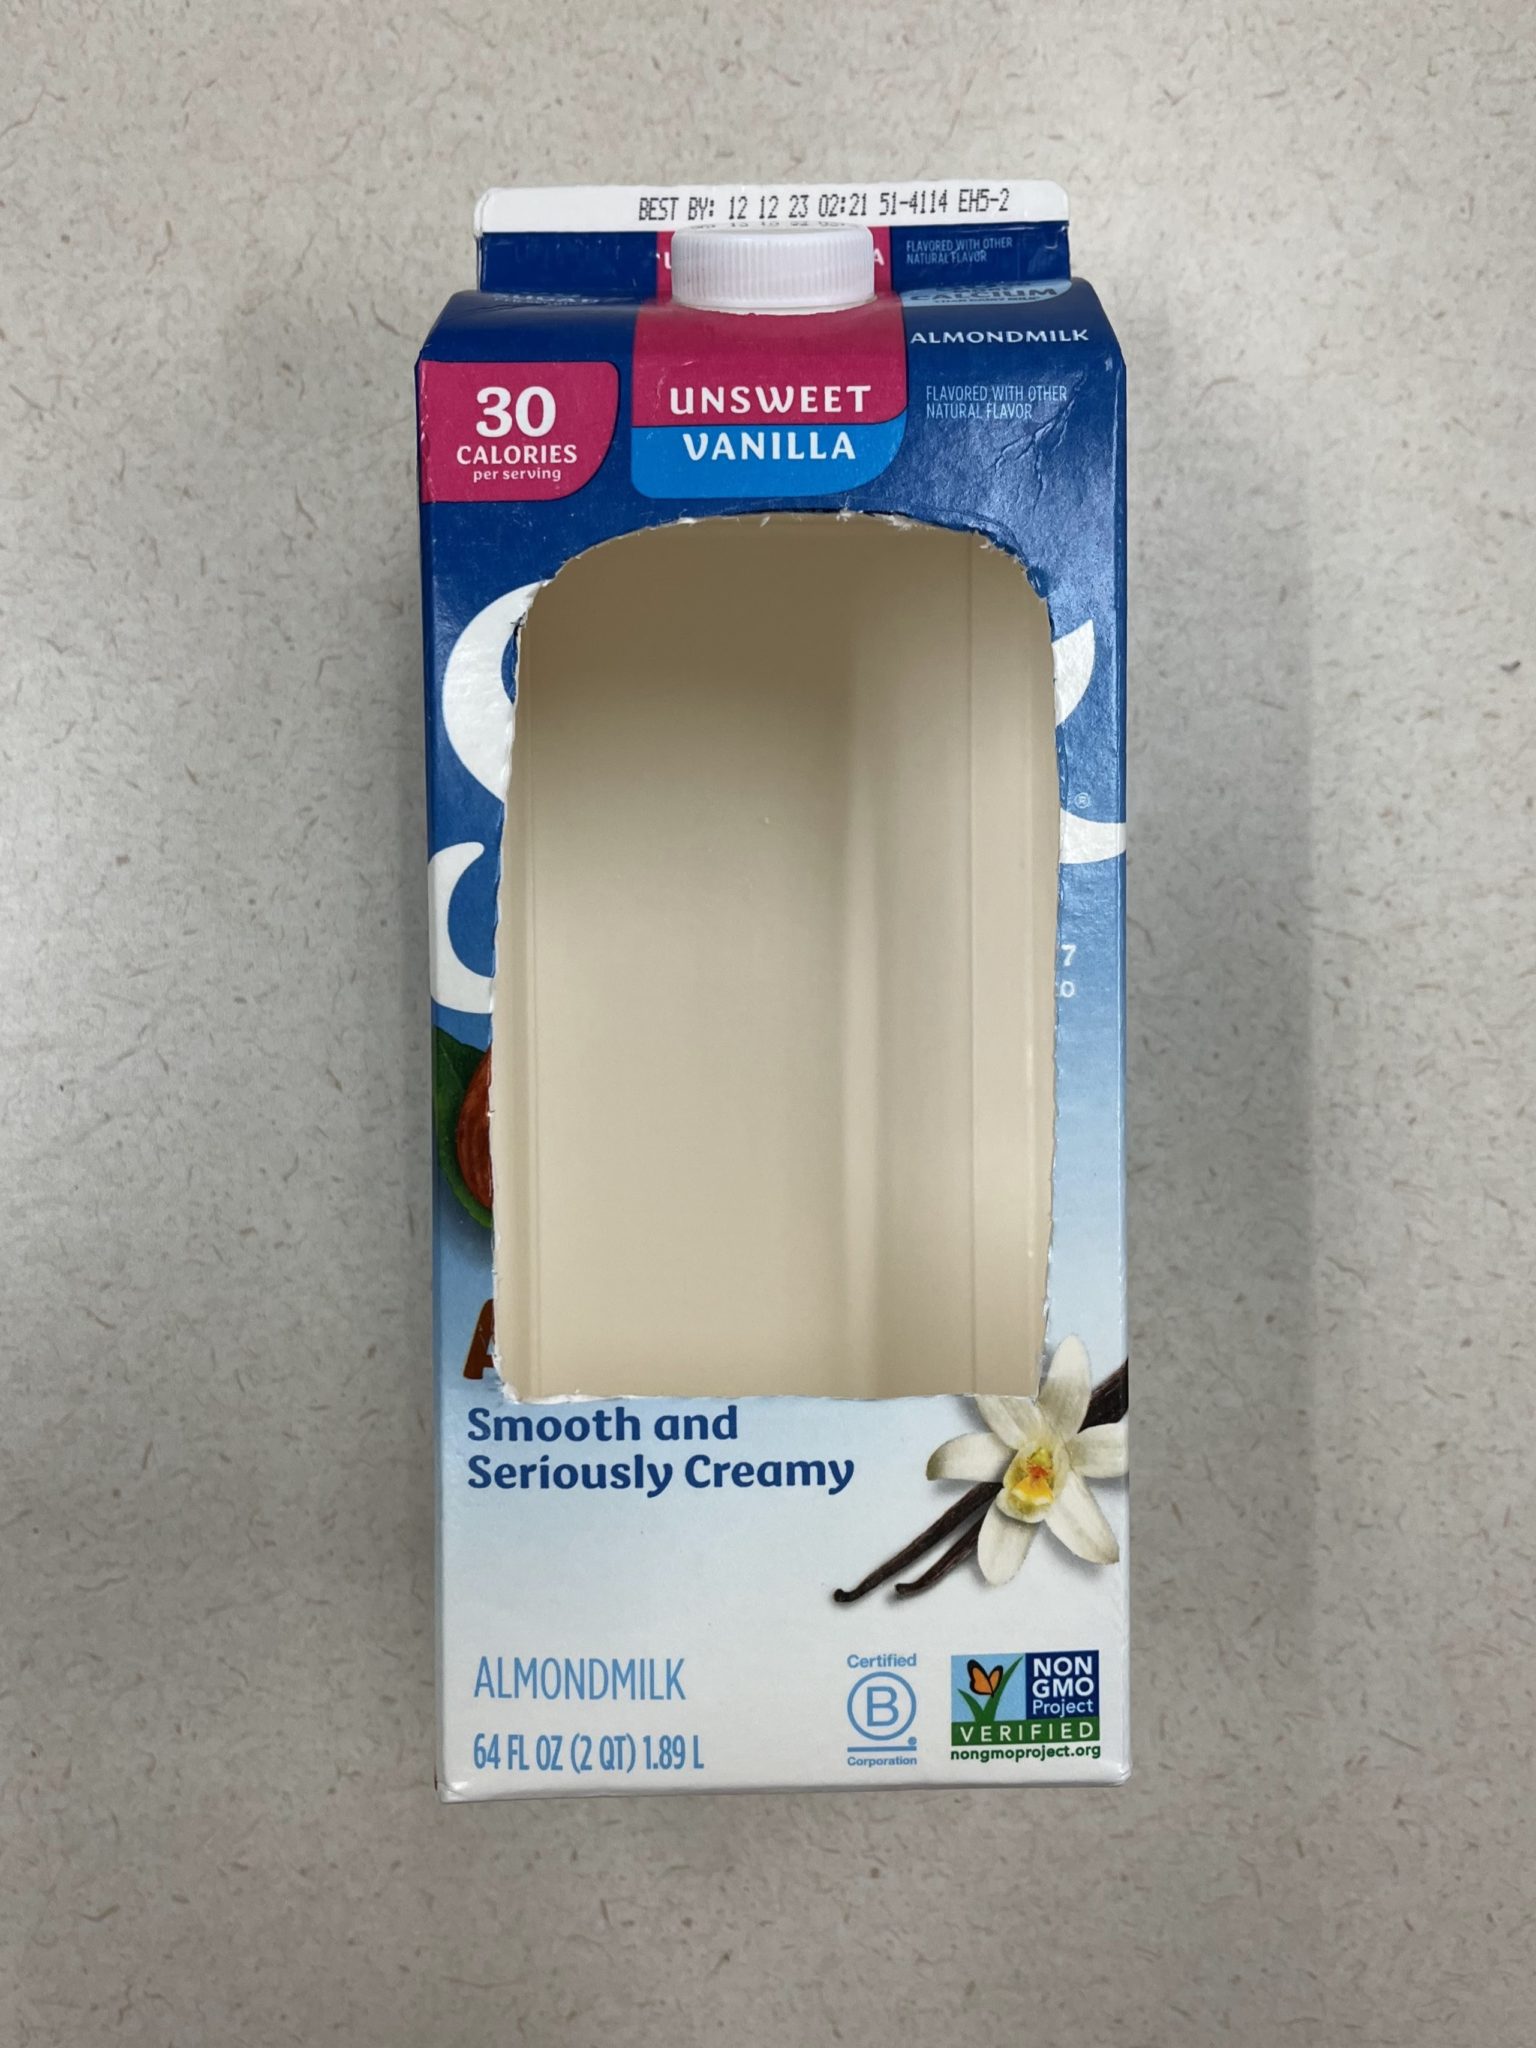
1. With younger kids, have an adult cut an opening with the craft knife or scissors. Leave space at the base of the carton to later fill with bird seed and that’s large enough for birds to reach into. It may be helpful to draw the shape on the carton before cutting. You can also cut out the plastic spout at the top of the carton to make the next step simpler.
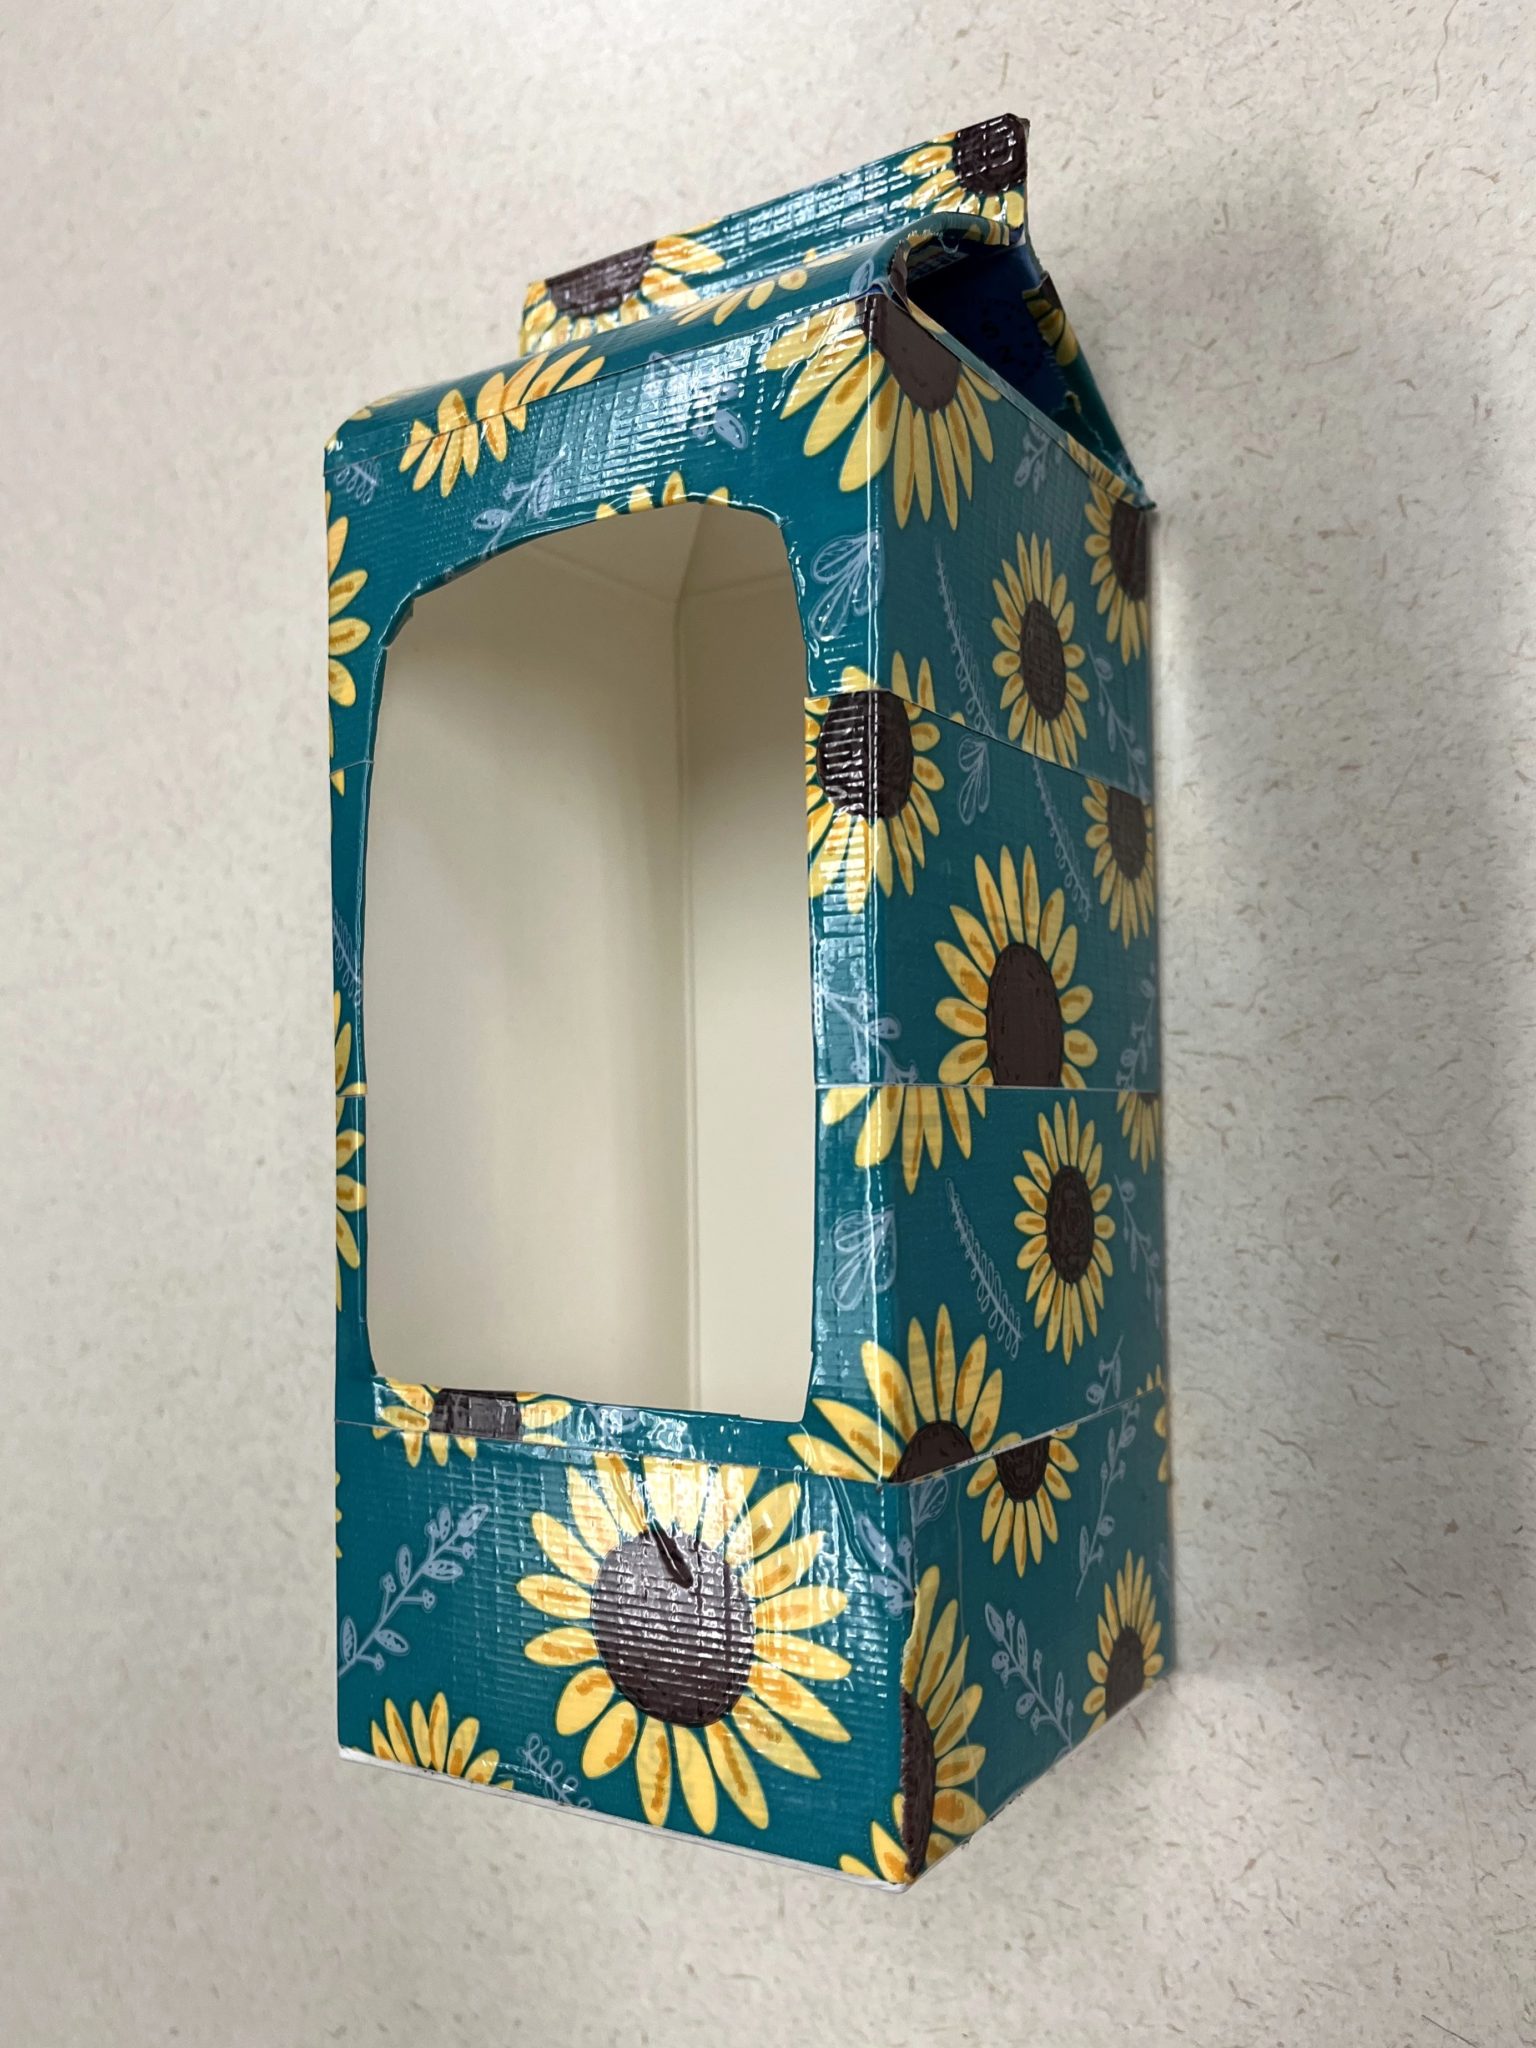
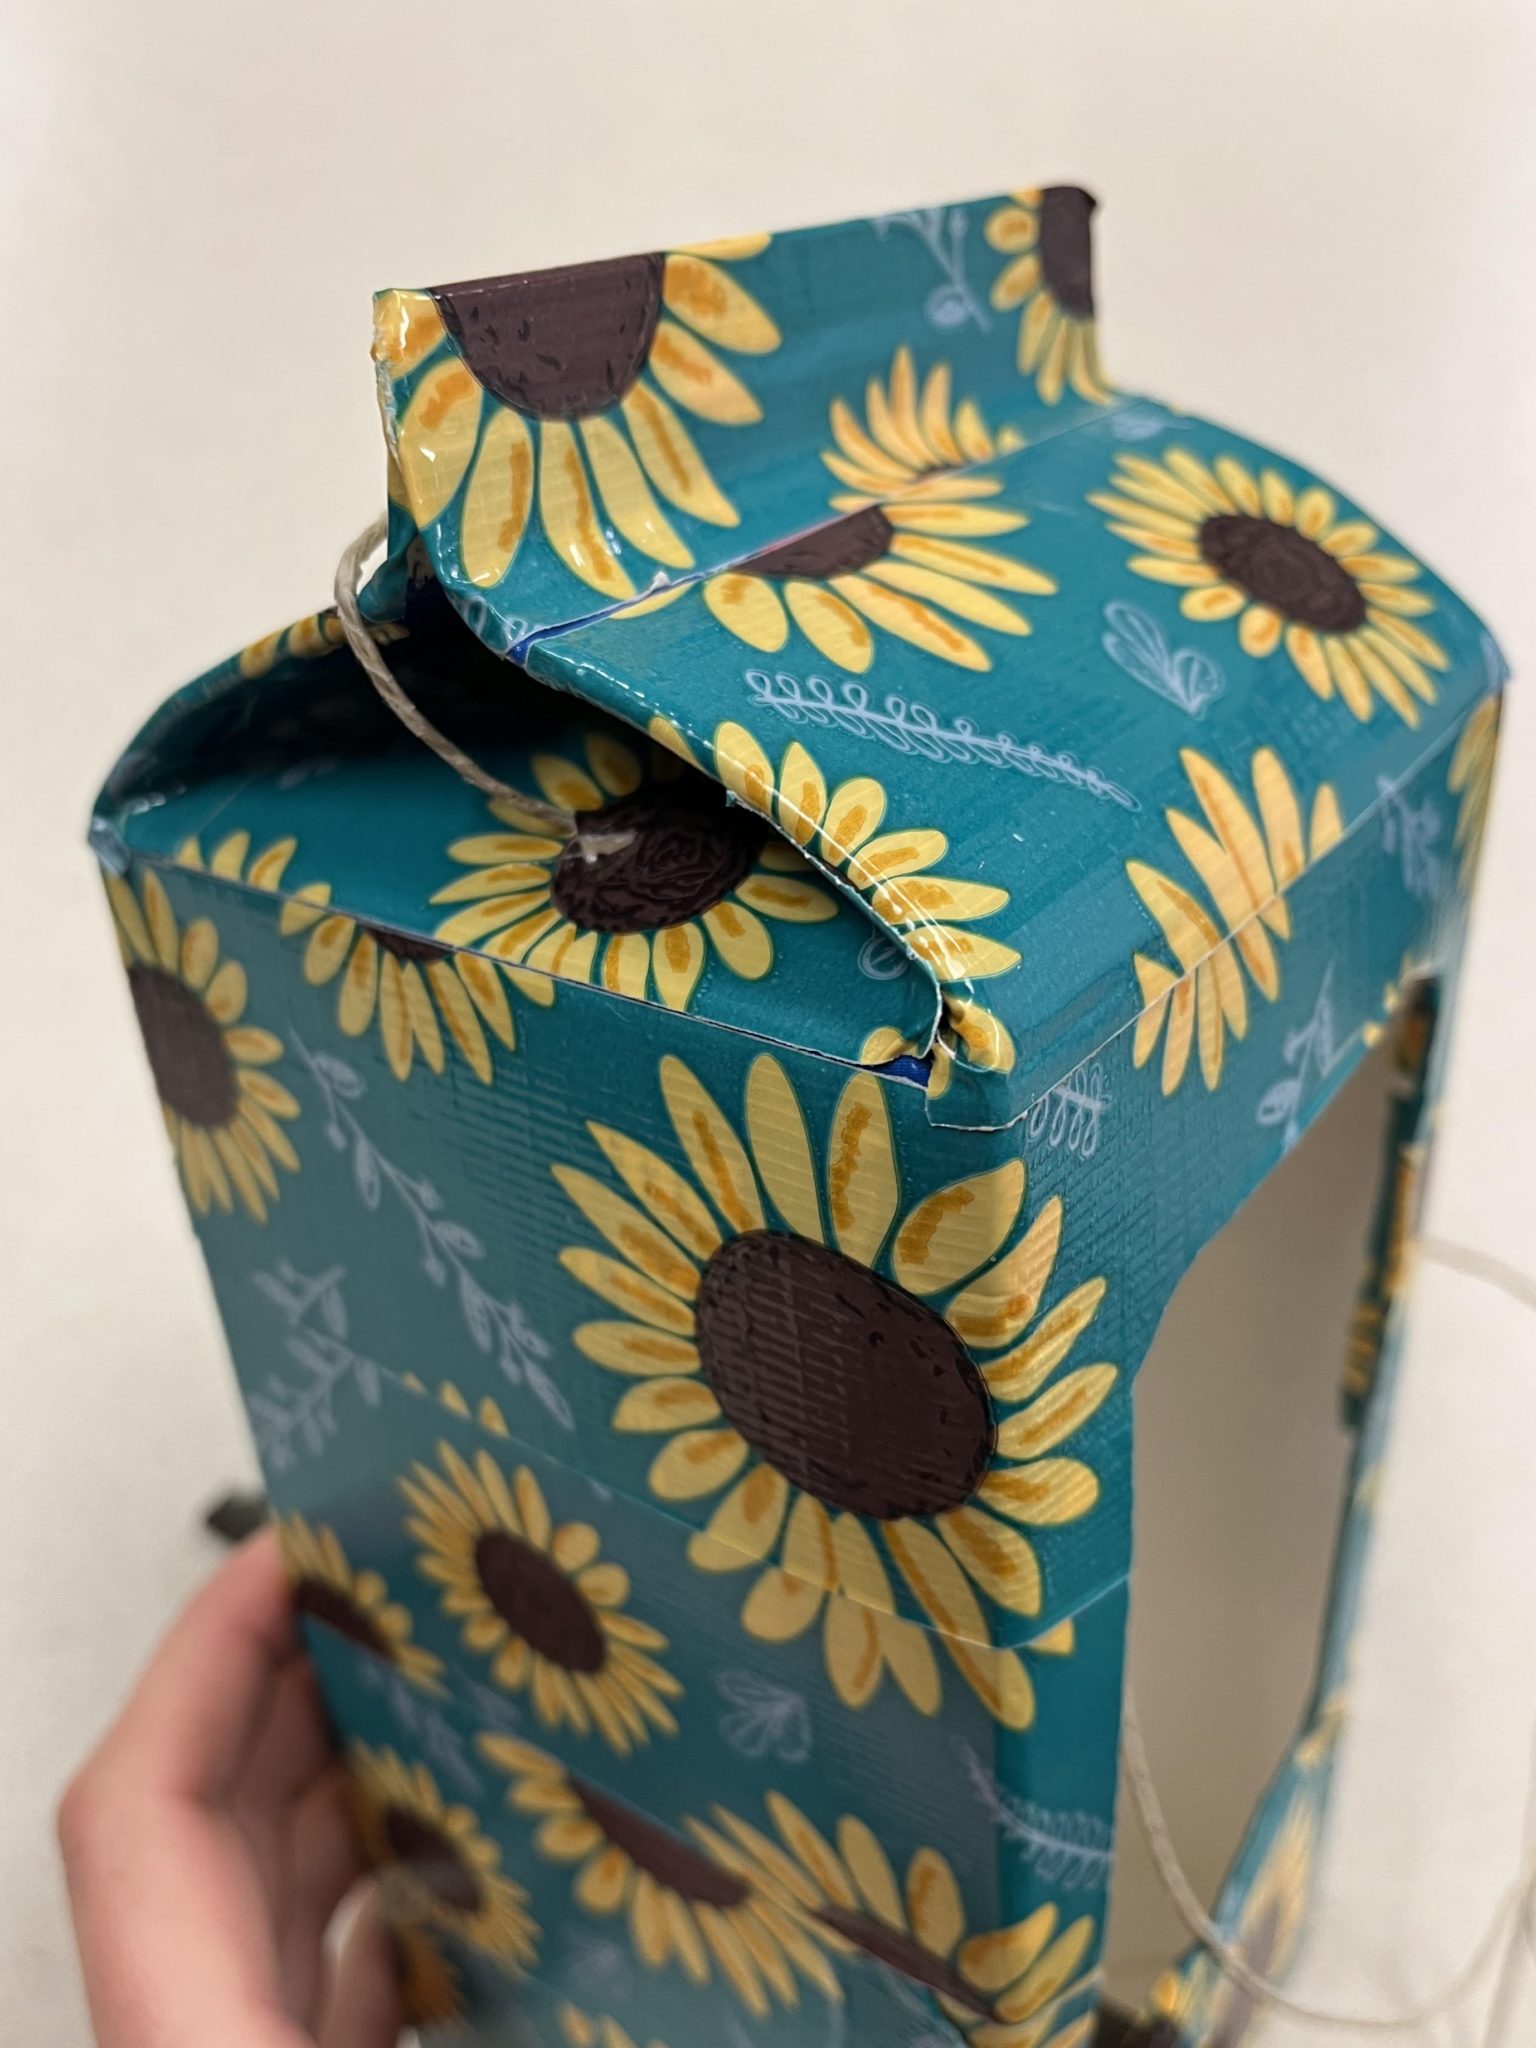
2. To create a fun decoration, wrap the carton with colorful duct tape of your choice. Start at the top or bottom, wrap the tape around each side, cut the tape over the opening, and fold inward. This part takes a bit of finesse to wrap in even layers, so allow yourself or the child you’re helping some room for imperfection if needed. You can also go off script and wrap at any angle/s you want.
3. Add a stick landing for birds to sit and eat! If working with younger kids, have an adult cut an “x” shape with the craft knife or scissors at the lower front of the carton, push the stick throw, cut another “x” at the back of the carton and push through again.

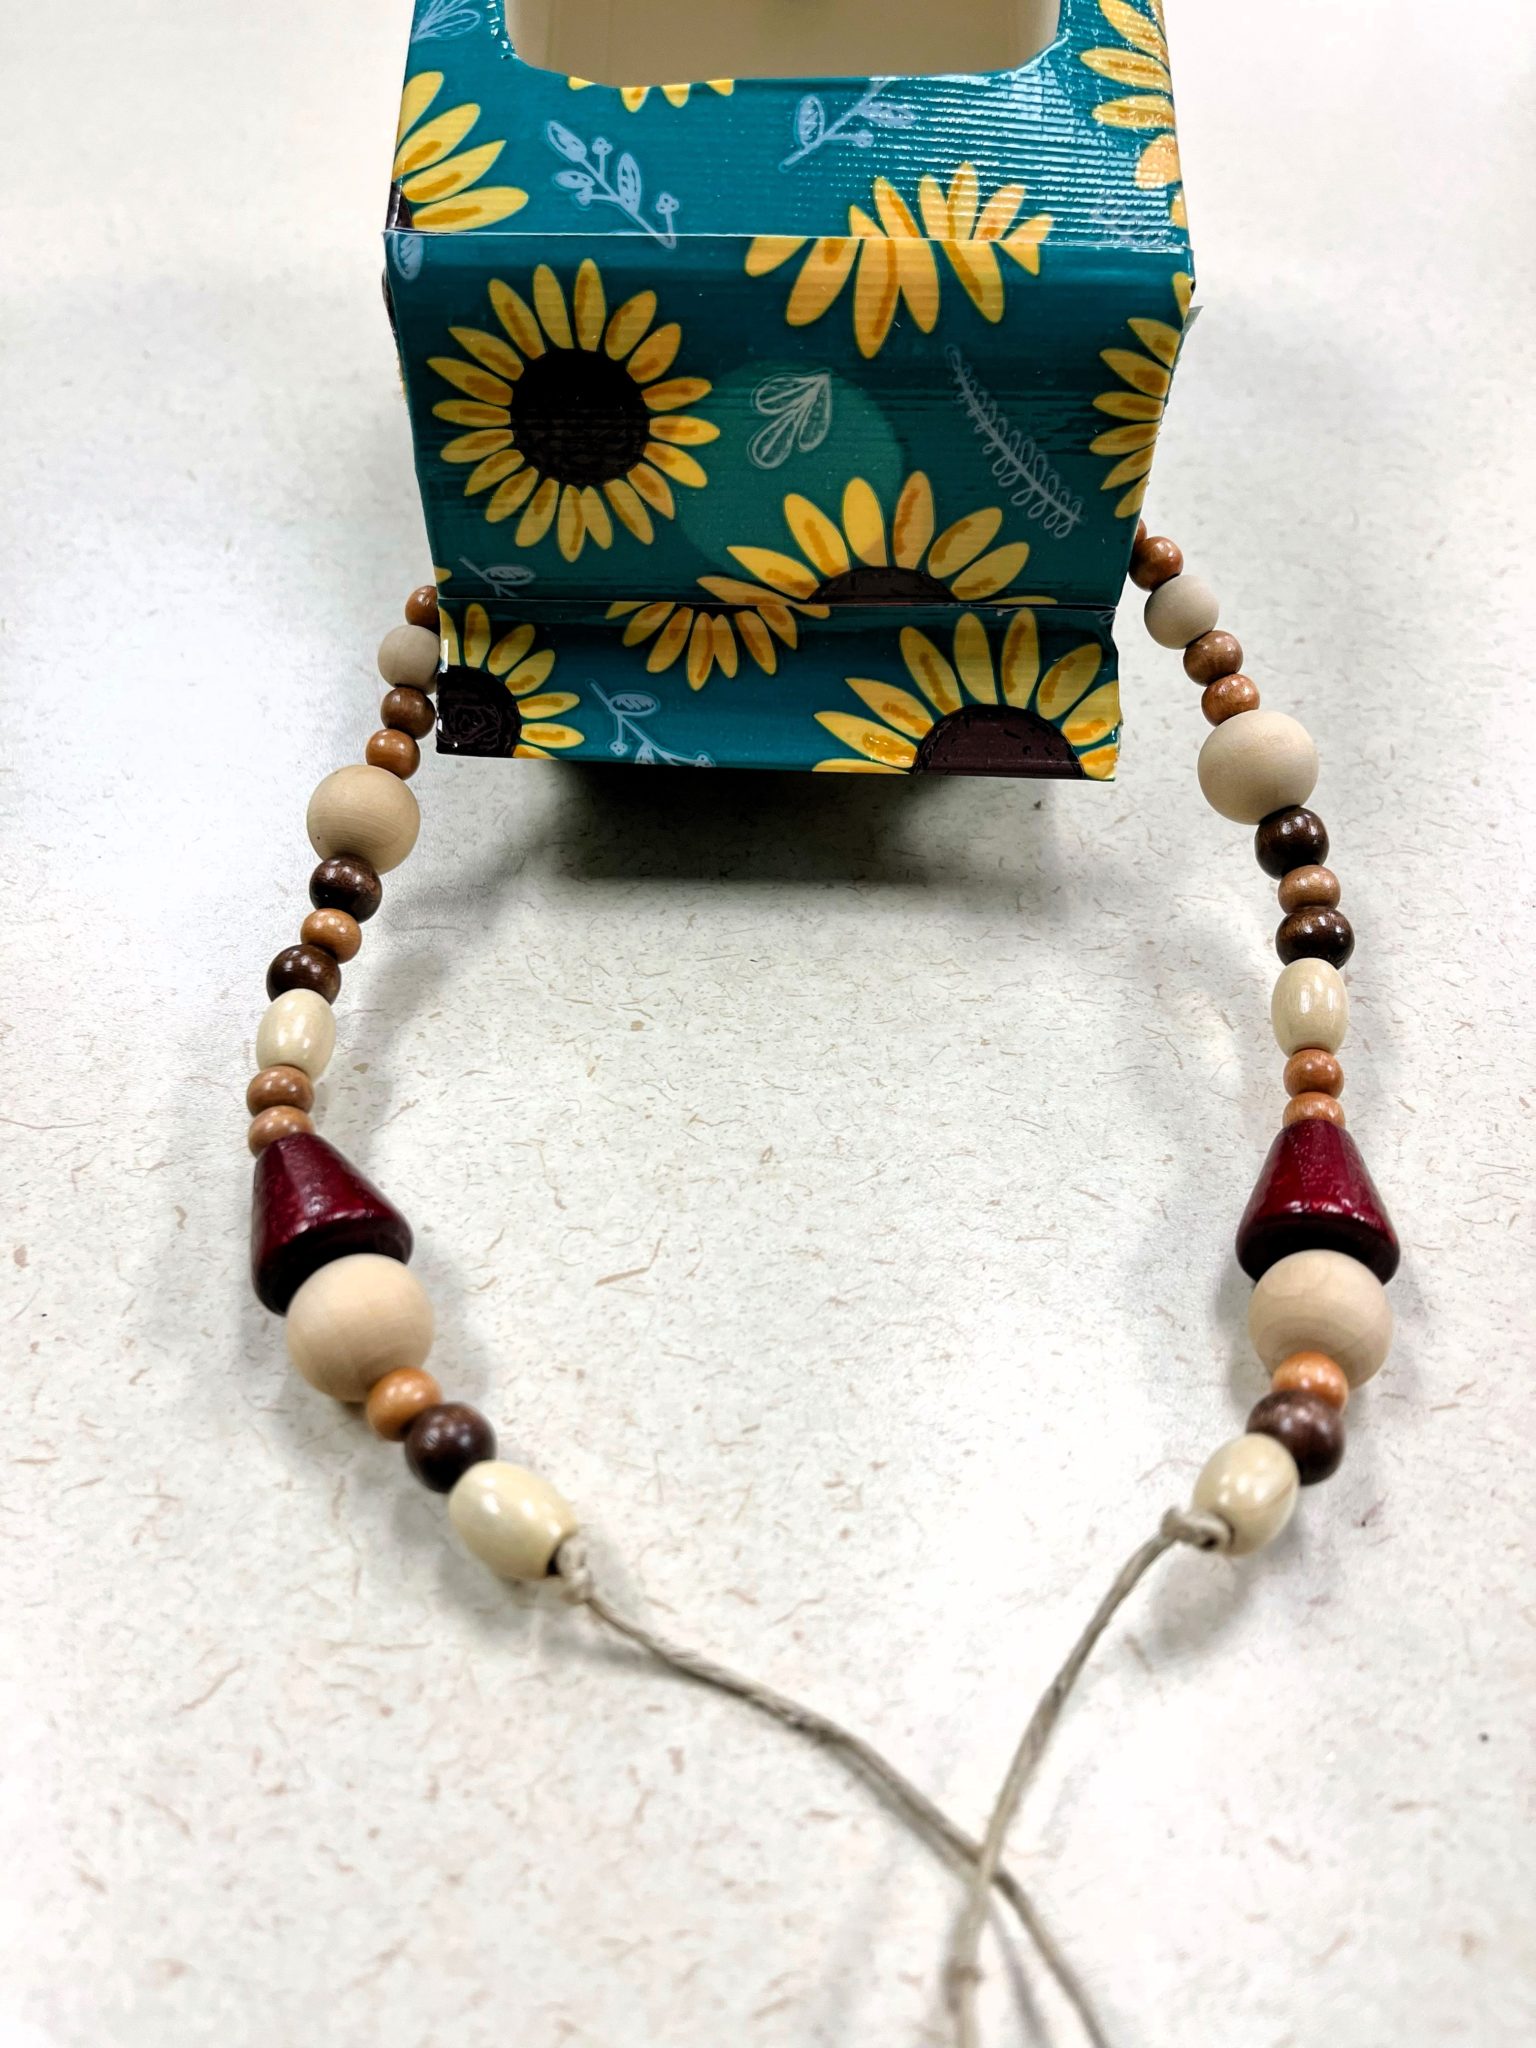
4. Now it’s time to add the string to hang your carton. Cut two small “x’s” on opposite sides of the top of the carton. Thread the string through one hole, going into the carton, and back out the other side. It may be helpful to push the string through with a pencil. Then, loop the string over the back of the carton (along one side of the “fin” at the top) and thread the string through the first hole again. Once inside, thread through the second hole and out. Having the opening cut in the carton makes this process easier.
5. At this point, you can add beads if you wish!
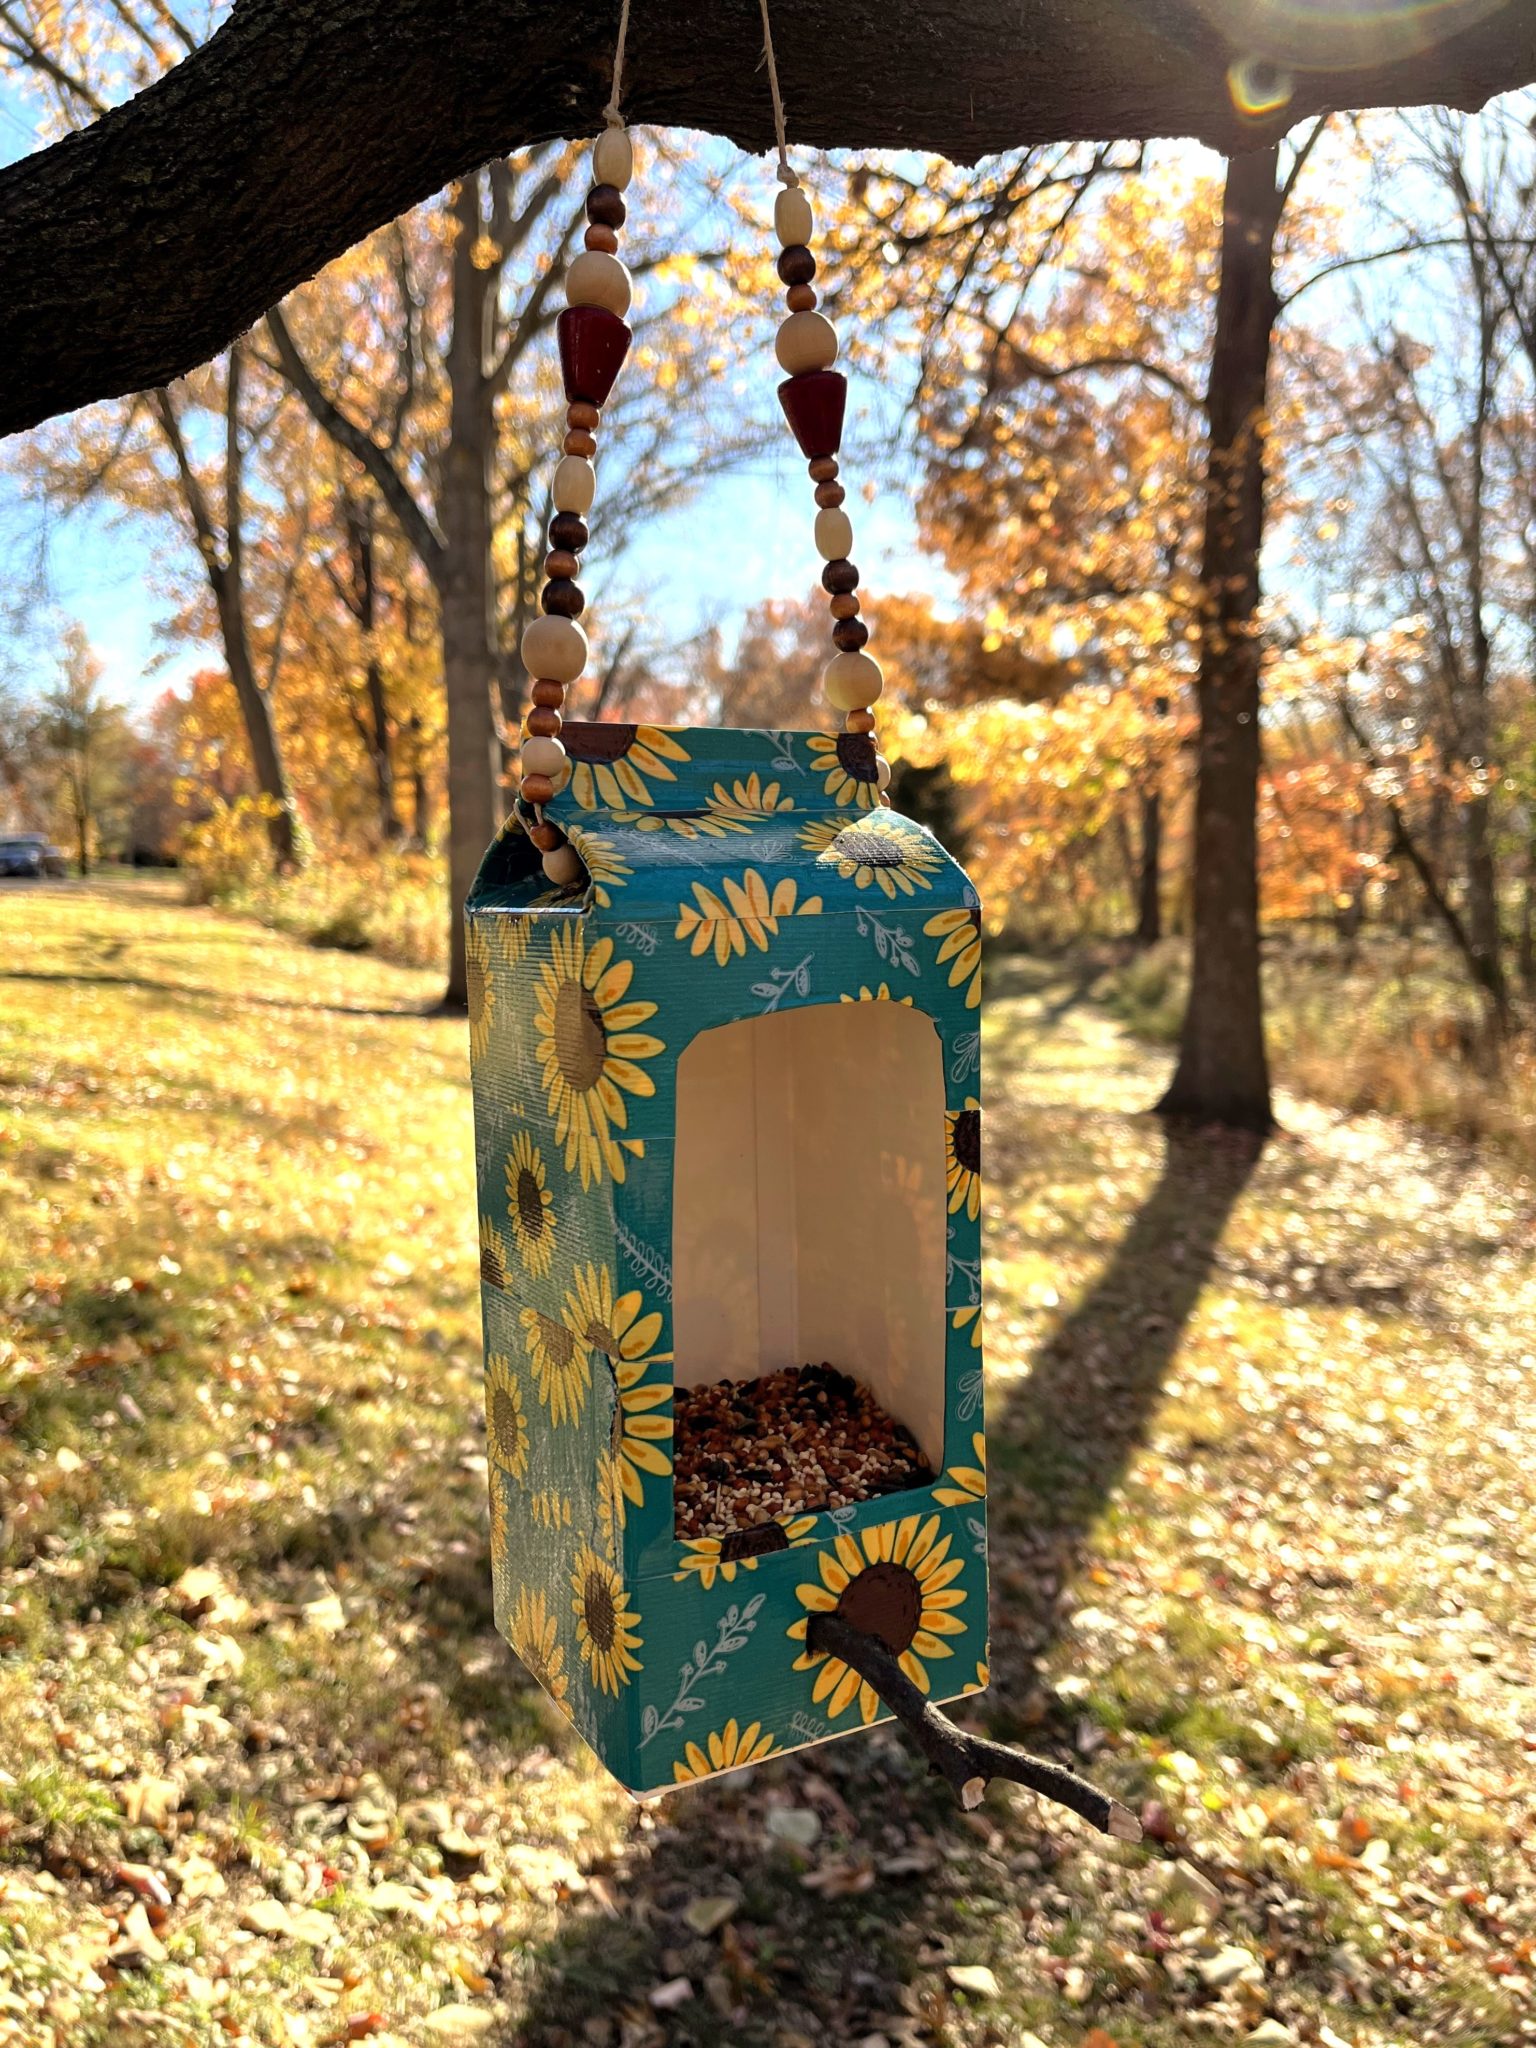
6. Add some bird seed to the bottom of your carton, hang the feeder outside (preferably by a window) and watch for visitors!
✨ Thanks to Kids Made Modern for this blog idea!

